
To install a ceiling fan support brace from below, start by turning off the power and locating ceiling joists using a stud finder or tapping for sound. Mark the joist placement, then securely attach the brace to the joists with heavy-duty screws, ensuring it’s level and stable. Attach the mounting bracket to the support, secure all connections, and double-check for stability. Continue with the full process to ensure a safe and secure ceiling fan installation.
Key Takeaways
- Turn off the power, verify no electricity using a voltage tester, and clear the workspace before starting.
- Locate ceiling joists with a stud finder and mark their positions accurately for brace attachment.
- Align the support brace with the marked joists, ensuring it is level, and secure it firmly with appropriate fasteners.
- Double-check that the support brace is stable, level, and properly attached before proceeding with fan mounting.
- Restore power, then test the fan for secure operation, stability, and absence of wobbling or unusual noise.
Assessing Your Ceiling and Gathering Necessary Tools

Before you begin installing a ceiling-fan support brace, you need to assess your ceiling to make sure it can support the fixture and gather the necessary tools. Start with a thorough ceiling inspection to identify the existing material, such as drywall, plaster, or wood. This helps determine the best material selection for your support brace, ensuring a secure installation. Check if your ceiling joists are sturdy enough and properly spaced to hold the weight of the fan. Look for any signs of damage, such as cracks or sagging, which might require additional reinforcement. Consider the supporting materials used in your ceiling to ensure compatibility with the support brace. Additionally, understanding the types of cookies and their functions can help you manage your privacy and security preferences during the installation process. Also, evaluating the sturdiness of ceiling joists can prevent future issues with sagging or failure. Gather essential tools like a drill, measuring tape, stud finder, and a level. Proper assessment and correct material choice lay the foundation for a safe, effective installation.
Turning Off Power and Preparing the Workspace
Before starting, turn off the circuit breaker for your ceiling fan. Always confirm that the power is off by testing the wiring or switch. Then, clear your workspace to guarantee safety and easy access to tools.
Turn Off Circuit Breaker
Why is it essential to turn off the circuit breaker before starting your installation? Turning off power ensures circuit safety, preventing accidental shocks or electrical hazards during work. Even if the light switch is off, current may still flow through the wiring, so cutting power at the breaker is crucial. Following electrical codes, you must shut off the correct circuit to protect yourself and avoid damaging the existing wiring. Before working, double-check that no power is present, using a voltage tester. This step minimizes risks and creates a safe workspace. Always remember, working with live electricity can be dangerous and violates electrical codes designed to keep you safe. Turning off the breaker is the first vital step in a safe ceiling-fan installation. Additionally, understanding home electrical safety principles helps ensure you follow best practices throughout the project.
It is also helpful to familiarize yourself with appliance testing and compatibility considerations to prevent potential issues when working with existing wiring or new fixtures.
Confirm Power Is Off
Ensuring the power is off before beginning work is vital for safety. Confirming the circuit breaker is switched off prevents electrical shock and protects you during installation. Use a voltage tester to verify no live current flows to the fixture. Proper tool selection is essential; choose a non-contact voltage tester for quick, accurate checks. Always double-check that power is off before handling wiring or removing fixtures. Remember, electrical safety isn’t just about turning off the breaker—it’s about being certain no electricity is present. Taking these precautions minimizes risk and keeps your workspace safe. It’s also helpful to understand electrical safety protocols to ensure comprehensive protection. Additionally, staying informed about innovations in electrical safety can enhance your awareness of new safety measures and tools. Recognizing the importance of creative problem-solving can help you find effective solutions if unexpected issues arise during installation. Once confirmed, you can proceed confidently with the installation, knowing you’ve reduced the danger of electrical shock or injury.
Clear Work Area
After confirming that the power is off with a voltage tester, clear the work area to create a safe and efficient workspace. Remove any decorative lighting or objects that could obstruct access or cause accidents. Check for insulation considerations to ensure you don’t damage or disturb existing insulation, which could affect energy efficiency or safety. Keep tools and materials organized to streamline installation. Use the table below to understand the importance of workspace preparation:
| Safe Work Environment | Key Considerations |
|---|---|
| Prevents accidents | Ensures quick access to tools |
| Protects wiring | Maintains insulation integrity |
| Enhances efficiency | Reduces risks of electrical issues |
Locating the Ceiling Joists From Below
To locate ceiling joists from below, start by examining the ceiling for visible clues. Look for ceiling panel seams, nail or screw holes, or slight dips that indicate joist positions. Tapping the ceiling with a hammer can help identify the solid sound of joists versus hollow areas. Using a stud finder designed for ceiling joist detection makes this process more accurate. Once you’ve pinpointed the joist locations, plan your support brace alignment accordingly. Accurate detection ensures the support brace is anchored securely into the joists, providing the stability needed for your ceiling fan. Taking your time to precisely locate the joists prevents misalignment, making the installation safer and more reliable. Additionally, understanding the structure of ceiling joists can help you better interpret the clues and improve your installation accuracy. Being aware of the spacing between joists can also assist in selecting the correct placement for your support brace, ensuring it spans multiple joists if necessary for added support. Recognizing the standard dimensions of joists can further enhance your ability to select appropriate anchoring points.
Marking the Position for the Support Brace
How do you accurately mark the position for your support brace? First, use a stud finder to locate the ceiling joists. Once you spot a joist, grab your marking tools—pencil, chalk, or a marker. Carefully mark the exact spots where the brace will attach, ensuring they align with the joists. Double-check the measurements to keep everything level and centered. Remember, precise markings prevent misalignment during installation. Here are some tips to make it easier:
- Confirm the joist location with your stud finder
- Mark the center points clearly on the ceiling
- Use a level to ensure your marks are straight
- Measure distances carefully before marking
- Keep your marking tools handy for quick, accurate notes
- Proper measurement techniques are essential for secure mounting and safety. Additionally, understanding building codes can help ensure your installation meets safety standards. Incorporating accurate marking practices can save time and prevent errors during the mounting process.
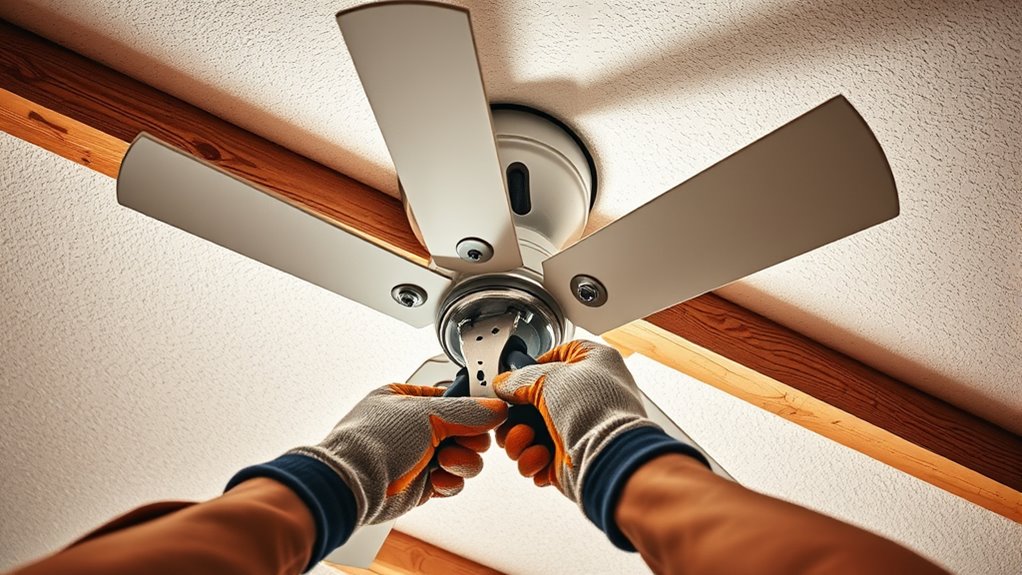
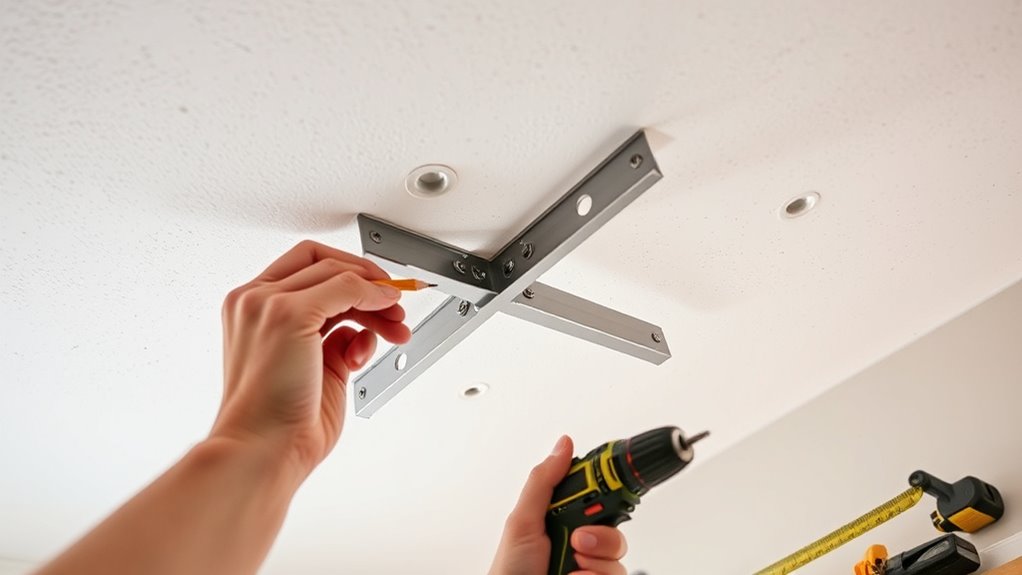
Installing the Support Brace Onto the Ceiling Joists
Begin by aligning the support brace with your marked spots on the ceiling, ensuring it sits flush against the joists. This step is vital for proper support compatibility and to prevent any wobbling or instability. Hold the brace in place, making sure it fits snugly within the ceiling structure. Use a level if needed to confirm it’s straight, as misalignment can compromise support. Once aligned, mark the positions for the screws through the pre-drilled holes in the brace. Double-check that the brace is correctly positioned, especially in relation to the ceiling joists, to guarantee maximum stability. Proper placement ensures the support brace will effectively distribute the weight of the ceiling fan and maintain the integrity of the ceiling structure. Additionally, understanding electric power generation can help in selecting the right support for heavier fixtures, especially when considering the load capacity of the support system. Knowing how power sources impact load capacity can further ensure the support brace is suitable for your specific ceiling fan.
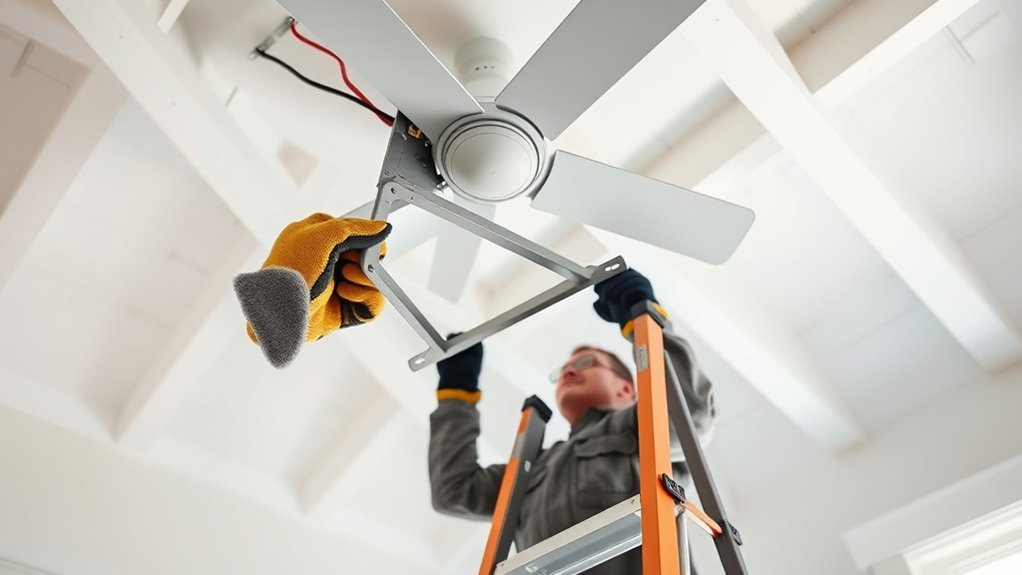
Securing the Brace and Ensuring Stability
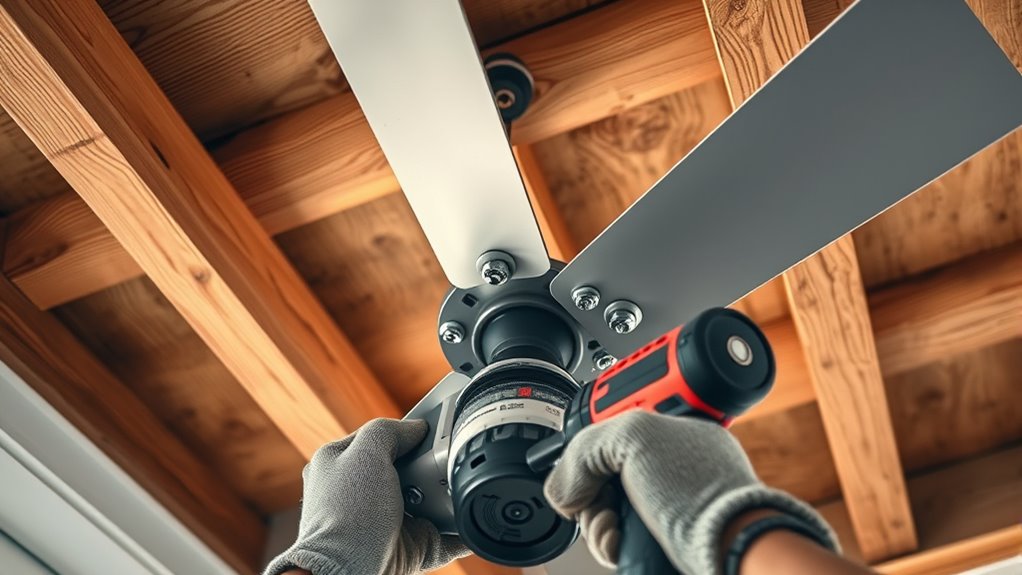
Once you’ve marked the screw positions, securely fasten the support brace to the ceiling joists using the appropriate screws or bolts. Proper mounting techniques are vital to guarantee stability and safety. Use heavy-duty fasteners compatible with your brace materials, whether metal or wood, to prevent any wobbling or shifting. Double-check that the brace is level and firmly attached, as this foundation supports the entire ceiling fan. Avoid overtightening, which could damage the materials, and ensure all screws are flush. Remember, a well-secured brace minimizes movement and enhances safety during fan operation. Additionally, understanding mounting techniques can help ensure your support brace remains secure under various conditions. Employing proper load distribution principles can further improve the durability of your installation and prevent stress on specific points. Regularly inspecting the assembly and maintenance practices can also prolong the lifespan of your ceiling fan support system.
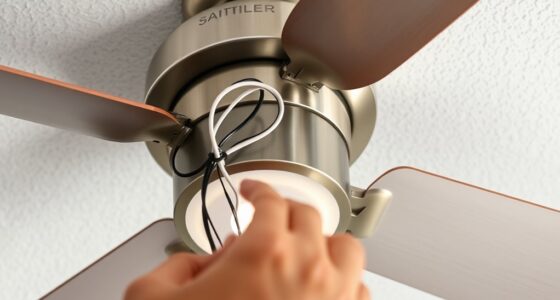
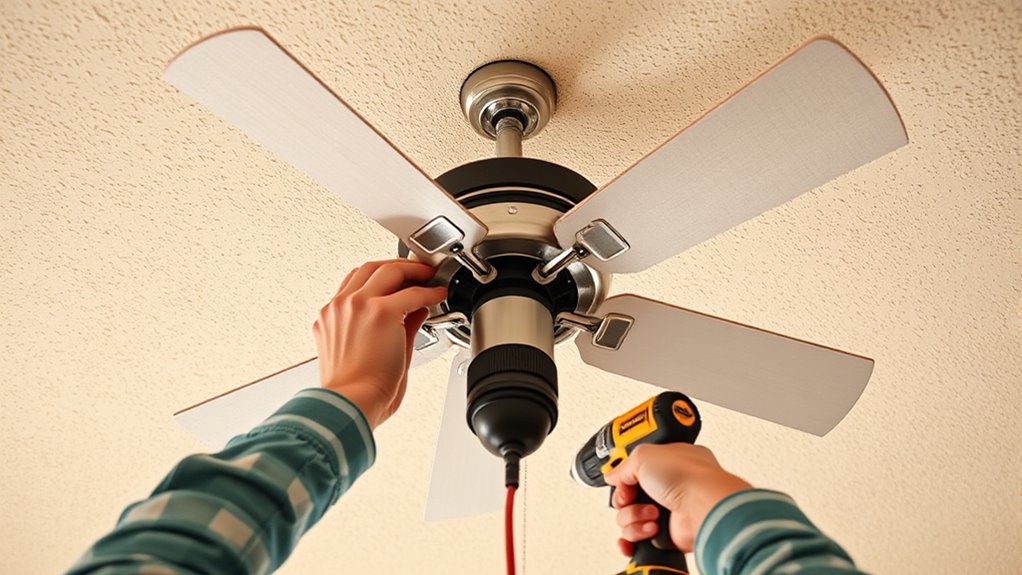
Attaching the Ceiling Fan Mounting Bracket to the Support

Are you ready to attach the ceiling fan mounting bracket to the support? First, make certain you’ve chosen the right support brace, considering ceiling fan weight considerations. Heavier fans require a sturdier brace, so double-check its weight capacity before proceeding. Position the mounting bracket against the support, making sure it lines up with the pre-drilled holes. Use a level if needed to keep everything aligned. Secure the bracket firmly with appropriate screws, tightening them evenly to prevent wobbling. Remember, a secure attachment is vital for safety and stability. Double-check that all screws are tight and the bracket is flush against the support. This step ensures your ceiling fan will hang safely and operate smoothly. Understanding support braces about support braces helps ensure proper installation and safety. Additionally, knowing the correct installation procedures can prevent potential hazards.
Final Checks and Safely Restoring Power

After tightening all screws and ensuring the mounting bracket is flush against the support, it’s time to perform final checks before restoring power. Verify that all electrical connections are secure and insulated properly to maintain electrical safety. Double-check that the support brace is firmly in place and not wobbly. Inspect your tool selection—use insulated tools to prevent shocks. Ensure the wiring is neatly tucked away and no wires are pinched or exposed. Confirm that the mounting hardware is tight and the bracket is stable. Finally, review your work for any loose components or potential hazards. Once satisfied, turn the circuit breaker back on and test the fan’s operation. If everything functions smoothly, you’ve successfully completed the installation safely and securely.
Frequently Asked Questions
Can I Install a Support Brace Without Removing the Ceiling Fan?
You might wonder if you can install a support brace without removing the ceiling fan. It’s generally not recommended because support brace compatibility is essential, and installing it without removal can be tricky. Alternative installation methods exist, but they often aren’t as secure. For the safest, most effective fix, removing the fan first allows you to properly install the support brace, ensuring stability and safety for your ceiling fan.
What Are Common Signs My Ceiling Needs a Support Brace?
Your ceiling might be crying for help if you notice sagging or a drooping appearance—like a wilting flower. Common signs include ceiling sagging, which indicates structural strain, or loose fixtures that wobble or shift. These issues suggest your ceiling needs a support brace to prevent further damage. Don’t ignore these warning signs, as they can lead to more serious problems. Address them promptly to keep your ceiling strong and secure.
How Do I Know if My Ceiling Joists Are Strong Enough?
You can check your ceiling joists’ strength by inspecting their size and spacing; larger and closely spaced joists usually have higher load capacity. If you’re unsure, consider consulting a professional to assess their load capacity and overall condition. You might also look for signs of sagging or cracking, which indicate weaker joists. Ensuring proper joist strength is essential before installing a ceiling fan to prevent damage or accidents.
Is It Possible to Install a Support Brace in an Attic Space?
Yes, you can install a support brace in your attic space, provided you have proper attic access. You should evaluate support brace types suitable for your ceiling joists and verify they fit your specific needs. Make sure to measure carefully and choose the right support brace to reinforce the joists effectively. Always follow safety guidelines, and consider consulting a professional if you’re unsure about the installation process.
What Safety Precautions Should I Follow During Installation?
When installing a support brace, you should prioritize safety. Always wear personal protective equipment like gloves and safety glasses to protect yourself from debris or sharp edges. Guarantee electrical safety by turning off the power at the circuit breaker before working near wires. Use a sturdy ladder and work in a well-lit area. Take your time, follow instructions carefully, and double-check your work to prevent accidents or mistakes.
Conclusion
With your support brace securely in place, you’re now ready to take on the task like a seasoned craftsman. Just as Da Vinci meticulously planned his masterpieces, your careful preparation guarantees a safe, sturdy ceiling fan install. Remember, a well-supported fan is the foundation for comfort and safety in your space. So, step back, admire your work, and enjoy the cool breeze knowing you’ve built it to last—like a true artist of home improvement.