
First, check your circuit breaker and switch to guarantee power is reaching the fan. Inspect wiring connections, including the switch, capacitor, and motor, making sure everything is secure and undamaged. Test the pull chain or remote control batteries, and verify if the switch or remote functions properly. Also, spin the blades to see if they’re moving freely. If these steps don’t fix it, there are more details to explore for a thorough fix.
Key Takeaways
- Check and reset the circuit breaker, ensuring power is reaching the fan’s electrical box.
- Inspect the wall switch, pull chain, and remote controls for proper operation and secure connections.
- Test the fan’s capacitor and motor wiring for damage or loose connections; replace faulty parts.
- Manually spin the blades to verify smooth movement and remove obstructions or imbalance.
- Consider replacing the fan if major components like the motor or switch are damaged beyond repair.

New CEILING FAN CAPACITOR CBB61 4.5uf + 6uf + 5uf 5 WIRE 250V
- Capacitor Type and Ratings: CBB61 4.5uf+6uf+5uf, 250V, 50/60Hz
- Tolerance: 5% tolerance
- Maximum Temperature: Operates up to +70°C
As an affiliate, we earn on qualifying purchases.
As an affiliate, we earn on qualifying purchases.
Check the Power Supply and Circuit Breaker
Before inspecting other components, make sure the fan’s power supply is active. Check the circuit breaker controlling the fan circuit—if it’s tripped, reset it and ensure it stays on. Use a circuit tester or multimeter to verify power is reaching the electrical box where the ceiling fan is installed. Confirm that the fuse, if your setup has one, hasn’t blown; replace it if needed. Also, inspect the wall switch that controls the fan, ensuring it’s turned on and functioning correctly. It’s important to verify the circuit control and that the fan wiring is intact. If the power isn’t reaching the fan or the circuit breaker has tripped frequently, it could indicate an underlying electrical issue that needs further inspection. Additionally, understanding the role of attention in creative practice can remind you to stay focused while troubleshooting electrical problems effectively. Ensuring proper circuit continuity is crucial for safe and effective repairs. Regularly maintaining electrical components can prevent frequent circuit issues in the future, and conducting a thorough electrical inspection helps identify potential hazards before they cause more serious problems.
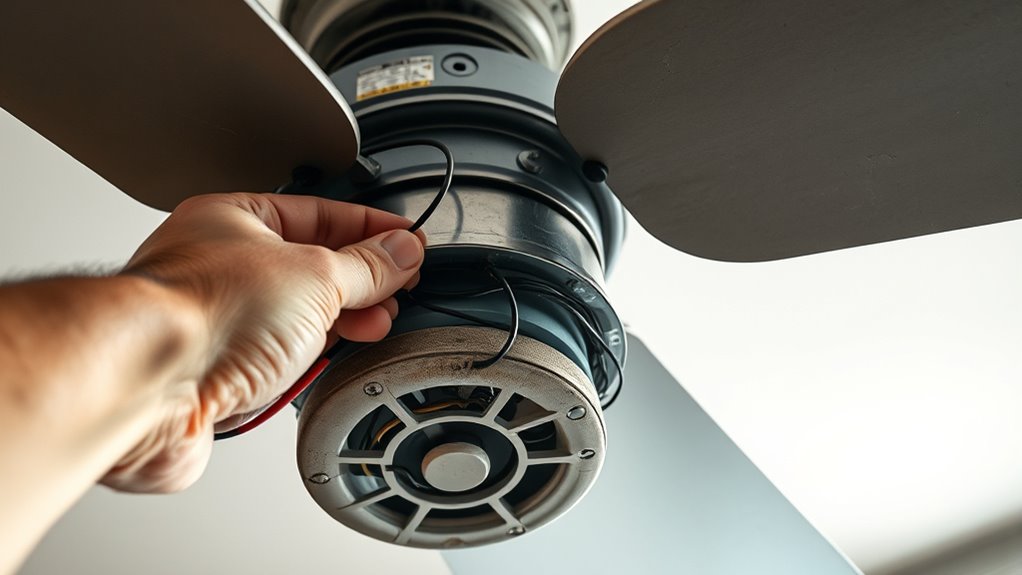
Inspect Wiring Connections and Switches

To guarantee your ceiling fan functions properly, you need to verify that all wiring connections inside the fan’s canopy and switch housing are secure and properly capped with wire nuts. Carefully inspect the wiring harness for loose or damaged wires, especially those connected to the motor and switch. Use a circuit tester to ensure power is reaching the switch and wiring terminals. Check inside the switch housing to confirm the switch is functioning correctly and that no wires have frayed or corroded, which could block electrical flow. Wiring Inspection can help identify potential issues before they cause failure. Additionally, ensuring proper electrical connections is crucial for safety and performance. Proper grounding of the fan’s electrical system can prevent electrical shock and enhance safety. Regularly inspecting and maintaining tuned engine components can also prevent electrical issues related to overheating or wear. Maintaining connection integrity is essential for consistent fan operation and safety.
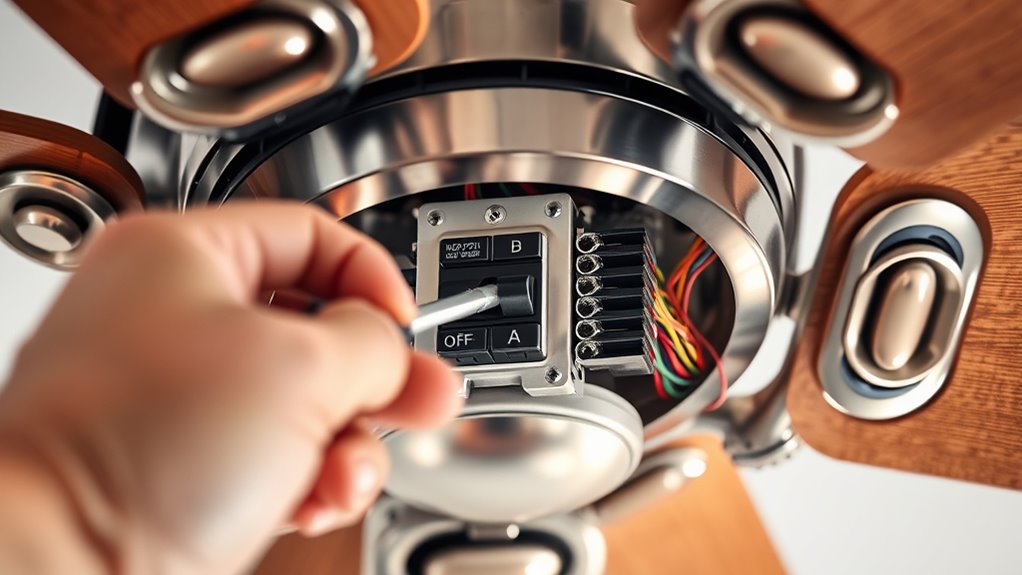
Test the Pull Chain or Wall Switch

First, make sure the pull chain is fully turned to “ON” and isn’t loose or broken. Then, check that the wall switch is in the “ON” position and working properly. Finally, test that power is reaching the switch with a voltage tester; replace the switch if no power is detected. Additionally, ensure there are no electrical faults in the circuit that could prevent the fan from turning on. Confirming that the circuit is properly wired can help avoid common issues preventing operation, and inspecting circuit breakers may reveal tripped switches that cut power to the fan. Being aware of data privacy concerns related to electrical systems and smart home devices can also be beneficial. Moreover, verifying that the circuit is grounded properly can prevent electrical issues and enhance safety.
Verify Pull Chain Operation
Checking your pull chain and wall switch is essential to guarantee your ceiling fan operates correctly. First, verify the pull chain is fully pulled to activate the fan—partial pulls may prevent power flow. Confirm the switch controlling the fan is turned on, as it supplies power to the circuit.
Inspect the wiring connections for damage or disconnection, which can interrupt activation. Use a multimeter to test the pull chain switch for continuity; if it shows no continuity, the switch likely needs replacement.
Also, verify the wiring connection to the switch and chain is secure. Damage or faulty wiring can prevent proper operation. If testing reveals the switch isn’t functioning correctly, swapping it out can restore power and ensure your fan turns on when activated.
Check Wall Switch Functionality
Before troubleshooting further, verify the wall switch controlling your ceiling fan is in the “ON” position and actively delivering power. Use a voltage tester to check if the switch is providing electrical flow when flipped on. If the tester indicates no power, inspect the wiring connections behind the switch for looseness, damage, or wear, which can interrupt the circuit. Ensure the circuit breaker linked to the switch hasn’t tripped, cutting off the power supply. Damaged or worn-out switches may need replacing to restore proper electrical flow. Proper testing of the wall switch helps determine if it’s functioning correctly. If the switch is faulty or not delivering power, replacing it can resolve the issue and ensure your ceiling fan receives the necessary power to operate. Regularly assessing your electrical components aligns with home maintenance practices that promote safety and efficiency. Additionally, understanding electrical safety guidelines can prevent accidents during inspection or repair. Being aware of circuit testing procedures can further confirm whether the issue lies within the switch or elsewhere in your electrical system.
Test Power Supply Properly
Wondering if your ceiling fan is getting power? First, verify the power supply by inspecting the electrical box and wall switch. Use a circuit tester or multimeter to check if power is reaching the fan’s wiring connections. Confirm the circuit breaker hasn’t tripped—reset it if necessary. Ensure the pull chain switch, if present, is set to “ON” to enable power flow. Before inspecting further, turn off the power at the breaker to avoid shocks. During your electrical inspection, focus on these key points: – Power source is active and stable – Circuit breaker isn’t tripped – Wiring connections are secure in the electrical box – Wall switch and pull chain are in the “ON” position. Additionally, understanding the electric power generation capabilities of your fan or related components can help troubleshoot issues more effectively. This process helps confirm that the power supply is functioning properly before proceeding with repairs.
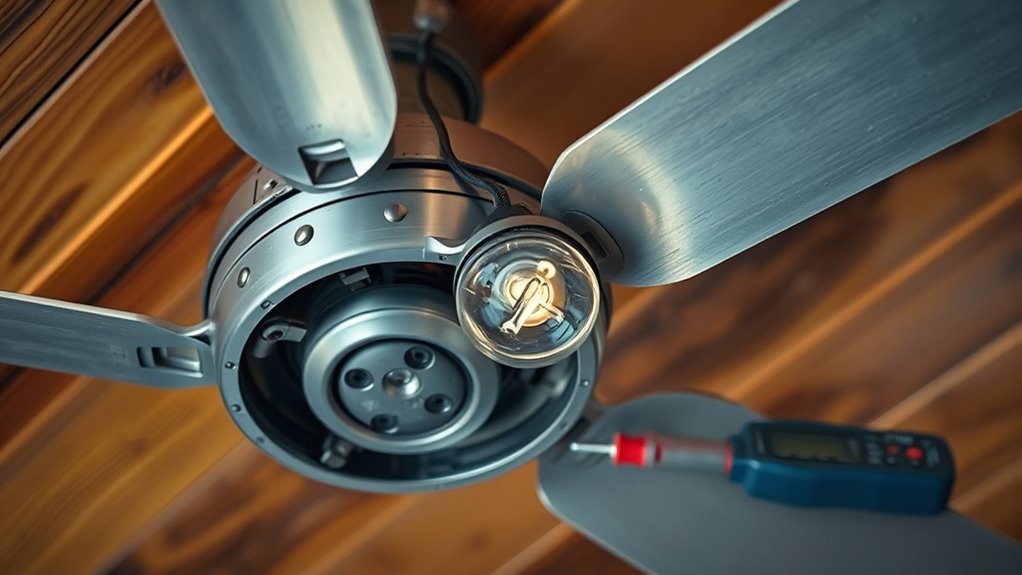
Examine the Fan’s Capacitor and Motor

Start by checking if the capacitor is functioning properly since a faulty capacitor can prevent the fan from starting. You may also want to test the capacitor’s capacitance value with a multimeter to ensure it’s within the manufacturer’s specifications. Next, inspect the motor wiring for any loose connections or damage that could hinder performance. Additionally, verify if the power source or headphone jack is supplying proper voltage, as power issues can also affect the fan’s operation. According to Audi Tuning, optimizing electrical components can significantly improve overall device functionality, so ensuring clean and secure wiring is essential.
Check Capacitor Functionality
Checking the capacitor’s functionality is a crucial step in diagnosing ceiling fan issues. A faulty capacitor can cause the fan motor to struggle, produce a humming noise, or only run on high speed.
To assess it, you’ll perform an electrical testing using a capacitance test with a multimeter set to capacitance mode. Look for signs of capacitor degradation, such as bulging, leaking, or a capacitance reading outside the rated microfarads (μF).
If the capacitor shows these issues or fails the test, it’s time to replace the capacitor. Visual inspection helps identify a faulty capacitor that’s no longer performing its role in motor start and speed regulation.
Replacing a defective capacitor is a simple fix that can restore proper fan operation.
Inspect Motor Wiring
Inspecting the motor wiring and capacitor connections is essential to guarantee your ceiling fan operates correctly. Check the wiring connections to the capacitor and fan motor for secure attachment, corrosion, or wiring damage. A faulty capacitor often prevents startup; look for bulges, leaks, or burn marks. Use a multimeter set to capacitance mode to test the capacitor—values outside the specified microfarad range indicate failure. Inspect the wiring harness for frayed or damaged wiring near the capacitor terminals, which may require wiring repair or replacement. Here’s a quick overview:
| Component | Common Issue | Solution |
|---|---|---|
| Fan wiring | Loose or damaged wiring | Tighten or replace wiring |
| Capacitor | Leaks or bulges | Replace capacitor |
| Wiring connections | Corrosion or corrosion | Clean and secure connections |
| Wiring harness | Fraying or damage | Replace wiring harness |
| Fan motor wiring | Damage near terminals | Repair or replace wiring |
Verify Remote Control Functionality

To verify that your remote control is functioning properly, begin by ensuring the batteries are fresh and installed correctly, with the positive end facing forward.
Once that’s done, check the remote indicator light—if it flashes when you press buttons, the remote is likely responsive.
Confirm the remote is paired with the fan’s remote receiver by following the manufacturer’s pairing instructions.
Also, verify that the remote settings, like dip switches or code configurations, match those inside the receiver.
If the fan still doesn’t respond, try remote troubleshooting steps such as replacing the remote control or remote receiver, as faulty components can prevent proper operation.
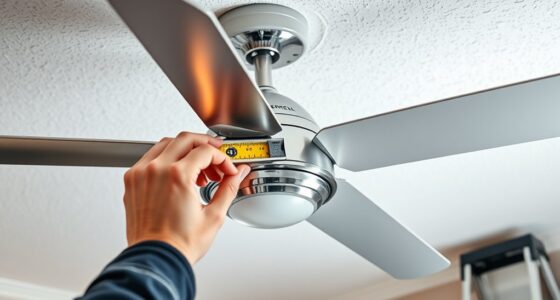
Ensure Proper Blades and Mechanical Movement

Before troubleshooting your ceiling fan, manually spin the blades to guarantee they move smoothly and freely. If the blades wobble or resist, check for any obstruction inside the fan housing that could hinder mechanical movement.
Ensure all blade screws are tight and the fan blades are securely attached, as loose blades cause imbalance and noise.
Remove the light kit or other attachments to reduce weight and see if the fan starts without additional load.
Inspect the fan mounting hardware for security; loose mounting can cause wobbling and misalignment, affecting blade movement.
Also, examine the blade attachment points for signs of damage or imbalance. Properly secured blades and unobstructed movement are essential for your ceiling fan to operate correctly.
Inspect for Loose or Damaged Components

Since loose or damaged components can cause your ceiling fan to malfunction or wobble, it’s important to check the wiring inside the canopy first. Look for:
Loose or damaged wiring inside the canopy can cause fan wobbling and malfunction.
- Loose wiring or disconnected wiring connections secured with wire nuts.
- Damaged wires, such as frayed insulation or corrosion in the wiring harness.
- Burnt or charred wiring around the switch housing or light kit, indicating an electrical short.
- Worn motor wiring with insulation damage or frayed wires needing wiring repair.
Also, verify the switch’s internal wiring for switch malfunction.
Inspect the wiring harness and switch housing for signs of wear or damage. Addressing these issues guarantees proper electrical flow and prevents potential hazards.
Consider Replacing the Fan or Repairing Major Parts
If your ceiling fan still malfunctions after checking for loose or damaged wiring, replacing or repairing major parts might be the best option.
A ceiling fan not turning on could stem from a faulty fan motor, a bad fan capacitor, or switch wiring issues.
If the motor or control system is damaged beyond repair, motor repair may not be worth it, and replacing the fan could be more cost-effective.
Upgrading to a new fan with compatible wiring and a reliable fan switch housing ensures smoother fan installation and improved performance.
Modern fans often feature advanced motor technology and remote control options, making maintenance easier and airflow better.
Replacing the fan altogether can also enhance room aesthetics and reduce ongoing repair costs, offering a long-term solution.
Frequently Asked Questions
How Do You Fix a Ceiling Fan That Won’t Turn On?
If your ceiling fan won’t turn on, start by checking the wall switch and remote control to make certain they’re on and working.
Then, verify the circuit breaker hasn’t tripped and reset it if needed.
Inspect the wiring inside the fan for loose connections, and test the capacitor—replace it if it’s faulty.
These steps help identify common issues preventing your fan from starting and get it working again quickly.
What Is the Main Cause of a Ceiling Fan Not Working?
The main cause of a ceiling fan not working is usually a power supply issue. You might find a tripped circuit breaker, a faulty wall switch, or loose wiring inside the fan or switch.
Sometimes, the remote batteries are dead or the remote isn’t set correctly. Before checking the fan’s internal parts, verify the circuit is active and all connections are secure, as these are common and fixable problems.
What Causes a Fan to Not Turn On?
When your fan refuses to turn on, it’s like the entire room’s energy hits a wall. You might’ve a blown fuse, a tripped breaker, or faulty wiring inside the fan or switch.
The remote or switch could be malfunctioning, or the capacitor and motor might be dead.
Even loose wires inside can stop your fan in its tracks.
Basically, any tiny issue can block the fan’s power like a giant barrier.
What Is the First Thing to Check if the Electric Fan Is Not Functioning?
The first thing you should check when your fan isn’t working is the power source. Make sure the wall switch controlling the fan is turned on.
Then, verify that the circuit breaker or fuse hasn’t tripped or blown.
Use a circuit tester or multimeter to confirm that electricity is reaching the fan’s wiring inside the electrical box.
Also, check that the pull chain or remote control switch is in the “On” position.
Conclusion
If your ceiling fan still won’t spin after trying these steps, don’t fret—you’ve been well-equipped to troubleshoot like a true handyman. Sometimes, a simple fix or a quick upgrade is all it takes. Remember, even in this age of smart tech, old-school solutions still save the day. So, roll up your sleeves, channel your inner MacGyver, and get that fan whirling again—before the dawn of the jet age!