To clean your ceiling fan blades properly, start by turning off the fan and waiting for the blades to stop moving. Use an old pillowcase to trap dust by slipping it over each blade and gently pulling back to collect debris, then shake it outside. Wipe the blades with a microfiber cloth, applying mild cleaner if needed, and dry thoroughly. For more tips on reaching tough spots and maintaining your fan, continue exploring the best cleaning methods.
Key Takeaways
- Turn off the fan and ensure it is completely cooled before cleaning.
- Use an old pillowcase slipped over each blade to trap dust and debris safely.
- Wipe blades with a microfiber or damp cloth in the direction of the airflow for thorough cleaning.
- Regularly clean both sides of the blades and the motor housing to prevent dust buildup.
- Dry all components completely and inspect for damage before reassembling or turning the fan back on.

DRQ Ceiling Fan Cleaner Duster, Reusable Microfiber Duster with Extension Pole, 13 to 48 Inch Fan Blade Cleaner, Removable Dusters for Cleaning Walls Bookshelves Door Window Top (Blue)
- Easy to Store: Hanging hole for convenient storage and drying
- Adjustable Length: Extends from 13 to 48 inches
- High-Quality Materials: Soft microfiber yarn for effective dusting
As an affiliate, we earn on qualifying purchases.
As an affiliate, we earn on qualifying purchases.
Setting Up Safely for Ceiling Fan Cleaning

To clean your ceiling fan safely, start by setting up a stable working environment. Place a sturdy ladder or step stool on a level surface to guarantee stability. This will help you reach the blades comfortably without risking a fall. Always follow safety precautions, like maintaining three points of contact—two hands and one foot or two feet and one hand—while on the ladder or step stool. Make sure the fan is completely turned off and cooled down before you begin. Reposition your ladder or step stool as needed to reach all blades easily, avoiding overextending or losing balance. Taking these precautions ensures you can clean the fan blades safely and effectively without accidents. Additionally, using a proper cleaning technique helps prevent dust buildup that can affect the fan’s performance and air quality. Incorporating ergonomic workspace setup principles can further make the cleaning process more comfortable and safe. Regular cleaning can also prevent the buildup of dust and debris, which can hinder the fan’s efficiency and air circulation over time. To maintain your fan’s efficiency, consider exploring protective styling benefits to reduce dust accumulation over time. Proper fan blade maintenance can extend the lifespan of your ceiling fan and ensure it operates smoothly.
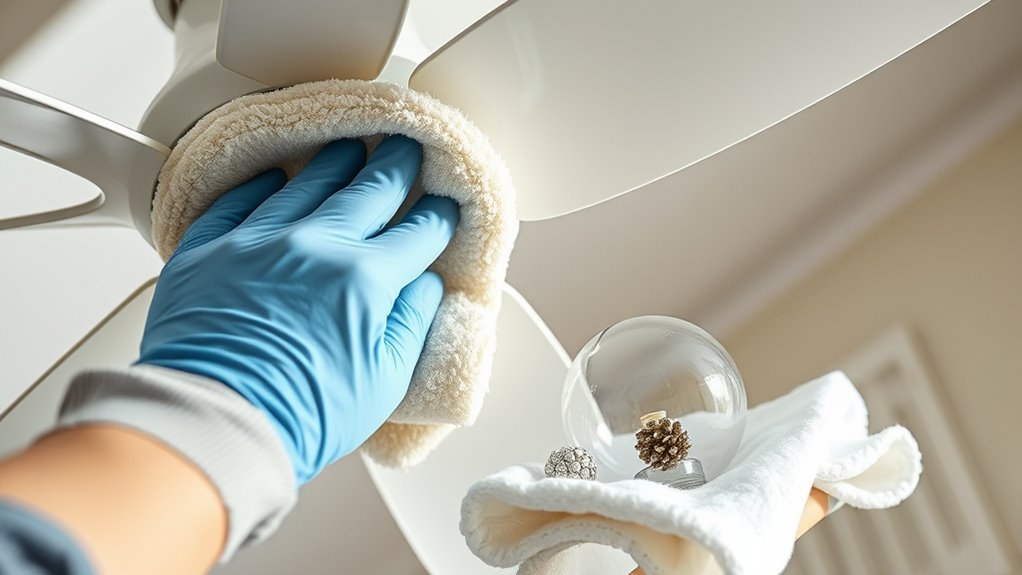
Removing and Cleaning Light Fixtures and Globes
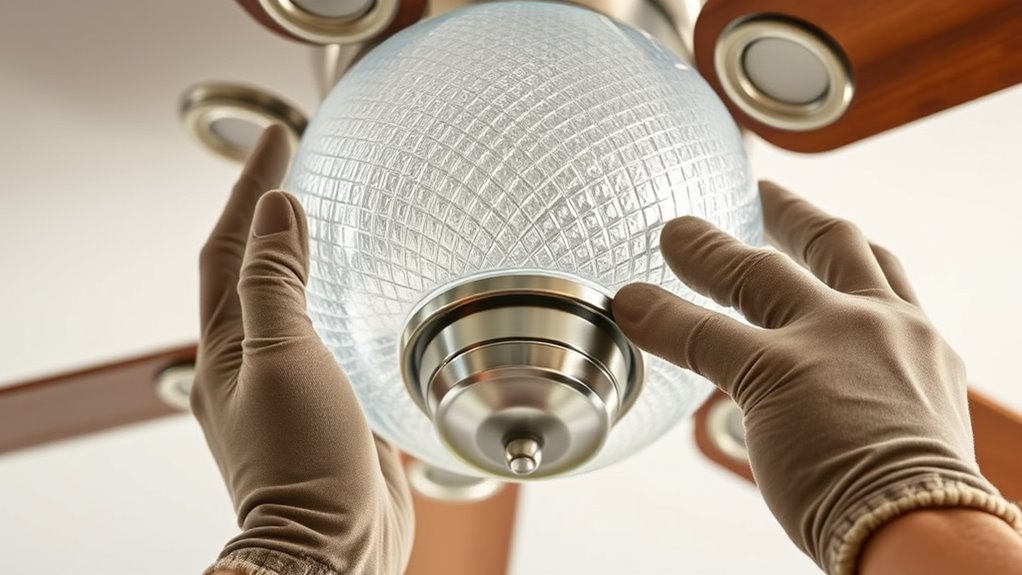
Before cleaning, make sure the light bulbs are cool and the fixture is turned off. Carefully remove the globes or covers, then wipe them with a damp cloth to remove dust and grime. Once dry, reattach the globes securely before turning the light back on. Proper cleaning techniques can help maintain the longevity and appearance of your fixture. Regularly dusting and cleaning your fixtures can also prevent buildup that might affect electric power generation or cause damage over time. Additionally, using appropriate cleaning products ensures that your fixtures are not damaged during the process. Remember to check for any signs of wear or damage to the fan blades, which can impact overall performance and efficiency.
Safely Removing Globes
When removing globes from a ceiling light fixture, always guarantee the power is turned off and the fixture has cooled down to prevent burns or breakage. Properly disconnecting the fixture from power ensures safety during the cleaning process.
Carefully support the globes as you unscrew or unclip them to avoid dropping and damaging them. Use a towel or protected surface underneath to catch any accidental falls, preventing breakage. Supporting the globes securely during removal reduces the risk of breakage, and ensuring the fixture is cool and powered off keeps you safe.
Once removed, handle the globes gently, supporting their weight to avoid cracks or chips. Check for any damage like cracks or chips before cleaning, and replace broken globes immediately for safe operation. Understanding the importance of proper maintenance can extend the lifespan of your globes and fixture.
Taking these precautions helps maintain your globes and fixture in good condition, and following manufacturer instructions can further prevent damage during cleaning.
Cleaning and Drying Globes
Cleaning and drying globes is a straightforward process that guarantees your ceiling fan operates at its best. First, ensure the light bulbs are off and cooled before handling the globes. Carefully remove the globes, supporting them with both hands to prevent dropping or breaking. Wash globes in warm, soapy water, gently scrubbing away dust, grease, or insects. After washing, dry thoroughly with a microfiber cloth to prevent water spots and streaks. Before reinstalling, make sure the globes are completely dry to avoid moisture damage. Use a microfiber cloth to wipe the bulbs, removing dust and fingerprints that can reduce brightness. Once dry, reattach the globes securely, ensuring all screws or clips are fastened tightly to prevent rattling or falling. Proper cleaning techniques help maintain the longevity and appearance of your light fixtures, ensuring a bright and inviting space. Regular cleaning can also prevent dust accumulation, which can diminish the light output and affect the overall ambiance. Additionally, utilizing appropriate cleaning tools ensures a safe and effective cleaning process. Incorporating AI-powered cleaning devices can further streamline maintenance and enhance safety during the process.
Reinstalling Fixtures Properly
Reinstalling light fixtures and globes correctly is essential to guarantee your ceiling fan operates safely and effectively. After cleaning, carefully reattach the light covers by aligning them with the mounting screws or clips. Make certain all fixtures are securely fastened to prevent any parts from loosening during operation. When reinstalling, tighten all screws and clips firmly but gently to avoid damaging the fixtures or cracking the glass globes. Handle light covers with care to prevent cracks or breakage. Once everything is reinstalled, double-check that all fixtures are properly secured. This ensures the globes stay in place, dust doesn’t leak into the fixture, and your ceiling fan functions safely and efficiently. Proper tightening and secure reinstallation are key to a safe, long-lasting setup. Proper installation techniques help maintain the longevity and safety of your ceiling fan. Additionally, ensuring the secure attachment of fixtures can prevent potential accidents or damage over time. Using quality components during reinstallation can further enhance fixture durability and safety. Incorporating emerging technologies such as smart lighting controls can further enhance fixture management and safety. Moreover, following standard safety procedures during reinstallation can help prevent electrical hazards and ensure compliance with safety standards.
Dusting the Fan Blades Effectively
To dust ceiling fan blades effectively, try using an old pillowcase. Slip the pillowcase over each blade and gently pull it back. This technique traps dust, dirt, and debris inside, preventing them from falling onto your furniture or floor. Additionally, this method helps reduce airborne dust, making your cleaning process more health-conscious. As you dust, the pillowcase catches the dust on its inside surface, making clean-up easier. Dusting with a pillowcase reduces airborne dust, which can help minimize sneezing and respiratory irritation during cleaning. It’s a quick and efficient way to clean your blades without needing sprays or bulky tools. Once you’ve finished, turn the pillowcase inside out and shake it outdoors to dispose of the collected dust safely. This method keeps your space cleaner and makes dusting your ceiling fan blades less messy.
Using a Pillowcase to Trap Dust and Debris

Using a pillowcase to trap dust and debris is an efficient way to clean ceiling fan blades. Slide the pillowcase carefully over each blade, then pull back slowly. This technique catches dust and debris inside the fabric, preventing them from falling onto furniture or bedding below. It also minimizes airborne dust particles, which can cause sneezing or respiratory irritation. The process is quick—usually less than five minutes for all blades—and requires minimal equipment. Additionally, this method aligns with environmentally friendly cleaning practices by reducing the need for chemical cleaners. Afterward, turn the pillowcase inside out and shake it to remove the collected dust. This simple method keeps your cleaning tidy and effective, ensuring your ceiling fan blades stay clean without spreading dust around your room. It’s a smart, efficient way to maintain a dust-free ceiling fan.
Wiping Down the Blades and Other Surfaces
To effectively clean your ceiling fan, focus on proper wiping techniques that remove dust and grime from all surfaces. Be sure to clean around the switch plates, pull chains, and motor housing to keep the entire unit dust-free.
Remember to dry everything thoroughly to prevent new dirt buildup and potential damage.
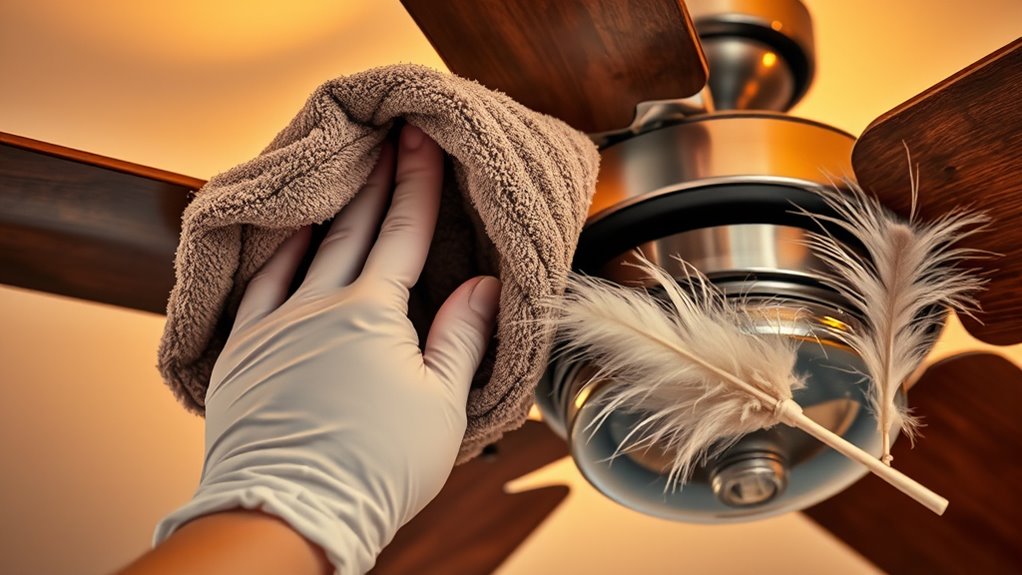
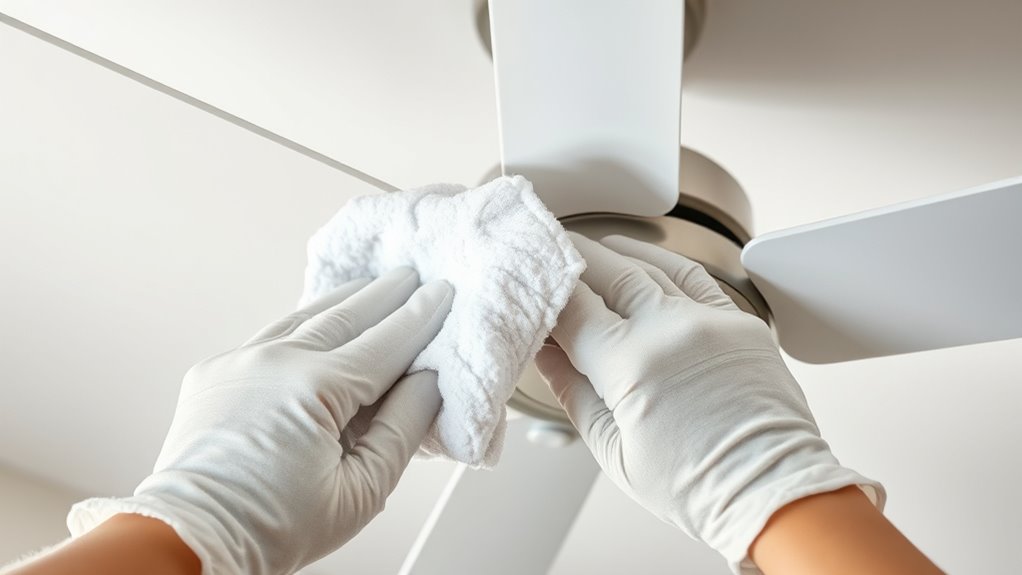
Proper Wiping Technique
Wiping ceiling fan blades requires attention to detail to guarantee effective dust removal without causing damage. Start by using a microfiber cloth or a damp, lint-free cloth to wipe the blades.
Always wipe in the direction of airflow to lift dust and dirt effectively, preventing debris from spreading. Make sure to clean both sides of each blade, including the edges and near the motor housing, for a thorough clean.
Apply gentle pressure while wiping to avoid bending or damaging lightweight or delicate blades. For stubborn grime, use a mild cleaner or a vinegar-water solution.
Then ensure the blades are completely dry before turning on the fan again. Proper wiping technique ensures your blades stay clean and functional without any risk of damage.
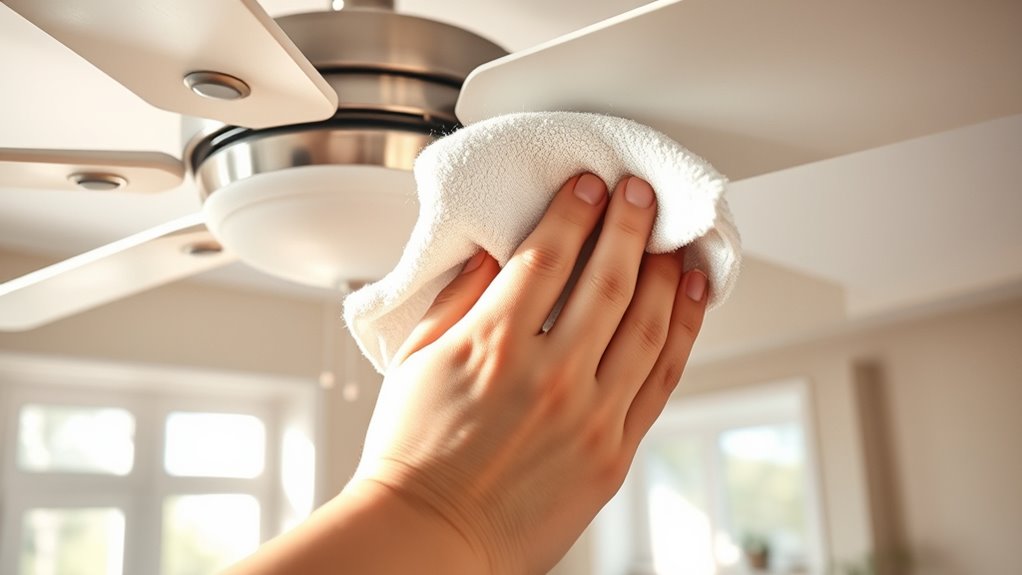
Cleaning Surrounding Surfaces
Keeping the surrounding surfaces of your ceiling fan clean is essential for maintaining overall room freshness. Use a damp cloth or disinfecting wipes to wipe down light fixtures, globes, and the fan motor housing. Regular cleaning helps prevent dust from settling and keeps your space looking tidy.
For stubborn spots, apply a mild all-purpose cleaner or a vinegar-water solution before wiping to loosen debris. Detach and wash glass globes or light covers separately in warm, soapy water, then dry completely before reattaching.
This routine not only keeps dust at bay but also improves indoor air quality. Make it a habit to clean these surfaces at least once a month to ensure your ceiling fan and surrounding areas stay spotless and dust-free.
Cleaning the Fan Motor and Pull Chain
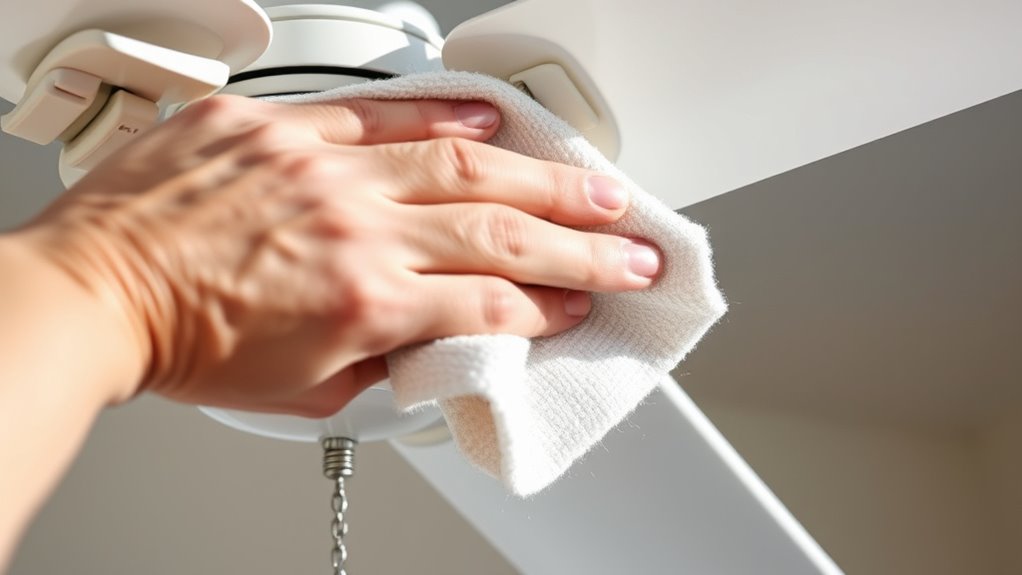
Cleaning the fan motor and pull chain is essential for maintaining safe and efficient operation. Start by gently wiping the motor housing and pull chain with a microfiber cloth to remove surface dust. For stubborn grime, dampen the cloth with a mild cleaner or vinegar-water solution, but avoid excess moisture. Use compressed air to blow out dust from the motor housing and hard-to-reach crevices, ensuring the fan is unplugged and off. Regular inspection helps tighten any loose nuts or screws, ensuring safety and proper function. After cleaning, dry all components thoroughly to prevent corrosion. Here’s a visual to help you understand the process:
| Part | Cleaning Method | Tips |
|---|---|---|
| Motor housing | Microfiber cloth + mild cleaner | Avoid moisture buildup |
| Pull chain | Microfiber cloth | Handle gently |
| Crevices | Compressed air | Use carefully |
Washing and Drying Light Globes and Accessories
After removing the glass globes for cleaning, wash them in warm, soapy water to effectively dissolve dust and grime. Gently scrub to remove dirt without using abrasive cleaners or scrubbing pads that could scratch the surface. Rinse thoroughly, then dry the globes completely with a soft, lint-free towel or microfiber cloth. Proper drying prevents water spots or streaks when you reinstall the globes.
When cleaning the light bulbs and accessories, use a dry microfiber cloth to wipe off dust and fingerprints—avoid liquids that might damage the bulbs.
For decorative or intricate globes, consider using a soft brush or compressed air to reach into corners and remove dust from hard-to-access areas. This careful cleaning helps maintain brightness and clarity while extending the globes’ lifespan.
Maintaining and Extending the Life of Your Fan
Regular maintenance is essential to guarantee your ceiling fan runs smoothly and lasts for years. To maintain fan performance, regularly clean ceiling fan blades to remove dust, which can cause imbalance and reduce motor efficiency.
Wiping blades with a mild cleaner or vinegar solution helps preserve the finish and prevent corrosion. Keeping blades clean and debris-free minimizes vibrations and noise, ensuring quiet operation.
Proper maintenance, including blade cleaning and occasional waxing, also reduces wear on moving parts, effectively extending the lifespan of your fan. Additionally, removing dust from blades minimizes energy consumption, as the fan works less hard to circulate air.
Consistent upkeep not only keeps your fan functioning well but also helps you avoid costly repairs or replacements down the line.
Tips for Cleaning Fans in Hard-to-Reach Locations

When tackling ceiling fans in hard-to-reach spots, safety should always come first. Use an extendable duster or a long-handled microfiber cloth to reach high or vaulted fans safely. If you need more stability, place a sturdy step stool with non-slip feet beneath the fan. Protect your floors and furniture with a drop cloth or old sheet before cleaning. For very high fans, a ceiling fan cleaning pole with a microfiber pad attachment is ideal, helping you avoid climbing. Always turn off the fan and wait until the blades stop moving to prevent accidents. Here’s a quick guide:
| Tip | Tools Needed | Safety Advice |
|---|---|---|
| Reach high blades | Extendable duster, fan pole | Turn off fan first |
| Secure footing | Sturdy step stool | Use non-slip base |
| Protect surfaces | Drop cloth or old sheet | Keep area clear |
| Use long tools | Ceiling fan cleaning pole | Avoid climbing if possible |
| Double-check stability | Ensure ladder or step stool is sturdy | Always prioritize safety |
Frequently Asked Questions
What Is the Best Way to Clean Ceiling Fan Blades?
You’re wondering about the best way to clean ceiling fan blades. To do this effectively, use the pillowcase method to trap dust and prevent it from spreading.
For quick dust removal, wipe both sides with a microfiber cloth or extendable duster.
For stubborn grime, wash the blades with a mild cleaner or vinegar solution.
Always turn off the fan and make sure the blades are dry before turning it back on.
What Is the Best Way to Clean a Greasy Ceiling Fan?
Imagine your ceiling fan has heavy grease buildup from cooking fumes. To clean it, you should use a mixture of vinegar and water or a mild degreasing cleaner.
Dampen a microfiber cloth with the solution, then wipe the blades thoroughly. For stubborn spots, let the solution sit a few minutes before wiping.
Always apply the cleaner to the cloth, not directly on the fan, and finish with a dry cloth.
How to Get Sticky Residue off Ceiling Fan Blades?
To get sticky residue off your ceiling fan blades, start by wiping them with a microfiber cloth dampened with warm water and a few drops of mild dish soap.
For tougher spots, apply a mixture of equal parts white vinegar and water, then gently scrub with a soft sponge.
Rinse with clean water, dry thoroughly, and consider rubbing alcohol for stubborn residue, testing first to prevent damage.
How Do You Clean Dust Out of a Fan Without Opening It?
To clean dust out of your fan without opening it, you can use a microfiber cloth or extendable duster to gently wipe the blades.
Slip an old pillowcase over each blade and pull back to trap dust, then turn the fan on low to help loosen stubborn debris.
For hard-to-reach spots, use compressed air to blow dust out, keeping your fan clean and dust-free effortlessly.
Conclusion
Now that you’ve learned how to clean your ceiling fan blades properly, you’re like a gentle breeze guiding dust away from your home’s heart. With a little effort, you turn a dusty chore into a invigorating dance of cleanliness. Keep your fan spinning smoothly, and let the fresh air flow freely, turning your space into a sanctuary of sparkle and serenity. Your efforts will make your home feel brighter, lighter, and truly revitalized.