
To safely replace a ceiling fan pull chain, first disconnect power by turning off the circuit breaker and verifying with a multimeter. Carefully remove the fan canopy to access the switch assembly, disconnect wiring using insulated tools, and note the wiring configuration. Remove the old pull chain, attach the new one securely, and make certain of smooth operation. Reassemble the canopy and restore power. Following these steps guarantees safety and proper function; more detailed guidance will clarify each stage.
Key Takeaways
- Turn off power at the circuit breaker and verify with a multimeter before starting.
- Carefully remove the fan canopy and handle wiring connections with insulated tools.
- Note the wiring configuration and disconnect the old pull chain securely.
- Attach the new pull chain properly, ensuring smooth movement and secure attachment.
- Reassemble the canopy, restore power, and test the pull chain operation safely.
Replacing a ceiling fan pull chain requires careful attention to safety procedures to prevent electrical shock or injury. Before beginning any work, verify the power to the ceiling fan is completely disconnected. Locate the circuit breaker that supplies power to the fan and turn it off, then confirm the absence of voltage with a multimeter or voltage tester. Confirming the power is off is vital because even a small residual charge can pose a serious risk of electric shock during the replacement process.
Always disconnect power and verify with a tester before replacing a ceiling fan pull chain for safety.
Once you’ve verified the power is disconnected, proceed with removing the fan canopy. Use a suitable screwdriver to carefully unscrew the canopy screws, avoiding force that could damage the fixture or cause accidental contact with electrical components. As you lower the canopy, support it securely to prevent it from falling unexpectedly. With the canopy removed, you will gain clear access to the pull chain assembly.
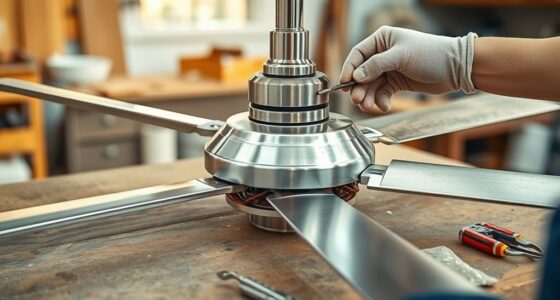
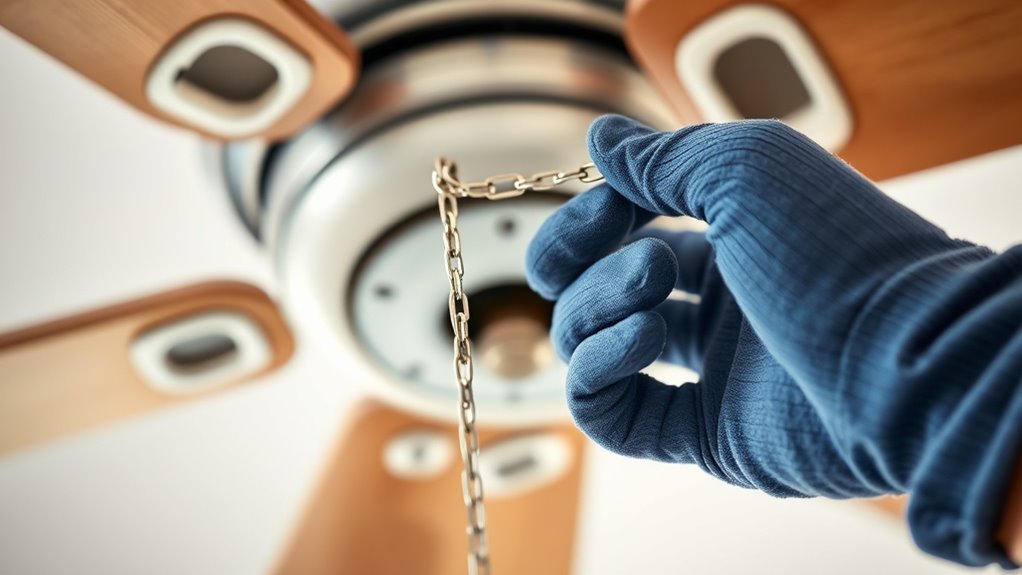
Identify the pull chain mechanism, which typically consists of a small, cylindrical switch connected to the fan’s wiring. Before handling the wiring, double-check that the circuit remains de-energized. Carefully disconnect the wiring connections, noting their configuration for accurate reassembly. Use insulated tools to disconnect the wires, ensuring that no accidental contact occurs with live components. If the wiring is secured with wire nuts, unscrew them gently, and separate the connections without damaging the wires or the switch assembly.
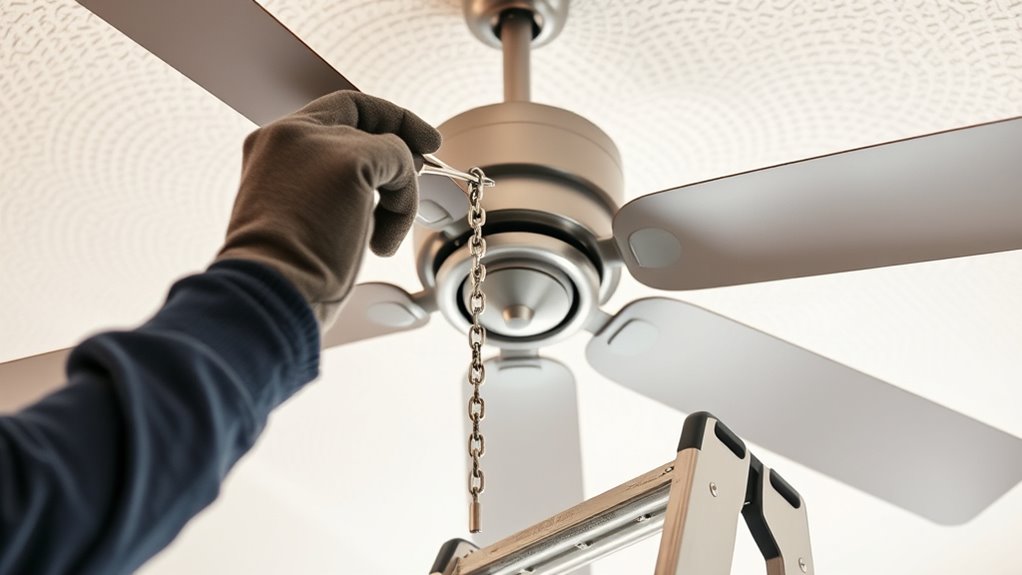
Next, remove the pull chain from the switch assembly. Most pull chains are attached via a small screw or clip; loosen or release this connection with appropriate tools. Take note of the orientation of the chain and the mechanism, as incorrect reinstallation can impair functionality. Insert the new pull chain, ensuring it is securely attached to the switch. Confirm the chain’s movement is smooth and that it engages the switch correctly.
Reassemble the wiring connections in the reverse order, making sure the wires are firmly connected and insulated with wire nuts or terminal connectors. Avoid over-tightening connections, which can damage the wire or insulation. Once all wiring is reconnected, carefully replace the fan canopy, aligning it properly and securing it with screws. Double-check that no tools or loose parts remain in the work area before restoring power.
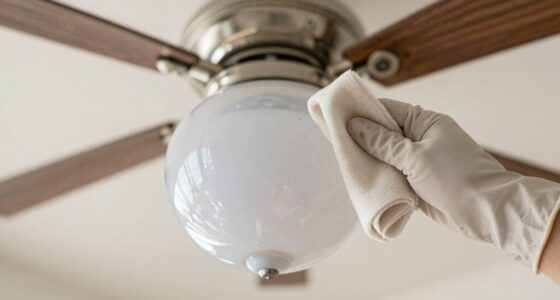
Finally, restore power at the circuit breaker and test the pull chain operation. Confirm that pulling the chain activates the fan and light functions as intended. If the system does not respond, turn off the power and re-evaluate the wiring connections for accuracy. Always prioritize safety at every step, and if you’re uncertain about any procedure, consult a licensed electrician to guarantee compliance with electrical codes and safety standards. Additionally, understanding electrical safety precautions can significantly reduce the risk of accidents.

Ceiling Fan Light Switch Zing Ear Pull Chain ZE-109 Fan Light Switch, On-Off Speed with Pull Chain Compatible with Ceiling Fans, Lamps and Wall Lights (1, Bronze)
Zing Ear ZE-109 Two-wire pull chain switch, activates canopy lamps by gently tugging the beaded chain, compatible with…
As an affiliate, we earn on qualifying purchases.
As an affiliate, we earn on qualifying purchases.
Frequently Asked Questions
Can I Replace the Pull Chain Without Turning off the Power?
No, you should always turn off the power at the circuit breaker before replacing a pull chain. Working live risks electric shock, which can cause serious injury or death. Disconnecting power guarantees safety and prevents accidental activation. Use insulated tools and verify the circuit is de-energized with a tester before proceeding. Never attempt to replace a pull chain while the fan is powered; safety must be your top priority.
What Tools Do I Need for Replacing the Pull Chain?
To replace the pull chain, you’ll need a screwdriver, pliers, a new pull chain, and possibly a ladder. First, turn off the power at the breaker to prevent shocks. Use the screwdriver to detach the fan’s canopy cover, then grasp the chain with pliers to disconnect it. Carefully remove the old chain, thread the new one through the pull mechanism, and reassemble. Always confirm power is off for safety and precision.
How Do I Know if the Fan’s Wiring Is Safe to Modify?
You can determine if the fan’s wiring is safe to modify by first turning off the power at the circuit breaker. Use a voltage tester to verify no electrical current flows through the wires. Inspect the wiring for damage, corrosion, or loose connections. If wiring appears degraded or you’re unsure, consult a licensed electrician. Never attempt modifications if you’re uncertain about the wiring’s condition or safety.
Can I Extend the Pull Chain if It’s Too Short?
Don’t bite off more than you can chew. Yes, you can extend a short pull chain, but only if you use a proper extension kit designed for ceiling fans. Turn off power at the breaker, remove the existing chain, and connect the extension securely, ensuring all connections are insulated and grounded. Always follow manufacturer instructions closely to maintain safety and functionality. If unsure, consult an electrician to avoid risks.
Is It Necessary to Hire an Electrician for This Task?
You don’t need to hire an electrician for this task if you have basic electrical skills. Turn off the power at the circuit breaker, make sure the fan is de-energized, and follow manufacturer instructions for replacing or extending the pull chain. Use insulated tools and verify connections are secure. If you’re uncomfortable with electrical work or encounter complex wiring, then hiring a licensed electrician is advisable to ensure safety and compliance.

Klein Tools 11055RINS Insulated Klein Kurve Wire Stripper/Cutter, Made in USA, 1000V Insulated Tool Cuts and Strips 10-18 Solid and 12-20 Stranded AWG Wire
Insulated Wire Stripper/Cutter is individually tested to meet or exceed ASTM F1505-16(2021) and IEC 60900:2018 standards for insulated…
As an affiliate, we earn on qualifying purchases.
As an affiliate, we earn on qualifying purchases.
Conclusion
By following these steps, you guarantee a safe and effective replacement of your ceiling fan pull chain. Remember, handling electrical components carefully is like steering through a delicate web—one misstep can cause a shock. Always turn off the power supply and double-check connections before restoring power. With attention to detail, you maintain not just the functionality of your fan but also your safety. Trust in your precision—your ceiling fan’s performance depends on it.

AstroAI Digital Multimeter Tester 2000 Counts with DC AC Voltmeter and Ohm Volt Amp Meter; Measures Voltage, Current, Resistance, Continuity and Diode, Blue
Additional Tips – The following incorrect operations may cause the multimeter not to show results: Firstly, the plugs…
As an affiliate, we earn on qualifying purchases.
As an affiliate, we earn on qualifying purchases.
ceiling fan wiring repair tools
As an affiliate, we earn on qualifying purchases.
As an affiliate, we earn on qualifying purchases.