
To install a ceiling fan with a third-party smart controller, first turn off the breaker and verify power is disconnected. Remove the existing fan, then secure the mounting bracket to the electrical box, ensuring it’s rated for the fan’s weight. Connect the fan wiring to your house wires, then integrate the smart controller according to the manufacturer’s instructions, linking it to the fan control wires and power source. Finish by restoring power, testing operation, and confirming compatibility; your next steps will guide you through the details.
Key Takeaways
- Verify fan compatibility with the third-party smart controller before starting installation.
- Turn off power, remove the existing fan, and check the electrical box for support capacity.
- Connect the smart controller wiring according to the manufacturer’s instructions, linking it to the fan control wires.
- Secure the controller in an accessible location and restore power to test smart features and manual operation.
- Ensure all wiring is properly secured, grounded, and compliant with electrical codes before finalizing the installation.
Installing a ceiling fan with a third-party smart controller involves a series of precise electrical and mechanical steps to guarantee proper functionality and safety. Begin by turning off the circuit breaker supplying power to the fan’s circuit to prevent electrical shock. Confirm power is disconnected using a voltage tester before proceeding. Remove the existing fan, carefully disconnecting wiring and detaching mounting hardware. Inspect the electrical box to ensure it is securely fastened and rated to support the weight of the new fan, as improper support can lead to mechanical failure or safety hazards.
Turn off power, verify disconnection, and ensure the electrical box can safely support the new ceiling fan.
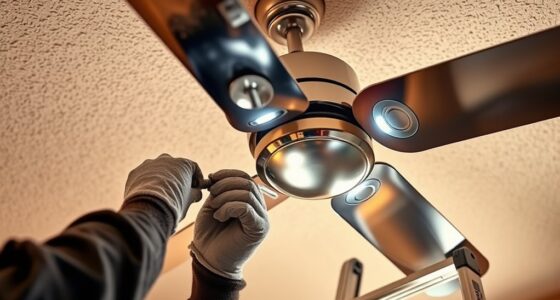
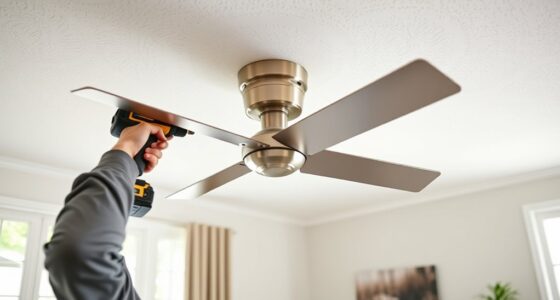
Next, install the mounting bracket supplied with the fan. Align it with the electrical box and secure it firmly using appropriate screws, ensuring it can withstand the fan’s weight and motion. Carefully connect the fan’s wiring to the house wiring, matching color-coded wires: typically, black or red to black, white to white, and green or bare copper to the grounding wire. Use wire nuts to secure connections, and wrap them with electrical tape for added safety. Ensure no exposed wire is visible before pushing the wiring back into the electrical box. Attach the fan motor to the mounting bracket according to the manufacturer’s instructions, verifying that the connections are firm and that the fan is level.
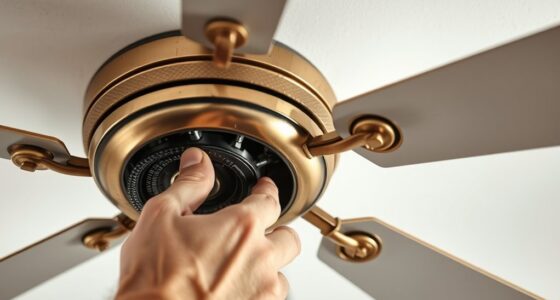
Once the fan is physically installed, focus on integrating the third-party smart controller. Check the controller’s compatibility with your fan model and power supply specifications. Connect the controller’s wiring according to its wiring diagram, often involving linking the controller’s output to the fan’s control wires, and ensuring a proper connection with the power source. Secure the controller in a suitable location, typically within the electrical box or adjacent to it, ensuring it is accessible for future adjustments or troubleshooting. Additionally, review the installation guidelines provided by the manufacturer to ensure compliance with safety standards.
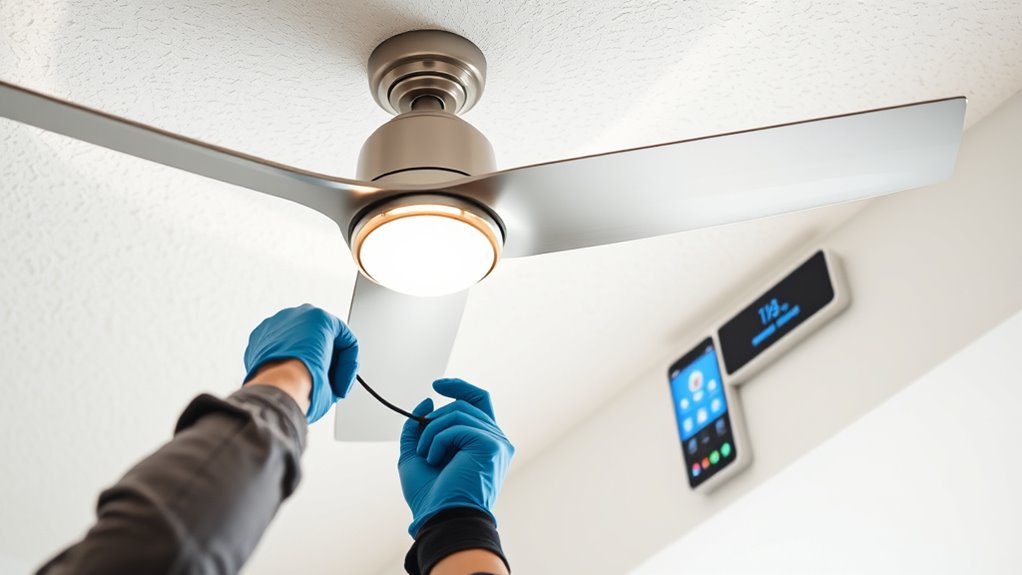
After completing the wiring, restore power at the circuit breaker and test the system. Confirm that the fan responds to manual controls and that the smart controller communicates effectively with your home automation system or app. Verify that all functions—speed control, timing, and lighting—operate smoothly. Check for any abnormal noises, vibrations, or flickering lights, and address wiring or mounting issues if they occur. Finally, secure all wires with cable ties or clamps to prevent movement or wear, and replace any access panels or covers.
Throughout the installation, adhere strictly to electrical codes and manufacturer instructions. Use appropriate personal protective equipment, and ensure all connections are tight and insulated. Properly grounding the fan and controller is essential to prevent electrical faults. This precise approach guarantees the safe, reliable operation of your ceiling fan integrated with a third-party smart controller, providing seamless automation and control.

Forrovenco Ceiling Fans with Lights and Remote, 52 Inch Outdoor Ceiling Fan for Patios Indoor with 3 Downrods, 3 Blades Modern Ceiling Fan, 6 Speed Reversible Quiet DC Motor Solid Wood Fan,52in,Walnut
Modern Ceiling Fan with Light: Our 3 blade ceiling fan with light features unique, planet-friendly, and renewable high-quality...
As an affiliate, we earn on qualifying purchases.
Frequently Asked Questions
Is a Professional Electrician Required for Installation?
You don’t necessarily need a professional electrician for installing a ceiling fan with a third-party smart controller if you have electrical experience. However, if you’re unfamiliar with wiring, circuit connections, or building codes, it’s safest to hire an electrician. Proper installation guarantees safety, compliance, and maximum function. Always follow manufacturer instructions and local electrical codes. When in doubt, consult a licensed electrician to avoid potential hazards or damage.
Will the Smart Controller Work With All Ceiling Fan Brands?
Think of your smart controller as a universal translator for your ceiling fan. It can work with many brands, but compatibility isn’t guaranteed for all. Check the controller’s specifications and the fan’s model to confirm they’re compatible. Some fans might require additional modules or adapters. Always verify with the manufacturer’s guidelines or consult a professional to prevent communication issues and ensure seamless integration.
How Do I Troubleshoot Connectivity Issues Between the Controller and Fan?
You should first check the Wi-Fi connection, ensuring your controller and fan are on the same network. Verify that the controller is within range of the fan’s receiver. Reset both devices and re-pair them according to the manufacturer’s instructions. Update the firmware of the controller if available. If issues persist, test with a different fan or controller to isolate the problem. Consult the troubleshooting guide for specific error codes or indicator lights.
Can I Control the Fan Remotely Without Wi-Fi?
Think of your smart controller as a bridge that keeps your fan connected. Without Wi-Fi, remote control isn’t possible unless your controller has a built-in Bluetooth or RF feature. Check your device specifications—if it relies solely on Wi-Fi, you need an internet connection to operate it remotely. Otherwise, you’ll need to use manual controls or a compatible local control method, like a physical remote or wall switch.
What Safety Precautions Should I Follow During Installation?
You should turn off the circuit breaker before beginning installation to prevent electrical shock. Use insulated tools and wear rubber-soled shoes for added safety. Verify power is off with a voltage tester before touching wires. Follow manufacturer instructions precisely, ensuring all wire connections are secure and properly insulated. Avoid working in wet or damp conditions, and keep the work area clear of obstructions to prevent accidents.

addlon Ceiling Fans with Lights, 42 Inch Low Profile Ceiling Fan with Light and Remote Control, Flush Mount, Reversible, 3CCT, Dimmable, Quiet, Black Small Ceiling Fan for Bedroom Indoor/Outdoor Use
Ceiling Fan with Light: Bring more than just wind and light, but comfort! addlon modern ceiling fan, with...
As an affiliate, we earn on qualifying purchases.
Conclusion
By integrating a third-party smart controller, you can enhance your ceiling fan’s functionality and convenience. For example, a homeowner successfully installed a smart controller, enabling voice commands and scheduling, which reduced manual adjustments by 50%. Careful wiring and compatibility checks are essential to guarantee safety and superior performance. With precise installation and configuration, this upgrade provides seamless control, increased energy efficiency, and future-proofing your climate management system.

Amico Ceiling Fans with Lights, 42 inch Low Profile Ceiling fan with Light and Remote Control, Flush Mount, Reversible, 3CCT, Dimmable, Noiseless, Black Ceiling Fan for Bedroom, Indoor/Outdoor Use
Ceiling Fan with Light: Decorate your home with Amico ceiling fan! While bringing you coolness and comfort, it...
As an affiliate, we earn on qualifying purchases.

ZMISHIBO 52 Inch Ceiling Fan with Light, App&Remote Control, Flush Mount Low Profile, Dimmable 20W LED Light, Quiet Reversible Motor for Bedroom, Living Room, Apartment, Black
Perfect Size for Rooms: This 52-inch ceiling fan is ideal for cooling and illuminating spacious areas like living...
As an affiliate, we earn on qualifying purchases.