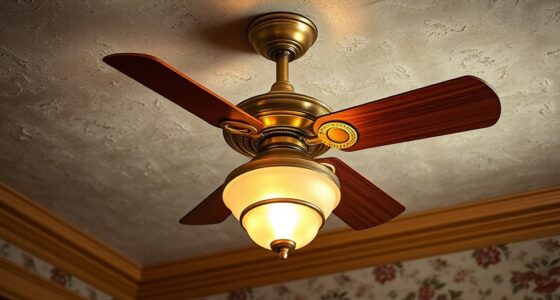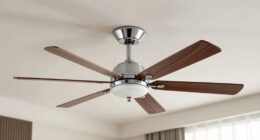
Before mounting a ceiling fan, carefully unpack and verify all components against the instruction manual, ensuring parts are undamaged and organized. Turn off the power at the circuit breaker and confirm the circuit is de-energized with a voltage tester. Attach the blades, motor, downrod, and mounting hardware following specified torque and alignment guidelines. Double-check all connections and hardware stability. Continuing with these steps will guide you through a safe and smooth assembly process.
Key Takeaways
- Assemble the motor, blades, and brackets securely, following torque specifications and ensuring proper alignment.
- Attach the downrod to the motor, tightening set screws as per manufacturer instructions.
- Connect the fan wiring to supply wires using wire nuts, matching colors securely.
- Install the mounting bracket and canopy, ensuring they sit flush against the ceiling.
- Conduct a final safety check for loose hardware, secure connections, and proper component alignment before mounting.

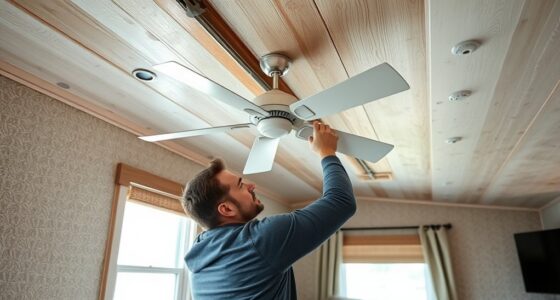
Assembling a ceiling fan requires careful attention to detail and adherence to safety guidelines. Begin by unpacking all components from their packaging, verifying that you have all necessary parts listed in the manufacturer’s instruction manual. Confirm each piece, including the blades, motor housing, mounting bracket, downrod, screws, washers, and electrical connectors, to ensure they are undamaged and accounted for. Organize these parts systematically to facilitate a smooth assembly process. Before proceeding, turn off the power supply at the circuit breaker to prevent electrical hazards during installation. Use a voltage tester to confirm that the circuit is de-energized.
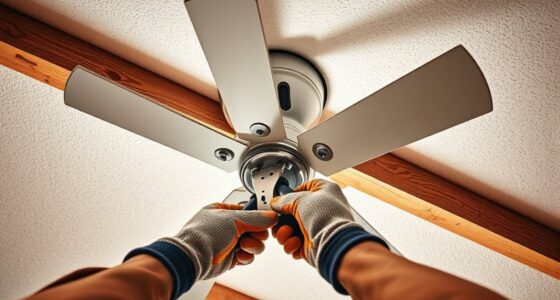
Next, assemble the motor housing by attaching the blade brackets or arms to the motor, following the specific torque specifications provided by the manufacturer. Use the designated screws and washers, tightening each in a crisscross pattern to guarantee even pressure distribution. Carefully align the blade brackets with the motor’s mounting points, and fasten them securely, avoiding overtightening, which could damage the components. It’s essential to follow the torque specifications precisely to prevent loosening or damage over time. Once the blades are attached to the brackets, double-check that all screws are tight and that the blades hang evenly without wobbling.
Attach blade brackets securely, tightening screws in a crisscross pattern to ensure even pressure and prevent damage.
Proceed to assemble the downrod if your fan design includes one. Attach the downrod to the motor assembly using the mounting pin or ball socket, depending on the model, ensuring that the connections are secure and that any set screws are tightened to the manufacturer’s specifications. If your fan requires a canopy or cover for the mounting bracket, assemble these parts now, following the instructions for proper alignment and secure attachment. This preparation guarantees that the mounting bracket will sit flush against the ceiling, with all electrical connections accessible yet protected.
Verify that the electrical wiring is correctly prepared by stripping insulation from the wire ends to the specified length, typically around 3/8 inch. Connect the fan’s wires to the supply wires using wire nuts, matching colors precisely—black to black (hot), white to white (neutral), and green or bare copper to ground. Twist the wires together clockwise, secure with a wire nut, and gently tuck the connections into the junction box, ensuring no exposed wire is visible. Double-check all connections for security and proper insulation, avoiding loose or frayed wires. Additionally, considering the importance of color accuracy in achieving a high-quality visual experience can help ensure the overall effectiveness of your home cinema setup.
Finally, before mounting the fan to the ceiling, confirm that the assembled components are stable and correctly aligned. Ensure that all hardware is tightened to manufacturer specifications. This meticulous preparation minimizes the risk of malfunction or safety hazards once the fan is installed. Proper pre-assembly guarantees a seamless transition to the installation phase, ultimately resulting in a safe, stable, and efficient ceiling fan operation.
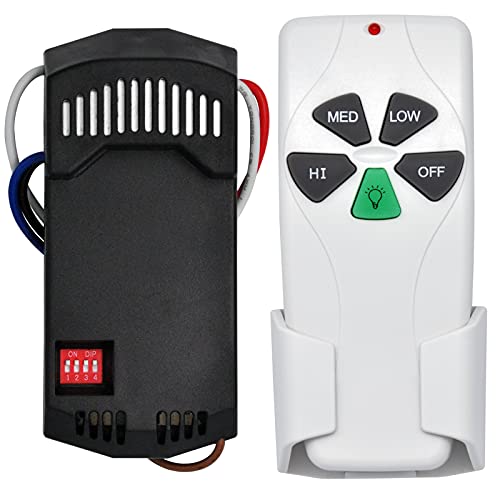
Universal Ceiling Fan Remote Control Kit Replacement for Harbor Breeze Hampton Bay Hunter Litex, 3-Speed Light Dimmer with FAN28R Receiver, for 2AAZPFAN53T FAN-53T 11T KUJCE9103 UC7030T
{Universal Ceiling Fan Remote Control Kit} This ceiling fan remote kit works most 110V 3-speed AC ceiling fans,compatible…
As an affiliate, we earn on qualifying purchases.
As an affiliate, we earn on qualifying purchases.
Frequently Asked Questions
Do I Need an Electrical Background to Assemble a Ceiling Fan?
You don’t need an electrical background to assemble a ceiling fan, but basic electrical knowledge helps guarantee safety. Follow the manufacturer’s instructions carefully, turn off power at the breaker, and use proper tools. If you’re unsure about wiring connections or handling electrical components, it’s best to consult a professional electrician. Proper assembly and installation are essential for safe, effective operation of your ceiling fan.
Can I Assemble the Fan Without Using a Ladder?
You can assemble a ceiling fan without a ladder if the components are within your reach. Use a sturdy step stool or an extension pole with appropriate attachments to access higher mounting points safely. Confirm the workspace is stable and well-lit. Avoid overextending yourself to prevent falls or damage. Always prioritize safety and stability when working at heights, and consider professional assistance if the fan’s mounting area is too high.
What Tools Are Essential for Assembling a Ceiling Fan?
You’ll need a Phillips and flat-head screwdriver, adjustable wrench, and a voltage tester for safe, precise assembly. These tools help tighten screws, secure connections, and guarantee power is off before working. A ladder is recommended for reaching ceiling height comfortably, but if unavailable, a sturdy step stool may suffice. Always double-check your tools for proper fit and function to ensure safe, efficient assembly of your ceiling fan.
How Long Does the Assembly Process Typically Take?
The assembly process typically takes 30 to 60 minutes, depending on your experience and the fan model. You’ll need to follow each step carefully, including attaching the blades, wiring, and mounting brackets. Make certain you have all tools ready beforehand, such as screwdrivers and pliers, to avoid delays. Working methodically and double-checking connections can streamline the process, reducing overall assembly time.
Is It Necessary to Remove the Ceiling Fixture Before Assembly?
Removing the ceiling fixture is like clearing a workspace for a precise task; it’s necessary to make certain of safety and ease of installation. You should turn off the power and carefully detach the existing fixture before assembling the fan. This prevents damage and allows for secure mounting. Double-check the wiring and mounting bracket placement afterward, ensuring a stable foundation for your new ceiling fan. Proper preparation guarantees safe, efficient operation.

Teemyaa 2 Pack Light Fixture Mounting Brackets, Ceiling Light Mounting Plate, Wall Lights Mount Blocks with Screw and Nuts, 4” Round Junction Box Adaptor for Wall Sconce, Chandelier, Pendant
UNIVERSAL BRACKT: Our flexible installation bracket with fastener and decorative nuts to mount light fixture on a canopy…
As an affiliate, we earn on qualifying purchases.
As an affiliate, we earn on qualifying purchases.
Conclusion
Once you’ve assembled your ceiling fan, you’re effectively the conductor of a smooth-sounding orchestra, ensuring every component works in harmony. Proper assembly guarantees safe operation and ideal airflow. Double-check all connections and mounting points, as these are the backbone of stability. Just like a finely tuned machine, your fan performs best when assembled with precision. With careful attention to detail, you’ll enjoy reliable, efficient cooling, turning your space into a well-orchestrated environment that runs seamlessly.

Tugermoola 9PCS Lever Wire Connectors Quick Wiring Cable Connector Electrical Lever Wire Cable Connectors Push-in Conductor Terminal Blocks (2 in 6 Out)
PACKAGE CONTENT: 9pcs 2 in 6 out lever wire connectors
As an affiliate, we earn on qualifying purchases.
As an affiliate, we earn on qualifying purchases.
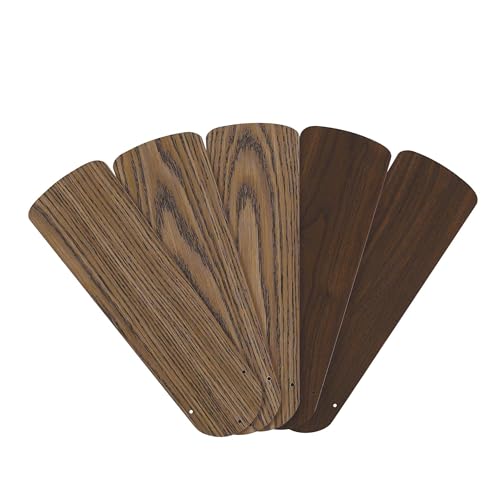
Westinghouse 16.5-Inch Replacement Fan Blades for 42-Inch Ceiling Fans
Compatible with 42" Fans: Designed to fit most standard 42-inch ceiling fans, ensuring a seamless replacement
As an affiliate, we earn on qualifying purchases.
As an affiliate, we earn on qualifying purchases.