
To install a ceiling fan with a light dimmer, turn off power at the breaker and confirm disconnection with a voltage tester. Remove the existing fixture, then connect the fan’s black wire to the switched hot wire, white to neutral, and ground to grounding screw. Attach the dimmer’s hot wire to the supply’s hot, load wire to the fan’s hot, and verify all connections are secure with wire nuts. Mount the fan and dimmer, restore power, and test functionality; proper wiring and compatibility are essential for safe operation. Continue for detailed steps.
Key Takeaways
- Turn off power at the circuit breaker and verify with a voltage tester before starting.
- Connect the fan’s hot, neutral, and ground wires to the corresponding wiring in the ceiling.
- Install a dimmer switch rated for fan and light control, following manufacturer instructions.
- Secure all wiring with wire nuts, tape, and mount the switch and fan components properly.
- Restore power, then test the fan and dimmer to ensure proper operation and adjust as needed.
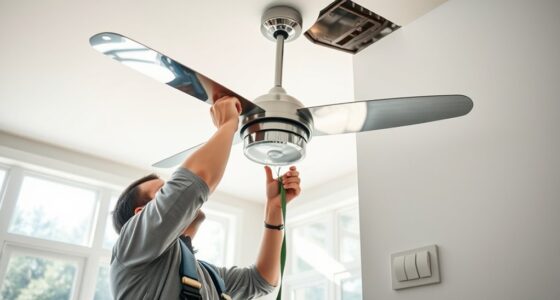
Installing a ceiling fan with a light dimmer requires careful planning and precise electrical work to guarantee safe and effective operation. Begin by turning off the main power supply at the circuit breaker to prevent electrical shock during installation. Verify that the power is fully disconnected using a voltage tester on the existing wiring. Review the manufacturer’s instructions for both the fan and the dimmer switch, ensuring compatibility with your electrical system and fixture specifications. Confirm that your existing wiring can support a dimmer switch rated for lighting control, and if not, plan to upgrade the wiring or select an appropriate dimmer.
Ensure safety by turning off power and checking wiring before installing a ceiling fan with dimmer switch.
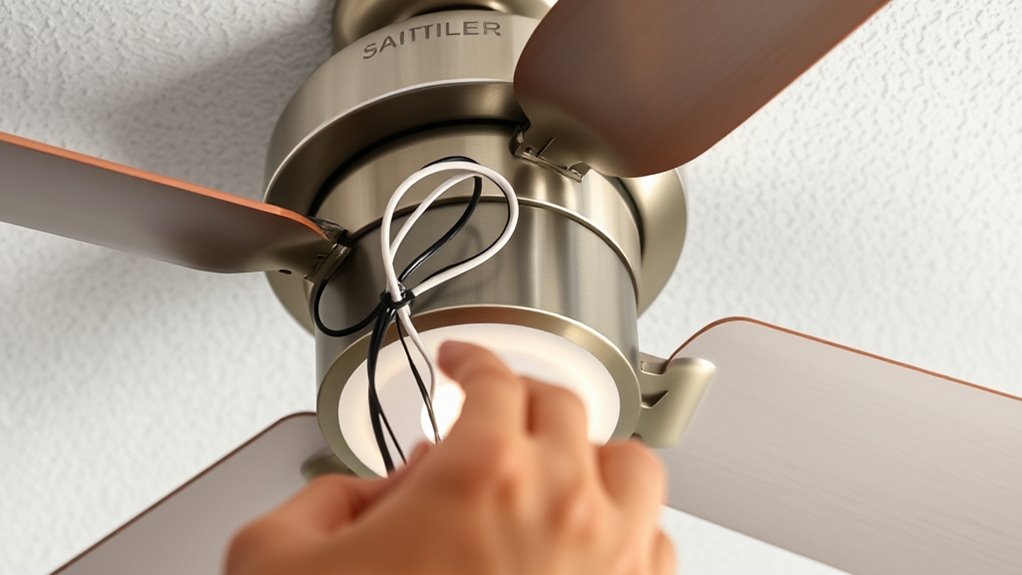
Next, remove the existing ceiling fixture if present, carefully disconnecting the wires and noting their configuration. Typically, you’ll find a black (hot), white (neutral), and bare or green (ground) wire. Connect the fan’s wires to the electrical box, attaching the black (fan hot) wire to the switched hot wire from the ceiling, the white wire to the neutral, and the ground wire securely to the grounding screw or wire. When installing the dimmer switch, identify the wire that supplies power to the fixture; generally, this is the same hot wire connected to the fan. Connect the dimmer’s hot wire to the incoming hot wire, and attach the dimmer’s load wire to the fan’s hot wire, following the manufacturer’s wiring diagram precisely. Ensure all wire nuts are securely fastened, and wrap connections with electrical tape for added safety.
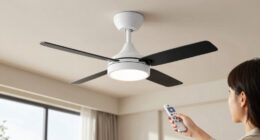
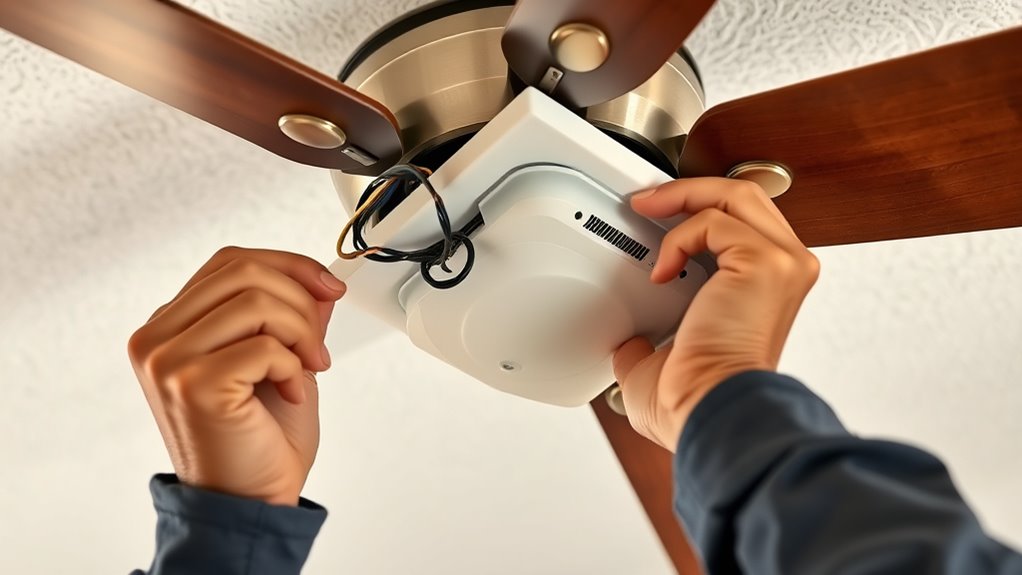
Mount the dimmer switch in the electrical box, securing it firmly without over-tightening. Install the fan’s mounting bracket and assemble the fan components according to the manufacturer’s instructions, ensuring the fan is balanced and securely attached to the ceiling. Once everything is wired and mounted, turn the power back on at the circuit breaker. Test the installation by operating the fan and the dimmer switch to verify smooth function, adjusting the dimmer to confirm proper lighting control. If the fan or light flickers, recheck all wiring connections for tightness and correctness. Confirm that the dimmer switch is rated for fan control if it’s designed for lighting only, or use a fan-compatible dimmer switch rated for both fan and light operation.
Throughout the process, adhere strictly to electrical codes and safety standards. Use insulated tools to prevent accidental shocks, and double-check all connections before restoring power. Proper grounding and secure mounting are essential to prevent electrical hazards and mechanical failures. Additionally, selecting a dimmer switch specifically rated for fan use can help prevent issues related to dimming performance and ensure longevity. By following a systematic, detail-oriented approach, you ensure the installation not only functions correctly but also maintains safety and longevity.

Leviton SureSlide Ceiling Fan Control and Dimmer Switch for LED, Halogen and Incandescent Bulbs, 66DF-10W, White
- Separate Fan and Light Controls: Dedicated slide controls for fan speed and dimmer
- LED-Compatible Dimmer: Designed to dim LED, incandescent, halogen, CFL bulbs
- Adjustable Dimming Range: Modify minimum light level to prevent flickering
As an affiliate, we earn on qualifying purchases.
As an affiliate, we earn on qualifying purchases.
Frequently Asked Questions
Can I Install a Ceiling Fan With a Dimmer Switch on a Sloped Ceiling?
Yes, you can install a ceiling fan with a dimmer switch on a sloped ceiling. Use a remote or compatible wall control designed for sloped installations to guarantee proper operation. Make sure to select a dimmer rated for fan and light loads, and confirm that the mounting bracket accommodates the slope angle. Properly secure all wiring and mounting hardware to ensure safe, reliable operation despite the incline.
What Is the Maximum Wattage for a Ceiling Fan With a Light Dimmer?
You should check the dimmer switch’s maximum wattage rating, typically between 600 and 1,200 watts. Make certain your ceiling fan and light fixtures combined do not exceed this limit. For example, if your fan consumes 75 watts and your lights use 100 watts, a dimmer rated for at least 200 watts is recommended. Always verify the specific ratings on the dimmer’s packaging or instructions before installation.
Is It Necessary to Turn off the Circuit Breaker Before Installation?
Yes, you need to turn off the circuit breaker before installation. This step guarantees your safety by preventing electrical shocks while handling wiring. Always verify that the power is off by testing the circuit with a voltage tester or multimeter. Never skip this precaution, especially when working with live wires. Properly turning off the breaker reduces risk and guarantees a safe, compliant installation process.
Can I Replace an Existing Switch With a Dimmer Switch for My Ceiling Fan?
Yes, you can replace an existing switch with a dimmer switch for your ceiling fan, but make certain it’s a fan-rated dimmer compatible with your fan’s motor type. Turn off the circuit breaker first to prevent shocks. Follow wiring diagrams carefully—connect the black (hot) wire to the dimmer’s input, the fan’s power line to the dimmer’s output, and ground wires securely. Proper installation ensures safe, flicker-free dimming, like tuning a fine instrument.
Are There Specific Dimmer Switches Compatible With All Ceiling Fans?
Yes, not all dimmer switches are compatible with ceiling fans. You need to choose a fan-specific dimmer that supports motor loads, typically labeled as “fan dimmer” or “multi-location” dimmer switches. Check the wattage rating and make certain it indicates compatibility with ceiling fan motors. Confirm the dimmer’s compatibility with your fan’s control system, such as remote or wall control, to avoid electrical issues or performance problems.
Conclusion
Once you’ve completed the installation, your new ceiling fan with light dimmer will transform your space more effectively than a symphony conductor directing an orchestra. Double-check all connections for safety and proper function, then turn on the power. If everything operates smoothly, you’ve just upgraded your room’s ambiance with precision and confidence. Remember, a correctly installed ceiling fan is like a silent guardian, quietly enhancing comfort and efficiency for years to come.