
To install a smart ceiling fan, first shut off power at the breaker and verify wiring complies with local codes. Remove the existing fixture, inspect the electrical box, and assemble the fan components according to the manual. Mount the fan securely, connect wiring matching black to black, white to white, and ground to ground, then restore power to test basic operation. Finally, follow the manufacturer’s instructions to pair the remote or app and guarantee stable connection for smart features—dive deeper to master the process.
Key Takeaways
- Verify electrical box support, wiring compliance, and turn off power before removing the old fixture.
- Assemble the fan according to manufacturer instructions and securely attach the mounting bracket to the electrical box.
- Connect the fan wires (black, white, ground) properly, then mount the motor and canopy securely.
- Follow manufacturer instructions to pair the remote or wall control, then connect the fan to your smart home app.
- Test all functions, secure all components, and troubleshoot any issues to ensure safe, reliable operation.
Installing a smart ceiling fan involves a systematic process that requires careful attention to electrical safety and compatibility. Before beginning, confirm your existing ceiling electrical box can support the weight and size of the smart fan. Verify that the electrical wiring meets local codes and that your home’s circuit breaker is turned off to prevent accidental shock. Remove the existing fixture, disconnecting the wiring carefully, and inspect the electrical box for stability and grounding. If the box is loose or not suitable for supporting a ceiling fan, replace or reinforce it before proceeding.
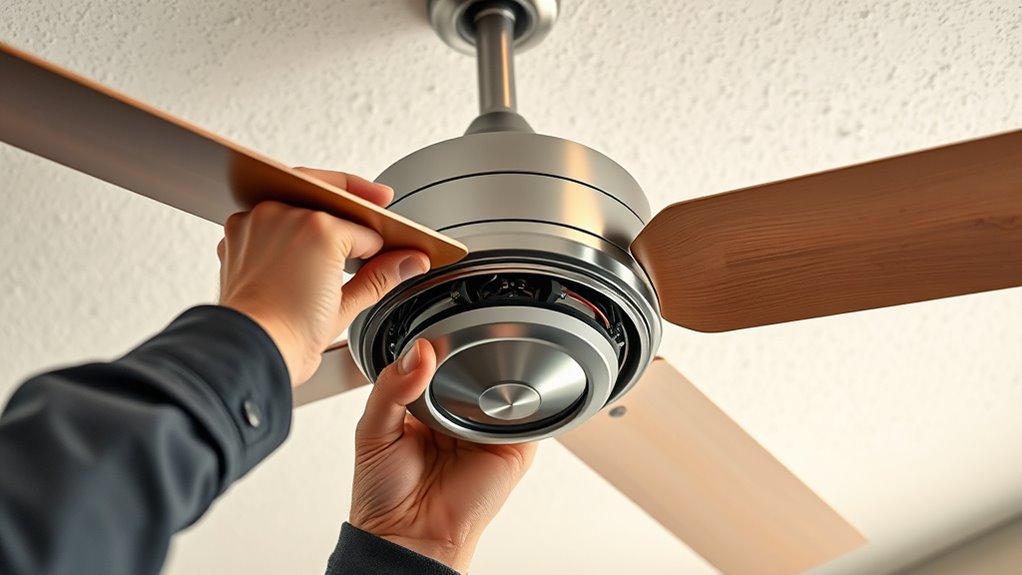
Next, assemble the fan components according to the manufacturer’s instructions. This typically involves attaching the blades to the motor housing and preparing the mounting bracket. Connect the mounting bracket to the electrical box, making sure it is securely fastened to support the fan’s weight. When wiring, match the black (hot) wire from the ceiling to the fan’s black wire, the white (neutral) wire to the fan’s white wire, and the grounding wire to the fan’s grounding wire or grounding screw. Use wire connectors to secure these connections tightly, and insulate them with electrical tape if necessary. Double-check all connections for proper contact and verify that no exposed wire is visible.
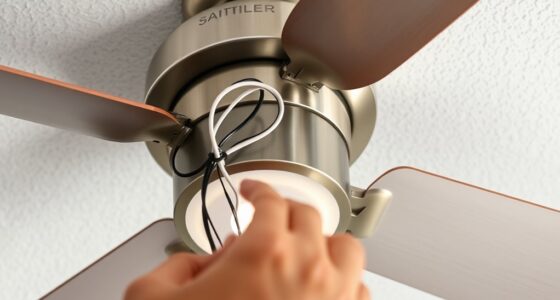
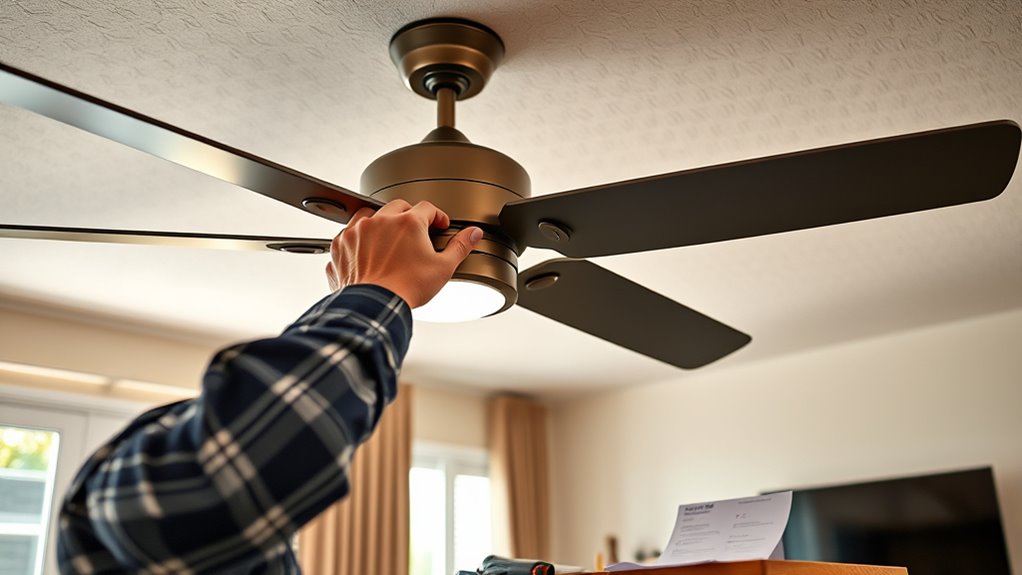
Once wiring is complete, attach the fan motor and canopy to the mounting bracket. Confirm that the motor is securely fastened and that the blades are mounted properly, balanced, and free of obstructions. Restore power at the circuit breaker and test the fan’s basic functions—turn it on using the wall switch or pull chain, and verify that the blades spin smoothly without wobbling. If the fan includes a remote or wall control, follow the manufacturer’s instructions to pair the device with the fan. This often involves turning on the fan and pressing a specific button sequence or entering pairing mode.
For integration with your smart home system, download the corresponding app and follow the pairing instructions carefully. Usually, this involves connecting your phone to the fan’s Wi-Fi or Bluetooth signal, then configuring the device within the app. Verify your smartphone is connected to the same Wi-Fi network used by your smart home system for seamless integration. Properly securing all components, including mounting hardware and wiring connections, is essential for safety and durability of the installation. Once paired, test the fan remotely, adjusting speed settings, scheduling, and other features to confirm full functionality. Throughout the process, document your connections and settings in case troubleshooting is needed later. Properly securing all components, testing thoroughly, and verifying compatibility with your smart system are vital steps in ensuring safe and reliable operation of your new smart ceiling fan.
Frequently Asked Questions
Can I Install a Smart Ceiling Fan Without Electrical Experience?
You can install a smart ceiling fan without electrical experience, but it’s not recommended. If you’re comfortable working with tools and following instructions, you might manage, but electrical wiring can be risky. Make sure the power is off before starting, follow the manufacturer’s instructions carefully, and consider consulting a professional electrician if you’re unsure. Proper installation ensures safety and maximum functioning of your smart fan.
What Tools Are Needed for Installing a Smart Ceiling Fan?
You need a Phillips-head screwdriver, a voltage tester, adjustable pliers, a ladder, wire strippers, and possibly a drill with bits. The screwdriver is essential for mounting brackets and connecting wires, while the voltage tester guarantees safety by confirming power is off. Pliers help with wire connections, and a ladder provides access to ceiling mounting points. Wire strippers are necessary for preparing wires, and a drill may be needed for installing mounting hardware.
How Do I Connect the Fan to My Smart Home System?
Connecting your smart ceiling fan to your home system is like syncing two dance partners. First, verify your fan is powered and in pairing mode, usually via a dedicated switch or app. Open your smart home app, select ‘Add Device,’ and choose your fan model. Follow the prompts to connect it to your Wi-Fi network, then assign it to the desired room or group. Confirm the connection, and your fan is now part of your smart ecosystem.
Is It Necessary to Turn off the Circuit Breaker During Installation?
Yes, you should turn off the circuit breaker before installation to guarantee safety. Powering down the circuit prevents electrical shock and short circuits, which could damage the fan or pose safety hazards. Always verify that the power is off using a voltage tester before touching any wiring. This precaution is essential, even if you’re experienced, to protect yourself and ensure a safe, proper installation.
What Is the Estimated Time to Complete the Installation?
You can expect to complete the installation in approximately 1 to 2 hours. This timeframe includes turning off the power, assembling the fan components, wiring connections, mounting the fixture, and configuring the smart features. Variations depend on your experience level, existing wiring conditions, and specific fan model. Ensuring you follow all safety protocols and manufacturer instructions helps streamline the process and prevents potential issues.
Conclusion
Now that you’ve completed the installation, your smart ceiling fan is ready to enhance your space with seamless control and energy efficiency. Did you visualize how effortlessly it will operate, providing ideal comfort at your command? Proper setup ensures reliable performance and safety, making your environment smarter and more convenient. Regular maintenance and updates will keep it functioning flawlessly. With your meticulous attention to detail, you’ve transformed a complex task into a confident achievement—are you ready to enjoy the benefits?