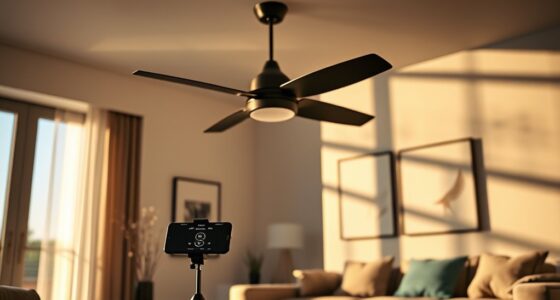

To set up your smart ceiling fan with Alexa and Google Assistant, first confirm the fan’s compatibility with both platforms and turn off your circuit breaker before installation. Mount the fan, connect the wires securely, and install the manufacturer’s app. Power on the fan, put it into pairing mode, and connect it to your Wi-Fi network. Then, enable the related skill or service on Alexa and Google Assistant, authorize device access, and test voice controls. For detailed steps and troubleshooting tips, continue with the full setup process.
Key Takeaways
- Verify fan compatibility with Alexa and Google Assistant before installation.
- Install the fan securely following manufacturer instructions, ensuring proper wiring and mounting.
- Download the fan’s app, put the fan into pairing mode, and connect to your Wi-Fi network.
- Assign a device name and room in the app, then enable the appropriate voice assistant skill.
- Test controls via app and voice commands; troubleshoot connectivity or firmware issues if needed.
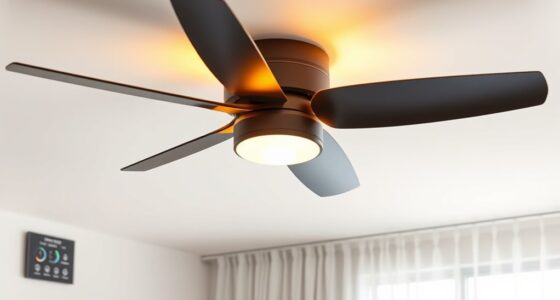
Setting up a smart ceiling fan involves several precise steps to guarantee proper functionality and integration with your home network. First, ensure your fan is compatible with Amazon Alexa and Google Assistant by checking the manufacturer’s specifications. Before installation, turn off the circuit breaker to prevent electrical shock. Mount the fan according to the manufacturer’s instructions, securing the mounting bracket firmly to the ceiling. Connect the fan’s wires—typically black or red for hot, white for neutral, and green or bare copper for ground—matching them to your house wiring. Once wired, attach the fan blades and any remote control receivers, then restore power at the breaker. Verify that the fan powers on and responds to the remote, confirming proper installation.
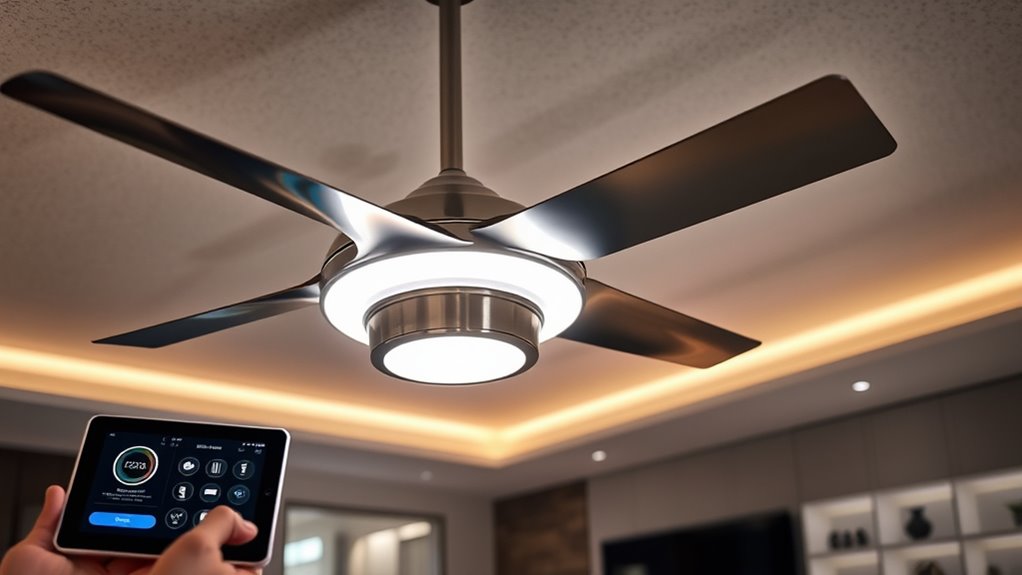
Next, download and install the corresponding mobile app—usually from the App Store or Google Play—specific to your fan brand. Launch the app and create an account if needed. Follow the app’s instructions to add your fan device. Usually, this involves putting the fan into pairing mode—either by pressing a dedicated button on the fan or the remote, or by flipping the wall switch on and off a certain number of times. The app should detect the fan’s Bluetooth or Wi-Fi signal. Select the fan from the list, then connect it to your home Wi-Fi network, typically 2.4 GHz—most smart fans do not support 5 GHz. Make sure your phone remains connected to the same Wi-Fi network during setup.
Download the app, create an account, and follow instructions to connect your fan via Bluetooth or Wi-Fi.
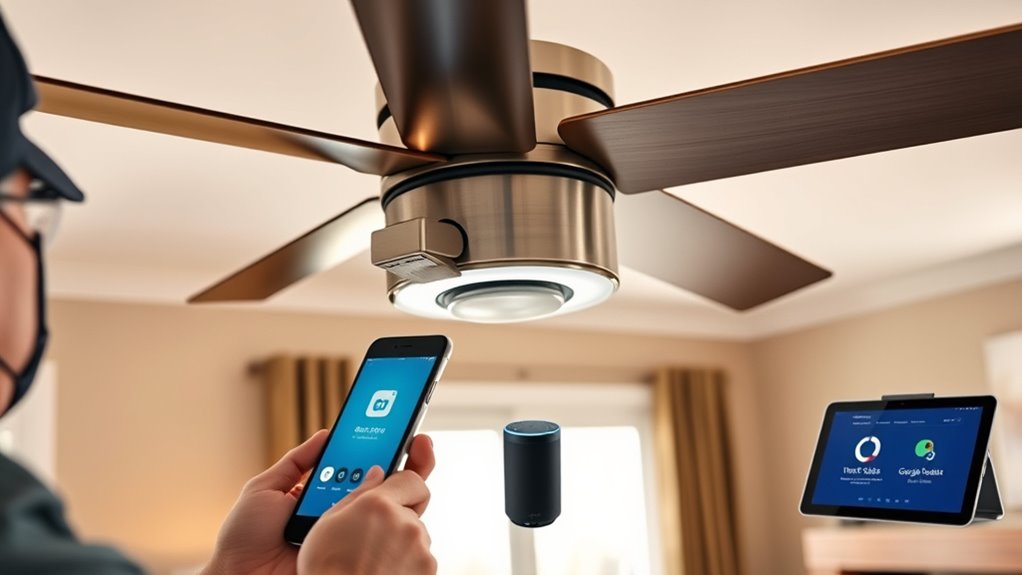
Once connected, the app will prompt you to name your device and assign it to a room. After setup, you should test the fan controls via the app to confirm remote commands work effectively. If the fan doesn’t respond, troubleshoot by verifying your Wi-Fi connection, ensuring the fan is within range, and resetting the device. To integrate with Alexa or Google Assistant, open your voice assistant’s app and enable the relevant skill or service for your fan brand. Log into your account and authorize the app to access your smart home devices. Discover new devices within the app and confirm your fan appears in the device list. Use voice commands like “Alexa, turn on the fan,” or “Hey Google, set the fan to medium,” to test functionality.
For ongoing troubleshooting, confirm your Wi-Fi signal strength, ensure the fan remains within range, and update the firmware through the app if updates are available. If commands don’t work, remove the device from your app’s device list and re-add it. Make sure your voice assistant is synchronized with your smart home hub, and double-check voice command syntax. Proper wiring, strong Wi-Fi, and correct app permissions are essential for seamless operation. Additionally, retail store hours can impact when you purchase replacement parts or seek customer support. Following these detailed steps guarantees your smart ceiling fan is correctly set up, integrated, and ready for convenient voice-controlled operation.

ZMISHIBO 52 Inch Ceiling Fan with Light, App&Remote Control, Flush Mount Low Profile, Dimmable 20W LED Light, Quiet Reversible Motor for Bedroom, Living Room, Apartment, Black
Perfect Size for Rooms: This 52-inch ceiling fan is ideal for cooling and illuminating spacious areas like living...
As an affiliate, we earn on qualifying purchases.
Frequently Asked Questions
Can I Control the Fan Without an Internet Connection?
No, you can’t control the smart ceiling fan without an internet connection if you’re using Alexa or Google Assistant. These voice assistants rely on cloud servers to process commands. However, if your fan has a physical remote or manual switch, you can operate it without internet. To troubleshoot, verify your Wi-Fi is active and your devices are properly connected. For local control, consider fans with Bluetooth or Wi-Fi modules that support offline operation.
Is the Setup Compatible With All Ceiling Fan Brands?
Think of your smart setup like a universal remote; it’s designed to work with many brands, but not all. Compatibility depends on your fan’s motor type and control system. Check if your fan uses Wi-Fi or Zigbee/Z-Wave protocols, and verify if the manufacturer’s app supports voice assistants. If issues arise, update firmware, reset connections, or consult the user manual for compatibility tips.
How Do I Troubleshoot Connectivity Issues During Setup?
To troubleshoot connectivity issues during setup, first verify your Wi-Fi is stable and signals are strong. Restart your router and smart fan device. Confirm your phone is connected to the same Wi-Fi network. Disable any VPNs or firewalls that might block communication. Reset the fan’s Wi-Fi module if needed, then try reconnecting. Use the app’s troubleshooting feature or consult the device manual for specific error codes.
Can I Schedule the Fan to Turn On/Off Automatically?
Yes, you can schedule your fan to turn on and off automatically. Open the companion app for your smart fan, navigate to the scheduling section, and set specific times for activation and deactivation. If the schedule doesn’t work, double-check your device’s firmware and Wi-Fi connection. Clear instructions and troubleshooting tips guarantee your automation runs smoothly, giving you control over comfort and energy savings without manual intervention.
Does Installing a Smart Fan Affect the Fan’s Original Remote Control?
Installing a smart fan typically won’t affect your original remote control. The smart system integrates alongside the remote, allowing both to operate independently. However, if you notice control conflicts or the remote stops working, try resetting the remote and re-pairing it with your fan. Make certain your smart hub or app is correctly configured. If problems persist, consult the fan’s manual or contact customer support for troubleshooting steps.

addlon Ceiling Fans with Lights, 42 Inch Low Profile Ceiling Fan with Light and Remote Control, Flush Mount, Reversible, 3CCT, Dimmable, Quiet, Black Small Ceiling Fan for Bedroom Indoor/Outdoor Use
Ceiling Fan with Light: Bring more than just wind and light, but comfort! addlon modern ceiling fan, with...
As an affiliate, we earn on qualifying purchases.
Conclusion
Now that your smart ceiling fan is connected to Alexa and Google Assistant, you’re ready to enjoy seamless control. Remember to test each voice command and update firmware if needed. If your fan doesn’t respond, check Wi-Fi connectivity, ensure your app is latest, and verify voice service permissions. By following these steps, you’ve transformed your space into a smart, efficient oasis—unlocking convenience at your fingertips. Your perfect airflow is just a command away, making comfort effortless and smart.

Passky Ceiling Fans with Lights, 52 inch Sleek Ceiling Fan with Light and Remote Control, 3CCT, Dimmable, Reversible, Noiseless, Black Ceiling Fan for Bedroom, Living Room
Ceiling Fan with Light: Passky ceiling fan with light, pass the breeze, light you sky. Our 52 inch...
As an affiliate, we earn on qualifying purchases.

Amico Ceiling Fans with Lights, 42 inch Low Profile Ceiling fan with Light and Remote Control, Flush Mount, Reversible, 3CCT, Dimmable, Noiseless, Black Ceiling Fan for Bedroom, Indoor/Outdoor Use
Ceiling Fan with Light: Decorate your home with Amico ceiling fan! While bringing you coolness and comfort, it...
As an affiliate, we earn on qualifying purchases.