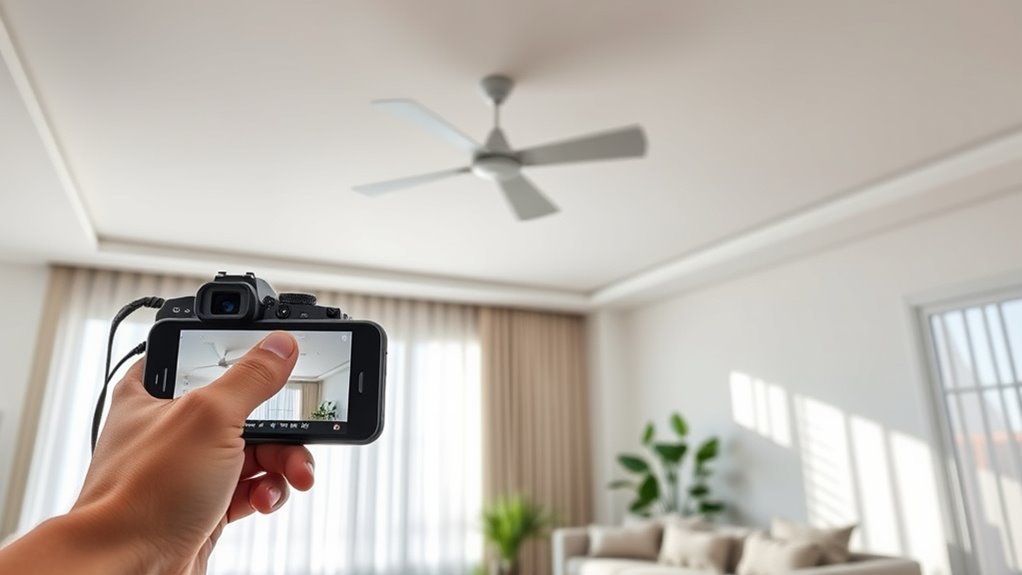
To set up HomeKit automations for smart fans, first guarantee your fans are compatible and connected through a secure Wi-Fi network. Use the Apple Home app to organize devices, assign them to rooms, and create automations based on schedules, temperature, or motion sensors. Automate fans to turn on or off automatically for comfort and energy savings. For more detailed steps and tips to optimize your system, continue exploring how to enhance your smart airflow control.
Key Takeaways
- Ensure your smart fan is compatible with HomeKit and connected to a reliable Wi-Fi network before automation setup.
- Use the Home app to create automations based on time, location, or environmental triggers like temperature.
- Assign clear names and organize devices into rooms or zones for easier automation management.
- Incorporate sensors or external data (e.g., temperature) to trigger fan automation dynamically.
- Test automations thoroughly and adjust schedules for seasonal or daily comfort needs.

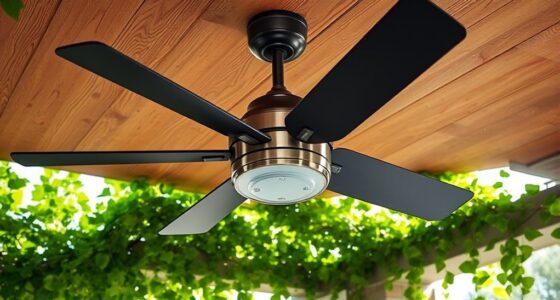
ZMISHIBO 52 Inch Ceiling Fan with Light, App&Remote Control, Flush Mount Low Profile, Dimmable 20W LED Light, Quiet Reversible Motor for Bedroom, Living Room, Apartment, Black
Perfect Size for Rooms: This 52-inch ceiling fan is ideal for cooling and illuminating spacious areas like living...
As an affiliate, we earn on qualifying purchases.
Understanding HomeKit and Compatible Smart Fans

If you’re looking to streamline your home environment, understanding how HomeKit works with compatible smart fans is essential. These fans connect seamlessly to your Apple ecosystem, allowing you to control them via the Home app or Siri commands. When choosing a smart fan, pay attention to the fan blade design, as it impacts airflow and noise levels. Additionally, motor efficiency plays a key role in performance and energy savings; a more efficient motor consumes less power while maintaining strong airflow. By understanding these features, you can select a smart fan that integrates well with HomeKit, providing convenient control and enhanced comfort. Recognizing the importance of contrast ratio can also help you choose a fan with better airflow visuals and performance, especially in well-lit rooms. Moreover, selecting a fan with an energy-efficient motor can lead to lower energy bills and a more sustainable home. Incorporating practices like meditation can also help improve your overall well-being, complementing the comfort provided by your smart home devices. This knowledge helps guarantee your smart fan operates smoothly within your automation routines and suits your home’s needs.

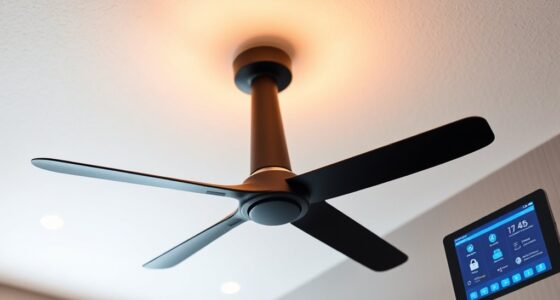
addlon Ceiling Fans with Lights, 42 Inch Low Profile Ceiling Fan with Light and Remote Control, Flush Mount, Reversible, 3CCT, Dimmable, Quiet, Black Small Ceiling Fan for Bedroom Indoor/Outdoor Use
Ceiling Fan with Light: Bring more than just wind and light, but comfort! addlon modern ceiling fan, with...
As an affiliate, we earn on qualifying purchases.
Gathering Necessary Devices and Accessories
To set up your HomeKit automations effectively, start by gathering all the devices and accessories you’ll need. Make certain your smart fan model is compatible with HomeKit to avoid setup issues. Check if your fan supports features like smart fan maintenance, such as firmware updates or integration with other smart devices. Gather your HomeKit hub, like an Apple TV or HomePod, for seamless automation control. You’ll also need a reliable Wi-Fi network and any necessary bridging accessories if your fan requires them. Confirm that your mobile device has the latest iOS update for smooth setup. Having all these items ready will streamline the installation process, minimize troubleshooting, and ensure your smart fan functions correctly within your automations. Additionally, understanding the angel numbers associated with love and connection can inspire confidence and patience during your setup journey. For optimal performance, consider reviewing your essential oil options to create a calming environment during the setup process.
Ensuring your Wi-Fi network is stable and strong can prevent connectivity issues during the setup.

Amico Ceiling Fans with Lights, 42 inch Low Profile Ceiling fan with Light and Remote Control, Flush Mount, Reversible, 3CCT, Dimmable, Noiseless, Black Ceiling Fan for Bedroom, Indoor/Outdoor Use
Ceiling Fan with Light: Decorate your home with Amico ceiling fan! While bringing you coolness and comfort, it...
As an affiliate, we earn on qualifying purchases.
Installing and Connecting Your Smart Fans
Before you begin installing your smart fan, verify it’s powered off and within range of your Wi-Fi network. Start with the fan installation by carefully mounting the fan to your ceiling, following the manufacturer’s instructions. During wiring setup, connect the fan’s wires to your existing electrical system, ensuring proper grounding and secure connections. Use a voltage tester to confirm power is off before handling wires. Once wired, attach the fan’s control module if needed. Turn the power back on and test the fan manually to confirm it operates smoothly. Connecting your fan to Wi-Fi allows for remote control, so ensure your network is stable during setup. Double-check all connections before proceeding to the next step, securing wires neatly to avoid any hazards. Additionally, understanding practical support options can help troubleshoot issues during installation. Also, verifying your device’s compatibility with the headphone jacks can assist in managing remote controls and firmware updates effectively. A solid understanding of device compatibility can prevent connection issues down the line.

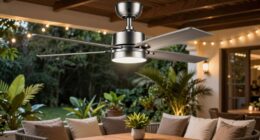
Forrovenco Ceiling Fans with Lights and Remote, 52 Inch Outdoor Ceiling Fan for Patios Indoor with 3 Downrods, 3 Blades Modern Ceiling Fan, 6 Speed Reversible Quiet DC Motor Solid Wood Fan,52in,Walnut
Modern Ceiling Fan with Light: Our 3 blade ceiling fan with light features unique, planet-friendly, and renewable high-quality...
As an affiliate, we earn on qualifying purchases.
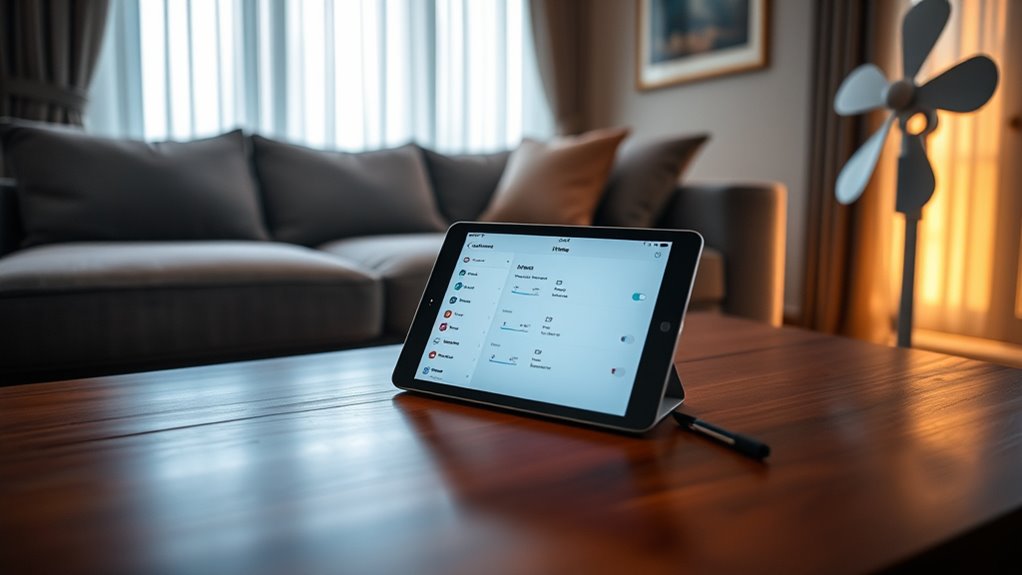
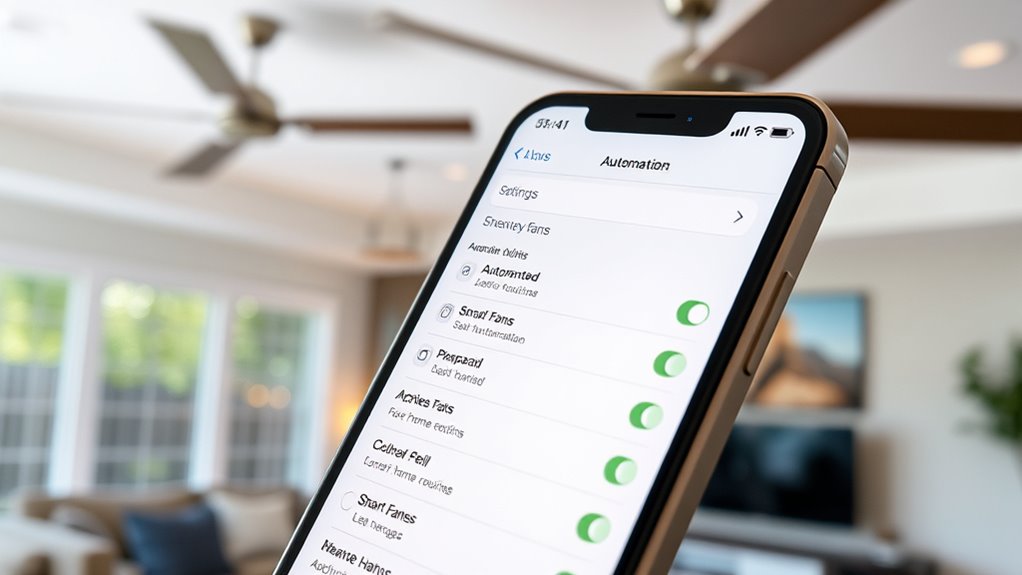
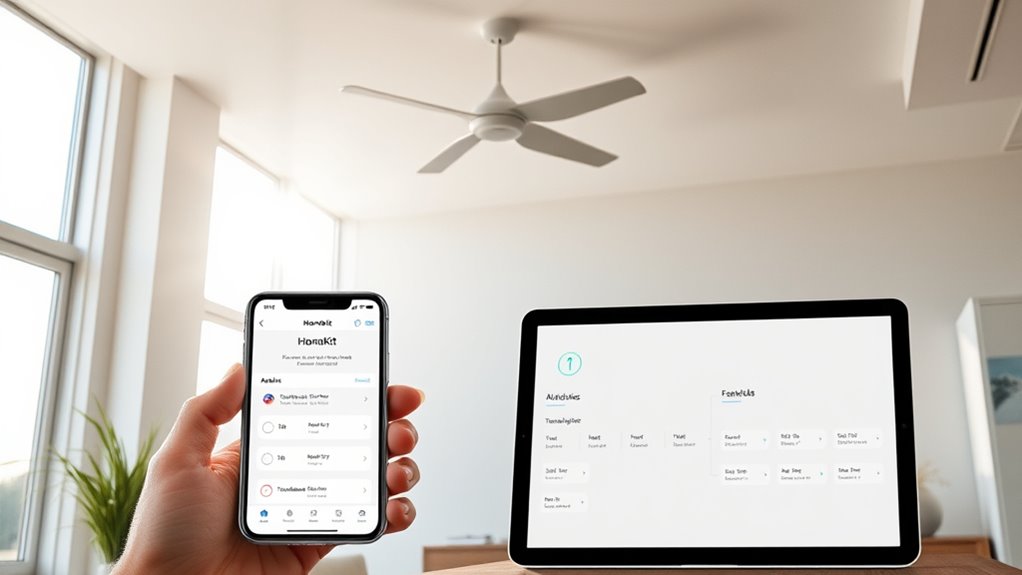
Setting Up Your HomeKit Environment

To build a solid HomeKit environment, you need compatible devices that work seamlessly together. Organizing your accessories makes managing your smart home easier and more efficient. Don’t forget to secure your network to protect your automation setup from unwanted access. When selecting devices, consider their essential oil safety guidelines to ensure safe and effective operation within your smart home ecosystem. Incorporating diverse designs available to enhance indoor aesthetics can also help create a more personalized and visually pleasing smart home environment. Additionally, exploring best anime movies can inspire a creative and engaging atmosphere in your living space.
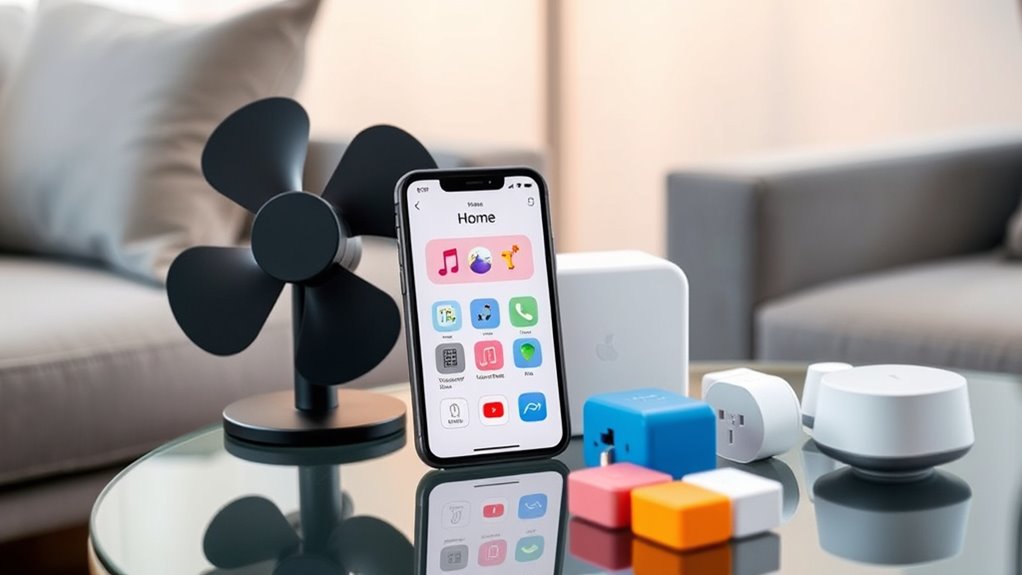
Compatible Devices Needed
Setting up your HomeKit automations requires having the right compatible devices in place. First, ensure your smart fan supports HomeKit or works with a compatible hub. Second, choose a device that enables voice command integration, such as Siri-enabled accessories, for effortless control. Third, consider a smart plug or outlet that offers energy consumption monitoring to track usage and optimize efficiency. Fourth, verify that your hub or bridge can seamlessly connect all devices, providing reliable automation. These compatible devices are essential for creating smooth, responsive automations that respond to your voice or energy data. Additionally, understanding fire safety standards ensures that your smart home setup remains safe and compliant. Proper device compatibility is crucial to ensure reliable operation and security in your smart home ecosystem. Incorporating certified devices can further enhance safety and performance, ensuring your setup adheres to industry standards. With the right setup, you’ll enjoy effortless control and smarter energy management, making your smart home more efficient and intuitive.
Organizing HomeKit Accessories
Once you have your compatible devices in place, organizing your HomeKit accessories helps create a seamless and efficient smart home environment. Proper organization streamlines smart home integration, making it easier to control and automate your devices. Group similar accessories into rooms or zones within the Home app, so you can quickly access and manage them. Guarantee device compatibility by updating firmware and selecting accessories that work well together. Naming each device clearly prevents confusion during automation setup. Use folders or scenes to categorize accessories for different functions or areas. An organized setup reduces clutter and boosts overall responsiveness, allowing you to create more precise automations for your smart fans and other devices. Additionally, maximizing space and organization in your setup can lead to a more efficient and stress-free smart home management experience. Properly labeling devices and keeping track of their functions further enhances the ease of managing your smart home system. Incorporating consistent device naming across your accessories can also prevent misconfigurations and simplify troubleshooting, ultimately enhancing your smart home experience. Ultimately, a well-organized HomeKit environment enhances your smart home experience.
Securing Your Network
Have you considered how your network’s security impacts your entire smart home setup? Protecting your network is essential for safely running HomeKit automations. Start by enabling wireless encryption; this ensures your data stays private when transmitting across your Wi-Fi. Next, implement network segmentation by creating separate networks for your smart devices and personal devices, reducing potential vulnerabilities. Additionally, change default passwords on your router and accessories to stronger, unique ones. This extra layer of security helps prevent unauthorized access to all connected devices. Finally, keep your firmware updated regularly to patch security flaws. These steps help prevent unauthorized access and ensure your smart fans and other devices operate securely within your HomeKit environment. By focusing on wireless encryption and network segmentation, you create a safer, more reliable smart home. Remember, Dad – Amazing Life Together emphasizes the importance of love, guidance, and protection, which can also be applied to safeguarding your digital life. Regularly checking your network’s security settings is an essential part of maintaining overall safety.
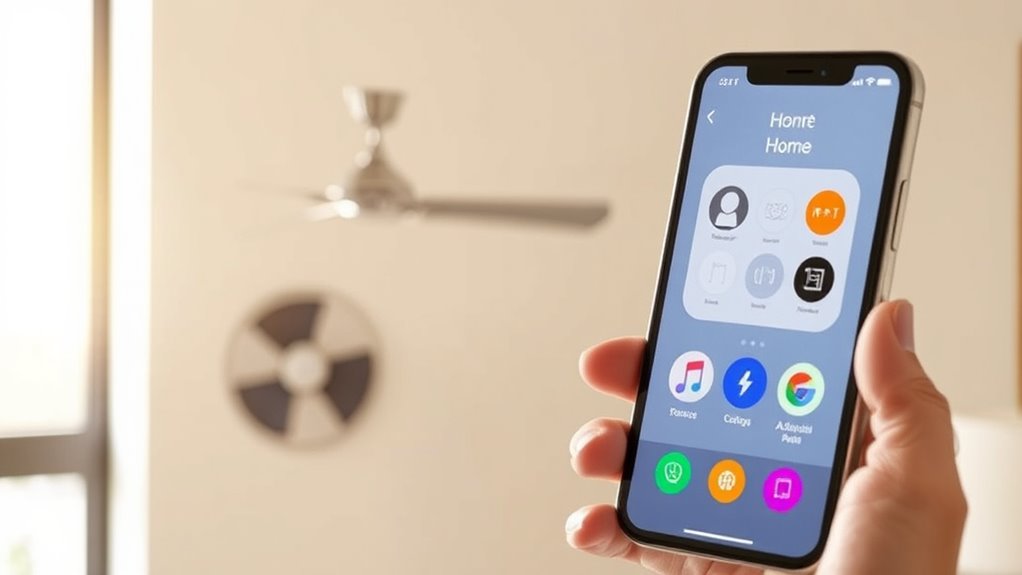
Creating Basic Automations for Daily Use

You can make your daily routines smoother by creating simple automations with HomeKit. Set your fans to turn on in the morning, schedule your lights for nighttime, or use your location to trigger actions when you arrive home. These quick automations save time and help your home respond intuitively to your needs. Incorporating greenhouse technology into your automations can further enhance your gardening experience by maintaining optimal conditions automatically.
Automate Morning Fans
Automating your morning fans guarantees a comfortable start to each day without manual intervention. With HomeKit automations, you can set your fans to turn on at a specific time or through voice control, making mornings smoother. This not only enhances convenience but also boosts energy efficiency by avoiding unnecessary operation. To create effective automations, consider these points:
- Schedule the fan to turn on shortly after waking up.
- Use voice control for quick adjustments.
- Set the automation to deactivate when you leave the house.
- Optimize timing to reduce energy waste while maintaining comfort.
- Incorporate lighting controls to enhance the overall bedroom ambiance and coordinate with fan operation.
These simple steps help you start your day comfortably, save energy, and make your smart home more responsive to your routines.
Schedule Nighttime Settings
Setting nighttime settings guarantees your home remains comfortable and energy-efficient while you sleep. By scheduling your smart fan to turn off or adjust at specific times, you reduce unnecessary energy consumption. Regular fan maintenance guarantees your device operates smoothly, preventing issues that could cause uneven airflow or increased energy use. Automating these routines means you don’t have to remember to manually switch your fan off each night, saving you time and effort. Consistent scheduling also helps maintain a consistent sleeping environment, promoting better rest. With HomeKit automations, you can set your fan to lower or turn off automatically after a certain hour, ensuring your home stays comfortable without wasting energy. This approach keeps your fan functioning efficiently and extends its lifespan.
Use Location Triggers
Using location triggers in HomeKit automations allows your smart devices to respond automatically based on your arrival or departure from specific places. This feature helps you create seamless routines that save energy and enhance convenience. For example, you can set your smart fan to turn on when you arrive home or off when you leave, optimizing energy efficiency. You can also use voice commands to activate routines instantly, making automation more flexible. To get the most out of location triggers, consider these points:
- Use geofencing to target specific areas for precise automation.
- Combine location triggers with time-based routines for better control.
- Make sure your device’s location services are enabled for accuracy.
- Test automations regularly to maintain reliability and efficiency.
Customizing Automations Based on Temperature

When the temperature drops below a certain point, you can make your HomeKit automations respond automatically to keep your home comfortable. Adjust your smart fan settings based on temperature thresholds to optimize airflow patterns and maintain ideal conditions. For example, you might set your fan to run when it gets too hot, creating a breeze that cools the room efficiently. Conversely, automations can turn off fans when it’s cooler outside, preventing unnecessary airflow and conserving energy. Incorporate humidity control into your automations by adjusting the fan speed to reduce excess moisture or improve air circulation. This ensures that your home remains comfortable and balanced, especially during fluctuating temperatures, without constant manual adjustments.
Scheduling Fans for Specific Times of Day
Scheduling your fans for specific times helps keep your home comfortable and energy-efficient. You can choose the best time slots to match your daily routines and adapt them for different seasons. By automating these settings, you make certain of consistent comfort without any extra effort.
Choosing Optimal Time Slots
Choosing the right time slots for your fans can considerably enhance comfort and energy efficiency throughout the day. By carefully selecting when your fans operate, you can optimize airflow while minimizing energy consumption. Consider these tips for effective scheduling:
- Align fan operation with your daily routine to maximize comfort.
- Schedule fans to run during the hottest parts of the day for cooling.
- Use user customization to set different times for weekdays and weekends.
- Avoid running fans when no one is home to save energy.
These strategies help you tailor automation to your lifestyle, boosting energy efficiency and ensuring your home feels comfortable. Proper timing allows you to enjoy a cooler space without unnecessary energy expenditure, making your smart home setup more effective.
Automating Daily Routines
Automating your fans to operate at specific times of day guarantees your home remains comfortable and energy-efficient without requiring constant manual adjustments. By scheduling your smart fans, you can ensure they’re running only when needed, saving energy and reducing wear on fan blades through regular maintenance checks. To set this up, make sure your remote control setup is seamless so you can easily override routines if necessary. Consistent fan blade maintenance keeps operation smooth and quiet, preventing dust buildup that can affect performance. Once routines are scheduled, your fans will turn on and off automatically, aligning with your daily schedule. This automation simplifies your routine, keeps your home comfortable, and minimizes manual intervention.
Adjusting for Seasons
As seasons change, adjusting your fan schedules guarantees your home stays comfortable and energy-efficient year-round. Seasonal ventilation and airflow adjustments are essential for maintaining the ideal environment. To optimize your smart fan automation:
- Set different schedules for summer and winter to maximize airflow during peak heat or cold.
- Program fans to run during specific times, like mornings or evenings, for natural ventilation.
- Use automation to increase airflow during hot afternoons and reduce it overnight.
- Adjust fan speed based on season, ensuring effective ventilation without wasting energy.
Incorporating Sensors and External Triggers

Integrating sensors and external triggers into your HomeKit automations allows for more dynamic and responsive smart home setups. By using motion sensors, temperature detectors, or humidity sensors, you can automate your smart fans based on real-time conditions. For instance, a motion sensor can turn on the fan when you enter a room, while a temperature sensor can activate it when the room heats up. External triggers like voice control make it even easier to manage your fan hands-free, enhancing convenience. Additionally, these sensors help improve energy efficiency by ensuring the fan runs only when needed, reducing unnecessary power use. Incorporating external triggers creates a seamless, intuitive environment that adapts to your habits and preferences effortlessly.
Managing and Editing Existing Automations
Managing and editing your existing HomeKit automations is essential for maintaining an efficient and personalized smart home. Regular adjustments help optimize fan placement and airflow, ensuring your system responds correctly to changing conditions. To refine your automations:
Regularly update your HomeKit automations to optimize fan performance and airflow.
- Review trigger conditions to match current fan placement and room layout.
- Adjust timing or intensity settings for airflow optimization.
- Remove outdated automations that no longer serve your needs.
- Test automations after edits to confirm they activate properly.
These steps ensure your automations stay aligned with your home’s layout and your comfort preferences. Consistently managing your automations allows you to fine-tune fan performance and airflow, creating an environment tailored to your lifestyle. Stay proactive to maximize your smart fan system’s efficiency.
Tips for Optimizing Your Smart Fan System
To get the most out of your smart fan system, you need to implement some key optimization tips. First, pay attention to your fan blade design; well-balanced blades reduce noise and improve efficiency. Adjust the airflow pattern by angling the blades or changing the fan’s speed to ensure even circulation. Position your fan in the right spot—near windows or vents—to enhance airflow and air quality. Use HomeKit automations to schedule fan operation during specific times or temperature changes, preventing unnecessary energy use. Regularly clean your fan blades to maintain ideal airflow and prevent dust buildup. By fine-tuning these elements, you’ll maximize comfort and efficiency while prolonging your fan’s lifespan.
Frequently Asked Questions
Can I Control Multiple Fans With a Single Automation?
Yes, you can control multiple fans with a single automation, making multi fan control simple and efficient. In automation scenarios, you just need to set the same trigger for all fans you want to operate together. This way, when the trigger occurs—like turning on a smart switch or a specific time—your fans will respond simultaneously. It’s a great way to streamline your smart home setup and enjoy synchronized comfort effortlessly.
How Do I Troubleshoot Connectivity Issues With My Smart Fans?
Did you know that 30% of smart device issues stem from connectivity problems? To troubleshoot your smart fans, first check for wireless interference from other electronics or thick walls. Verify your fans are within range of your Wi-Fi router. Also, update their firmware regularly, as updates fix bugs and improve connectivity. Restart your router and fans if issues persist, and confirm your network is stable to keep your fans responsive.
Are There Safety Considerations When Automating Fan Operation?
When automating fan operation, you should prioritize fan safety and be aware of automation risks. Make certain your smart fan has proper safety features like cut-off switches, and avoid overloading circuits. Regularly check for loose connections or exposed wires. Be cautious with automation, as frequent or unexpected operation can cause wear or hazards. Always follow manufacturer instructions and stay vigilant to keep your home safe while enjoying the convenience of automation.
Can I Integrate Smart Fans With Other Smart Home Devices?
You can definitely integrate smart fans with other smart home devices, enhancing your automation options. Using voice control, you can command your smart fan alongside lights or thermostats for seamless operation. Plus, integration boosts energy efficiency by syncing your devices, so your fan runs only when needed. This setup makes your home more convenient, allowing you to customize and control your environment effortlessly through your smart home ecosystem.
How Do I Reset or Troubleshoot My Smart Fan if It Stops Working?
If your smart fan stops working, start by checking the fan firmware to guarantee it’s up to date. Follow the reset procedures provided by the manufacturer, usually involving unplugging the fan or pressing a reset button. If issues persist, restart your Wi-Fi router and reconnect the fan. These steps can help troubleshoot common problems and restore your smart fan’s functionality quickly.
Conclusion
Once you’ve set up your HomeKit automations, managing your smart fans becomes as effortless as riding a breeze on a summer day. Regularly review and tweak your automations to keep everything running smoothly, and don’t hesitate to explore new triggers or schedules. With a little practice, your smart fans will respond seamlessly, making your home more comfortable and energy-efficient—like a well-choreographed dance where every move feels natural and just right.