
To connect your ceiling fan to a smart thermostat, first verify both support compatible control protocols like Z-Wave, Zigbee, or Wi-Fi, and guarantee the fan has a receiver with wiring terminals. Turn off power, connect the fan receiver’s wires—matching black, white, and blue to the appropriate thermostat terminals, typically G, C, and power—then secure all connections with wire nuts. Restore power, configure your thermostat for fan control, and test its operation; more detailed steps follow for a seamless setup.
Key Takeaways
- Verify that your ceiling fan and smart thermostat support compatible control protocols (Z-Wave, Zigbee, Wi-Fi).
- Turn off power and access the fan receiver and thermostat wiring compartments for proper setup.
- Connect the fan receiver’s control wires to the thermostat’s G terminal and ensure common power (C) is available if needed.
- Use appropriate connectors and secure all wiring connections before restoring power.
- Configure the thermostat settings through its app to enable and test fan control functionality.
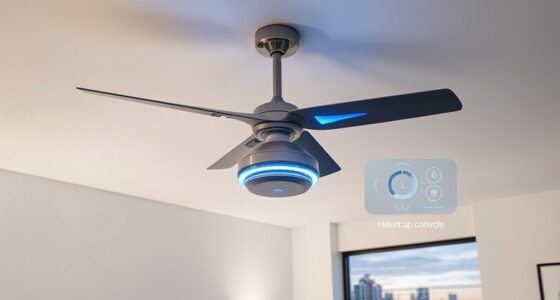
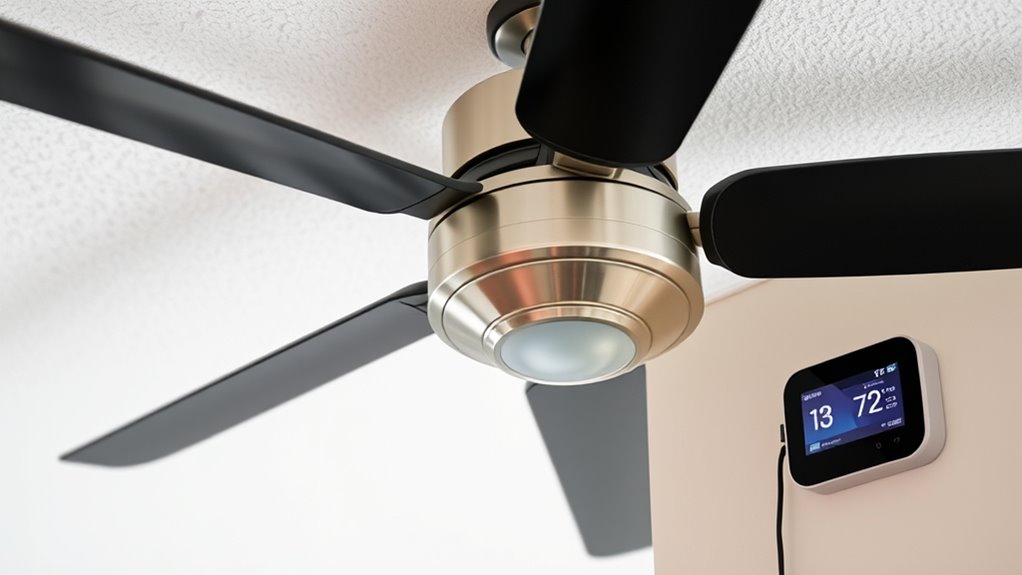
Connecting a ceiling fan to a smart thermostat can enhance your home’s climate control by enabling integrated temperature management. This integration allows for more efficient energy use, improved comfort, and centralized control over your heating, cooling, and fan systems. To establish this connection, you must first verify compatibility between your smart thermostat and ceiling fan, ensuring both support the necessary wiring protocols and control interfaces, such as Z-Wave, Zigbee, or Wi-Fi.
Begin by turning off power to the circuit at your breaker panel to prevent electrical shock during installation. Access the wiring compartment of your existing thermostat, noting the wiring configuration, typically labeled with standard designations like R (power), C (common), G (fan), and Y (cooling). If your thermostat is compatible with fan control, locate the G terminal. If it isn’t, consider upgrading to a compatible model that supports fan integration.
Before starting, turn off power at the breaker and locate the G terminal for fan control.
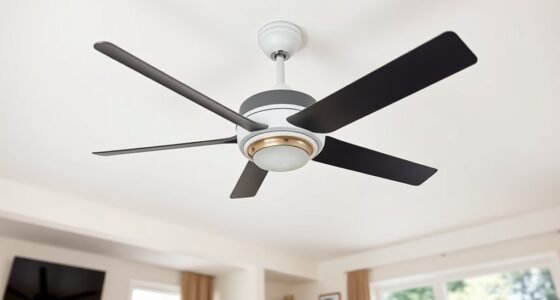
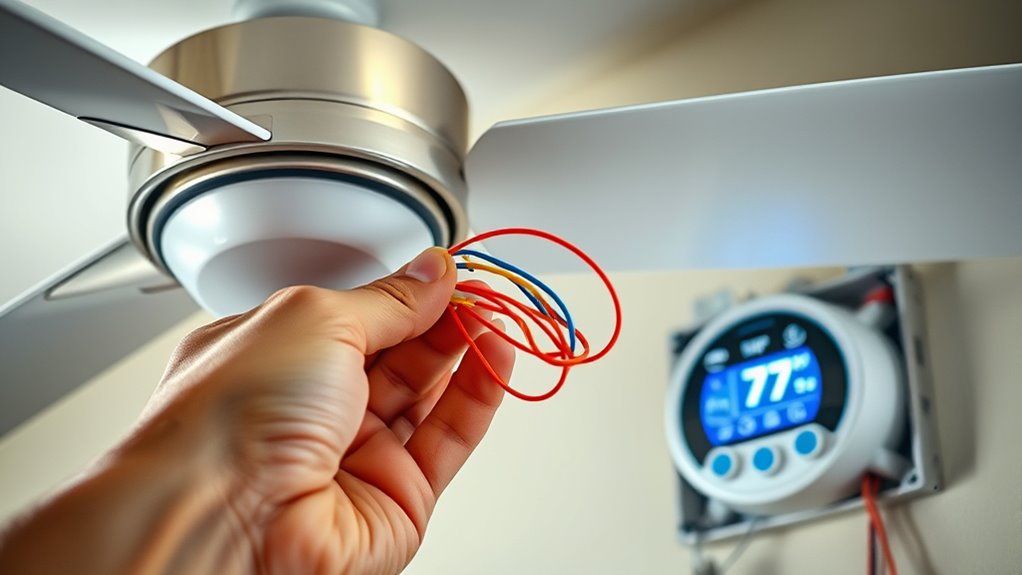
Next, determine your ceiling fan’s wiring schema. Most modern fans have a receiver unit with designated wires for fan operation, often including a black (hot), blue (light or auxiliary), white (neutral), and sometimes additional wires for remote control features. Confirm that your ceiling fan’s receiver supports wired control via a wall switch or remote and that it can be integrated with your smart system via a compatible hub or direct connection.
To connect the fan to the smart thermostat’s control system, you typically need to link the fan’s receiver to the thermostat’s G terminal and possibly the C terminal for common power. If your fan’s receiver requires a dedicated control line, integrate it with the thermostat’s wiring harness accordingly. Use wire nuts and appropriate connectors to secure all connections, ensuring they are insulated and mechanically sound. In some cases, a relay module or an additional control device may be necessary if your smart thermostat lacks direct fan control capabilities.
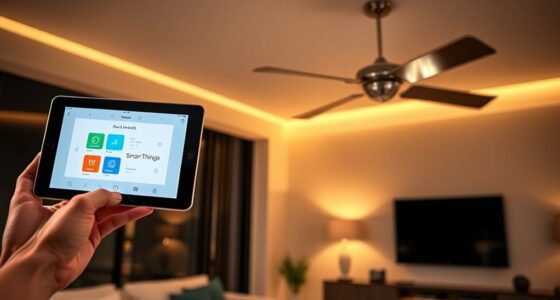
Once wiring is complete, restore power and configure your smart thermostat’s settings through its dedicated app or interface. Enable fan control features, assign fan operation to specific temperature conditions if supported, and test the system thoroughly. Confirm that the fan responds correctly to thermostat commands and that the integrated system maintains desired temperature levels efficiently.
Additionally, consulting the manufacturer’s instructions or a licensed electrician can help ensure proper setup and safety. Properly integrating your ceiling fan with your smart thermostat not only streamlines your climate management but also maximizes energy efficiency and comfort through precise, centralized control.

53T Smart Wi-Fi Ceiling Fan Remote Control Kit, 3 Fan Speed & Light Dimmer,Compatible with Alexa & Google Home Smart Life APP
【Smart Wi-Fi Version】: Remote / Smart Life APP / Voice – 3 ways to control your ceiling fan…
As an affiliate, we earn on qualifying purchases.
As an affiliate, we earn on qualifying purchases.
Frequently Asked Questions
Can I Connect Multiple Ceiling Fans to One Smart Thermostat?
Yes, you can connect multiple ceiling fans to one smart thermostat, but it requires proper wiring and compatible controls. Make certain each fan has a compatible receiver or smart module that can be integrated with your thermostat. Use a dedicated circuit to handle the combined load, and confirm the thermostat supports multiple devices. Consult an electrician to safely set up and configure the system for efficient, synchronized operation of all fans.
Is Professional Installation Required for Smart Thermostat Ceiling Fan Integration?
Think of integrating your ceiling fan with a smart thermostat as assembling a complex puzzle; professional installation guarantees all pieces fit perfectly. While some DIYers may succeed with basic wiring knowledge, the process involves handling electrical connections and configuring compatible devices, which can be risky. To ensure safety, peak performance, and proper setup, it’s recommended to hire a licensed electrician or HVAC professional for this integration.
Will Connecting My Fan Affect My Smart Home’s Energy Savings?
Connecting your ceiling fan to a smart thermostat can enhance your energy savings by optimizing airflow based on temperature settings. It allows you to automate fan operation, reducing unnecessary cooling or heating. This integration guarantees efficient climate control, but improper setup may lead to energy waste. To maximize savings, verify compatibility and configure automation rules correctly, ensuring your smart system adjusts fan behavior based on real-time temperature data.
How Do I Troubleshoot if My Fan Doesn’T Respond to the Thermostat?
Your ceiling fan not responding to the thermostat? First, check if the fan’s wiring is secure and the power source is active—loose connections can cause major issues. Next, verify that the thermostat’s settings allow for fan control and that it’s compatible. Reset the thermostat and fan system if needed, and confirm firmware is up to date. If problems persist, consult the manufacturer’s troubleshooting guide or contact tech support.
Are There Compatibility Issues With Specific Ceiling Fan Brands?
Certain ceiling fan brands may pose compatibility issues with smart thermostats due to varying control protocols or wiring standards. Brands like Hunter or Harbor Breeze often have models with integrated remote controls that can interfere with smart integration. To avoid this, check the fan’s specifications for compatibility with smart devices or consult manufacturer guidelines. Confirm the fan’s wiring and control system support smart thermostat integration before installation to prevent operational conflicts.
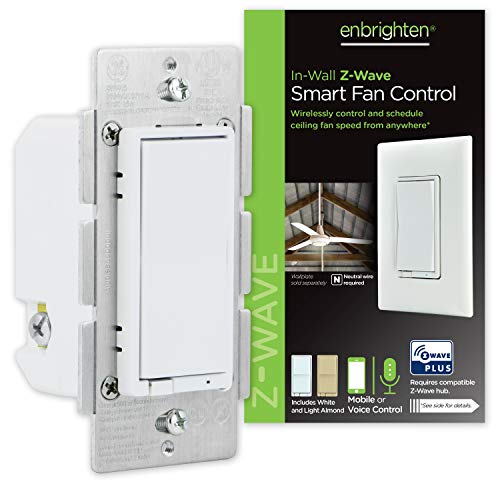
Enbrighten Z-Wave Plus Fan Control, Works with Alexa, Google Assistant, 3-Way Compatible, ZWave Hub Required, Repeater/Range Extender, Smart Ceiling Fan Control, Smart Switch, White & Almond, 14314
Switch upgrade – Easily replace any standard in-wall switch to remotely turn on or off and adjust speed…
As an affiliate, we earn on qualifying purchases.
As an affiliate, we earn on qualifying purchases.
Conclusion
By integrating your ceiling fan with your smart thermostat, you optimize your home’s climate control seamlessly. This connection isn’t just a convenience; it’s a strategic move toward energy efficiency and enhanced comfort. Imagine your system working in harmony, like a well-orchestrated symphony, where each component complements the other. Take control of your environment with precision, ensuring comfort and savings—because a smart home isn’t just built; it’s orchestrated for perfection.

iLIVING ILG8SFRC Exhaust Fan Smart Remote Control Kit with Programmable Thermostat Humidistat Solid State Speed controller Timer Long Range Large LCD, White
Easy to convert or set up your hardwired fan to a smart fan
As an affiliate, we earn on qualifying purchases.
As an affiliate, we earn on qualifying purchases.

Humpptom Universal Ceiling Fan Remote Control, Ceiling Fan Wall Switch UC9050T, UC9050T Ceiling Fan Wall Remote Control Compatible with Hampton Bay Harbor Breeze Hunter
【REPLACEMENT】 The Ceiling Fan Remote Control is replacement of Hunter Westinghouse,Hampton Bay and Harbor Breeze FAN-53T, FAN-35T,UC7078T Fan-HD…
As an affiliate, we earn on qualifying purchases.
As an affiliate, we earn on qualifying purchases.