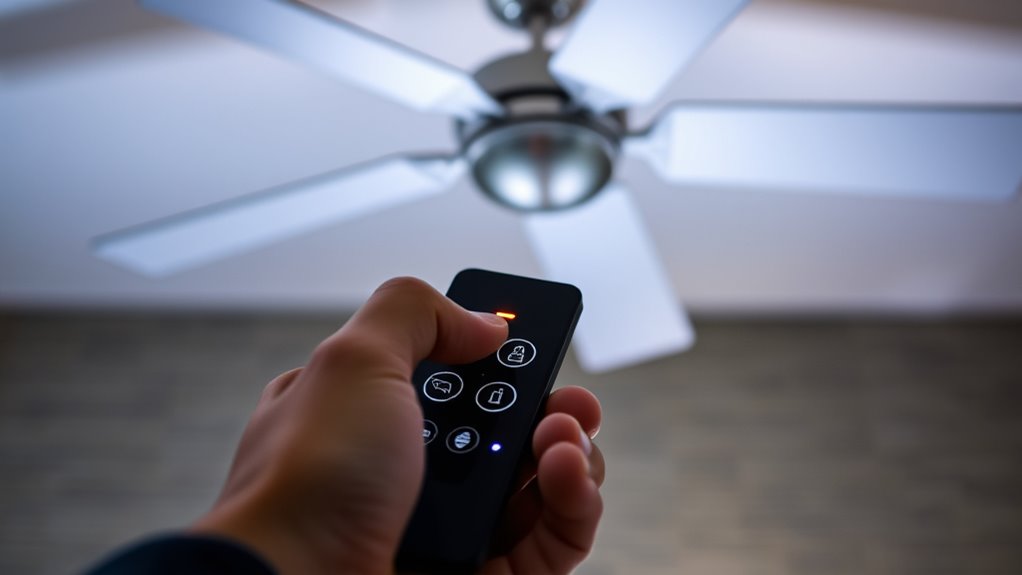

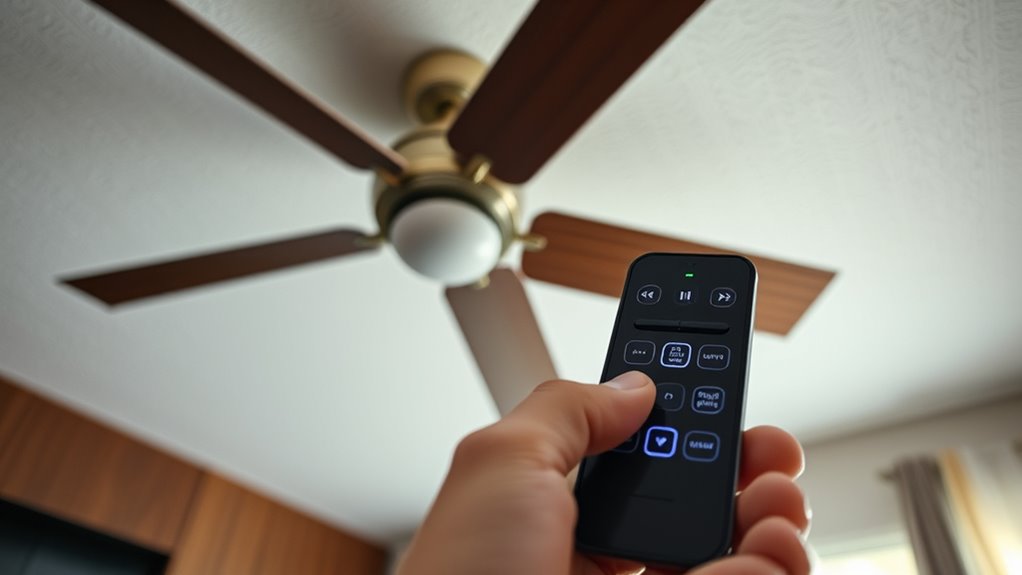
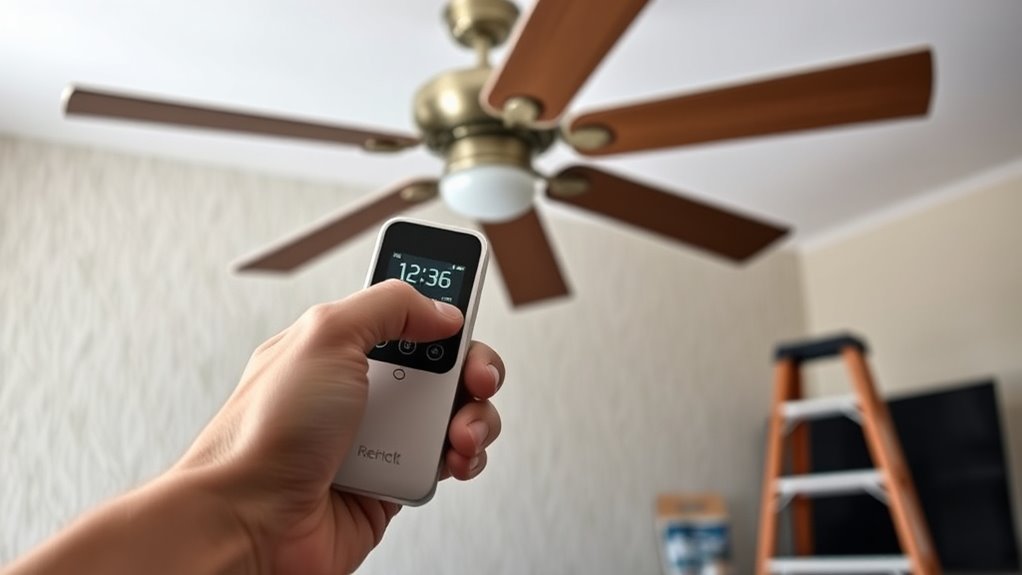
To reset and re-pair your ceiling fan remote, first turn off the remote and remove the batteries for about 30 seconds. Then, press and hold the power or reset button briefly to drain residual power. Replace the batteries with fresh ones and turn the remote back on. To re-pair, hold the remote’s pairing button or press the fan’s control button until it responds. For more detailed steps, keep exploring the full process outlined here.
Key Takeaways
- Turn off the remote, remove batteries, wait 30 seconds, then reinsert to reset the device.
- Access programming mode by pressing and holding specific buttons like Power + Hold or Reset.
- Ensure batteries are fresh and properly installed for a strong signal during re-pairing.
- Clear line of sight between remote and fan receiver, and remove obstructions or interference sources.
- Test the connection by adjusting fan speed or turning it on/off after re-pairing.

Voniko Alkaline Battery 23A – Ultra 23A Batteries (6-Pack) – Long Lasting 12 Volt A23 Battery for Doorbells and Power Remote
New, Better, Improved – Power all of your everyday electronics with the latest speciality 12v alkaline 23 battery…
As an affiliate, we earn on qualifying purchases.
As an affiliate, we earn on qualifying purchases.
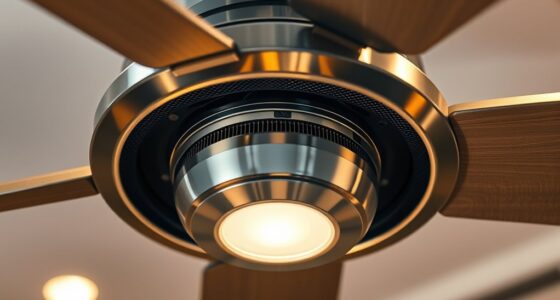
Understanding Your Ceiling Fan Remote System

To effectively troubleshoot or reset your ceiling fan remote, it’s important to understand how the system works. Your remote communicates with the fan through a specific remote signal frequency, which guarantees instructions are accurately received. If the remote isn’t responding, the issue could be related to this frequency or interference. Additionally, battery compatibility plays a vital role; using the correct type and ensuring fresh batteries can prevent signal issues. Remote signal frequencies vary between models, so check your remote’s specifications to confirm compatibility. When batteries are low or incompatible, the remote may fail to send signals properly. Knowing these core aspects helps you identify whether the problem stems from signal transmission or power sources, streamlining your troubleshooting process. Furthermore, understanding the contrast ratio can help determine if the remote signals are being affected by environmental factors impacting the overall system performance. Being aware of potential interference sources in your environment can also assist in resolving connectivity issues. Additionally, some modern ceiling fan remotes incorporate advanced communication protocols, which may require specific setup procedures or firmware updates to function correctly.
LPHUMEX Universal Ceiling Fan Remote Control Kit, 3-in-1 AC Motor Ceiling Fan Light Timing & Speed Remote, for Hunter/Harbor Breeze/Westinghouse/Honeywell/Other Ceiling Fan lamp
☞Easy Installation – Installation of the Universal Ceiling Fan Remote Controls Kit is a breeze and the looks…
As an affiliate, we earn on qualifying purchases.
As an affiliate, we earn on qualifying purchases.
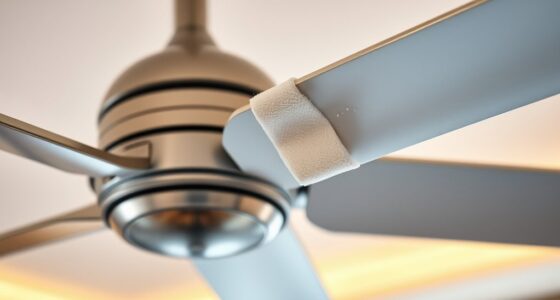
Preparing Your Environment for Resetting
Before resetting your remote, clear the work area of any clutter to stay organized. Make sure the space is well-lit so you can easily see small components and instructions. This setup helps you work efficiently and prevents accidental damage during the process. Additionally, ensure that your environment minimizes exposure to moisture or static, which could interfere with the remote’s electronics for safe handling. Creating a calm and controlled environment can also support rustic decor principles, helping you focus better during the process.
Clear the Work Area
Since resetting and re-pairing your ceiling fan remote involves handling small components and electronic devices, it’s important to clear your work area first. Remove any decorative accents around the fan that might get in the way or get lost. Clear a space large enough to hold the remote, fan remote receiver, and batteries comfortably. This prevents accidental drops or damage, especially if your ceiling fan features unique styles or intricate designs. You should also consider environmental factors like static electricity, which can affect electronic components during the process. Keep your tools and replacement batteries nearby for quick access. A tidy space minimizes distractions and reduces the risk of losing small parts. Remember, working in a clutter-free environment helps guarantee you don’t accidentally disturb other decor or ceiling fan styles while performing the reset. Additionally, ensuring you have the right essential oils for appliance care can help maintain your remote’s longevity and function. Incorporating proper lighting can also assist in clearly seeing small components during the reset process.
Ensure Proper Lighting
Good lighting is crucial when resetting your ceiling fan remote to guarantee you can see small components clearly and avoid mistakes. Proper lighting control helps you identify the remote’s reset button and check the battery compartment easily. Before starting, ensure the area is well-lit with natural or bright artificial light, so you can perform remote battery replacement smoothly and accurately. Good illumination reduces errors and minimizes the risk of damaging delicate parts. If your remote has a small LED indicator, clear lighting helps you see its status. Keep your work area free of shadows and glare. Adequate lighting also makes it easier to follow instructions and verify that the reset process is complete. Overall, proper lighting is a simple yet vital step for a successful remote re-pairing. Additionally, understanding cryptocurrency investments can be beneficial if you consider using digital assets for future financial planning. To enhance your troubleshooting process, familiarizing yourself with remote control mechanisms can help you perform resets more effectively.
LPHUMEX Universal Ceiling Fan Remote Control Kit, 3-in-1 AC Motor Ceiling Fan Light Timing & Speed Remote, for Hunter/Harbor Breeze/Westinghouse/Honeywell/Other Ceiling Fan lamp
☞Easy Installation – Installation of the Universal Ceiling Fan Remote Controls Kit is a breeze and the looks…
As an affiliate, we earn on qualifying purchases.
As an affiliate, we earn on qualifying purchases.
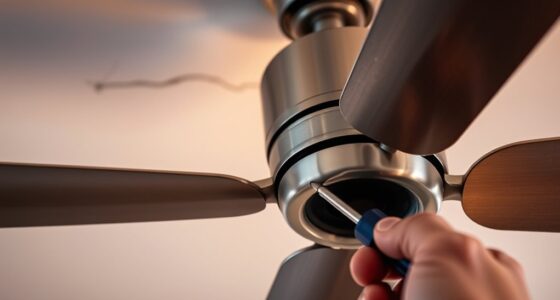
Powering Off and Resetting the Remote

To reset your remote, start by turning it off completely. Then, follow the specific reset instructions for your device. This simple step can often resolve connection issues and prepare the remote for re-pairing. Being aware of how to properly power off and reset your device can improve overall performance and longevity. Ensuring the remote’s compatibility with the ceiling fan is also crucial for successful re-pairing and operation. Regularly checking for filter replacement requirements can prevent potential malfunctions that interfere with remote functions.
Turning Off the Remote
Turning off your ceiling fan remote is a simple step that can resolve minor glitches or prepare it for pairing. To turn it off, press and hold the power button until the remote powers down. If you notice inconsistent signals, it might be time for a remote battery replacement, as weak batteries can cause signal interference. Removing and reinserting fresh batteries guarantees the remote functions properly and reduces communication issues with the fan. Turning off the remote also helps reset any residual glitches, especially if it’s been used extensively. Keep in mind, turning off the remote periodically can prevent signal interference caused by nearby electronic devices. Additionally, regular electronic device maintenance can help ensure your devices operate smoothly and avoid electronic interference that might affect remote signals. Being aware of cost-effective replacement options for batteries can save you money over time. Once powered down, you can proceed with further troubleshooting or re-pairing steps if needed.
Resetting the Device
Resetting your ceiling fan remote involves powering it off completely to clear any temporary glitches. Start by removing the batteries and waiting for about 30 seconds. This step helps eliminate remote signal interference that might be causing issues. If your remote isn’t responding properly, consider replacing the batteries with fresh ones, as low power can mimic a reset problem. Next, press and hold any button on the remote for a few seconds to drain residual power. Then, reinsert the batteries and turn the remote back on. This process resets the device and may resolve issues caused by signal interference or software glitches. If problems persist, a remote battery replacement is often the simplest fix before attempting re-pairing. Proper maintenance of your remote and unit can prevent many common issues, including ensuring the remote’s battery contacts are clean and secure.
LPHUMEX Universal Ceiling Fan Remote Control Kit, 3-in-1 AC Motor Ceiling Fan Light Timing & Speed Remote, for Hunter/Harbor Breeze/Westinghouse/Honeywell/Other Ceiling Fan lamp
☞Easy Installation – Installation of the Universal Ceiling Fan Remote Controls Kit is a breeze and the looks…
As an affiliate, we earn on qualifying purchases.
As an affiliate, we earn on qualifying purchases.
Resetting the Remote to Factory Settings
If your ceiling fan remote isn’t responding properly or has become unpaired, resetting it to factory settings can often resolve the issue. This step clears any glitches caused by remote battery replacement or signal interference. To do this effectively, follow these steps:
- Remove the remote battery and wait a few seconds before reinserting it.
- Ensure there’s no nearby electronic device causing signal interference.
- Press and hold the remote’s reset or power button for about 10 seconds.
Resetting restores the remote to its original settings, helping it communicate properly with your fan. If issues persist after resetting, consider replacing the batteries or checking for sources of signal interference, which can disrupt remote operation.
Accessing the Remote’s Programming Mode
Accessing the remote’s programming mode is essential for customizing settings or re-pairing it with your ceiling fan. To do this, confirm the remote has fresh batteries—sometimes, remote battery replacement is necessary if signals weaken. Signal interference can also disrupt communication, so move away from other electronics before proceeding. Typically, you’ll press and hold specific buttons, like “Power” or “Reset,” for a few seconds to enter programming mode. Be aware that not all remotes access this mode the same way. Use the table below to identify key buttons and their functions:
| Button(s) | Function |
|---|---|
| Power + Hold | Enter programming mode |
| Reset Button | Factory reset |
| Pairing Button | Initiate re-pairing |
Following these steps guarantees a smooth transition into programming mode without confusion. Additionally, understanding the importance of security systems can help protect your home during any maintenance or troubleshooting process. Being aware of remote control features can also streamline the re-pairing process and prevent potential issues. Knowing how to navigate the process can reduce frustration and ensure proper setup.
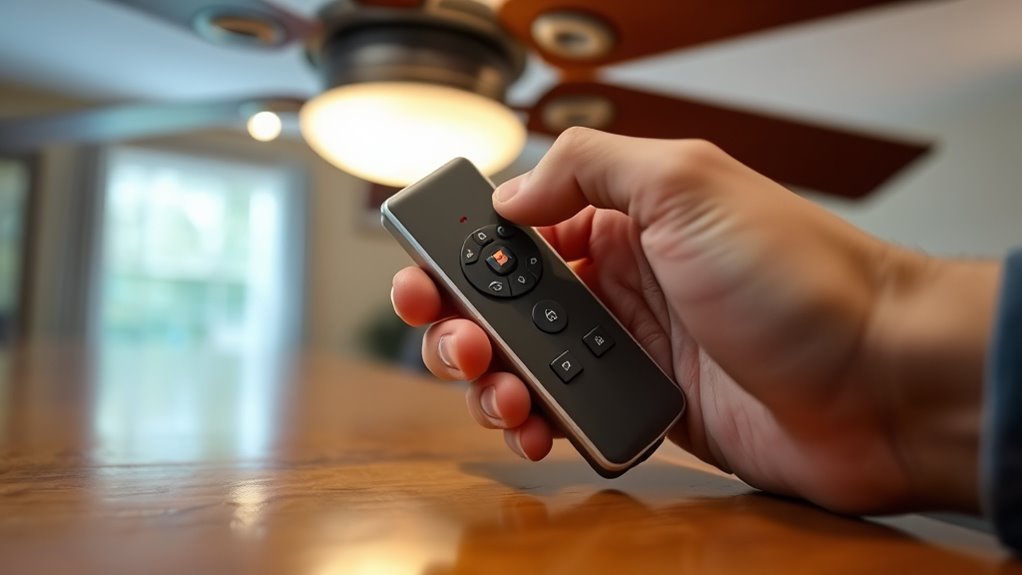
Re-Pairing the Remote With Your Ceiling Fan
To re-pair your remote with the ceiling fan, start by making sure both are within close range and powered on. If needed, replace the remote battery to guarantee a strong signal. Once ready, follow these steps:
- Press and hold the fan’s control switch or a designated reset button until the fan blinks or responds.
- Quickly press and hold the remote’s reset or pairing button for a few seconds.
- Test the connection by using the remote to adjust fan speed or turn it on/off.
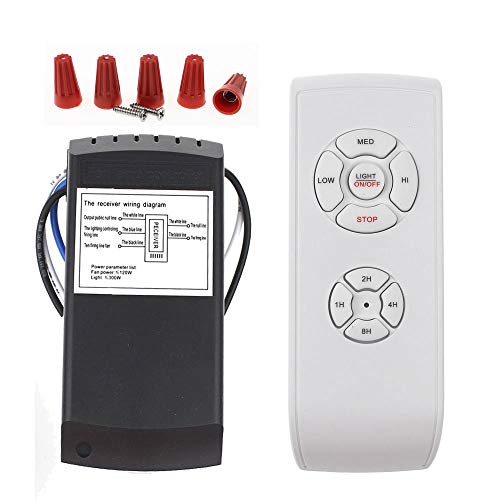
- Some models may include a receiver system that facilitates easier pairing and troubleshooting.
If the remote still doesn’t respond, consider replacing the remote battery or reprogramming the remote for proper fan speed adjustment. Proper pairing restores control and ensures smooth operation.
Troubleshooting Common Re-pairing Issues
Sometimes, even after following the re-pairing steps, the remote still won’t connect properly with your ceiling fan. First, check the remote battery replacement; a weak or dead battery can cause pairing issues. Replace the batteries with fresh ones and try re-pairing again. If that doesn’t work, consider wireless interference troubleshooting. Other electronic devices nearby, like smartphones or wireless routers, might disrupt the signal. Move these devices away from the remote and fan, then attempt re-pairing. Make sure no objects are blocking the remote’s line of sight to the fan’s receiver. If problems persist, resetting the remote and fan again might help clear any glitches. Addressing these common issues can often restore a reliable connection without needing further technical help.
Testing the Remote and Fan Functionality
Before troubleshooting further, it’s important to test whether your remote and fan are functioning correctly. Start by checking remote compatibility—ensure your remote is designed for your fan model. Next, test basic functions like turning the fan on and off. Finally, verify fan speed adjustment by cycling through different settings to see if the remote controls speeds properly. If the remote responds, but the fan doesn’t react as expected, re-pairing might be necessary. Also, confirm that the remote’s batteries are fresh and working. This quick test helps identify whether the issue lies with the remote or the fan itself. Proper testing saves time and ensures you’re addressing the right problem before moving to more complex solutions.
Tips for Maintaining Remote Connectivity
Maintaining a strong remote connection is vital for reliable ceiling fan operation, and you can help prevent issues by keeping a few simple practices in mind. Regular remote battery maintenance ensures consistent power, so replace batteries when they weaken. Avoid mixing old and new batteries or different brands to prevent connection problems. Signal interference prevention is also essential; keep your remote away from electronics like TVs, wireless routers, or cordless phones that can disrupt the signal. Store the remote in a consistent location to reduce accidental drops or damage. Clear obstructions between the remote and fan receiver, and avoid pressing multiple buttons simultaneously. By following these tips, you’ll maintain a strong connection, ensuring your ceiling fan responds promptly whenever you need it.
Frequently Asked Questions
Can I Reset My Ceiling Fan Remote Without Removing Batteries?
You might wonder if you can reset your ceiling fan remote without removing batteries. Usually, removing batteries helps clear remote signal interference and resets the device. While some remotes have a reset button, many require battery removal to guarantee proper reset and compatibility. Without removing batteries, you risk incomplete reset, which can cause remote signal interference or compatibility issues. For a reliable reset, it’s best to follow the manufacturer’s instructions.
How Do I Know if My Remote Needs Resetting or Re-Pairing?
If your ceiling fan remote isn’t responding properly, you might wonder if it needs resetting or re-pairing. Start with remote troubleshooting by checking for signal interference from other electronic devices or obstacles. If the remote still doesn’t work after troubleshooting, it likely needs re-pairing. Usually, a reset can fix minor glitches, but persistent issues often mean you need to re-pair the remote with your fan for proper communication.
Will Resetting the Remote Erase All Custom Settings?
When you reset your remote, it typically erases all custom settings, including fan speed and lighting preferences, requiring you to reprogram it. If you’re troubleshooting, be aware that resetting is a more drastic step. To avoid losing your preferences, check the remote’s instructions first. Resetting can help solve issues, but consider re-pairing or reprogramming as part of your troubleshooting steps to restore full control without losing custom settings.
What Types of Batteries Are Best for Remote Longevity?
For remote longevity, use high-quality alkaline batteries, as they offer better battery maintenance and longer life. Avoid cheap or rechargeable batteries, which may not provide consistent power and can harm remote compatibility over time. Regularly check and replace batteries before they die completely to prevent leaks or damage. This proactive approach guarantees your remote stays reliable, extending its lifespan and maintaining ideal performance without interruptions.
How Often Should I Re-Pair My Ceiling Fan Remote for Optimal Performance?
Imagine your ceiling fan remote suddenly stops syncing with the fan. You should re-pair it when you notice remote synchronization issues or inconsistent operation. Typically, doing this every 6 to 12 months helps maintain peak performance. Regular battery maintenance, like replacing batteries promptly, also supports smooth remote function, reducing the need for frequent re-pairings. Keep an eye on performance, and re-pair only when necessary to ensure seamless control.
Conclusion
Now that you’ve reset and re-paired your ceiling fan remote, think of it as restoring harmony between two friends after a misunderstanding. While the remote’s buttons and the fan’s motor once seemed disconnected, your efforts have bridged that gap. With a simple reset, you’ve transformed a silent, unresponsive device into a smoothly functioning system. Just like reconnecting two puzzle pieces, your patience has brought back effortless control and comfort to your space.