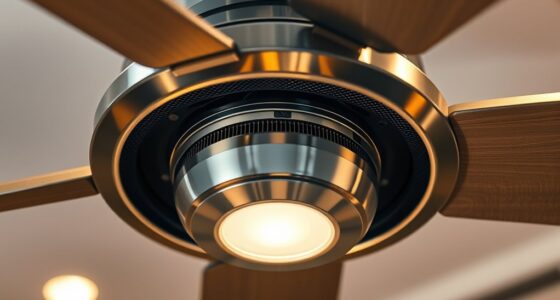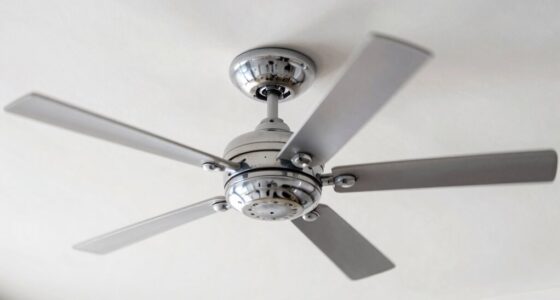

If your fan has lost speed or struggles to start, a faulty capacitor is often to blame. First, look for signs like swelling, leakage, or noise, and use a multimeter to test capacitance. Make sure the fan is unplugged, safely discharge the capacitor, then locate and remove it carefully. Match the new capacitor to the original specs, install it properly, and test the fan for improved performance. Continuing can help you master each step for a smooth repair.
Key Takeaways
- Identify symptoms like sluggish fan speed, humming, or failure to start, indicating a potential capacitor issue.
- Safely disassemble the fan and discharge the old capacitor before replacing it.
- Select a replacement capacitor with matching capacitance, voltage rating, and physical size for compatibility.
- Properly connect the new capacitor, ensuring correct polarity if applicable, and secure it firmly in place.
- Test the fan post-replacement for restored speed, smooth operation, and absence of unusual noises or vibrations.

Ceiling Fan Capacitor CBB61 4.5uf + 6uf + 5uf 5wire 250V, Ceiling Fan Switch 3 Speed 4 Wire Pull Chain Switch for Fan, Wall Lamps, Light (Silver)
Ceiling Fan Kit:CBB61 fan capacitor, 4.5uF + 6uF + 5uF, 5-coloured wires, 250V-300VAC, 50/60HZ, 70 Celsius maximum operating…
As an affiliate, we earn on qualifying purchases.
As an affiliate, we earn on qualifying purchases.
Recognizing Signs of Capacitor Failure
How can you tell if a capacitor is failing? One of the first clues is a shortened capacitor lifespan, meaning it doesn’t last as long as expected. Common failure symptoms include the fan struggling to start, making humming noises, or running intermittently. You might notice the fan doesn’t reach full speed or stops working altogether. Swollen or leaking capacitors are visible signs of failure, indicating internal damage. If your fan suddenly lost power or cycles on and off, it’s likely due to a failing capacitor. Recognizing these symptoms early helps prevent further damage and ensures you can replace the faulty component promptly. Being attentive to these signs keeps your fan running smoothly and extends its overall lifespan. Additionally, capacitance value significantly influences the performance and longevity of electronic components, highlighting the importance of proper maintenance and timely replacement.
Understanding the role of capacitors in electronic devices can help you better identify when they are malfunctioning and need replacement.

Klein Tools MM325 Multimeter, Digital Manual-Ranging 600V AC/DC Voltage Tester, Tests Batteries, Current, Resistance, Diodes, and Continuity
VERSATILE FUNCTIONALITY: Measures AC/DC voltage up to 600V, 10A DC current, 2MΩ resistance; additional features include continuity, diode…
As an affiliate, we earn on qualifying purchases.
As an affiliate, we earn on qualifying purchases.
Tools and Materials Needed for Replacement

To replace a failing capacitor effectively, gather the right tools and materials before starting the job. Knowing the capacitor types—such as start and run capacitors—helps ensure you choose the correct replacement. You’ll need basic tools for electrical work and safety. Here are the essentials:
Gather essential tools and understand capacitor types to ensure a safe, effective replacement.
- Screwdrivers (flathead and Phillips)
- Multimeter for testing capacitor health
- Replacement capacitor matching the original’s specifications
- Insulated gloves for safety during handling
Having these items ready helps you avoid delays and accidental damage. Remember, proper maintenance tips include always verifying capacitor ratings and ensuring the fan is unplugged before working. Using the right tools and understanding capacitor types will make your replacement safer and more effective, restoring your fan’s performance efficiently. Attention to detail during the process can significantly impact the success of your repair. Additionally, understanding capacitor specifications can help prevent future issues and ensure compatibility, especially since capacitor types such as start and run capacitors have different functions and requirements.

VEXUNGA 45/5 uF 45+5 MFD 370V or 440V Dual Run Start Round A/C Capacitor 45 5 uF 370 440 Volt VAC CBB65B Air Conditioner Capacitors for AC Unit Fan Motor Start or Heat Pump or Condenser Straight Cool
VEXUNGA 45+5 uF ±6% 370/440 VAC CBB65 dual run start capacitor replacement for BOTH 370 & 440 Volt…
As an affiliate, we earn on qualifying purchases.
As an affiliate, we earn on qualifying purchases.
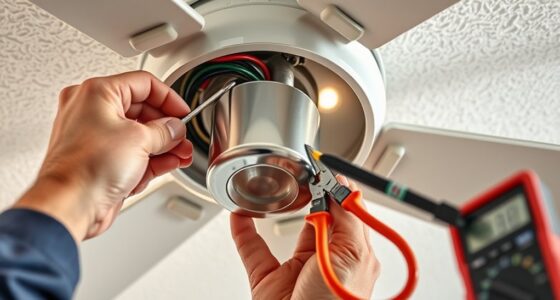
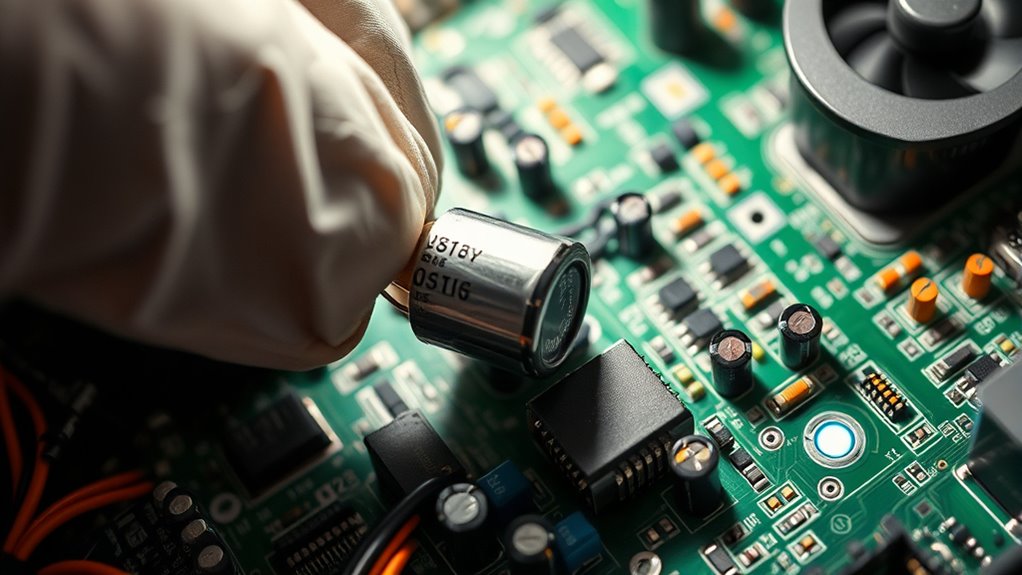
Safely Discharging and Preparing the Fan
Before you start replacing the capacitor, it’s vital to safely discharge any stored electricity to prevent shocks or damage. Capacitor safety is essential, as stored energy can be dangerous even after unplugging the fan. To prepare the fan, turn off the power and unplug it from the outlet. Use an insulated screwdriver to short the capacitor terminals, guaranteeing all residual charge is released. Wear safety gloves and eye protection for extra safety. Proper fan preparation minimizes risks and guarantees a smooth replacement process. Take your time to confirm no electricity remains before handling internal components. Discharging the capacitor correctly protects you and preserves the integrity of your fan during repair. It’s also important to understand the types of headphone jacks involved, as different models may require specific tools or procedures. Always prioritize safety protocols to prevent accidents and guarantee a successful capacitor replacement. Additionally, consulting the manufacturer’s guidelines can provide specific instructions tailored to your fan model. Ensuring proper electrical safety procedures can further prevent accidents during the repair process.

BETOOLL 8PCS Pneumatic Fan Clutch Wrench – 43300 Removal Tool Kit, Auto Repair Spanner Kit Installs Compatible With Ford, GM, Chrysler and Jeep
Fitment: Compatible with Ford, GM, Chrysler & Jeep, fit for 4.3L, 5.0L, or 5.7L GM pick up (van,…
As an affiliate, we earn on qualifying purchases.
As an affiliate, we earn on qualifying purchases.
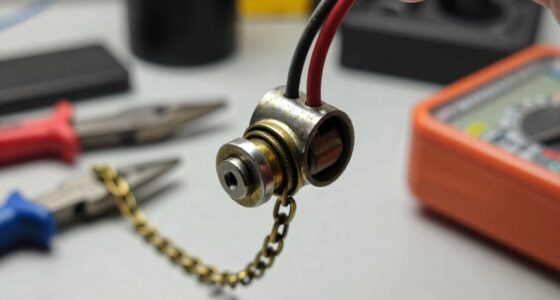
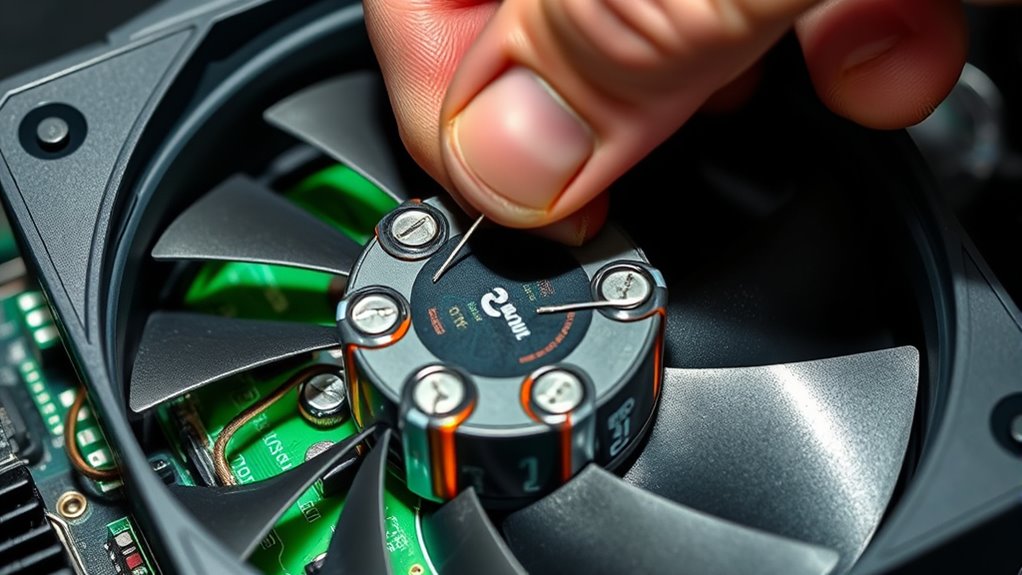
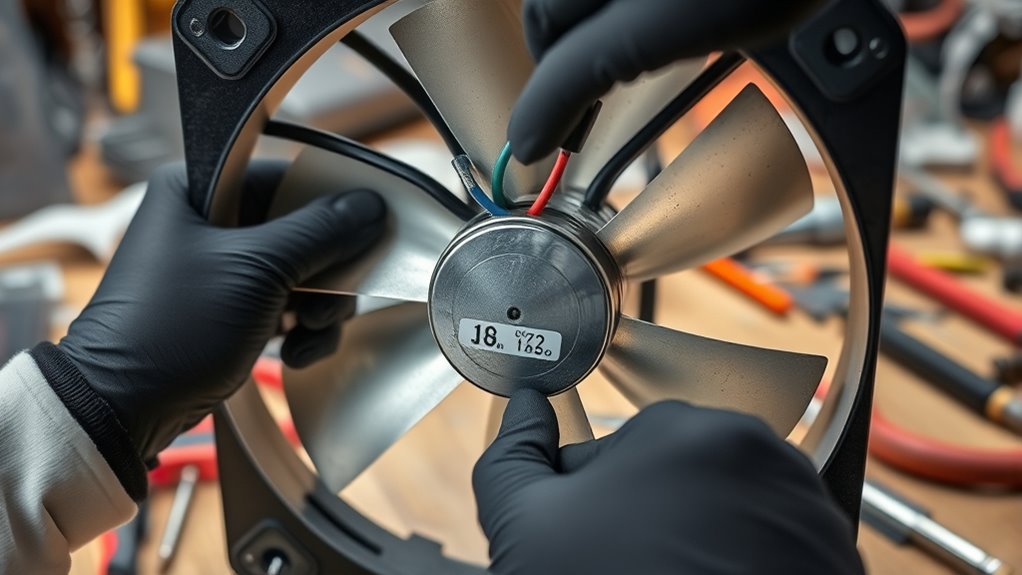
Locating and Identifying Faulty Capacitors
To find faulty capacitors, start by inspecting them closely for any visible damage like bulges, leaks, or discoloration. Then, use testing tools such as a multimeter to check for proper capacitance and continuity. This approach helps you quickly identify which capacitors need replacement. Additionally, understanding the celebrity transformations and their journeys can provide insights into resilience and recovery, much like restoring a fan to its original performance. Recognizing the importance of automotive water spot removers can also be useful if your fan is part of a vehicle climate system, ensuring it remains clean and efficient. For fans integrated into vehicle systems, verifying the performance upgrades can help optimize overall functionality and longevity.
Spotting Visual Damage
Visual inspection is your first step in identifying faulty capacitors. Carefully examine the capacitor and surrounding area for signs of damage or irregularities. Look for bulging tops, leaks, or cracks on the component itself. Pay attention to the component markings; these labels can help you verify if the capacitor matches the specifications or is damaged. Faulty capacitors often show visible signs that stand out during a close visual inspection.
- Swollen or bulging tops
- Leaking electrolyte or discoloration
- Burn marks or scorch spots
- Cracks or deformation in the casing
Using Testing Tools
How can you effectively identify faulty capacitors using testing tools? First, you’ll need a multimeter or a capacitance tester. These tools help measure capacitance and check for shorts or leaks. A faulty capacitor often shows reduced capacity, signs of bulging, or leakage, which can impair the fan motor’s efficiency and reduce capacitor lifespan. Use the tester to measure the capacitor’s capacitance, comparing it to the rated value. If it’s considerably lower or shows an open circuit, replace it. Here’s a quick visual guide:
| Test Result | Typical Condition | Action |
|---|---|---|
| Capacitance within range | Good condition, capacitor is healthy | Keep it in use |
| Capacitance too low | Faulty, reduced ability to store charge | Replace immediately |
| Open circuit | Capacitor is broken or failed | Replace now |
| Short circuit | Excessive current flow, dangerous | Replace immediately |
| Bulging/leaking | Physical damage, capacitor near end of lifespan | Replace promptly |
Additionally, inspecting the physical appearance of the capacitor can help identify issues before testing, especially if signs of bulging or leaking are visible. Proper testing and visual inspection are crucial for maintaining electrical safety, as well as for ensuring accurate diagnosis. Moreover, understanding the role of capacitors in the circuit can help you better interpret test results and prevent unnecessary replacements.
Selecting Suitable Replacement Capacitors
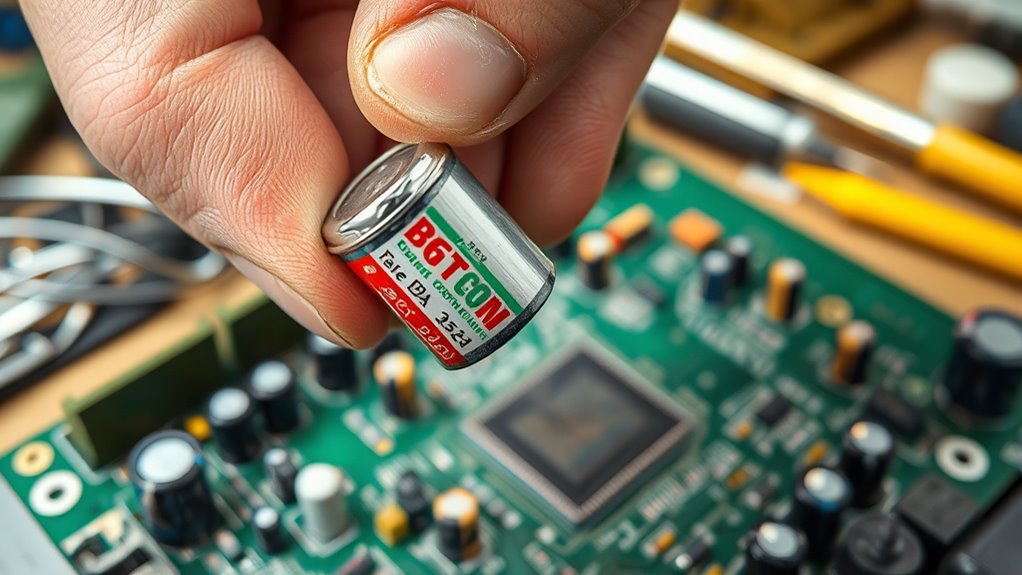
Choosing the right replacement capacitor is essential to guarantee your device functions properly and remains reliable. You need to match the original specifications closely, paying attention to capacitance, voltage rating, and physical size. Understanding capacitor chemistry helps you select the right type—electrolytic, film, or ceramic—based on the application and performance needs. Cost considerations also play a role; high-quality capacitors may cost more upfront but last longer and provide better reliability. When selecting replacements, consider these factors:
- Capacitance and voltage ratings
- Compatibility with existing circuit design
- Capacitor chemistry suited for your application
- Long-term durability versus initial cost
- Electrolytic capacitors are commonly used in fan motors due to their high capacitance values and cost-effectiveness, making them a popular choice for replacements.
Making informed choices ensures AI security concerns are addressed, and superior performance and prevents future issues.
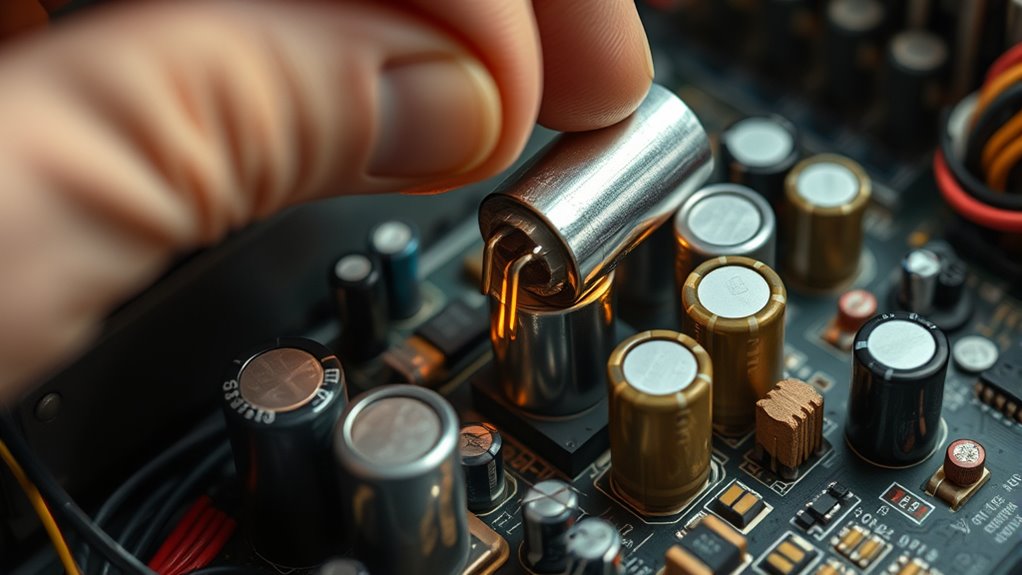
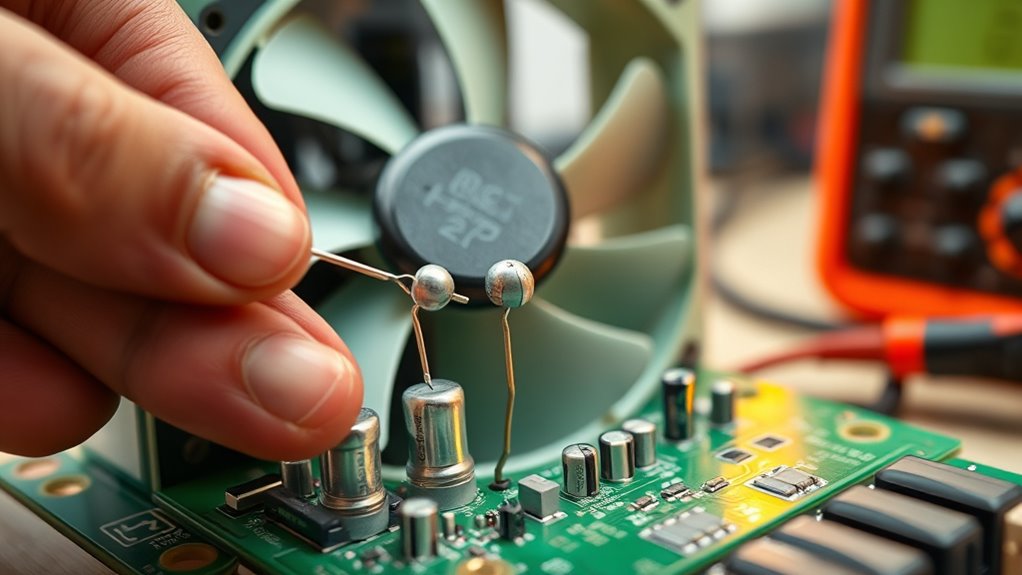
Installing New Capacitors Correctly

To guarantee your new capacitors function reliably, proper installation is essential. First, verify capacitor compatibility by checking voltage and capacitance ratings match the original specifications. Before handling the capacitor, disconnect the power and discharge any residual voltage for installation safety. Carefully connect the terminals, respecting polarity if applicable, and secure the capacitor firmly in its mounting. Avoid touching exposed terminals or wiring while working. Use insulated tools to prevent accidental shorts. Double-check all connections for tightness and correctness. Proper orientation and secure mounting help prevent future issues. Additionally, selecting a preppy dog name that suits the character of your pet can reflect their personality and style. Remember, careful handling and attention to detail during installation safeguard both your equipment and your safety, ensuring your replacement capacitors perform effectively and last longer. Incorporating industry best practices during installation can further enhance reliability and safety. Following established testing procedures can help confirm that your capacitors are functioning correctly after installation.
Testing the Fan After Replacement
Have you tested the fan after installing the new capacitor to make sure it operates correctly? Proper testing ensures your fan runs smoothly and safely. Start with an airflow assessment to confirm the fan is moving air effectively, indicating it’s functioning at its best. Listen carefully for any unusual noise during operation, as noise evaluation can reveal issues like imbalance or electrical problems. Check if the fan reaches its intended speed and maintains consistent performance. Observe for vibrations or wobbling, which may suggest installation issues. Finally, verify that the fan switches on and off without hesitation. These steps help confirm your capacitor replacement was successful and the fan is restored to its proper working condition.
Frequently Asked Questions
How Often Should Capacitors Be Checked or Replaced Proactively?
You should check your capacitor’s lifespan regularly as part of preventive maintenance, ideally every 1 to 2 years. Replacing capacitors proactively helps prevent unexpected failures that could cause equipment downtime. Look for signs like bulging tops or leaks, which indicate it’s time to replace them. Regular inspections ensure your system runs efficiently, saving energy and avoiding costly repairs. Staying ahead with preventive maintenance keeps your equipment in peak condition longer.
Can Capacitor Replacement Fix All Fan Speed Issues?
You might think replacing a capacitor solves all fan speed issues, but that’s not always the case. While capacitor lifespan affects performance, other factors like motor problems or wiring faults can also cause trouble. Fan speed diagnosis helps identify the root cause. So, swapping capacitors can restore lost speeds, but it’s not a guaranteed fix for every issue. Always consider a thorough inspection to pinpoint the real problem.
Are There Safety Risks During Capacitor Replacement for Beginners?
When replacing capacitors, safety is essential. You might face risks like electrical shock if you don’t follow proper handling precautions. Always unplug the fan and discharge the capacitor before working on it. Use insulated tools and wear gloves to protect yourself. If you’re a beginner, it’s best to understand basic electrical safety and avoid working on high-voltage components without proper knowledge, as mishandling can lead to injury.
What Are the Signs of a Capacitor That’S About to Fail?
You notice warning signs like strange noises, frequent motor starts and stops, or reduced fan speeds, signaling a capacitor’s impending failure. These signs, along with bulging or leaking caps, indicate the end of its lifespan. Keep an eye out for these warning signs to prevent sudden breakdowns, as a failing capacitor can cause equipment damage. Regular inspections help catch issues early, ensuring your system runs smoothly and efficiently.
Is Professional Help Necessary for Capacitor Replacement?
You might wonder if you need professional expertise to replace a capacitor. While DIY safety is important, capacitor replacement can be risky due to electrical hazards. If you’re not experienced with electrical work, it’s best to seek professional help to guarantee the job is done safely and correctly. Professionals have the right tools and knowledge to handle the replacement properly, reducing the risk of damage or injury.
Conclusion
Now that you’ve replaced those capacitors, your fan will roar back to life, faster than a cheetah on energy drinks. No more sluggish spins or half-hearted hums—just pure, unadulterated airflow. Think of your fan as a superhero in disguise, waiting to release its full power. So go ahead, enjoy the breeze, and remember: with a little DIY magic, you’ve turned a tired old fan into a turbocharged wind machine!