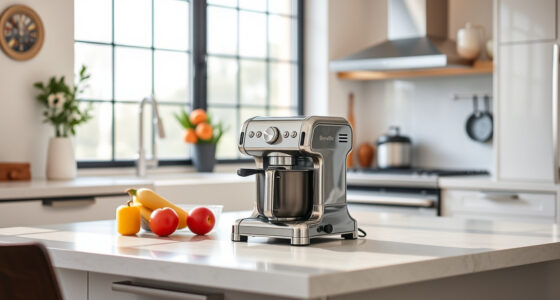
If your KitchenAid Artisan Series 5 Quart Tilt Head Stand Mixer begins making a grinding noise, it can indicate a mechanical issue or debris interfering with its operation. Addressing this promptly ensures your mixer continues to deliver excellent results without damage.
This guide provides practical, step-by-step troubleshooting tips to identify and fix common causes of grinding noises, keeping your mixer running smoothly and safely.
Key Takeaways
| Identify the cause | Grinding noise often results from debris, worn parts, or misalignment. |
| Safety first | Always unplug your mixer before inspecting or repairing. |
| Regular maintenance helps | Cleaning and checking parts can prevent noise issues. |
| Properly tighten parts | Loose screws or attachments can cause grinding sounds. |
| Seek professional help | If unsure, consult a technician to avoid further damage. |

KitchenAid Artisan Series 5 Quart Tilt Head Stand Mixer with Pouring Shield KSM150PS, Milkshake
- Durable Metal Construction: Built to last with 59 touchpoints
- 5 Quart Stainless Steel Bowl: Handles small or large batches, dishwasher safe
- Tilt-Head Design: Easy ingredient addition and access to bowl
As an affiliate, we earn on qualifying purchases.
Step 1: Unplug and Inspect the Mixer
- Ensure the mixer is unplugged from the power outlet for safety.
- Remove the beater, bowl, and pouring shield.
- Visually inspect the beater shaft, drive assembly, and surrounding parts for debris, buildup, or damage.
Step 2: Check for Obstructions or Debris
Look inside the mixer housing and around the drive gear and beater connection for any stuck particles, dried batter, or foreign objects. Clear any obstructions carefully with a soft brush or cloth.
Step 3: Tighten Loose Parts and Screws
- Verify all screws, bolts, and attachments are securely fastened, especially around the head and drive assembly.
- If any parts are loose, tighten them gently but firmly.
Step 4: Lubricate Moving Parts (if applicable)
Some grinding noises may result from friction in moving parts. Use a small amount of food-grade lubricant on the drive gear or contact points, if recommended by the manufacturer. Consult your user manual for specific guidance.
Step 5: Test the Mixer
- Reassemble the beater, bowl, and shields.
- Plug the mixer back in and run it at a low speed to observe if the grinding noise persists.
The Products in This Guide
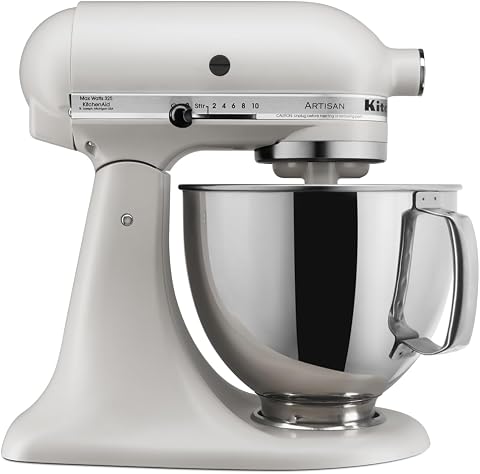
KitchenAid Artisan Series 5 Quart Tilt Head Stand Mixer
- ✔ Power: 325 watts
- ✔ Weight: 26 pounds
- ✔ Dimensions: 14 x 8 x 14 inches

KitchenAid Stand Mixer Attachment
- ✔ Material: Metal
- ✔ Includes: Multiple grinding plates
- ✔ Size: Sturdy and compact
KitchenAid Artisan Series 5 Quart Tilt Head Stand Mixer
The KitchenAid Artisan Series 5 Quart Tilt Head Stand Mixer is built with durable metal construction, ensuring longevity. Its tilt-head design provides easy access for cleaning and inspection, making maintenance straightforward.
If you experience grinding noises, regular inspection and cleaning can often resolve the issue without needing replacement parts.
Pros:
- Durable metal build
- Easy tilt-head access
- Powerful 10-speed motor
- Large 5-quart bowl
Cons:
- Can be heavy to move
- Parts may require occasional cleaning
- Potential for gear wear over time
Best for: Home bakers and cooking enthusiasts seeking durability and versatility.
Not ideal for: Commercial kitchens or heavy-duty industrial use.
Bottom line: A durable, versatile mixer designed for reliable home use, with easy maintenance.
KitchenAid Stand Mixer Attachment
The KitchenAid Metal Food Grinder attachment transforms your stand mixer into a versatile food processor for grinding meats, vegetables, and more. Ideal for addressing grinding noises caused by jammed or damaged internal gears, this attachment can help restore smooth operation.
It’s a great addition if you frequently grind ingredients and want to maintain your mixer’s performance.
Pros:
- Multiple grinding plates included
- Sturdy metal construction
- Easy to attach and use
- Large food tray
Cons:
- Requires separate purchase
- Cleaning can be tedious
- Adds weight to the mixer setup
Best for: Home cooks wanting fresh ground ingredients and troubleshooting grinding issues.
Not ideal for: For those not frequently grinding ingredients or with limited space.
Bottom line: A reliable attachment for grinding needs and troubleshooting mixer noise issues.
Frequently Asked Questions
Why is my KitchenAid mixer making a grinding noise?
The noise may be caused by debris, worn gear components, loose parts, or buildup inside the housing. Inspecting and cleaning can often resolve the issue.
Is it safe to open my KitchenAid mixer to fix the grinding noise?
Yes, but only if you unplug the mixer first. Follow safety precautions, and avoid opening the housing if you’re unsure or if the mixer is under warranty.
How often should I clean or inspect my mixer to prevent grinding noises?
Regularly check the beater area and drive parts every few months, especially if you use the mixer frequently or notice unusual sounds.
When should I consider professional repair or replacement?
If cleaning and tightening parts do not resolve the noise, or if you notice internal damage, consult a qualified technician or contact KitchenAid customer service.
Keep Your KitchenAid Running Smoothly
Addressing grinding noises in your KitchenAid Artisan stand mixer involves a combination of inspection, cleaning, tightening, and sometimes professional help. Regular maintenance can prevent issues and extend your mixer’s lifespan, ensuring you always get the best results in your baking and cooking adventures.
Affiliate disclosure: As an Amazon Associate we earn from qualifying purchases. Prices and availability are accurate as of the time of publishing.