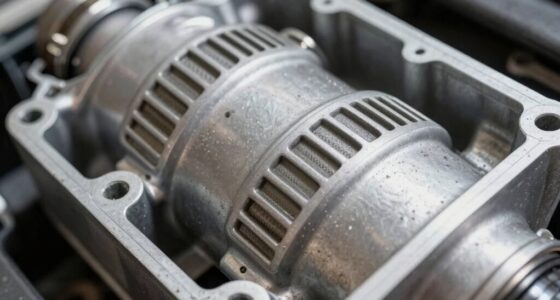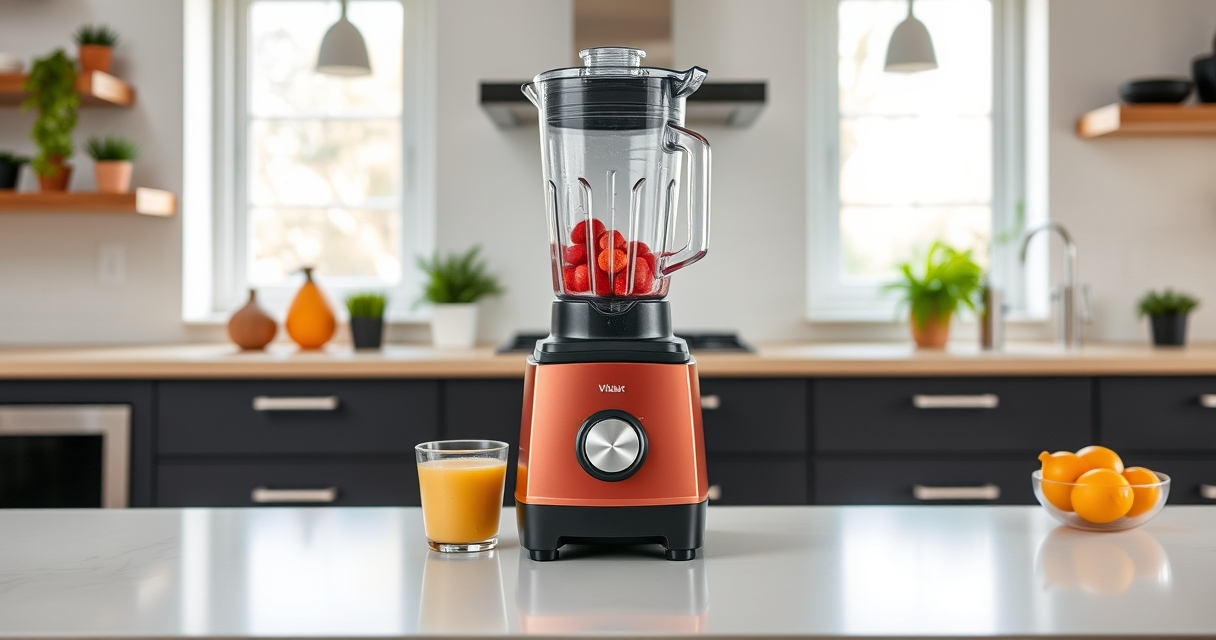

If your Vitamix blender has started emitting a burning smell, it can be both alarming and disruptive to your blending tasks. This issue often points to overheating, motor strain, or build-up inside the machine. Fortunately, with careful troubleshooting and maintenance, you can often restore your blender’s performance and extend its lifespan.

Get home appliances delivered free with Prime
- Fast, free delivery on millions of items
- Prime Video, Amazon Music and more included
- Member-only deals all year
This guide provides clear, safe, and effective steps to identify the cause of the burning smell and resolve it, ensuring your Vitamix continues to deliver smooth, reliable results for smoothies, soups, and more.
Key Takeaways
| Identify the smell source | Determine if the smell is from the motor or the container. |
| Clean the blender thoroughly | Remove residue and buildup that may cause overheating. |
| Allow the motor to cool | Rest the blender before attempting to use it again. |
| Check for mechanical issues | Inspect blades and seals for damage or obstruction. |
| Perform regular maintenance | Prevent future issues with routine cleaning and checks. |
Step 1: Turn Off and Unplug the Blender
As soon as you notice a burning smell, turn off your Vitamix blender and unplug it from the power outlet. Avoid continuing to use it, as this can cause further damage or pose safety risks. Ensuring the unit is completely unplugged is crucial before inspecting or cleaning.
Step 2: Allow the Blender to Cool
Overheating is a common cause of burning odors. Let the blender sit for at least 15-30 minutes to cool down completely. Do not attempt to open or disassemble the motor base while it’s hot, as this can be dangerous. Cooling allows the motor to reset, reducing the risk of damage when you restart.
Step 3: Inspect and Clean the Container and Blades
- Remove the container from the motor base and examine the blades for residue, stuck ingredients, or damage.
- If the blades are dirty or sticky, wash the container thoroughly with warm soapy water. Use a brush to clean hard-to-reach areas.
- Check the container’s lid, seals, and vents for buildup or blockages.
If necessary, replace the wet blade assembly with a compatible one, such as the Vitamix Wet Blade Assembly, especially if blades are dull or damaged.
Step 4: Check for Mechanical Issues and Obstructions
Ensure nothing is obstructing the blades or motor shaft. Listen for unusual noises during operation, which can indicate mechanical problems. If blades are stuck or jammed, carefully remove any obstructions and ensure blades spin freely.
Inspect the seals and bearings for wear or damage, as compromised parts can cause overheating and smell.
Step 5: Test the Blender in Short Batches
Once everything is cleaned and inspected, plug the blender back in and run it for short cycles. Use lower speeds initially to reduce strain on the motor. Monitor closely for any signs of overheating or burning smells. If the smell persists, further internal inspection or professional servicing may be necessary.
Tips and Warnings for Long-Term Maintenance
- Regularly clean your blender after each use to prevent residue buildup.
- Avoid overfilling the container, which can strain the motor.
- Use the self-cleaning program regularly to keep internal components in good condition.
- Replace blades or seals as recommended, especially if you notice dullness or damage.
Warning: Never attempt to open the motor base yourself, as it contains electrical components. If the smell persists after cleaning and cooling, contact a professional for repair to avoid voiding your warranty or causing injury.
The Products in This Guide

Vitamix Ascent X3 Blender
- ✔ Container: 48 oz
- ✔ Blade: Stainless steel
- ✔ Color: Shadow Black

Vitamix Wet Blade Assembly
- ✔ Material: Stainless steel
- ✔ Compatibility: 48/64 oz containers
- ✔ Blade size: 4 inches
Vitamix Ascent X3 Blender
The Vitamix Ascent X3 Blender is a versatile, high-performance machine. When it emits a burning smell, following proper troubleshooting steps can resolve the issue without risking damage. Regular maintenance and timely replacements help keep it running smoothly.
Pros:
- Powerful motor with variable speeds
- Self-cleaning program simplifies maintenance
- Durable stainless-steel blades
- Multiple blending programs for versatile use
Cons:
- Overheating can occur if overloaded
- Requires careful cleaning to prevent odors
- Repairs may need professional help
Best for: Home cooks needing reliable, high-quality blending
Not ideal for: Heavy-duty commercial use without professional servicing
Bottom line: Regular cleaning and cautious use are key to preventing burning smells in your Vitamix.
Vitamix Wet Blade Assembly
Replacing the wet blade assembly can restore optimal performance, especially if the original blades are dull or damaged. This assembly is designed for the 48-ounce and 64-ounce standard containers and is straightforward to install.
Pros:
- Durable stainless-steel blades
- Quiet operation
- Easy to replace
- Handles tough ingredients
Cons:
- Not compatible with newer containers
- Limited to specific models
- Replacement needed over time
Best for: Maintaining peak blending performance
Not ideal for: For models outside the specified compatibility
Bottom line: A simple upgrade that keeps your Vitamix blades sharp and effective.
Frequently Asked Questions
What causes a burning smell in my Vitamix?
Overheating due to overloading, residue buildup, or mechanical issues with the blades or motor can cause a burning smell.
Can I fix the smell myself?
Yes, by turning off, cooling, cleaning, and inspecting your blender, you can often resolve the issue. However, avoid opening the motor base yourself.
How often should I clean the blades and container?
Clean the blades and container after each use with warm soapy water. Use the self-cleaning program regularly for maintenance.
When should I replace the blades?
Replace blades if they become dull, damaged, or if cleaning does not eliminate odors after thorough cleaning.
Is it safe to continue using my blender if it smells burnt?
No, continue using it can risk further damage or safety hazards. Turn it off, unplug, and troubleshoot before using again.
Keeping Your Vitamix Fresh and Smelling Great
Addressing a burning smell promptly and following proper maintenance routines can extend the life of your Vitamix blender. Regular cleaning, cautious operation, and timely replacement of worn parts are essential to keep your blender running smoothly and smelling fresh. If problems persist, professional inspection or repair is recommended to ensure safety and performance.
Affiliate disclosure: As an Amazon Associate we earn from qualifying purchases. Prices and availability are accurate as of the time of publishing.
Fall Picks
fall essentials
As an affiliate, we earn on qualifying purchases.