To remove smoke residue from your kitchen ceiling fan, start by turning off and unplugging it for safety. Dust off loose residue with a microfiber cloth, then prepare a gentle cleaning solution like vinegar and water or a mild all-purpose cleaner. Wipe down the blades and motor housing thoroughly, paying special attention to stubborn spots with a soft scrub brush or baking soda paste. Regular cleaning prevents buildup and keeps your fan functioning smoothly—continue exploring for detailed tips and tricks.
Key Takeaways
- Turn off and disconnect the ceiling fan, then allow it to cool before cleaning to ensure safety.
- Dust fan blades gently with a microfiber cloth or soft brush to remove loose smoke residue.
- Use a mild degreasing cleaner or a mixture of warm water and dish soap to scrub away stubborn smoke stains.
- Rinse thoroughly with clean water and dry completely to prevent moisture buildup and streaks.
- Regularly clean and maintain the fan to prevent future smoke residue buildup and improve air quality.
Gathering Your Cleaning Supplies
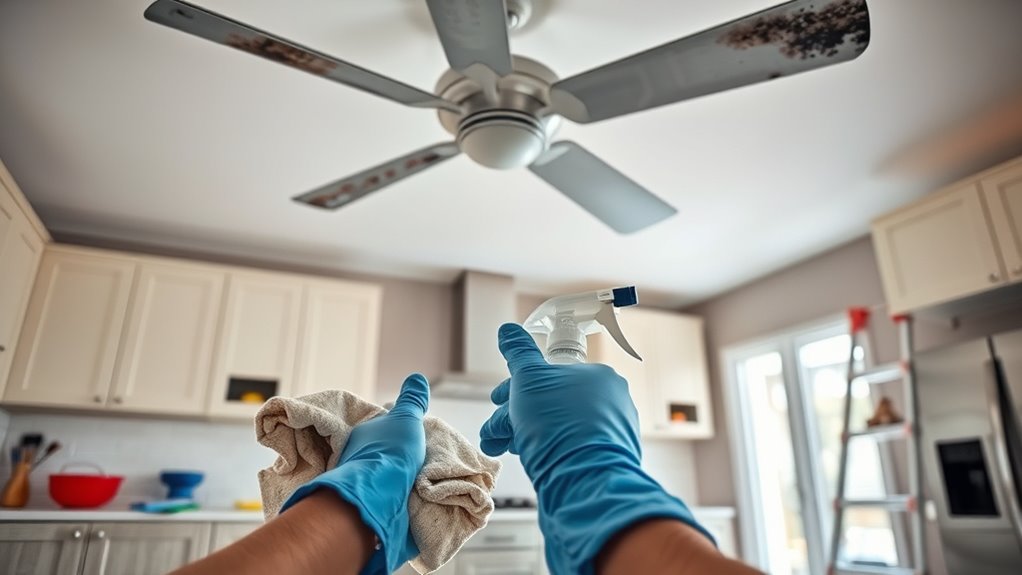
Before you begin cleaning your kitchen ceiling fan, it’s important to gather all the necessary supplies. Start with your cleaning supplies, such as microfiber cloths, a gentle all-purpose cleaner, and a soft brush to remove dust and smoke residue. You might also need a step ladder to reach the fan safely. Don’t forget safety gear—wear gloves to protect your hands from dirt and cleaning chemicals, and safety goggles to shield your eyes from dust or splashes. Having everything ready beforehand prevents multiple trips and keeps the process efficient. Proper preparation makes the task safer, faster, and more effective. Additionally, understanding water safety can help you handle cleaning tasks more securely and prevent accidents.
Turning Off and Preparing the Fan
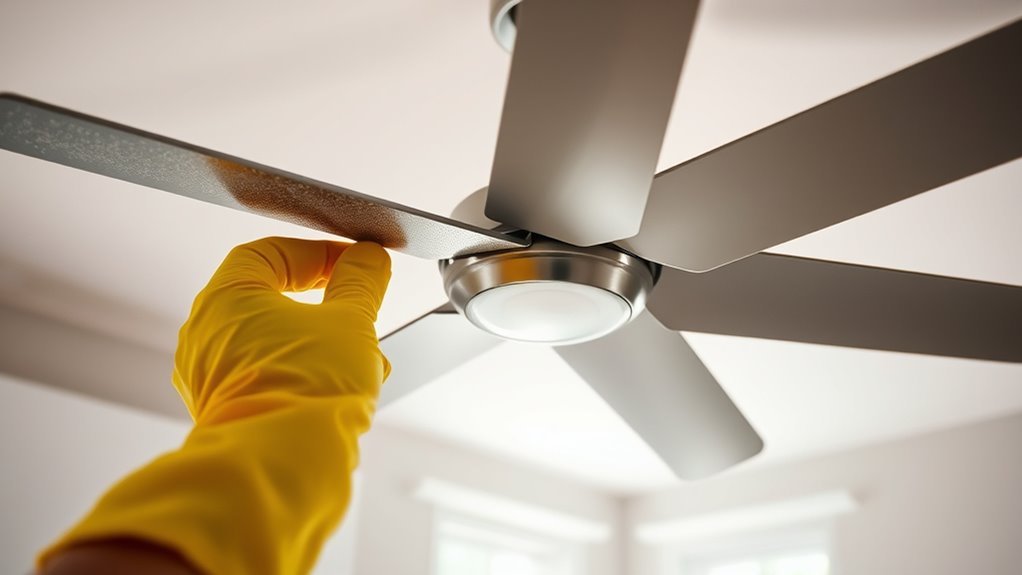
Have you turned off the ceiling fan and the corresponding switch? Ensuring the fan is completely powered down is essential for your safety and to protect the fan motor during cleaning. Before proceeding, turn off the circuit breaker to eliminate any electrical risk. Use the table below to double-check your preparations:
| Step | Action | Safety Tip |
|---|---|---|
| Turn off ceiling fan | Flip switch or pull chain | Confirm fan is stopped |
| Turn off circuit breaker | Switch off at breaker box | Prevent electrical accidents |
| Wait for fan to cool down | Allow 10 minutes | Avoid burns or damage |
| Gather cleaning supplies | Prepare cloths, brushes, gloves | Keep everything within reach |
| Wear protective gear | Gloves, safety glasses | Practice electrical safety |
Additionally, verifying that the fan is completely disconnected helps prevent electrical hazards during cleaning procedures.
Dusting Off Loose Residue

Wondering how to start removing the smoke residue from your kitchen ceiling fan? The first step is to dust off loose residue, which helps eliminate airborne particles that can settle elsewhere. Use a microfiber cloth or a soft duster to gently wipe the fan blades and motor housing. This initial dusting is crucial because it reduces the amount of debris that could become airborne during deeper cleaning. Regular cleaning frequency prevents buildup and keeps residue manageable. Be sure to catch and dispose of the dust properly to avoid spreading particles into the air. Taking this step helps ensure that subsequent cleaning stages will be more effective and less messy. Dusting off loose residue is a quick, essential task to maintain a cleaner, healthier kitchen environment. Proper cleaning tools can make this process easier and more efficient, especially when targeting smoke residue removal. Additionally, ensuring proper air circulation can help reduce lingering smoke particles and improve overall air quality during and after cleaning.
Creating a Cleaning Solution
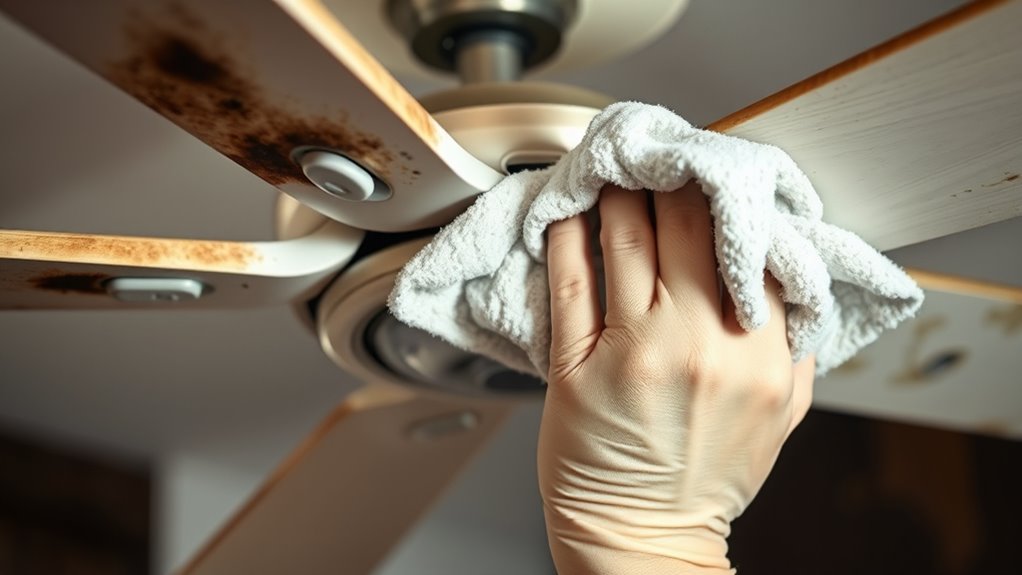
Creating an effective cleaning solution is essential for breaking down stubborn smoke residue on your ceiling fan. You have two options: homemade cleaners or chemical solutions. Homemade cleaners often combine ingredients like baking soda, white vinegar, and dish soap to create a gentle yet effective mixture that lifts grime without harsh chemicals. To make this, mix equal parts white vinegar and water, then add a few drops of dish soap. Additionally, choosing a cleaning solution that is safe for ceiling fan surfaces can prevent damage during the cleaning process. Alternatively, you can opt for chemical solutions designed specifically for grease and smoke residue removal. These commercial cleaners usually come ready-to-use or as concentrates to dilute. Always read labels carefully and test a small area first. Whichever you choose, ensure your solution is strong enough to dissolve residue but safe for your ceiling fan’s surface. Using a HEPA filter air purifier during cleaning can help improve indoor air quality by capturing airborne particles released during the process. Incorporating smart cleaning tools such as electric scrubbers can make the task easier and more efficient, especially for larger ceiling fans.
Cleaning the Fan Blades and Housing
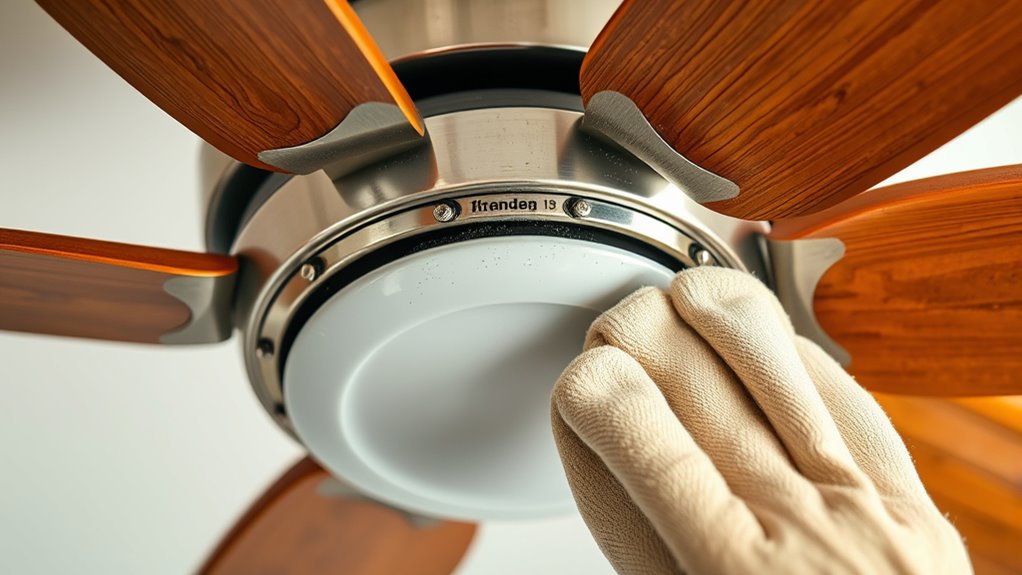
Start by gathering your cleaning supplies, including a gentle cleaner and a soft cloth. Carefully remove dust and grease from the fan blades and housing, making sure to reach all surfaces. To ensure thorough cleaning, pay special attention to removing grease buildup on the blades and housing. Use a damp cloth to wipe down the entire surface, which helps in preventing streaks or new buildup. Finally, wipe everything down thoroughly and dry it to prevent streaks or new buildup.
Preparing Cleaning Supplies
Before you begin cleaning the fan blades and housing, gather the necessary supplies to guarantee an efficient process. Start with a gentle, non-abrasive cleaner suitable for your fan’s materials, whether metal, plastic, or wood. Check cleaning product safety labels to ensure they won’t damage surfaces or leave harmful residues. You’ll need a soft microfiber cloth or sponge to wipe down the blades and housing without scratching. A step ladder or sturdy chair will help you reach high areas comfortably. Keep a small bowl of warm water nearby for rinsing your cloth. Avoid harsh chemicals that could harm the fan’s finish or pose health risks. Regular maintenance with proper cleaning techniques can also help maintain the performance of airless paint sprayers, ensuring longevity and optimal operation. Incorporating AI-powered cleaning tools can further enhance efficiency by providing guided instructions and safety tips. Utilizing proper cleaning techniques can prevent damage and improve overall results. Having all supplies ready beforehand helps you work quickly and effectively, minimizing cleaning time and ensuring a thorough job.
Removing Dust and Grease
Have you ever wondered how to effectively remove dust and grease from your kitchen ceiling fan? Regular cleaning of the fan blades and housing improves air quality and promotes better air circulation. Start by turning off the fan and using a step ladder to reach the blades safely. Use a microfiber cloth or a soft brush to wipe away loose dust and grease build-up. For stubborn grime, dampen the cloth with a mixture of mild dish soap and water, then gently scrub the blades and housing. Be sure to clean both sides of the blades thoroughly. Removing dust and grease not only keeps your fan looking new but also ensures your kitchen’s air remains clean and free of lingering residues. Additionally, performing home maintenance plans can help prevent future buildup and maintain your fan’s optimal performance. Incorporating regular cleaning routines can further extend the lifespan of your kitchen fan and improve overall indoor air quality.
Wiping and Drying Thoroughly
Are you making certain that your ceiling fan blades and housing are completely dry after cleaning? Proper drying prevents moisture buildup, which can cause rust or reduce fan efficiency. Use a clean, dry microfiber cloth to wipe down each blade and the housing thoroughly. Once dry, consider fan blade polishing to restore their shine and maintain smooth operation. Don’t forget to check and lubricate the ceiling fan’s moving parts to keep it running quietly. Regular maintenance, including professional inspection, can help identify issues before they become costly repairs. Here’s a visual to help:
| Fan Blade & Housing | Drying & Polishing Tips |
|---|---|
| Remove smoke residue | Use a microfiber cloth |
| Check for moisture | Apply fan blade polish |
| Ensure smooth operation | Lubricate moving parts |
Removing Stubborn Smoke Residue
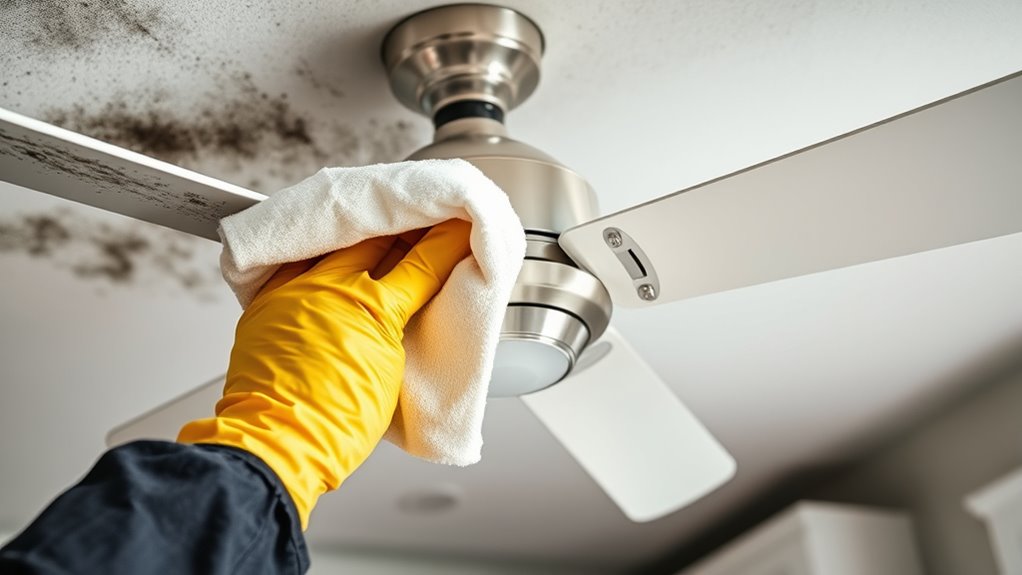
Removing stubborn smoke residue from your kitchen ceiling fan can be challenging, but with the right approach, you can restore its cleanliness. Smoke buildup often causes tough residue that clings to fan blades and housing, making residue removal difficult. To tackle this, start by applying a degreasing cleaner or a mixture of warm water and dish soap directly onto the affected areas. Let it sit for a few minutes to loosen the grime. Use a scrub brush or a soft cloth to scrub away the stubborn residue, applying gentle pressure. For particularly persistent spots, a mixture of baking soda and water can act as a gentle abrasive. Rinse the fan thoroughly with clean water and dry it completely before moving on to wiping and drying.
Wiping Down and Drying the Fan
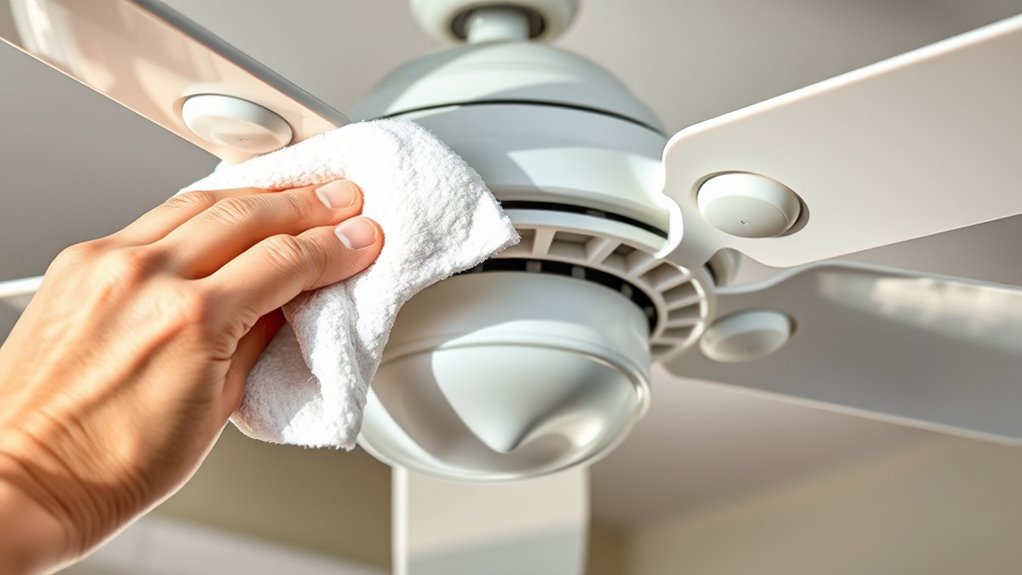
After thoroughly scrubbing away the stubborn residue and rinsing the fan, it’s time to focus on wiping down and drying the ceiling fan. Start by gently wiping each blade with a clean microfiber cloth to remove any remaining residue staining. Next, perform fan blade polishing to restore their shine and prevent future buildup. Finally, dry the blades completely with a dry cloth to prevent water spots and ensure no moisture remains.
Here are the key steps:
- Wipe each blade carefully to eliminate residue staining.
- Use a polishing cloth to restore shine and smoothness.
- Dry thoroughly to prevent water marks and maintain cleanliness.
This process ensures your fan looks fresh and functions efficiently, free of smoke residue.
Preventative Maintenance Tips
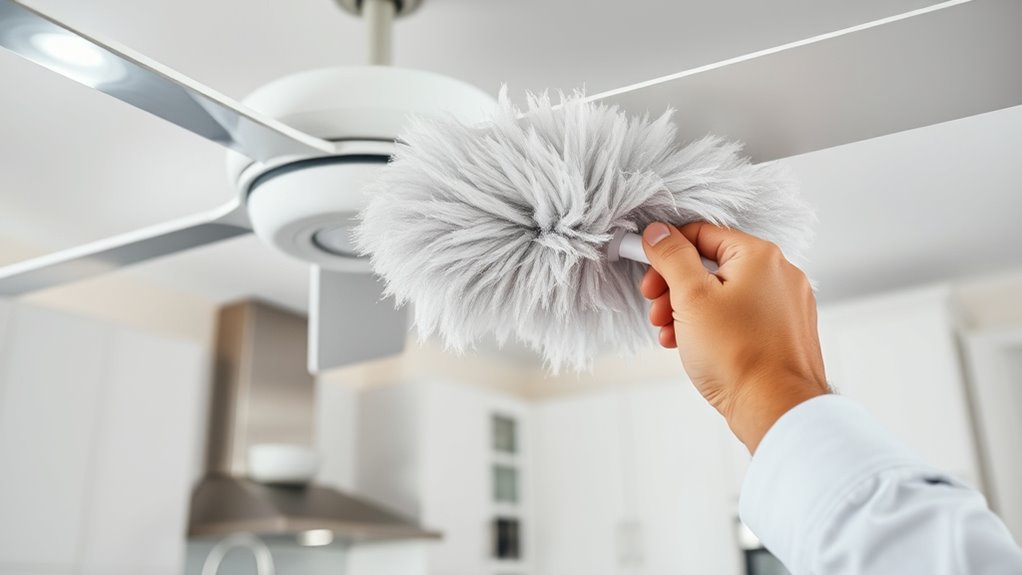
Regularly inspecting and cleaning your kitchen ceiling fan can substantially reduce smoke residue buildup over time. To keep your fan functioning efficiently, focus on preventative measures like replacing air filters regularly and enhancing ventilation. Proper airflow minimizes smoke residue settling on your fan blades and motor parts.
| Maintenance Step | Action | Benefits |
|---|---|---|
| Air filter replacement | Change filters every 1-3 months | Improves air quality, reduces residue |
| Ventilation improvements | Install or upgrade exhaust fans | Removes smoke faster, less buildup |
| Fan blade cleaning | Wipe blades weekly | Prevents residue accumulation |
| Regular inspections | Check for dust and residue monthly | Maintains ideal airflow |
Tips for Maintaining a Fresh Kitchen Environment
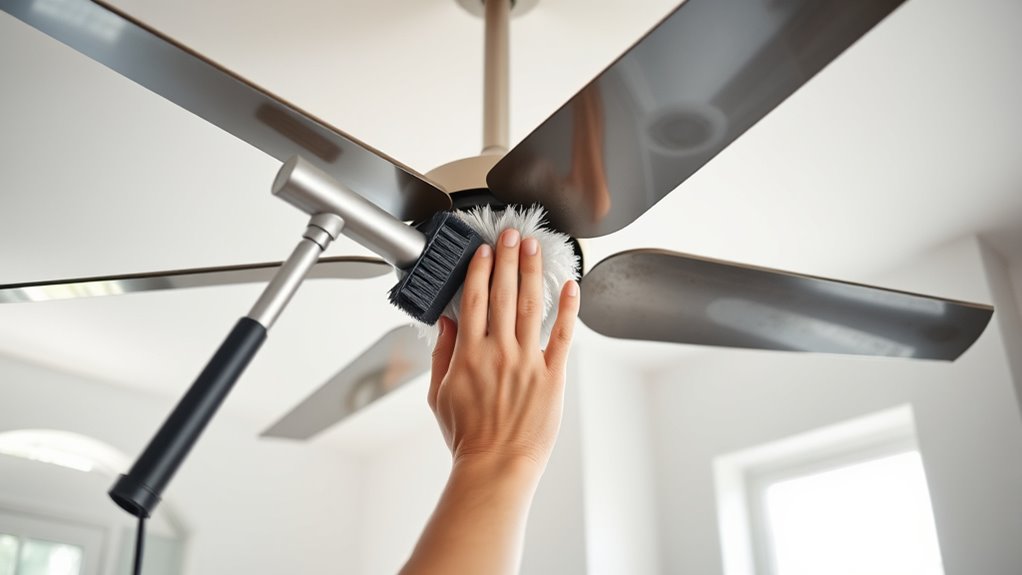
Keeping your kitchen fresh starts with regular ceiling fan cleaning to prevent buildup. Use the right cleaning supplies to effectively remove dust and smoke residue without damaging your fan. Consistent maintenance helps maintain a clean, odor-free environment you’ll enjoy every day.
Regular Ceiling Fan Cleaning
To maintain a fresh and inviting kitchen environment, maintaining a clean ceiling fan regularly is essential. Regular cleaning prevents dust and smoke residue buildup, keeping the air fresher. Start by:
- Wiping fan blades with a microfiber cloth to remove dust and smoke residue, which also helps with fan blade polishing.
- Cleaning the ceiling fan motor carefully to avoid damage and guarantee smooth operation—use a gentle brush or vacuum attachment.
- Inspecting for grease or grime and applying a mild cleaner if needed, which maintains peak fan performance and reduces smoke residue buildup.
Consistent cleaning not only improves air quality but also extends your fan’s lifespan. Remember, regular maintenance is key to fan blade polishing and ceiling fan motor care, ensuring your kitchen stays fresh and residue-free.
Use Proper Cleaning Supplies
Choosing the right cleaning supplies is essential for effectively removing smoke residue and maintaining a fresh kitchen. Use appropriate cleaning supplies like gentle degreasers, microfiber cloths, and soft brushes to avoid damaging your ceiling fan or spreading residue. Always wear safety gear, such as gloves and goggles, to protect your skin and eyes from harsh chemicals. Avoid abrasive scrubbers that can scratch surfaces, and opt for non-toxic, eco-friendly cleaners whenever possible. Keep your cleaning supplies organized and ready for quick access to make regular maintenance easier. Proper supplies ensure thorough cleaning and reduce the risk of chemical exposure. By selecting the right tools and safety gear, you’ll keep your kitchen environment clean, safe, and smelling fresh.
Frequently Asked Questions
How Often Should I Clean My Kitchen Ceiling Fan to Prevent Smoke Buildup?
You might wonder how often you should clean your kitchen ceiling fan to prevent smoke buildup. According to frequency guidelines, it’s best to clean it every 1 to 3 months, depending on your cooking habits. Regular maintenance tips include turning off the fan first, using a damp cloth or vacuum with a brush attachment, and wiping the blades thoroughly. Staying consistent helps keep smoke residue at bay and maintains good air quality.
Are There Eco-Friendly Cleaning Methods for Smoke Residue Removal?
Your quest for eco-friendly cleaning methods is as essential as finding a needle in a haystack. Luckily, biodegradable cleaners and natural solutions exist that effectively remove smoke residue without harming the environment. You can use vinegar, baking soda, or lemon juice as natural cleaners that cut through grime and residue. These options are safe for your home and planet, making your cleaning routine powerful, sustainable, and guilt-free.
Can I Use Regular Household Cleaning Products on Ceiling Fan Components?
You can use household cleaners on ceiling fan components, but choose them carefully. Avoid harsh chemicals that might damage delicate parts. Instead, opt for gentle, eco-friendly options like diluted dish soap or vinegar solutions. Always turn off the fan, disconnect power, and use a soft cloth or brush to clean. Test any cleaner on a small area first to prevent damage, ensuring your ceiling fan stays in good condition.
What Safety Precautions Should I Take During the Cleaning Process?
You should prioritize safety during cleaning by wearing personal protective equipment like gloves and goggles to avoid contact with residue. Turn off the ceiling fan and disconnect it from the power source to guarantee electrical safety. Avoid using water or harsh chemicals directly on electrical parts, and work in a well-ventilated area. Taking these precautions helps prevent accidents and keeps you safe while effectively cleaning your ceiling fan.
How Do I Detect Smoke Residue That’S Hidden or Hard to See?
Think of smoke residue indicators as your secret clues, revealing hidden residue you might not see at first glance. To detect hidden residue, use a bright flashlight and gently inspect ceiling fans, looking for dull or stained areas that catch the light differently. Sometimes, residue hides behind blades or in crevices, so thorough hidden residue detection is key. Trust your keen eye to uncover these unseen signs before they become bigger cleaning challenges.
Conclusion
With a little effort, you can conquer smoke residue and keep your kitchen ceiling fan shining like new. Regular cleaning acts as a refreshing change, preventing stubborn buildup from taking hold. Think of your fan as the heart of your kitchen—keeping it clean ensures it keeps your space fresh and inviting. Stay proactive, and your kitchen will always feel crisp and welcoming, no matter what culinary adventures come your way.


