
If your ceiling fan light isn’t working, start by checking the bulb for burnout and replace it if needed. Then, inspect wiring connections in the junction box for loose or damaged wires, making sure they match standard color codes. Verify that switches or remote controls are functioning properly and confirm the internal socket isn’t corroded. Systematically addressing each of these common issues guarantees safe repair—continue exploring these steps to identify the root cause and restore brightness effectively.
Key Takeaways
- Check and replace burnt-out or damaged bulbs with matching wattage.
- Inspect wiring connections in the junction box for loose or disconnected wires.
- Verify the wall switch, remote, or pull chain is functioning and properly set to “on.”
- Examine internal fan socket and switch mechanisms for corrosion, damage, or wear.
- Follow a systematic troubleshooting process, starting with the bulb and progressing to wiring and controls.
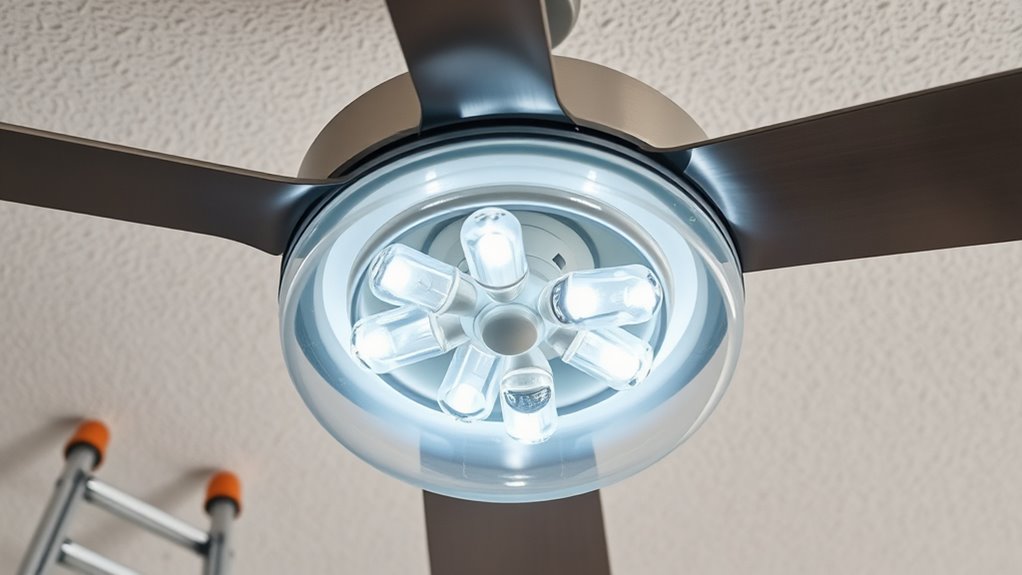
Are you experiencing problems with your ceiling fan lighting not functioning properly? This issue can stem from various electrical or mechanical causes, so a systematic approach is essential to identify and resolve the problem efficiently. Start by ensuring the light bulb isn’t burnt out; this is the most straightforward cause. Turn off the power at the circuit breaker, wait for the bulb to cool, and then carefully remove it. Inspect the filament or LED components for signs of damage or failure. Replace the bulb with a new, compatible type, ensuring it matches the wattage specifications recommended by the manufacturer. Once replaced, restore power and test the lighting. If it still doesn’t operate, the issue likely resides elsewhere in the electrical system.
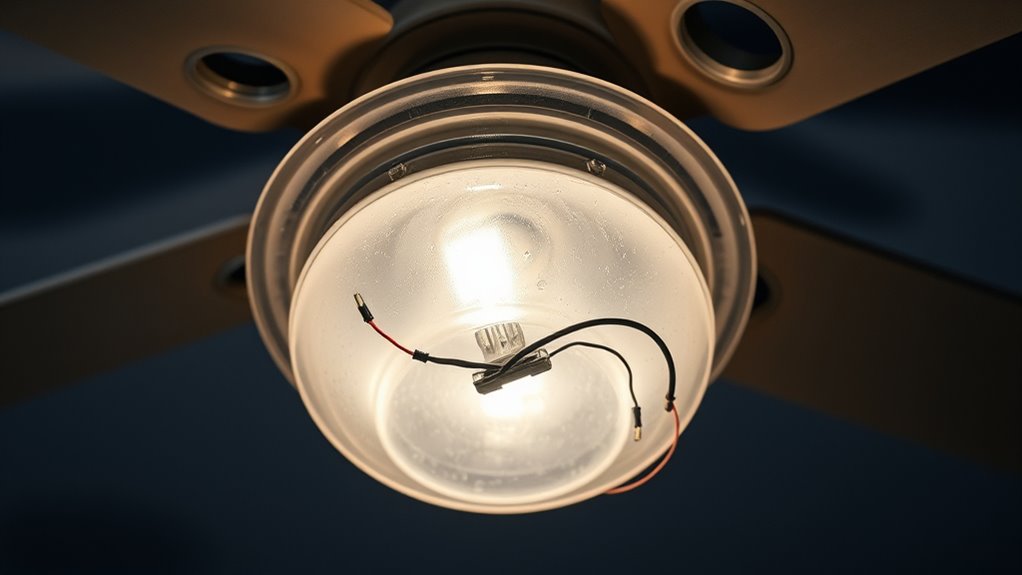
Next, examine the wiring connections within the fan canopy. Turn off power at the breaker to prevent shocks, then remove the canopy cover to access the wiring junction box. Look for loose or disconnected wires; these are often the culprit. Tighten any loose connections using a wire nut and ensure that the wiring matches the fan’s wiring diagram. Confirm that the black (hot) wire connects to the fan’s hot wire, the white (neutral) wire connects to the neutral terminal, and the green or copper wire connects to the ground. Improper wiring can prevent the light from functioning or cause intermittent operation. If you notice damaged or frayed wires, replace them before reassembling.
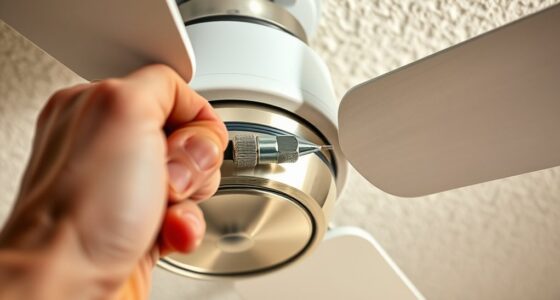
Another common cause involves the wall switch controlling the fan and its light. Verify that the switch is functioning correctly. A faulty switch may either cut power to the light circuit or fail to send a proper signal. Replace the switch if necessary, ensuring it’s rated for the wattage of your ceiling fan’s lights. Additionally, some fans incorporate a pull chain or remote control for lighting. Confirm that these controls are in the correct “on” position and functioning properly. Troubleshooting remote controls involves replacing batteries and re-pairing the device if needed.
Lastly, consider the internal components of the fan itself. If the wiring and bulb are intact and the switch is functional, but the light still won’t turn on, the issue may be with the fan’s internal socket or switch mechanism. Inspect the socket for corrosion, damage, or debris that could impede electrical contact. Clean or replace the socket if necessary. In some cases, the internal switch that controls the light may have failed due to wear or electrical surges, requiring replacement by a qualified technician. Addressing these issues systematically ensures that you restore proper lighting functionality and maintain safe operation. Understanding Glycolic Acid benefits can also improve your skincare routine, but always prioritize safe electrical troubleshooting to prevent hazards.

MAXvolador E12 LED 60W Equivalent Daylight White 5000K Ceiling Fan Bulbs, 600LM CRI 85+ Small Base Candelabra Bulbs, 6W Non-Dimmable, Pack of 6
Energy Efficient: Our E12 LED Bulbs are designed to be exceptionally energy-efficient, and only 6W LED can replace…
As an affiliate, we earn on qualifying purchases.
As an affiliate, we earn on qualifying purchases.
Frequently Asked Questions
Can I Replace My Ceiling Fan Light Bulb With Any Type?
Yes, you can replace your ceiling fan light bulb with any type, but make certain it matches the fixture’s wattage and base size. Check the manufacturer’s specifications for maximum wattage to prevent overheating or damage. Use compatible bulb types, such as LED, incandescent, or CFL, based on your fixture’s socket and electrical ratings. Always turn off power before replacing bulbs to avoid electrical shock. Properly install the new bulb to guarantee safety and peak performance.
How Do I Troubleshoot Flickering Ceiling Fan Lights?
You should first check the bulb tightness; for example, a homeowner fixed flickering by reseating the bulb securely, which resolved poor contact. If flickering persists, turn off the fan and inspect the wiring connections in the fixture. Make certain the dimmer switch or remote control isn’t causing interference. Replacing faulty wiring or upgrading incompatible switches often stabilizes the light. Always turn off power before inspecting electrical components.
Is It Safe to Install a Dimmer Switch on Ceiling Fan Lights?
It’s generally safe to install a dimmer switch on ceiling fan lights if you use a dimmer rated specifically for fans, typically a fan-rated or LED-compatible dimmer. You must verify your fan’s specifications and confirm the dimmer matches the wattage and bulb type. Incorrect installation or incompatible dimmers can pose electrical hazards, so follow the manufacturer’s instructions carefully or consult a licensed electrician for safety and compliance.
What Causes My Ceiling Fan Light to Turn on and off Randomly?
Your ceiling fan light turns on and off randomly likely due to loose wiring, faulty switches, or a failing dimmer, if installed. Voltage fluctuations caused by unstable power sources can also trigger this issue. Additionally, incompatible or damaged bulbs may flicker. To resolve this, turn off power, check all wiring connections, replace faulty switches, or test with different bulbs. If unsure, consult a qualified electrician for a thorough inspection.
How Can I Upgrade to Energy-Efficient Lighting on My Ceiling Fan?
If you’re tired of your ancient, energy-guzzling bulbs wasting money, upgrade to LED or CFL bulbs designed for ceiling fans. Switch out your current bulbs with those labeled “energy-efficient,” ensuring they match the wattage and base type. Use a compatible dimmer switch if needed. This simple upgrade reduces energy consumption, extends bulb lifespan, and helps your wallet—because who doesn’t love saving money while pretending to be eco-friendly?

Hunter 18-24 inch DC Accessory Extension Wire Kit for Ceiling Fans – 99696
The 18-24 inch wire kit makes adding a downrod simple with our easy-to-follow instructions
As an affiliate, we earn on qualifying purchases.
As an affiliate, we earn on qualifying purchases.
Conclusion
Addressing common ceiling fan lighting issues requires careful troubleshooting and understanding of electrical components. By inspecting wiring, replacing faulty bulbs, or adjusting connections, you can restore peak lighting performance. Don’t let electrical glitches dim your space—are you ready to implement these solutions and regain control over your ceiling fan’s illumination? With precise diagnostics and proper maintenance, you’ll ensure safe, efficient lighting that enhances your environment’s comfort and functionality.
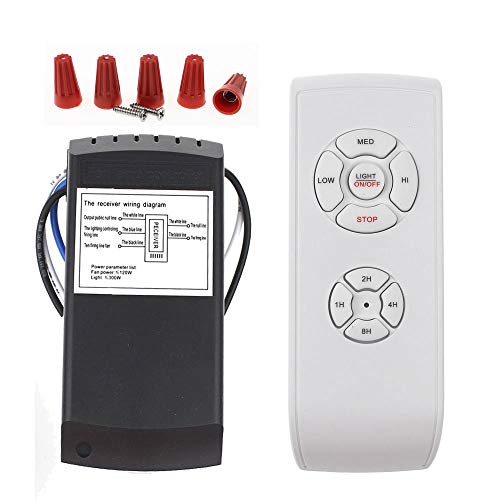
LPHUMEX Universal Ceiling Fan Remote Control Kit, 3-in-1 AC Motor Ceiling Fan Light Timing & Speed Remote, for Hunter/Harbor Breeze/Westinghouse/Honeywell/Other Ceiling Fan lamp
☞Easy Installation – Installation of the Universal Ceiling Fan Remote Controls Kit is a breeze and the looks…
As an affiliate, we earn on qualifying purchases.
As an affiliate, we earn on qualifying purchases.
ceiling fan light socket
As an affiliate, we earn on qualifying purchases.
As an affiliate, we earn on qualifying purchases.