
To replace an old ceiling fan with a new model, first turn off power at the breaker and verify disconnection with a voltage tester. Carefully remove the existing fan, noting wiring connections, and make certain the electrical box is rated for ceiling fans. Follow manufacturer instructions to wire the new fan securely, attach the mounting bracket firmly, and balance the blades for smooth operation. Making safety and compliance a priority is vital—continue along for detailed installation steps.
Key Takeaways
- Turn off power and verify no voltage before disassembly to ensure safety during removal and installation.
- Remove the old fan, noting wiring connections and mounting details for the new setup.
- Inspect and, if necessary, replace the electrical box with a UL-listed fan-rated box for safety and support.
- Follow manufacturer instructions carefully when wiring and assembling the new fan, ensuring secure, insulated connections.
- Test the new fan thoroughly for proper operation, balance, and stability before completing the final setup.

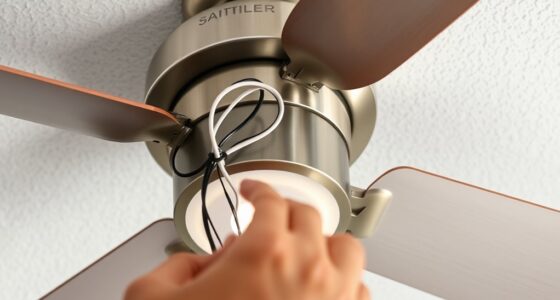
Replacing an old ceiling fan with a new model involves a systematic approach to guarantee safety and peak performance. Begin by turning off the power supply to the existing fixture at the circuit breaker. Confirm the power is disconnected by testing the fan with a non-contact voltage tester. This step eliminates electrical hazards and ensures safe removal. Next, carefully remove the fan blades, light fixtures, and any light kits, taking note of how components are wired and assembled. Use a voltage tester to verify that no residual current remains in the wiring before proceeding.
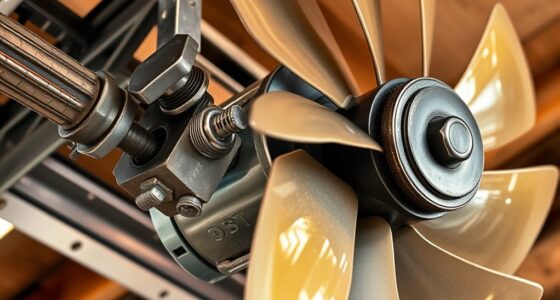
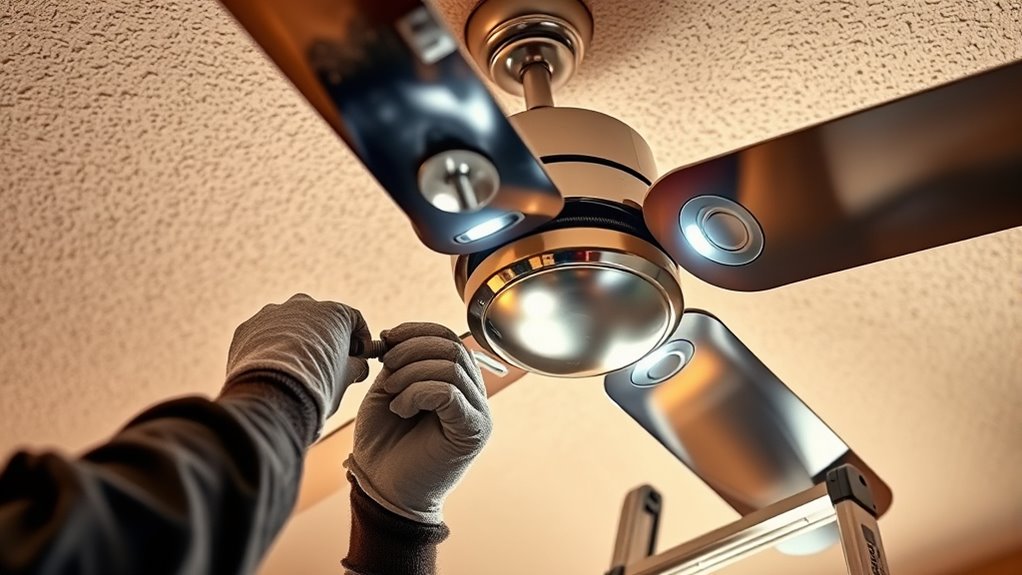
Once the old fan is fully disassembled, detach the mounting bracket from the electrical box. Inspect the box for stability and compatibility with the new fan’s mounting requirements. If the existing box isn’t rated for ceiling fan support, replace it with a UL-listed fan-rated box to prevent structural failure. During installation of the new mounting bracket, ensure it is secured tightly to the electrical box, following the manufacturer’s torque specifications. Proper mounting prevents wobbling and enhances longevity.
Before wiring the new fan, review the manufacturer’s instructions thoroughly. Connect the wiring in accordance with local electrical codes, matching the black (hot) wire with the supply line, the white (neutral) wire with the fan’s neutral wire, and the green or bare copper wire with the ground. Use wire nuts to secure connections firmly and wrap them with electrical tape for added safety. Confirm all connections are insulated and free of exposed conductors. Once wired, attach the fan’s mounting bracket to the electrical box, ensuring it is level and firmly secured.
When installing the fan motor, attach the blades and light kit according to the manufacturer’s specifications. Balance the blades meticulously; even minor misalignments can cause wobbling and noise. Use a balancing kit if necessary. Tighten all screws and fasteners to manufacturer-recommended torque levels to prevent loosening over time. After assembly, restore power at the circuit breaker and test the fan’s operation at various speeds, confirming smooth rotation and stable performance. Verify the functionality of any integrated lighting, adjusting the wiring if necessary.
Finally, perform a detailed inspection to ensure all components are securely fastened and aligned. Confirm that the fan operates quietly and without wobble. Install any remaining trim or cover plates, and review all wiring connections for safety and compliance. Document the installation process if required for warranty or inspection purposes. Following these precise steps guarantees that your new ceiling fan is installed safely, functions efficiently, and provides long-term reliable service. Additionally, understanding business regulations and safety standards can help ensure compliance and peace of mind during installation.
Frequently Asked Questions
Can I Install a Ceiling Fan Without an Existing Fixture?
Yes, you can install a ceiling fan without an existing fixture. First, turn off the power at the breaker. Then, verify the ceiling box is rated to support a fan. Mount a fan-rated electrical box if needed. Connect the wiring according to the manufacturer’s instructions, secure the mounting bracket, and attach the fan. Finally, restore power and test the fan’s operation, ensuring all connections are secure and compliant with electrical codes.
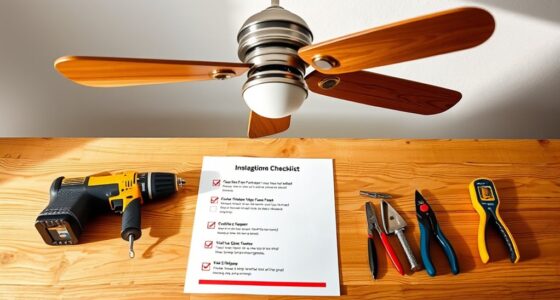
What Tools Are Necessary for Replacing a Ceiling Fan?
You need a screwdriver (flat and Phillips), a voltage tester to confirm power is off, adjustable pliers for tightening connections, a ladder for access, wire cutters, and possibly a drill if new mounting holes are required. Before starting, turn off the circuit breaker, verify the power is off with a voltage tester, and gather all tools for efficient installation. Proper tools ensure safety and a secure, professional ceiling fan replacement.
How Do I Choose the Right Size Fan for My Room?
To select the correct fan size, measure your room’s square footage accurately. For rooms up to 75 sq ft, choose a fan with a 29-36 inch blade span; for 76-144 sq ft, opt for 36-42 inches; for 144-225 sq ft, select 44-50 inches; and for larger spaces, like living rooms or open-concept areas, go for 52 inches or more. Guarantee the fan’s airflow capacity matches the room size for ideal comfort.
Is It Safe to Replace a Ceiling Fan Myself?
Yes, replacing a ceiling fan yourself can be safe if you follow proper procedures. Turn off the power at the circuit breaker before starting, use a voltage tester to confirm de-energization, and follow manufacturer instructions carefully. Confirm the ceiling box is rated for fan support. If you’re unsure about electrical work, consult a licensed electrician. Adhering to safety protocols minimizes risk and ensures a secure, professional installation.
What Are Common Issues During Ceiling Fan Installation?
During ceiling fan installation, you might face wiring complications, such as incorrect connections or hidden electrical issues, which can cause shorts or malfunction. Mounting problems also arise if the ceiling box isn’t rated for fan weight, risking stability. Additionally, balancing the blades improperly leads to wobbling, and inadequate grounding can pose safety hazards. To make certain of safety and functionality, follow manufacturer instructions meticulously and verify all electrical and mounting connections before testing.
Conclusion
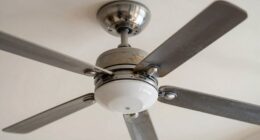
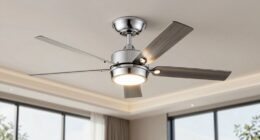
By replacing your old ceiling fan, you’ve upgraded your space with a sleek, efficient system that breathes new life into your room. Think of it as swapping out a tired, sluggish engine for a powerful, precision-tuned machine. With proper installation, your new fan will operate smoothly and reliably, like a well-orchestrated symphony. This upgrade not only enhances comfort but also guarantees long-term durability, making your home environment both smarter and more energy-efficient.