
To replace a ceiling fan downrod for high ceilings, first measure the existing downrod length and ceiling height to determine the ideal extension, guaranteeing at least 8-9 feet of clearance beneath the blades. Turn off power at the circuit breaker, then carefully detach the old downrod, inspecting all components for damage. Select a new downrod matching your measurements, securely install it, and double-check all connections before restoring power. Proper installation ensures safety and peak airflow—continue to learn how precise measurements and secure fittings improve your fan’s performance.
Key Takeaways
- Measure ceiling height and fan blade clearance to determine the appropriate downrod length.
- Turn off power and safely detach the existing downrod from the fan motor assembly.
- Select a longer downrod matching your measurements to ensure proper clearance and airflow.
- Securely thread and tighten the new downrod into the fan’s mounting bracket, verifying alignment.
- Test the fan operation after installation, checking for wobbling or vibrations for proper setup.
Replacing a ceiling fan downrod on high ceilings requires careful measurement and proper technique to guarantee safety and ideal operation. The first step involves accurately determining the existing downrod length and the desired height to ensure optimal airflow and clearance. Use a tape measure to record the current downrod length from the ceiling mounting bracket to the fan motor housing. When selecting a replacement, measure the distance from the ceiling to the floor and subtract the height needed for the fan blades to hang approximately 8-9 feet above the floor, considering the fan’s blade length. This calculation ensures proper clearance and safety standards. It’s essential to account for the ceiling height, as high ceilings demand longer downrods to maintain the fan’s performance and safety.
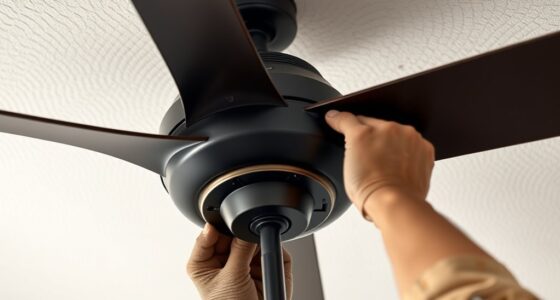
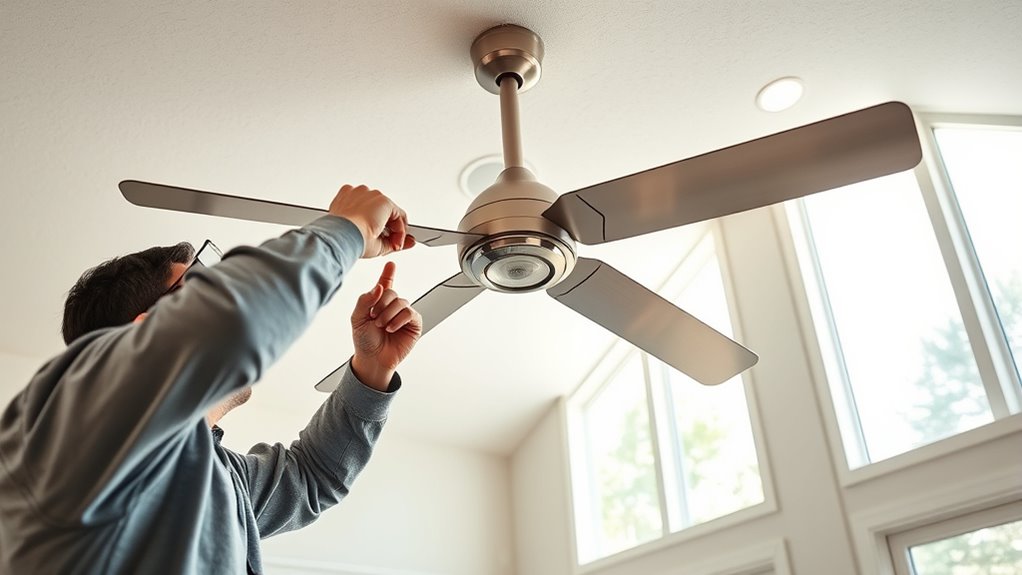
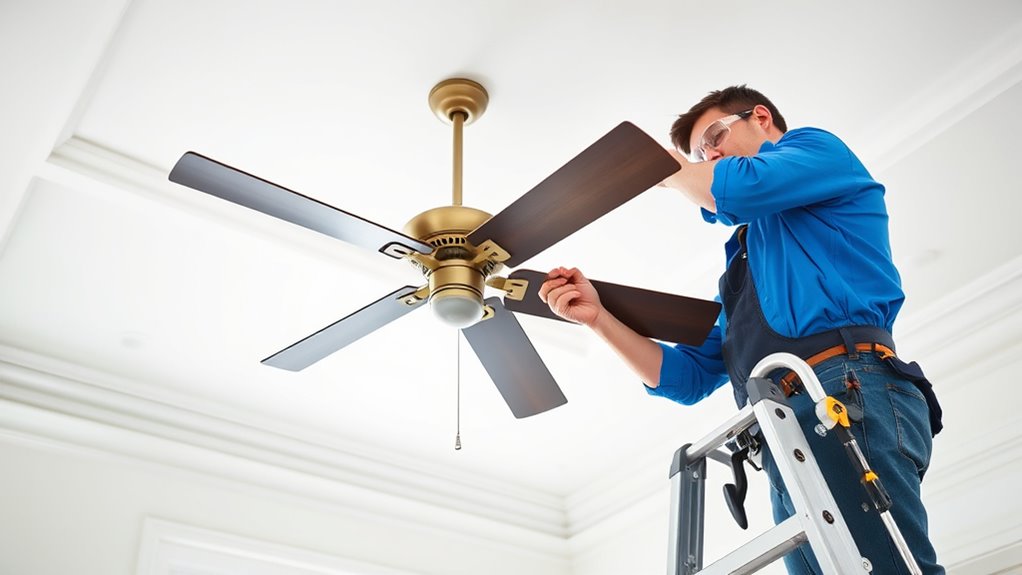
Before proceeding, turn off power at the circuit breaker to eliminate electrical hazards. Verify that the power is disconnected by testing the fan’s switch with a non-contact voltage tester. Carefully remove the existing downrod by detaching it from the fan motor assembly, typically secured with a set screw or pin. Maintain control of the fan motor assembly during this process to prevent accidental drops or damage. Once the old downrod is removed, inspect the mounting area for any signs of wear or damage, such as rust or bent components, which could compromise stability.
Select the appropriate length of the new downrod based on your measurements. Thread the new downrod into the fan motor’s mounting bracket, ensuring it is aligned correctly to prevent wobbling or imbalance. Secure the connection firmly using the set screw or pin provided, tightening it with an Allen wrench or screwdriver as specified by the manufacturer. Double-check the connection to confirm it’s tight and properly aligned before proceeding. When attaching the fan blades, verify that the downrod length maintains the blades at the manufacturer’s recommended height to maximize airflow and avoid obstructions.
Finally, restore power at the circuit breaker and test the fan’s operation at different speeds. Observe the fan for any wobbling or unusual vibrations, which may indicate an imbalance or improper installation. If issues occur, double-check the tightness of all connections and the alignment of the downrod. Proper measurement, secure attachment, and careful inspection are crucial steps in replacing a downrod on high ceilings, ensuring both safety and efficient operation of your ceiling fan. Additionally, understanding building code requirements can help ensure your installation complies with safety standards.

DPXMYG 24 inch Ceiling Fan Downrod, 2 FT Black Downrod for Ceiling Fan, 1 inch Outside Diameter, Ceiling Fan Boom Suitable for a Wide Range of Fans (Black, Not Threaded)
Ceiling Fan Extension Downrod: The DPXMYG downrod fits most ceiling fans on Amazon (Note: Our downrods are not…
As an affiliate, we earn on qualifying purchases.
As an affiliate, we earn on qualifying purchases.
Frequently Asked Questions
Can I Replace the Downrod Without Turning off the Power?
No, you should always turn off the power before replacing a ceiling fan downrod. Working with the fan powered on risks electric shock or injury. Turn off the circuit breaker to disconnect power completely. Verify the power is off with a non-contact tester. Only then should you safely remove the old downrod and install the new one. This guarantees your safety throughout the replacement process.
What Tools Are Needed for Downrod Replacement?
To replace the downrod, you’ll need a sturdy stepladder, a Phillips and flat-head screwdriver, pliers, and possibly an adjustable wrench. First, verify the power is off for safety. Use the ladder to reach the fan, then carefully disconnect the existing downrod by loosening the mounting hardware. With the tools in hand, detach the old downrod and attach the new one securely, ensuring all bolts are tightened to prevent wobbling or falling.
How Do I Determine the Correct Downrod Length?
Measure the distance from the ceiling to the floor, then subtract the height of the fan motor and mounting hardware. For maximum airflow, position the blades approximately 8-10 inches below the ceiling. Make certain the downrod length accounts for this clearance. If your ceiling is vaulted or angled, add extra length for proper blade clearance and safety. Always double-check measurements before purchasing to guarantee an accurate fit.
Is It Necessary to Hire an Electrician for This Task?
You don’t necessarily need an electrician, but it depends on your comfort with electrical work. If you’re confident in safely turning off power, disconnecting wiring, and installing the downrod, you can handle it yourself. However, if the ceiling is extremely high or you’re unsure about wiring connections, hiring a professional ensures safety and compliance. Don’t risk damage or injury—know your limits before proceeding.
How Do I Ensure the Fan Is Balanced After Replacement?
To guarantee your fan is balanced after replacing the downrod, turn on the fan and observe for wobbling. If it wobbles, turn off the power and gently tighten or adjust the blades using a blade balancing kit. Add or remove small weights on the blades as needed, following the kit instructions. Re-test the fan, and repeat adjustments until it runs smoothly, preventing unnecessary wear or noise.

6 Inch Ceiling Fan Downrod Threaded, 1 Inch Outer Diameter Matte Black Ceiling Fan Extension Rod (With Threads),Down Rods Compatible With Most Ceiling Fans,Easy Installation
【Universal Compatibility】 ✔ This single side threaded ceiling fan extension rod fits most ceiling fans with downrod connections,please…
As an affiliate, we earn on qualifying purchases.
As an affiliate, we earn on qualifying purchases.
Conclusion
Replacing your ceiling fan downrod for high ceilings guarantees ideal airflow and safety, much like fine-tuning a precision instrument. By selecting the correct length and following proper installation procedures, you maintain the fan’s efficiency and prevent potential hazards. Remember, careful measurement and secure mounting are your best tools. With this upgrade, your fan will perform flawlessly, turning your space into a well-orchestrated breeze, where comfort and function work in perfect harmony.
6 Inch Ceiling Fan Downrod Threaded, 1 Inch Outer Diameter Matte Black Ceiling Fan Extension Rod (With Threads),Down Rods Compatible With Most Ceiling Fans,Easy Installation
【Universal Compatibility】 ✔ This single side threaded ceiling fan extension rod fits most ceiling fans with downrod connections,please…
As an affiliate, we earn on qualifying purchases.
As an affiliate, we earn on qualifying purchases.

DPXMYG 36 inch Ceiling Fan Downrod, 3 FT Black Downrod for Ceiling Fan, 1 inch Outside Diameter, Ceiling Fan Boom Suitable for a Wide Range of Fans (Black, Not Threaded)
Ceiling Fan Extension Downrod: The DPXMYG downrod fits most ceiling fans on Amazon (Note: Our downrods are not…
As an affiliate, we earn on qualifying purchases.
As an affiliate, we earn on qualifying purchases.