To secure a fan mount in a plaster ceiling, first locate the joists using a stud finder or tapping. Mark the mounting points over the strongest support, then drill pilot holes carefully. Use appropriate anchors and longer screws or lag bolts to guarantee secure attachment. Reinforce the mount with brackets spanning joists for extra support. Proper installation prevents wobbling and ensures safety. For detailed guidance on each step, explore the full process below.
Key Takeaways
- Verify joist locations with a stud finder or tapping to ensure secure mounting points.
- Use appropriate anchors and longer lag bolts designed for ceiling support.
- Reinforce ceiling support with spanning brackets or braces between joists for added stability.
- Avoid attaching mounts solely to drywall or plaster; secure directly into structural framing.
- Double-check electrical connections and stability after installation for safety and durability.

Westinghouse 0110000 Saf-T-Brace for Ceiling Fans, 3 Teeth, Twist and Lock,Silver(Pack of 1)
Saf-T-Brace allows safe, simple installation of fans and fixtures
As an affiliate, we earn on qualifying purchases.
As an affiliate, we earn on qualifying purchases.
Assessing the Ceiling and Choosing the Right Mounting Hardware

Before installing a fan, you need to evaluate your ceiling’s structure to guarantee it can support the weight and movement of the fixture. Check for any existing decorative trim that might interfere with the mounting process, and ensure it’s securely attached or removable. Acoustic insulation embedded in your ceiling can impact the strength and stability of your mount, so assess its density and placement. If the insulation is thick or dense, you may need specialized hardware to penetrate or bypass it safely. Selecting the right mounting hardware depends on these factors, safeguarding your fan stays secure and operates quietly. Proper assessment helps prevent future issues and guarantees a safe, long-lasting installation. Additionally, understanding the ceiling’s structural integrity is essential for a secure and durable fan mount. Ensuring that the supporting framework can bear the load is critical to prevent potential accidents or damage over time. Considering the presence of load-bearing elements within the ceiling can further help in choosing the appropriate hardware for a safe installation.

Ceiling Fan Mounting Bracket with Hanger Ball Set, Heavy-Duty Carbon Steel Cathedral Canopy Bracket for High-Ceiling Applications with Ground Wire & Mounting Hardware (Black)
Industrial-Grade Steel Build – Constructed from reinforced carbon steel for maximum load-bearing capacity (up to 50lbs) and long-lasting…
As an affiliate, we earn on qualifying purchases.
As an affiliate, we earn on qualifying purchases.
Locating and Marking the Mounting Points

To guarantee your ceiling fan is securely mounted, start by locating the ideal installation points. Look for areas with strong structural support behind the plaster, avoiding decorative ceiling details that may conceal joists or beams. Use a stud finder or tap the ceiling to identify solid spots, especially where historical plaster techniques might have created uneven surfaces. Mark these points clearly with a pencil, ensuring they align with the fan’s mounting bracket. Keep in mind that decorative elements or ornate moldings often hide true support structures, so don’t rely solely on visual cues. Carefully confirm your marks are positioned over solid support to ensure a secure installation. Properly locating and marking these points is essential for a safe, long-lasting fan mount. Additionally, understanding the structural integrity of the ceiling can help prevent potential hazards during installation. Ensuring the support structure is sufficient will contribute to a more durable and safe mount, reducing the risk of damage over time. Knowing how to properly assess support can further improve the safety and longevity of your ceiling fan installation.

DPXMYG Saf-T-Brace for Ceiling Fans, Mounting Bracket with Adjustable Bar Hanger, 1-1/2'' Deep, 2 1/2'' Knockouts, Fits 16-24in Joist Spaces, Electrical Box for Fan/Light Fixtures(1 Pack)
Safety and Quality: Constructed using the welded method, this light fixture mounting bracket is sturdy, strong, and has…
As an affiliate, we earn on qualifying purchases.
As an affiliate, we earn on qualifying purchases.
Drilling Pilot Holes and Installing Anchors

Once you’ve marked the mounting points, it’s time to drill pilot holes to prepare for installing anchors. Use a drill bit slightly smaller than your anchors to prevent damage, especially in plaster ceilings with decorative fixtures or textured surfaces. Carefully align the drill to avoid cracking or chipping the ceiling’s finish. If your ceiling has a textured or uneven surface, take extra care to drill straight and steady, ensuring the holes are clean and precise. For decorative fixtures, proper pilot holes help maintain the aesthetic by preventing surface damage. Once the holes are drilled, insert the appropriate anchors, which will provide secure support for your fan mount. This step ensures a stable foundation, ready to hold the weight of your ceiling fan safely. Regular filtration and maintenance of your tools can also improve the accuracy and cleanliness of your drilling process. Additionally, using the correct drilling technique can help prevent unnecessary damage and ensure a smooth installation.

AICWIOO Universal Ceiling Fan Mounting Bracket Kit with Hanger Ball, 2.0mm Heavy Duty Carbon Steel Support, Compatible with Hunter, Harbor Breeze, Fits 1-Inch Downrods, Includes Wire Nuts & Screws
[End Ceiling Fan Wobble & Noise] Crafted from 2.0mm ultra-thick SPCC carbon steel, our heavy-duty bracket provides 40%…
As an affiliate, we earn on qualifying purchases.
As an affiliate, we earn on qualifying purchases.
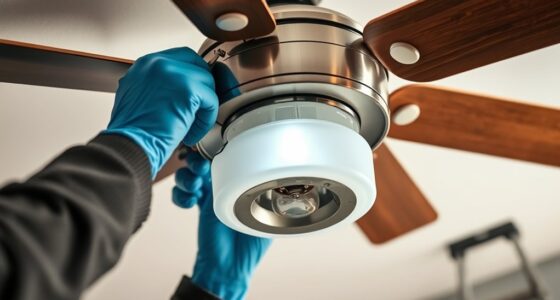
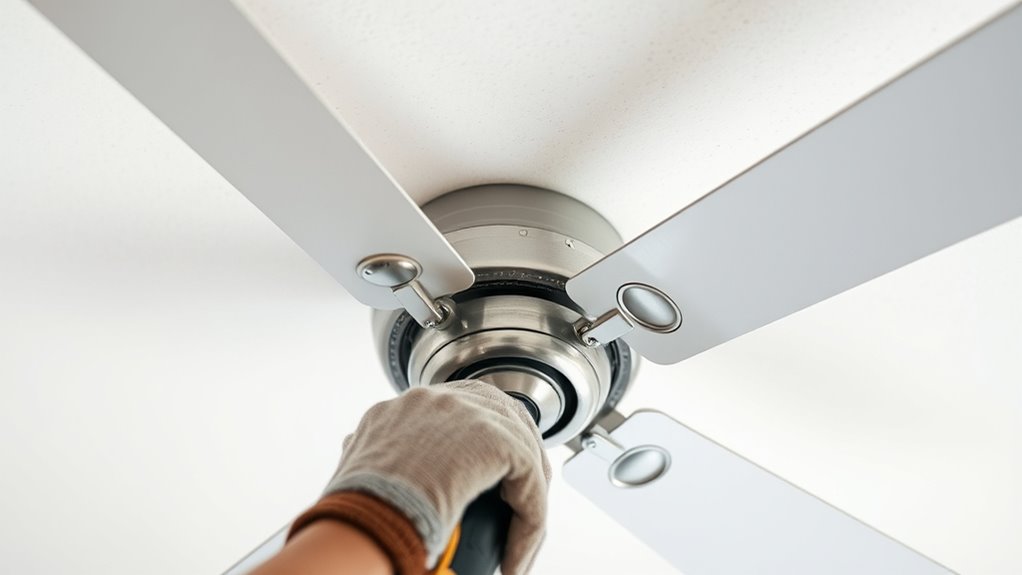
Securing the Fan Bracket to the Ceiling
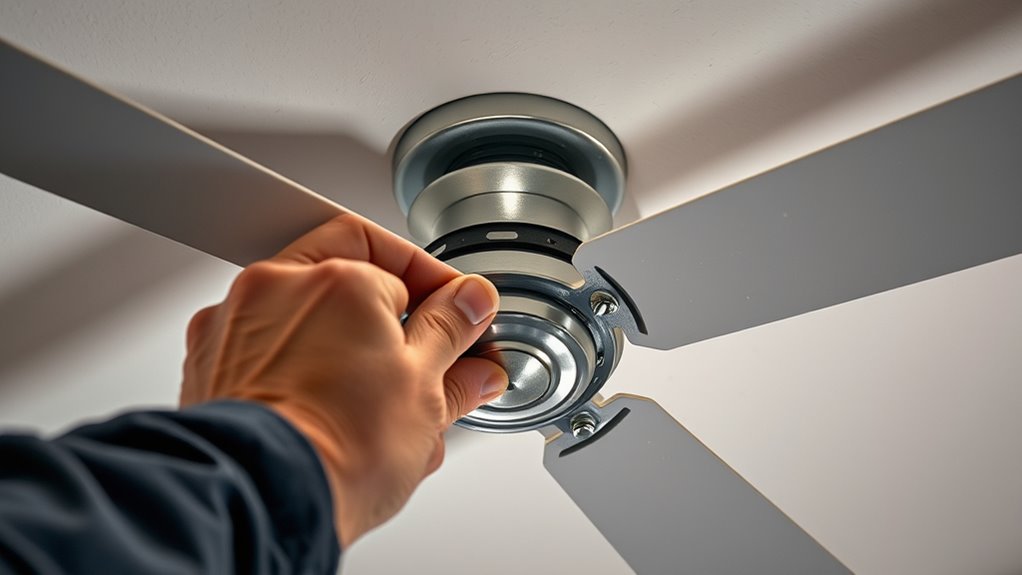
After drilling the pilot holes and inserting the anchors, you can now securely attach the fan bracket to the ceiling. Carefully align the bracket with the anchors, making sure it sits flush against the surface. If your ceiling has a textured finish, take your time to avoid damaging or disturbing the texture. Using the proper screws, tighten the bracket firmly but avoid over-tightening, which could crack the plaster or distort the ceiling’s appearance. Consider aesthetic considerations; if your ceiling has a decorative texture, you might want to conceal screw heads with matching filler or touch-up paint later. Securing the bracket tightly ensures stability for the fan while maintaining the ceiling’s visual appeal. Proper attachment now sets a solid foundation for the next steps. For added safety and durability, ensure all components meet safety standards for children’s toys. Additionally, choosing the right hardware can help prevent damage and prolong the life of your ceiling fixture, similar to how electric bike components are selected for durability and performance. Using the appropriate mounting hardware can also help distribute weight evenly and prevent undue stress on the plaster.
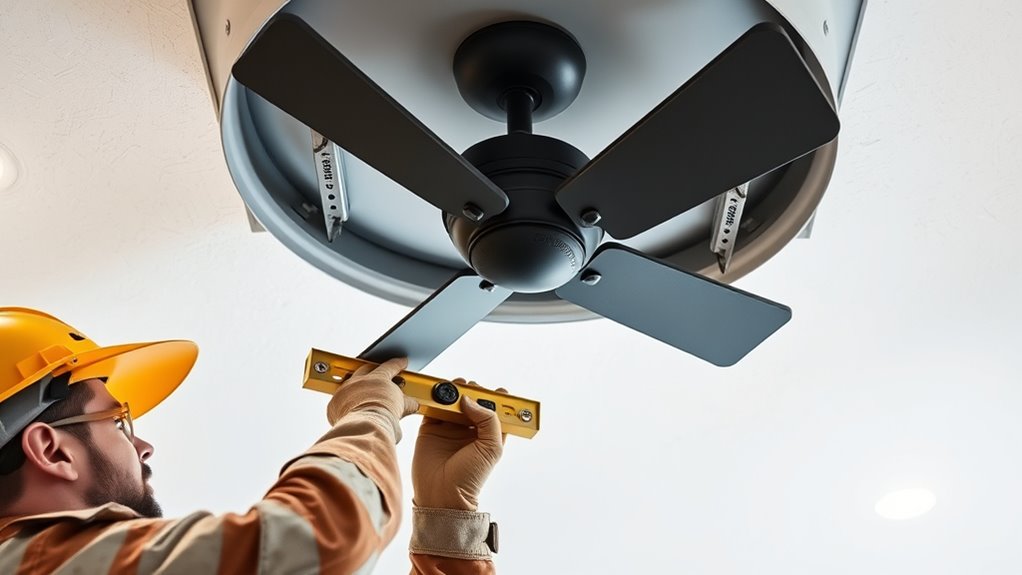
Attaching the Fan and Ensuring Stability
To guarantee your ceiling fan stays secure, start by choosing the right mounting hardware for your setup. Next, locate the ceiling joists precisely to provide a strong foundation. Ensuring proper attachment techniques is essential to prevent wobbling and maintain stability. Using appropriate mounting hardware and ensuring proper installation techniques can significantly improve the safety and longevity of your ceiling fan. Additionally, inspecting the support structure regularly helps identify potential issues before they compromise stability.
Choose Proper Mounting Hardware
Choosing the right mounting hardware is essential for securely attaching your fan and ensuring it stays stable during operation. For decorative fixtures or ventilation options, select hardware that supports the weight and design of your fan. Use sturdy brackets, anchors, or toggles rated for ceiling loads, especially in plaster ceilings where support may be limited. Avoid cheap or incompatible fasteners that could loosen over time. If your fan includes decorative elements, ensure the hardware can handle additional weight without compromising aesthetics. Heavy-duty anchors or mounting plates distribute weight evenly, preventing sagging or wobbling. Proper hardware not only guarantees safety but also maintains the visual appeal of your ceiling setup, giving you confidence that your fan stays secure and functional. Additionally, ceiling support considerations are crucial when selecting hardware to prevent potential hazards, especially since understanding the Hackathons environment can offer innovative mounting solutions or tools.
Locate Ceiling Joists Precisely
Locating ceiling joists accurately is essential for ensuring your fan stays secure and stable. If your ceiling has a textured finish, use a stud finder with deep scanning capabilities to avoid missing the joists behind the textured surface. Mark the joist locations clearly, as this helps you align the fan mounting bracket properly. Remember, the fan blade size impacts how much space you need around the fan; larger blades may require extra support for added weight. Avoid attaching the mount to just drywall or plaster alone, especially if your ceiling texture obscures the joists. Confirm the joist positions before drilling, as hitting a joist ensures maximum stability and safety when securing your fan. Properly locating the joists guarantees a secure, long-lasting installation. Additionally, understanding AI detection methods can help verify the authenticity of content related to your installation process, ensuring accurate and trustworthy information. To enhance the security of your installation, consider checking the power capacity of your ceiling wiring to prevent overloads that could compromise safety. Knowing the different types of headphone jacks can be useful when selecting compatible audio equipment for your space.
Use Reinforcement Techniques
Once you’ve identified the ceiling joists and marked their locations, it’s time to focus on reinforcing the mount to guarantee your fan stays secure. Proper ceiling reinforcement ensures the mounting hardware is solid and can support the fan’s weight. To achieve this, consider these techniques: 1. Use a mounting bracket that spans multiple joists for added stability. 2. Install heavy-duty anchors designed for ceiling reinforcement. 3. Attach a ceiling reinforcement brace between joists for extra support. 4. Replace standard screws with longer, high-quality lag bolts for secure fastening. Additionally, incorporating aesthetic wall organization systems can help create a clean, safe environment around the installation area to prevent accidental damage. These steps help distribute the load evenly and prevent any movement or damage. Ensuring the correct hardware selection and proper reinforcement are essential for a safe, durable installation.
Final Checks and Safety Precautions
Before finalizing your work, make sure to verify the mount for stability and secure fit. Check all electrical connections to prevent shorts or malfunctions. Also, confirm that emergency access points are clear and easy to reach in case of an urgent situation.
Inspect Mount Stability
To guarantee your fan mount is secure, you need to carefully inspect its stability through final checks. First, ensure the mount is firmly attached to the ceiling, with no wobbling or looseness. Second, check that the fan blades are properly balanced, which aids in preventing vibrations that could loosen the mount over time. Third, confirm that the ceiling paint matching around the mount remains intact and free of cracks or peeling, indicating no movement or stress. Fourth, verify that all mounting hardware is tight and secure. These steps help prevent future issues and ensure safety. Regular fan blade maintenance not only prolongs blade life but also supports a stable, secure fixture, giving you peace of mind in your ceiling’s integrity.
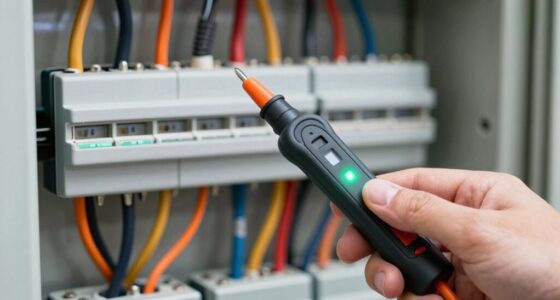
Verify Electrical Connections
Ensuring your electrical connections are secure is critical for safe fan operation. Double-check all wiring, especially if your fan uses wireless controls or decorative covers. Loose or faulty connections can cause electrical shorts or fan failure. Turn off the power before inspecting, then verify that wires are tightly connected to the switch and fan terminals. Use a voltage tester to confirm no power is present before touching any connections. Once confirmed, secure all wiring neatly to prevent strain. Properly installed wiring minimizes fire hazards and guarantees reliable operation. Here’s a quick guide:
| Step | Action | Tips |
|---|---|---|
| 1 | Turn off power | Use a circuit tester to verify |
| 2 | Inspect wiring | Look for loose or frayed wires |
| 3 | Tighten connections | Secure all terminal screws |
| 4 | Test fan | Power on to verify functionality |
Plan for Emergency Access
Have you double-checked that emergency access routes are clear and unobstructed? Making sure easy emergency access is crucial for fire safety during fan mount installation. Before final checks, verify that:
- All pathways to exits are free of debris or obstructions.
- Fire extinguishers are accessible and properly positioned.
- Exit signs are visible and functional.
- Emergency lighting is operational, especially in ceiling areas.
Confirming these safety measures helps prevent delays during emergencies and ensures quick evacuation if needed. It’s essential that any maintenance or installation work doesn’t hinder fire safety protocols. Conduct a thorough walkthrough, adjusting anything that might block access. Proper planning guarantees that, in an emergency, you can act swiftly without compromising safety or response time.
Frequently Asked Questions
How Do I Prevent Cracking or Damage to the Plaster Ceiling During Installation?
To prevent cracking or damage during installation, you should focus on ceiling reinforcement. First, locate joists or use suitable anchors to support weight properly. Spread the load evenly to avoid stress points that cause cracks. Before mounting, mark precise spots and drill carefully, avoiding excessive force. Using crack prevention techniques and reinforcing the plaster can help maintain ceiling integrity, ensuring a secure fit without damaging your plaster ceiling.
What Are the Best Tools for Removing or Replacing a Fan Mount in Plaster?
To remove or replace a fan mount in plaster, you’ll need both power tools and hand tools. Use a drill with a screwdriver bit to loosen screws, and a utility knife or putty knife to carefully cut away any drywall or plaster around the mount. A pry bar can help gently lift the mount if it’s stuck. Make sure to work slowly to avoid damaging the ceiling, and wear safety goggles for protection.
How Can I Hide or Repair Any Visible Damage After Installation?
You might find it surprising, but concealment often comes down to simple tricks. After installing your fan, use concealed patching to hide any visible damage or cracks. If that’s not enough, decorative covers like medallions or ceiling rosettes can easily hide imperfections while adding style. Carefully blend the patching with the ceiling’s texture and color, ensuring a seamless look. With patience, your ceiling will look flawless, and no one will notice the repairs.
Are There Specific Safety Precautions for Working With Old or Fragile Plaster Ceilings?
When working with old or fragile plaster ceilings, you should prioritize plaster preservation and conduct a thorough structural assessment first. Wear protective gear, work slowly, and avoid applying excessive force to prevent further damage. If needed, consult a professional to evaluate the ceiling’s stability and determine the safest approach. This guarantees you safeguard the integrity of the ceiling while safely completing your installation or repairs.
How Do I Ensure the Ceiling’S Integrity if Multiple Fans Are Being Installed?
Imagine your ceiling as a delicate web, holding up multiple fans like stars. To keep it strong, you need proper ceiling reinforcement and load distribution. Use reinforced anchors and spread the weight evenly across joists. This approach prevents stress points, ensuring your ceiling remains stable and safe. Think of it as strengthening the web so it can proudly hold more without tearing.
Conclusion
Now that you’ve followed each step carefully, you’re well on your way to a secure, safe ceiling fan installation. Remember, a job done right the first time saves you from headaches down the line. Don’t cut corners or rush—because when it comes to safety, a stitch in time truly saves nine. With patience and attention to detail, your fan will stay firmly in place, keeping your space cool and comfortable for years to come.