
Start by evaluating your space to confirm there’s a solid support and enough ceiling height for safe installation. Gather the right tools, like a drill, voltage tester, and wire strippers, along with materials such as electrical wire, connectors, and a sturdy mounting bracket. Carefully turn off power and follow safety practices while wiring the new fan. Secure the fan properly and check everything for stability and safe operation. For detailed steps and tips, continue exploring how to complete your installation safely and effectively.
Key Takeaways
- Ensure the ceiling has a solid support structure rated for the fan’s weight and proper support hardware.
- Confirm electrical wiring capacity, turn off power, and install a dedicated circuit if necessary.
- Plan the fan placement considering room size, airflow needs, and obstructions, using visualization tools for optimal positioning.
- Install a junction box rated for fan support, ensuring proper grounding and secure wiring connections.
- Mount the fan securely following manufacturer instructions, perform safety checks, and verify safe operation before use.

RACO RETRO-BRACE 936 1.5-in. Deep Ceiling Fan Box for Old Work 2.5-in. Knockouts, Old Work Electrical Box, Adjustable Brace, and Mounting Bracket for Ceiling Light Fixtures & Chandelier Fans
DESIGNED FOR RESTORATIONS: Our Hubbell RACO RETRO-BRACE 1.5-in. Deep Ceiling Fan Box for Old Work is specially designed…
As an affiliate, we earn on qualifying purchases.
As an affiliate, we earn on qualifying purchases.
Planning and Assessing Your Space
Before installing a fan where no fixture existed before, you need to carefully plan and assess your space. Start by evaluating the room’s size and layout, as these factors influence ventilation efficiency. Larger rooms may require more powerful fans or multiple units to guarantee proper airflow. Consider the ceiling height and existing ventilation sources to determine the ideal fan placement. Also, think about energy consumption—choosing an energy-efficient fan can greatly reduce operating costs over time. Proper planning helps you select a fan that suits your space’s specific needs, maximizing ventilation while minimizing unnecessary energy use. Taking these steps upfront ensures your installation improves air quality effectively without wasting energy or compromising comfort. Additionally, understanding self watering plant pots can assist in maintaining indoor plants that improve air quality naturally. Recognizing the importance of ventilation strategies can further enhance your space’s comfort and air quality, especially as innovative sustainable materials become more prevalent in modern home improvements.

WGGE WG-015 Professional 8-inch Wire Stripper/Crimping Tool, Cable Cutter/Crimper, Wiring and Multi-Function Hand Tool, Red With Black
✅ 8 inch Professional Wire Stripper: Cuts, strips wire and loops 10-22 AWG Solid copper wire or aluminum…
As an affiliate, we earn on qualifying purchases.
As an affiliate, we earn on qualifying purchases.
Gathering Necessary Tools and Materials
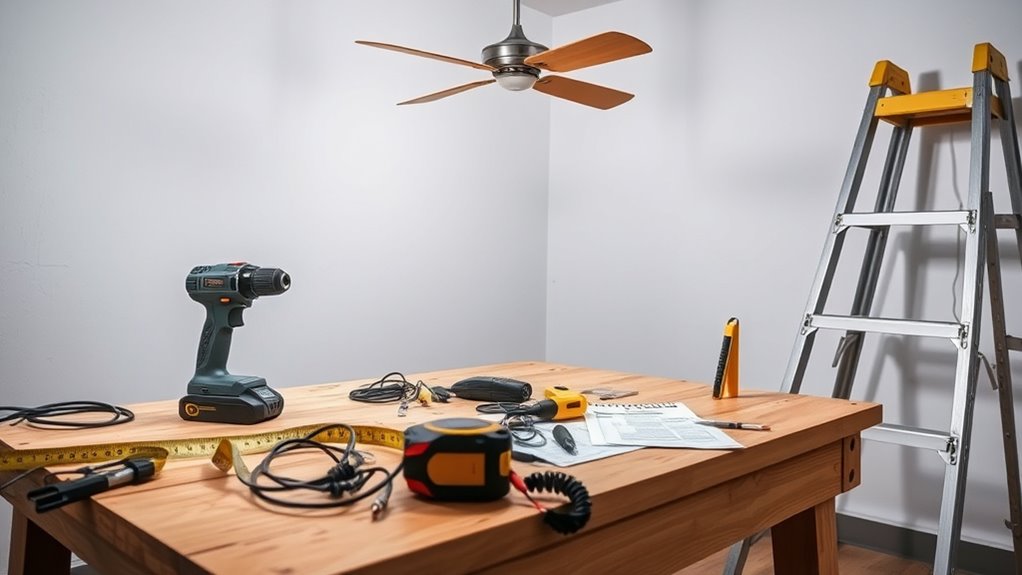
Before you start, make a tools checklist and gather all the materials you’ll need. Make sure you have a drill, screwdrivers, wire strippers, and a voltage tester on hand. Having everything ready keeps the installation smooth and efficient. Additionally, understanding basic juice extraction techniques can be helpful if you plan to incorporate electrical outlets for appliances or other devices. Considering the importance of contrast ratio in image quality can also guide your placement to ensure optimal airflow and safety around the installed fixture. Being aware of nutritional value of juices can inform decisions if you’re integrating appliances that process or store juices, ensuring safety and efficiency.
Tools Checklist
To successfully install a fan where no fixture existed before, you need to gather the right tools and materials first. Start with a sturdy ladder, a voltage tester, and a drill with various bits. You’ll also need wire strippers and screwdrivers for wiring and mounting. Checking the wire gauge is essential to ensure it matches the fan’s requirements—typically 14 or 12-gauge wire. Confirm the breaker size is appropriate for the circuit—usually 15 or 20 amps—to handle the load safely. A circuit tester helps verify power is off before working. Having these tools ready guarantees a smooth installation process, minimizes risks, and guarantees your wiring setup is safe and compliant with electrical standards.
Materials Needed
Gathering all the necessary materials is essential for a successful fan installation. Having the right supplies ensures you meet ventilation needs and maintain aesthetic considerations. You’ll need basic wiring tools to connect the fan properly, as well as materials that blend seamlessly with your space. Using high-quality essential oils or other materials can enhance safety and performance. Here’s what you’ll need:
- Ceiling fan kit with mounting hardware
- Electrical wire and wire connectors
- Voltage tester for safety
- Drywall patch and paint for finishing
- Support brace or ceiling joist for secure mounting
Ensuring your materials support proper airflow and match your room’s decor is also crucial, especially when considering ventilation needs. Incorporating building codes into your planning helps ensure your installation meets safety standards. Being prepared with these items helps you install the fan efficiently while ensuring safety and a clean, attractive look.

Southwire Electrical Box for Ceiling Fan, Light Fixture, 50lb Ceiling Fan and 75lb Light Fixture Support, Depth Adjustable, Gray, MSBFAN
Adjustable & Secure Installation: The Southwire Electrical Box offers quick setup and strong support as a durable electrical…
As an affiliate, we earn on qualifying purchases.
As an affiliate, we earn on qualifying purchases.
Choosing the Right Fan for Your Room
When choosing a fan, start by considering your room’s size to guarantee proper airflow. Next, pick a style and finish that match your decor to keep the space cohesive. Getting these details right helps you select a fan that’s both effective and visually appealing. Additionally, selecting a fan that complements the farmhouse bedroom aesthetic can enhance the overall rustic charm of your space. Remember to assess the personality of your room to ensure the fan design aligns with your desired ambiance, creating a harmonious environment. Understanding the benefits of sustainable choices can also guide you toward energy-efficient options that reduce your environmental impact.
Room Size Compatibility
Choosing the right fan for your room starts with understanding its size. An appropriately sized fan ensures effective airflow and comfort. Consider the room’s ceiling height—if it’s high, you’ll need a fan with a longer downrod. The room layout also matters; open spaces benefit from larger blades, while small or cluttered rooms need smaller fans to avoid obstruction. Think about:
- Room dimensions (square footage)
- Ceiling height
- Furniture placement and room layout
- Airflow needs based on room use
- Fan blade span relative to space
- AI safety concerns related to smart home integrations can influence the choice of fan features and controls. Additionally, assessing the auditory environment of the room can help determine if noise levels from the fan will be disruptive or acceptable. Proper sizing also involves considering ventilation requirements to ensure good air exchange and circulation throughout the space.
Matching these factors helps you select a fan that circulates air efficiently without overwhelming the room or causing noise. Proper sizing optimizes comfort and energy efficiency while complementing your space’s structure.
Style and Aesthetic
Selecting a fan that complements your room’s style can considerably enhance the overall look and feel of the space. Consider your room’s decor and choose a fan with a design that matches — whether modern, rustic, or traditional. Pay attention to lighting options; some fans come with integrated lights, adding functionality and style. Color coordination is key: pick a fan color that blends seamlessly or creates a striking contrast. Use the table below to help match your decor:
| Style | Recommended Fan Features |
|---|---|
| Modern | Sleek design, minimal lighting |
| Rustic | Wooden blades, warm tones |
| Traditional | Ornate details, classic finishes |
This approach ensures your fan enhances your room’s aesthetic while providing excellent lighting and comfort. Incorporating a growth mindset when selecting your fan can also help you explore innovative design options that elevate your space. Additionally, choosing a fan with appropriate size and airflow capacity ensures optimal comfort and efficiency in your room.

Ceiling Fan Mounting Bracket,1PCS AICWIOO Cast Aluminum Sloped Cathedral Ceiling Canopy Bracket for Living Room Outside Patio Porch with Mounting Hardware(Black)
QUALITY MANUFACTURING – Our Ceiling Fan Mounting Kits is constructed from cast aluminum not cheap plastic,offering exceptional strength,corrosion…
As an affiliate, we earn on qualifying purchases.
As an affiliate, we earn on qualifying purchases.
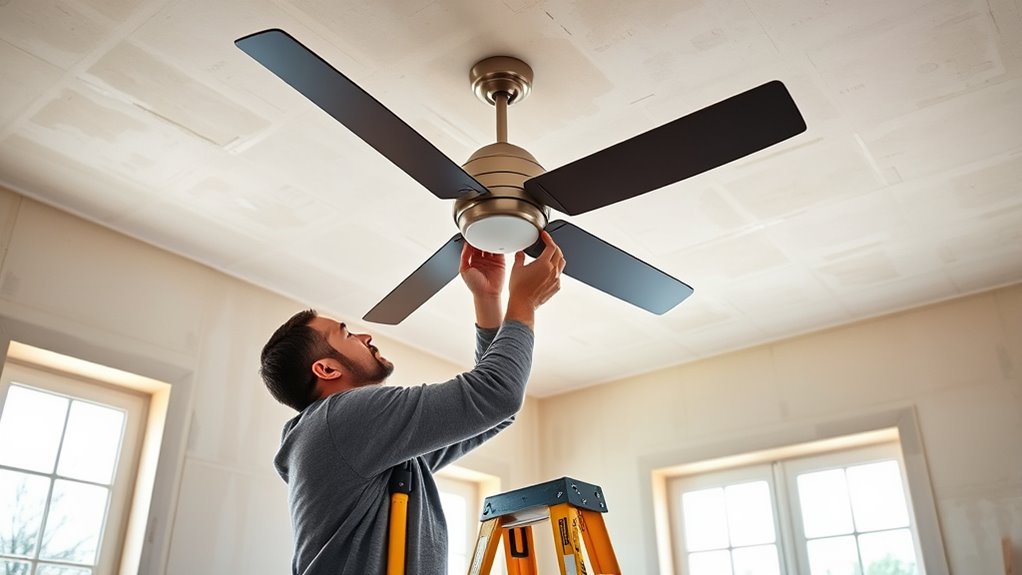
Preparing the Installation Site
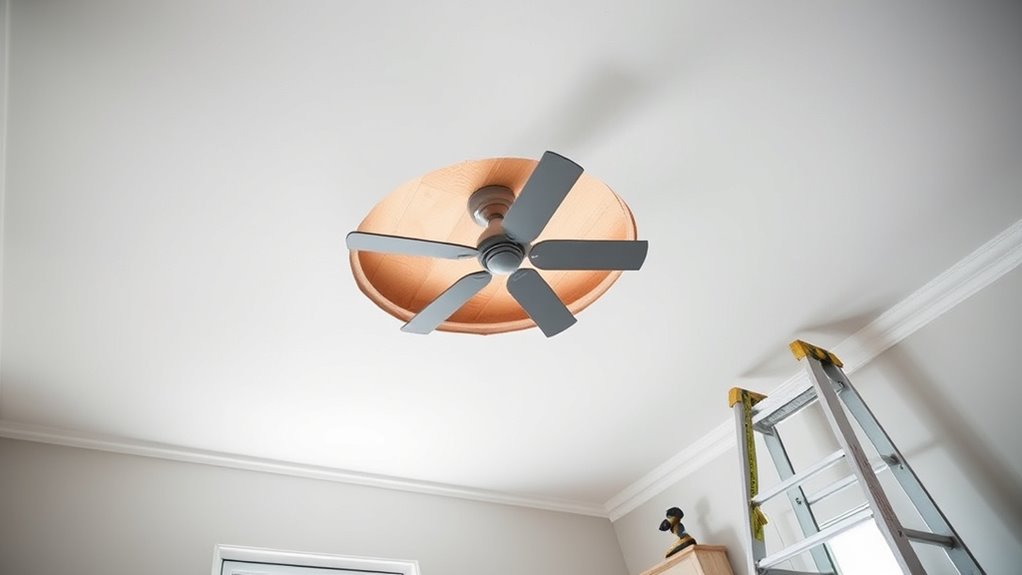
Before installing a new ceiling fan, you need to prepare the site by guaranteeing there’s a solid, accessible structure to mount it on. Check ceiling height considerations to confirm there’s enough space for safe operation and proper airflow. Consider wall clearance requirements to avoid obstructions and ensure the fan blades won’t hit walls or ceilings when spinning. Additionally, selecting an appropriate planter design can enhance the aesthetic appeal and functionality of the space, ensuring the area remains unobstructed and safe for fan operation. Incorporating proper support structures can also improve safety and stability, especially in areas with high ceilings or unusual architectural features. Utilizing AI-driven design tools can help visualize optimal fan placement and support options for complex spaces.
Electrical Wiring and Safety Precautions
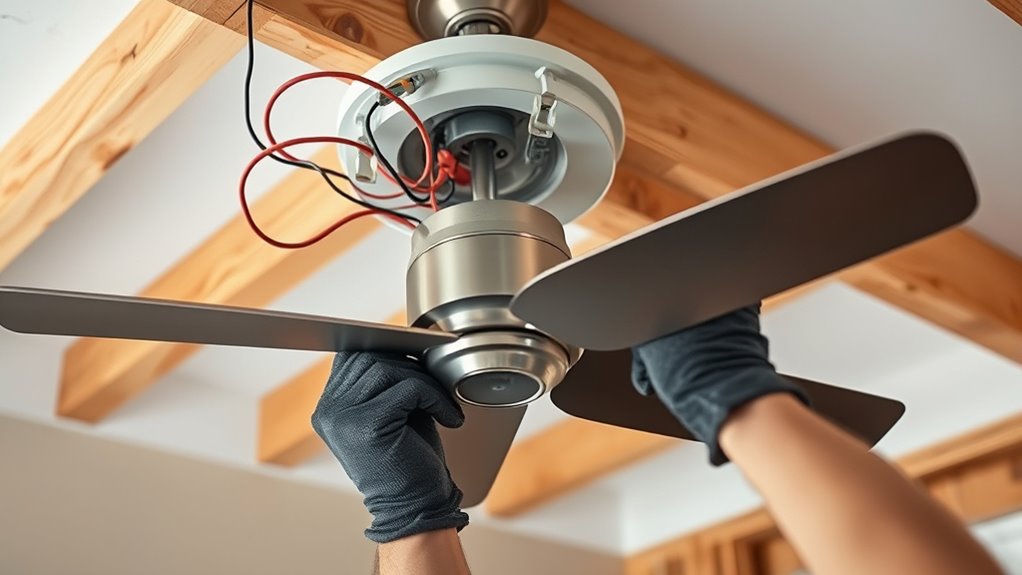
Once you’ve confirmed the site is ready for installation, it’s time to focus on the electrical wiring. First, turn off the power at the circuit breaker to prevent shocks. Check your circuit breaker considerations—ensure the circuit can handle the fan’s amperage to avoid overloads. When wiring, follow proper grounding practices; connect the ground wire securely to prevent electrical faults. Use a voltage tester to verify no current flows before handling wires. Make sure all connections are tight and insulated with wire nuts. If you’re adding a new circuit, consider installing a dedicated breaker for safety and ease of maintenance. Always adhere to local electrical codes and manufacturer instructions to ensure a safe, reliable connection. Safety first—don’t skip any steps. Additionally, understanding IRA tax implications can be beneficial when planning your long-term financial safety.
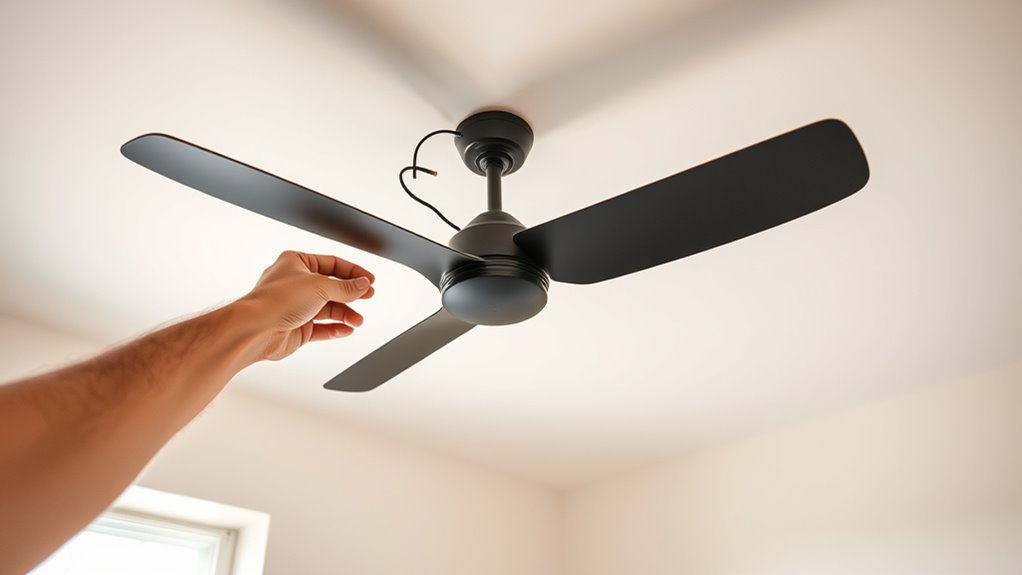
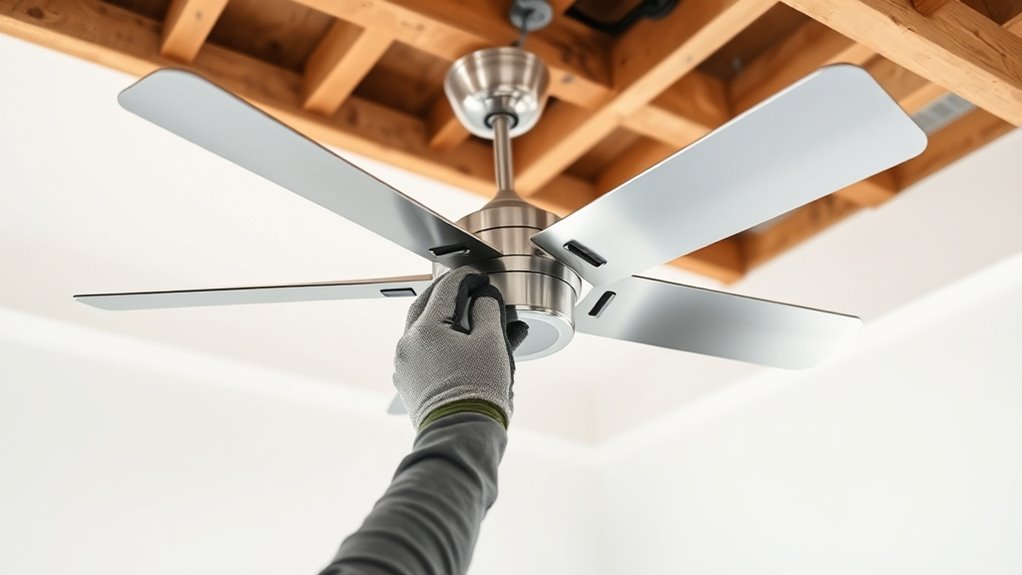
Mounting the Fan and Final Checks
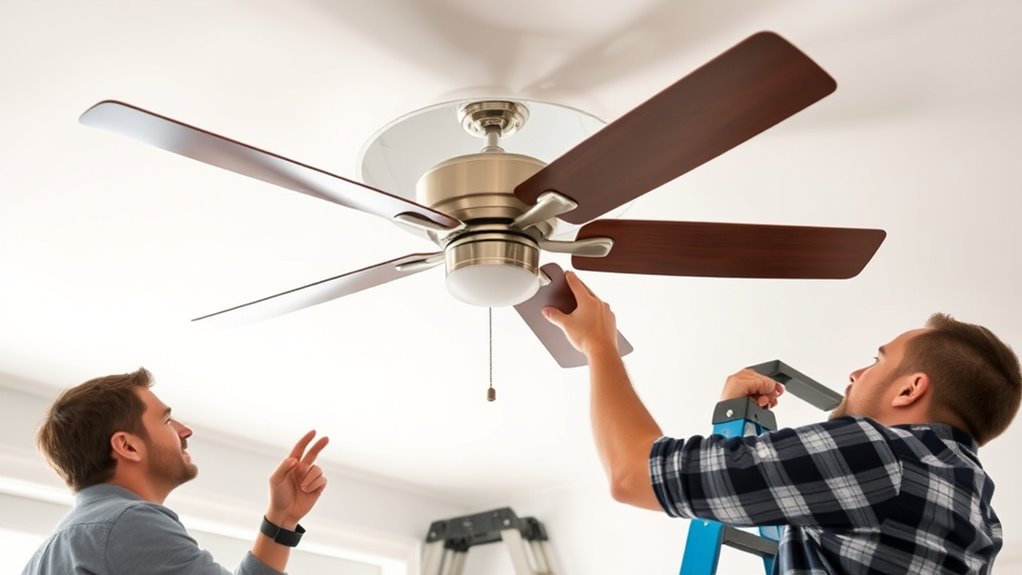
After completing the wiring, it’s time to securely mount the fan to guarantee stability and safety. Use the appropriate mounting techniques to ensure the fan is firmly attached to the ceiling. Double-check that the mounting bracket is level and tightly secured to the electrical box or ceiling joist. Consider the weight of the fan and choose hardware rated for the load. Once mounted, perform a thorough final inspection: verify all screws and bolts are tight, confirm the fan is balanced, and ensure no wires are exposed. Keep an eye out for any wobbling or loose parts. Proper mounting techniques and a meticulous final inspection prevent future issues, ensuring your fan operates smoothly and safely for years to come.
Frequently Asked Questions
Can I Install a Ceiling Fan in a Room Without Existing Electrical Wiring?
You can install a ceiling fan in a room without existing wiring by choosing wireless control options, like remote or smart fans. Some ceiling fan types come with built-in wireless control, making installation easier. You’ll need to run wiring from your circuit breaker to the fan location, or consider wireless-powered fans if wiring isn’t feasible. Always verify your electrical system can support the new fixture and follow safety guidelines.
What Is the Typical Cost for Installing a New Ceiling Fan?
When you’re looking at the cost estimate for installing a ceiling fan, it’s best to keep your eyes open. The price can vary depending on wiring requirements, complexity, and labor. Typically, you might spend between $200 and $500, but if new wiring is needed, costs could climb higher. Think of it as a small price to pay for comfort—sometimes you gotta spend a little to reap the benefits.
How Long Does a Typical Ceiling Fan Installation Take?
A typical ceiling fan installation takes about 1 to 3 hours, depending on your experience. You’ll need to connect the fan motor and handle wiring requirements, which can be straightforward if existing wiring is suitable. If wiring needs updates or adjustments, it might take longer. Make sure you turn off the power and follow safety guidelines. With proper preparation, you can usually complete the install efficiently within this timeframe.
Are There Specific Building Codes for Installing Fans in New Locations?
You’ll love how building codes keep things exciting! When installing fans in new locations, you must meet electrical compliance standards and follow permitting requirements. Believe it or not, there are specific codes to guarantee safety and proper wiring, so skipping them isn’t an option. Before you start, check local regulations—each area has its quirks. It’s like a treasure hunt, but for safe, code-compliant fan installation!
Can I Install a Fan Myself, or Should I Hire a Professional?
You can install a fan yourself, but consider DIY safety and your electrical skills first. If you’re comfortable working with wiring and understand local building codes, a DIY approach might work. However, for safety and to meet professional licensing requirements, hiring a licensed electrician is often best. They guarantee the job’s done correctly, safely, and in compliance with codes, reducing risks and potential future problems.
Conclusion
With your plan in place and tools ready, installing a fan where none existed before is an achievable project. Think of it as opening a new chapter in your home’s comfort story—adding a gust of fresh air where there was once silence. By staying safe and following each step carefully, you’ll create a cool oasis that transforms your space. Soon, you’ll enjoy the breeze you’ve brought to life, making every room feel just right.