
To install a ceiling fan with a three-way switch, turn off power at the circuit breaker and verify absence of voltage. Connect the fan’s ground wire to the system ground, and identify the hot, neutral, and traveler wires. Wire the switch’s traveler terminals to corresponding traveler wires, and connect the common terminal to the hot wire from the power source. make certain all connections are secure, grounded, and follow wiring diagrams for safety and functionality, guiding you toward a proper setup.
Key Takeaways
- Turn off power, verify absence of voltage, and remove existing switch and plate before starting installation.
- Identify and connect the traveler, common, hot, neutral, and ground wires following wiring diagrams specific to your switches and fan.
- Mount the ceiling fan bracket securely to a rated electrical box and connect wires properly, ensuring correct terminal connections.
- Tuck wires into the electrical box, secure the switch, install the cover, and restore power at the breaker.
- Test the fan and light operation from both switches, confirming correct wiring and switch functionality.
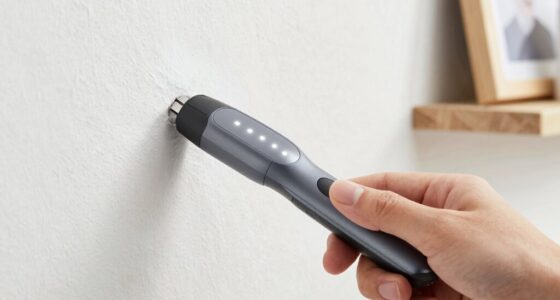
Installing a ceiling fan with a three-way switch requires careful planning and precise wiring to guarantee proper operation and safety. First, ensure you turn off the power at the circuit breaker to prevent electrical shock. Confirm the absence of voltage using a multimeter or voltage tester on the existing wiring. Once confirmed, remove the existing switch plate and identify the wiring setup. A typical three-way switch configuration involves two traveler wires, a common wire, and a ground, which must be correctly identified to avoid wiring errors. Use a wiring diagram specific to your switch model and fan to guide the process, as different brands may have slight variations.
Turning off power and identifying wiring are crucial before installing a three-way ceiling fan switch.
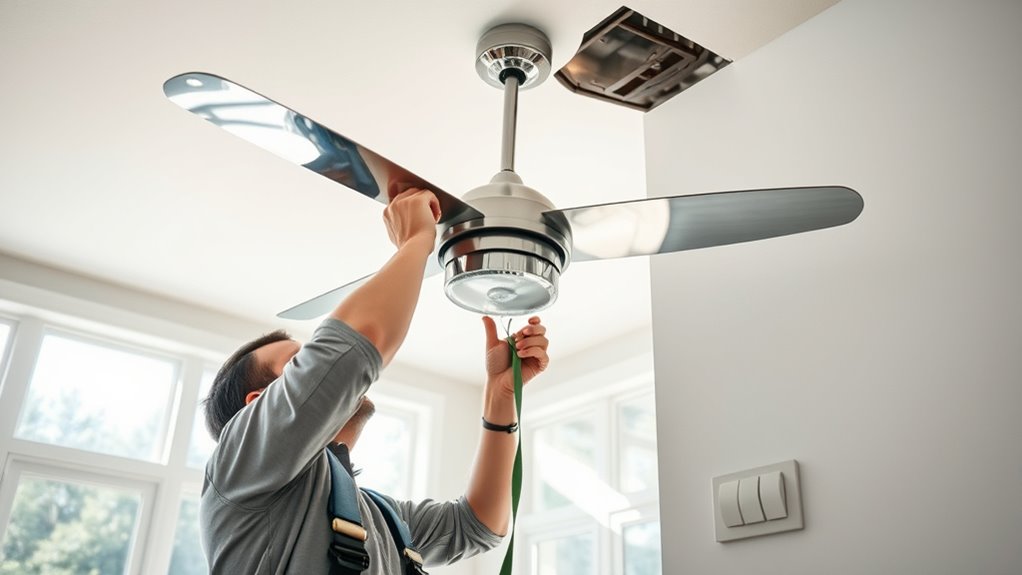
Begin by installing the mounting bracket for the ceiling fan to the electrical box, ensuring it’s rated to support the fan’s weight. Before connecting the wiring, verify the box contains a hot wire (usually black or red), a neutral wire (white), and a ground wire (green or bare copper). If the switch box does not contain a neutral, additional wiring work may be necessary. Connect the ground wire from the electrical supply to the grounding screw in the switch and to the fan’s grounding wire or terminal. For the three-way switch setup, connect the common terminal (often marked as “COM” or with a darker screw) to the hot wire from the power source.
Next, connect the traveler terminals of the switch to the traveler wires running between the switches. These traveler wires facilitate the switching mechanism, allowing either switch to control the fan. Ensure tight, secure connections using wire nuts, and follow color conventions—typically, black or red traveler wires connect to the traveler terminals. The switch’s other terminal, the common, must connect to the wire leading to the fan. If your fan has a separate control for light and fan speed, additional wiring instructions must be followed, often involving a separate switch or pull chain.
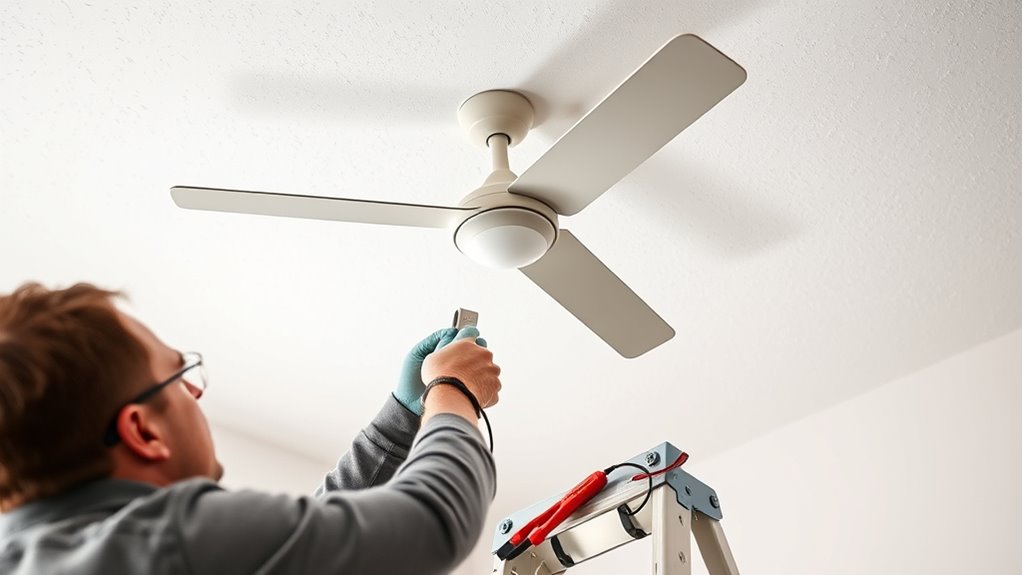
Once wiring is complete, carefully tuck the wires into the electrical box and secure the switch to the box with screws. Install the switch plate cover, restore power at the breaker, and test the setup. Operate the switches alternately to confirm the fan responds correctly, switching on and off regardless of which switch is used. If the fan or light doesn’t operate properly, double-check all wiring connections for correctness and secure contact. Proper grounding and adherence to local electrical codes are essential throughout this process to ensure safety and reliable operation. Additionally, tuning techniques used in automotive settings emphasize the importance of correct wiring and configuration for optimal performance.

Ceiling Fan Switch Zing Ear ZE-208s E89885 3 Speed 4 Wire Pull Chain Switch Fan Light Switch Replacement Part with 4 Pre-Installed Wires(Bronze Chain)
Ceiling Fan Switch Model: ZE-208s. 3 Speed 4 Wire Switch.
As an affiliate, we earn on qualifying purchases.
As an affiliate, we earn on qualifying purchases.
Frequently Asked Questions
Can I Install a Ceiling Fan With a Three-Way Switch Without an Electrician?
Yes, you can install a ceiling fan with a three-way switch yourself if you have electrical knowledge and experience. Turn off power at the circuit breaker, follow the wiring diagram carefully, and make certain all connections are secure and properly insulated. Use a voltage tester to verify power is off before working. If you’re unsure or uncomfortable with electrical work, hiring a licensed electrician is the safest option to prevent hazards.
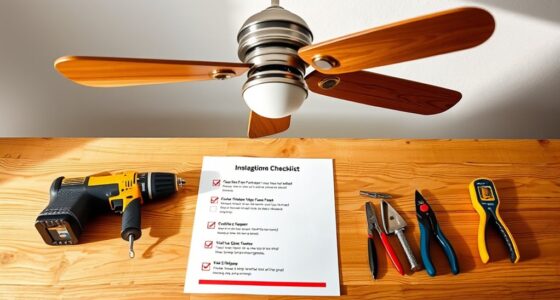
What Tools Are Needed for Installing a Three-Way Switch Ceiling Fan?
You need a voltage tester to guarantee power is off, a Phillips and flat-head screwdriver for wiring connections, wire strippers to prepare conductors, needle-nose pliers for bending wires, electrical tape for safety, and possibly a ladder for reach. Additionally, a three-way switch, compatible wiring, and wire nuts are essential. Always verify tool compatibility with your specific switch and fan model, and follow safety protocols.
Is There a Specific Type of Wiring Required for Three-Way Switch Setups?
You need three-conductor cable with ground (usually black, red, white, and green/bare) for a three-way switch setup. This wiring allows for the electrical pathway to be split and controlled from two locations. The traveler wires (red and black) connect the switches, while the white neutral completes the circuit. Using the correct gauge wire, typically 14 or 12 gauge, guarantees safety and proper function, preventing electrical issues.
How Do I Troubleshoot if the Ceiling Fan Doesn’T Turn On?
If your ceiling fan doesn’t turn on, first make certain the switch is on and the breaker isn’t tripped. Check the wiring connections at the fan and switch for loose or disconnected wires. Test the switch with a multimeter for continuity. Verify the fan’s pull chain or remote control batteries. If these steps don’t work, replace the switch or consult an electrician, as the issue may be with wiring or the fan itself.
Can I Replace an Existing Switch With a Three-Way Switch Myself?
You can replace an existing switch with a three-way switch yourself, but don’t expect it to be a simple switch-out. You need to understand wiring, identify travelers and common terminals, and turn off power completely. While it’s technically doable, it’s easy to make mistakes that could cause electrical hazards or damage. If you’re not confident, consulting a professional guarantees safety and compliance, saving you time and potential headaches.
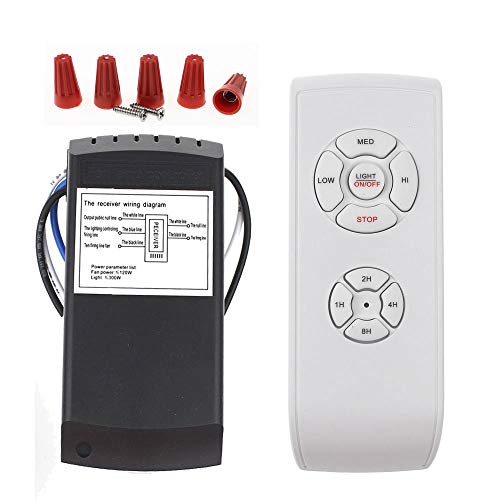
LPHUMEX Universal Ceiling Fan Remote Control Kit, 3-in-1 AC Motor Ceiling Fan Light Timing & Speed Remote, for Hunter/Harbor Breeze/Westinghouse/Honeywell/Other Ceiling Fan lamp
☞Easy Installation – Installation of the Universal Ceiling Fan Remote Controls Kit is a breeze and the looks…
As an affiliate, we earn on qualifying purchases.
As an affiliate, we earn on qualifying purchases.
Conclusion
By properly installing a ceiling fan with a three-way switch, you guarantee efficient control and safety. Remember, the theory that complex wiring is inherently risky is only true if mishandled; with careful attention to detail and adherence to electrical codes, you minimize hazards. Accurate wiring not only guarantees functionality but also prolongs the fixture’s lifespan. Approach the task methodically, understanding that precision in installation reflects a broader principle: meticulous effort yields reliable, long-term results.
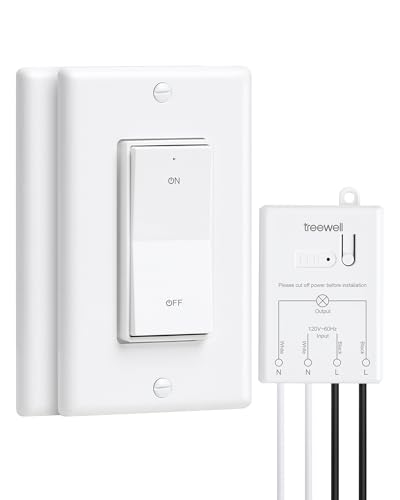
TREEWELL 3 Way Wireless Light Switch and Receiver Kit, Decorator Rocker Wall Switch, 200FT RF Range, No in-Wall Wiring Required, Programmable & Expandable for Ceiling Light, Fans, Lamps
Add/Relocate 3 Way Switch without Rewiring – Simply wired between the power and lighting fixtures; no complex in-wall…
As an affiliate, we earn on qualifying purchases.
As an affiliate, we earn on qualifying purchases.

Klein Tools 69149P Electrical Test Kit with Digital Multimeter, Non-Contact Voltage Tester and Electrical Outlet Tester, Leads and Batteries
VERSATILE MULTIMETER: Measures up to 600V AC/DC voltage, 10A DC current, and 2MOhms resistance
As an affiliate, we earn on qualifying purchases.
As an affiliate, we earn on qualifying purchases.