
To install a ceiling fan on a sloped or vaulted ceiling, first measure the ceiling angle with an inclinometer and verify your fan is compatible with slopes up to 15-20 degrees. Use an adjustable mounting kit with a swivel adapter and appropriate downrod. Secure the mounting bracket to ceiling joists, and follow electrical codes during wiring. Fine-tune the fan’s positioning for balance and safety—continuing with this process reveals more essential details for a secure, efficient installation.
Key Takeaways
- Measure the ceiling slope to ensure the fan’s angle compatibility, using an inclinometer or angle finder.
- Use an adjustable mounting kit or angled mounting bracket designed for sloped ceilings.
- Securely attach the mounting bracket to ceiling joists with heavy-duty lag screws or anchors.
- Adjust the canopy and swivel adapter during installation to achieve a level blade plane.
- Verify the fan operates smoothly without wobbling, ensuring all hardware is tight and connections are secure.
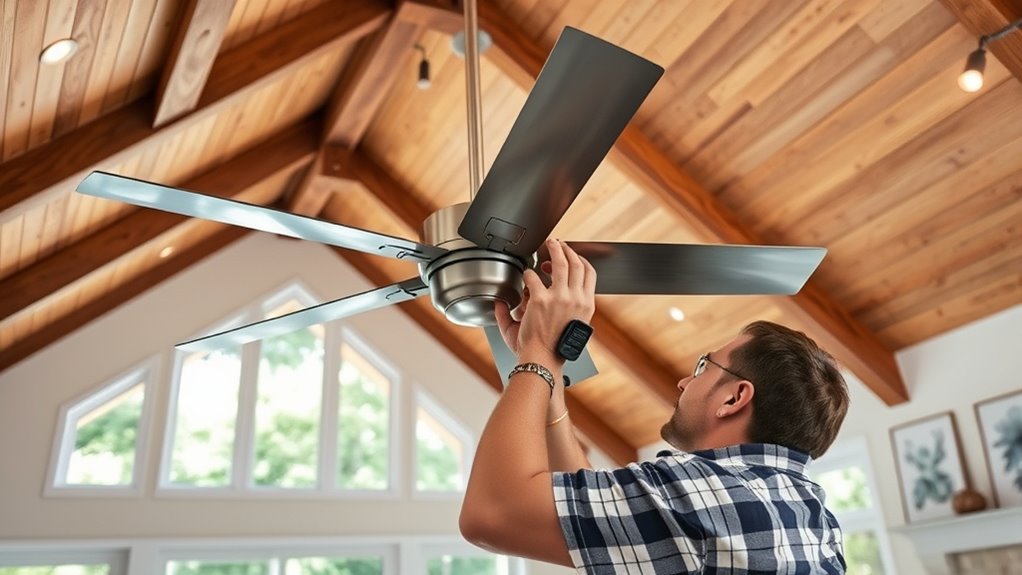
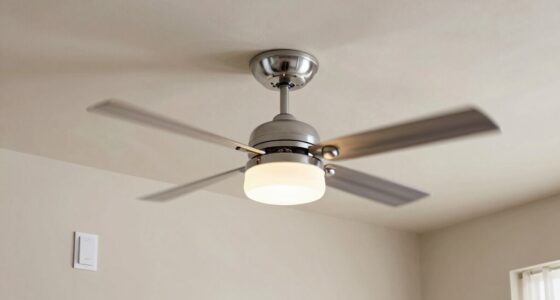
Are you prepared to upgrade your space with a ceiling fan? Installing a ceiling fan on a sloped or vaulted ceiling requires careful planning and precise execution to guarantee optimal performance and safety. Unlike standard flat ceiling installations, sloped ceilings demand specialized mounting hardware and adjustments to maintain proper blade alignment and airflow efficiency. First, assess the angle of your ceiling using an angle finder or inclinometer. Most ceiling fans are designed to accommodate angles up to 15 or 20 degrees; beyond that, you’ll need a downrod extension with an adjustable canopy that can compensate for steeper slopes. Confirm compatibility with your fan model to prevent issues with blade clearance and motor operation.
Installing a ceiling fan on sloped ceilings requires careful planning and specialized hardware for optimal safety and performance.
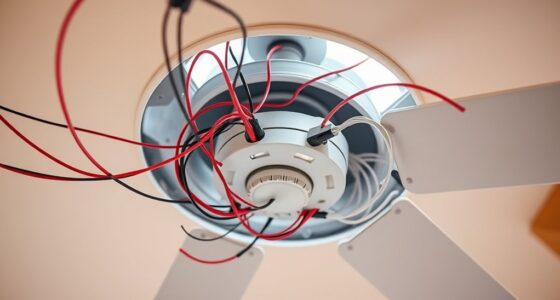
Next, select a mounting system specifically engineered for sloped ceilings. A universal mounting bracket or a specially designed angled mounting kit is essential. These kits typically include an adjustable canopy, a swivel adapter, and a longer downrod if necessary. Installing the mounting bracket involves attaching it securely to the ceiling joist or a suitable structural element using heavy-duty lag screws or anchors rated for the load. Accurate placement is critical; misalignment can cause wobbling or imbalance, which exacerbates wear on the motor and blades. Use a level to verify that the mounting bracket is perfectly aligned before proceeding.
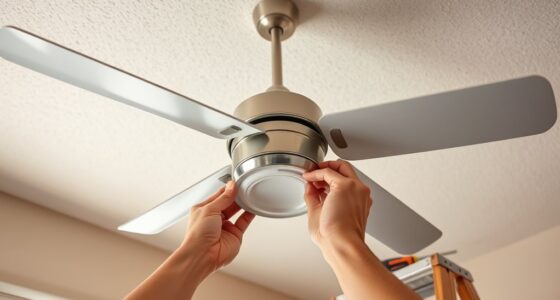
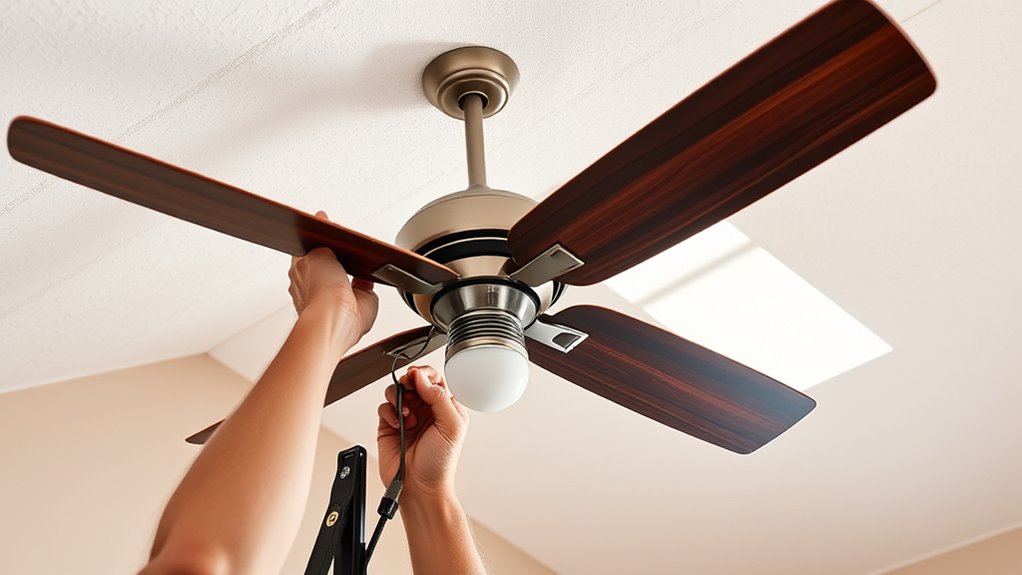
Once the bracket is in place, attach the mounting plate, then connect the fan’s wiring according to the manufacturer’s instructions. Sloped ceilings may require additional wiring considerations, such as longer or flexible conduit runs to accommodate the angle. Ensure all electrical connections are secure, insulated, and compliant with local electrical codes. When installing the fan onto the mounting bracket, adjust the canopy and canopy cover to sit flush against the ceiling surface, ensuring the fan hangs at the proper angle and height for airflow efficiency. This step often involves fine-tuning the swivel adapter to achieve a level fan blade plane, critical for balanced operation.
Finally, double-check all connections, tighten all mounting hardware, and verify the fan’s stability. Turn on the power and test the fan at various speeds, paying close attention to wobbling or unusual vibrations. If any issues arise, re-examine the mounting angles and blade balance. Proper installation on a sloped or vaulted ceiling not only maximizes airflow effectiveness but also prolongs the lifespan of the fan and ensures safety. Additionally, understanding the fan angle compatibility can help prevent installation issues and optimize airflow. By following these precise steps, you guarantee a secure, effective, and professional ceiling fan installation tailored to your unique ceiling configuration.

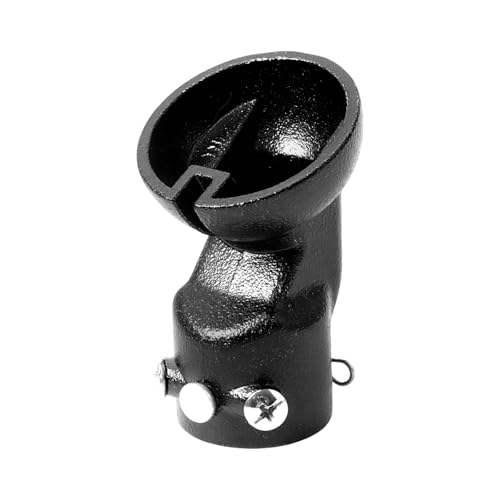
5-Piece Sloped Ceiling Fan Mount Bracket Kit – Universal Black Ceiling Fan Adapter for Most Fans, Includes Mounting Bracket, Hanger Ball, Canopy, Screw Cover & Hardware
【UNIVERSAL COMPATIBILITY FOR SLOPED CEILINGS UP TO 30°】Designed to securely mount ceiling fans on angled, vaulted, or cathedral…
As an affiliate, we earn on qualifying purchases.
As an affiliate, we earn on qualifying purchases.
Frequently Asked Questions
Can I Install a Ceiling Fan on a Very Steeply Vaulted Ceiling?
Yes, you can install a ceiling fan on a steeply vaulted ceiling. Use a downrod that extends sufficiently to reach the desired height and make certain the fan’s angle is compatible with the ceiling’s slope. Confirm that the mounting bracket can handle the steep angle and install a fan with an adjustable canopy if necessary. Proper support and secure mounting are essential for safety and maximum airflow.
What Safety Precautions Are Necessary for High or Sloped Ceiling Installations?
You should always turn off power at the circuit breaker before starting installation. Use a sturdy ladder or scaffolding to reach high or sloped ceilings safely. Wear protective gear, including gloves and eye protection. Secure the fan mounting bracket to a ceiling joist or a suitable support using the appropriate hardware. Double-check all connections, guarantee proper grounding, and verify the fan’s stability before powering on. Follow manufacturer instructions meticulously for safety and compliance.
Are Special Mounting Brackets Required for Vaulted Ceiling Fans?
Yes, you need special mounting brackets for vaulted ceiling fans. Unlike standard mounts, these brackets compensate for the angle, ensuring the fan hangs level and operates safely. They provide secure attachment to the angled ceiling, preventing wobbling or damage. Use a fan-rated slope adapter and an adjustable mounting bracket to maintain proper alignment. Proper installation with these brackets guarantees safety, efficiency, and longevity of your ceiling fan on a vaulted ceiling.
How Do I Ensure Proper Airflow in a Sloped Ceiling Room?
You guarantee proper airflow by choosing a fan with an adjustable or multi-position mounting system that accounts for your ceiling’s slope. Install the fan at the ideal height, typically 8-9 feet from the floor, and ensure the blades are parallel to the floor for maximum efficiency. Use a downrod if needed to correct blade angle and avoid airflow issues caused by improper alignment, enhancing circulation throughout the room.
Can I Install a Ceiling Fan Without Professional Help?
Yes, you can install a ceiling fan without professional help if you have electrical and DIY skills. Turn off power at the breaker, verify the mounting bracket is secure, and follow the manufacturer’s instructions carefully. Use appropriate tools and safety gear. However, for complex setups or uncertain skills, hiring a licensed electrician ensures safety and code compliance, especially on sloped or vaulted ceilings where specialized mounting hardware may be required.
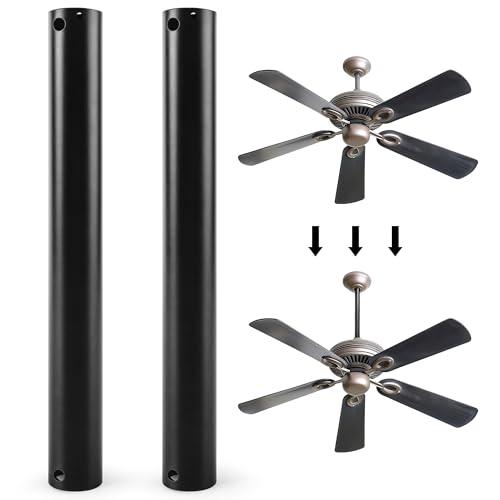
Verdanzia Ceiling Fan Downrod, 12 Inch Black Ceiling Fan Extension Downrod, 1 Inch Diameter Universal Downrod for Ceiling Fan, Not Threaded (2, black)
Our ceiling fan downrod extension is designed to extend the height of your ceiling fan, ensuring optimal airflow…
As an affiliate, we earn on qualifying purchases.
As an affiliate, we earn on qualifying purchases.
Conclusion
By properly installing your ceiling fan on a sloped or vaulted ceiling, you’re not just enhancing airflow—you’re elevating your space’s functionality and comfort. Think of your fan as the guiding compass, steering the currents of air with precision and purpose. Mastering this installation symbolizes control over your environment, transforming a simple fixture into a symbol of mastery and efficiency. With correct technique and attention to detail, you guarantee lasting performance and ideal airflow, turning your ceiling into a platform of comfort and innovation.

AICWIOO Universal Ceiling Fan Mounting Bracket Kit with Hanger Ball, 2.0mm Heavy Duty Carbon Steel Support, Compatible with Hunter, Harbor Breeze, Fits 1-Inch Downrods, Includes Wire Nuts & Screws
[End Ceiling Fan Wobble & Noise] Crafted from 2.0mm ultra-thick SPCC carbon steel, our heavy-duty bracket provides 40%…
As an affiliate, we earn on qualifying purchases.
As an affiliate, we earn on qualifying purchases.
TEBTEOTEK Universal Sloped Ceiling Fan Adapter for Angled Ceiling Up to 45° (Black)
Slope Angeled (0°-45°): Install on various ceiling angles, from flat surfaces up to 45-degree slopes.
As an affiliate, we earn on qualifying purchases.
As an affiliate, we earn on qualifying purchases.