
To install a ceiling fan on a metal ceiling joist, first locate and verify the joist’s position using a metal detector or building plans, making sure it can support the fan’s weight. Use specialized fasteners like toggle bolts or threaded anchors rated for metal framing to secure the mounting bracket deeply into the joist. Carefully handle electrical wiring with conduit connectors and follow safety protocols. For detailed steps and safety tips, explore further to ensure a secure, stable installation.
Key Takeaways
- Locate and verify the metal joist’s position and strength using a stud finder or building plans.
- Use suitable metal-specific fasteners like toggle bolts or threaded anchors rated for fan weight.
- Attach a compatible mounting bracket securely into the joist, avoiding overtightening to prevent damage.
- Protect electrical wiring with conduit and ensure proper grounding and connections per electrical codes.
- Double-check the installation’s stability, levelness, and test the fan at low and high speeds for smooth operation.
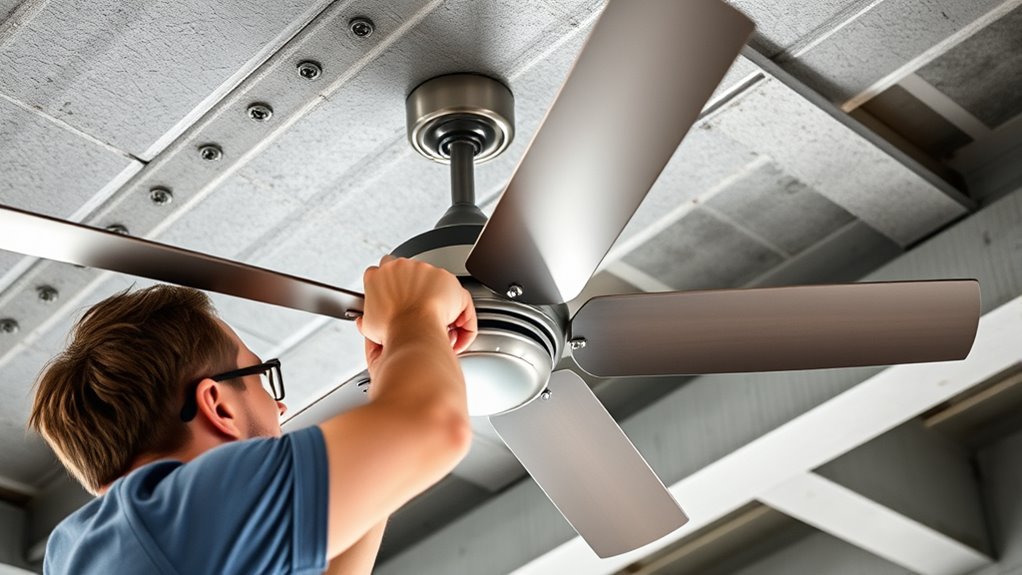
Have you considered how to securely install a ceiling fan on a metal ceiling joist? Proper installation requires a methodical approach to guarantee safety, stability, and compliance with electrical and structural standards. Metal joists differ considerably from wood, primarily due to their material properties and fastening requirements. You need to select appropriate hardware designed specifically for metal framing to prevent attachment failure, which could result in damage or injury.
Begin by locating the metal joist accurately using a stud finder equipped for metal detection or by referencing building plans. Once identified, verify the joist’s gauge and strength rating to ensure it can support the weight and operational forces of the ceiling fan. Unlike wood, metal joists lack the natural nailing or screwing points; thus, you must use specialized fasteners such as toggle bolts, threaded anchors, or heavy-duty metal screws with appropriate anchors to distribute the load evenly. These fasteners should be rated for the weight of the fan and the dynamic forces during operation.
Use toggle bolts or threaded anchors rated for the fan’s weight on metal joists.
Next, select a mounting bracket compatible with both the ceiling fan’s mounting system and the metal joist. Many ceiling fans come with universal mounting plates designed for wood framing, so you will need an adapter or a custom bracket that attaches securely to the metal joist without damaging it. Attach the mounting bracket using the appropriate fasteners, ensuring they penetrate deeply into the joist’s web or flanges. Do not overtighten, as this can deform or weaken the metal; instead, tighten incrementally to achieve a firm, stable connection.
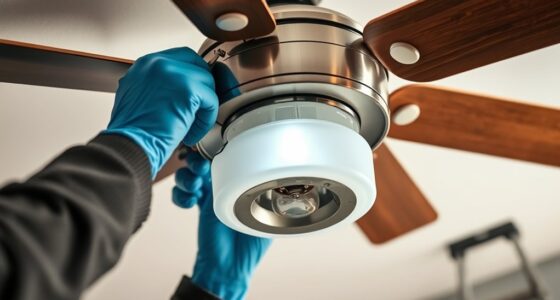
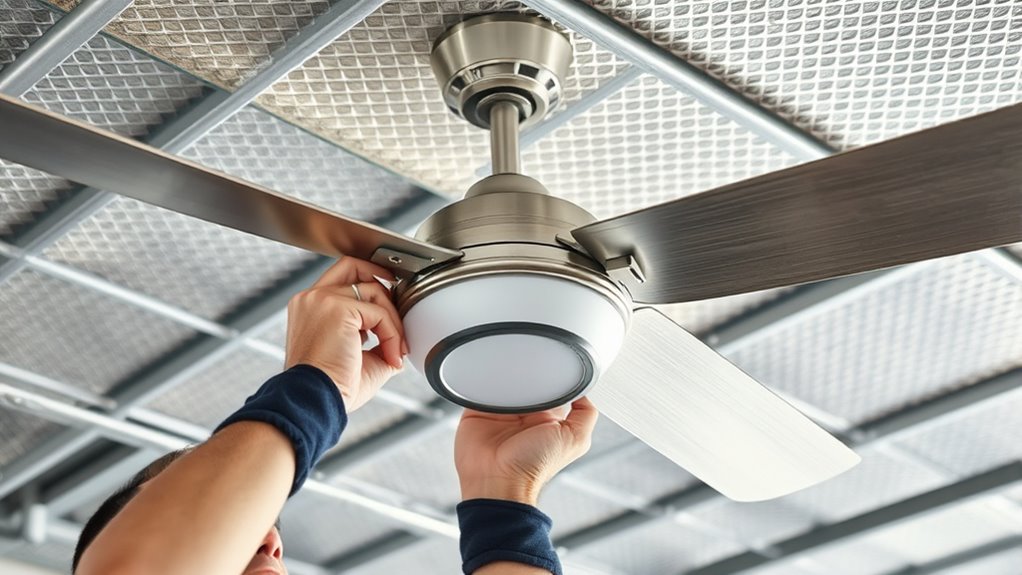
Electrical wiring must also be handled with precision. Turn off power at the circuit breaker before beginning any installation. Use a conduit or conduit connector rated for metal framing to protect the wiring and prevent stress on the connections. Employ wire nuts and grounding screws according to electrical codes, ensuring a secure and reliable electrical connection. Confirm that the circuit load is within the fan’s specifications and that all wiring is properly insulated and secured against movement or vibration. Proper installation techniques are essential to ensure safety and durability.
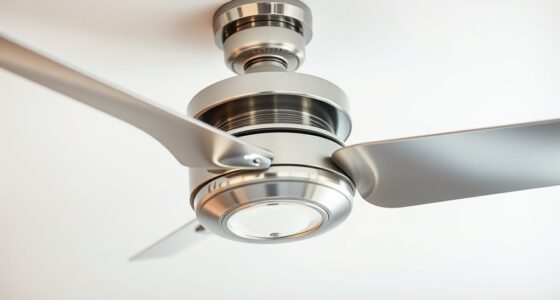
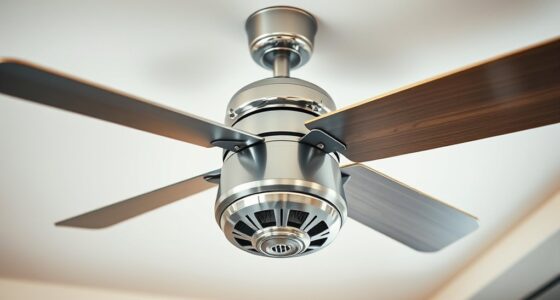
Finally, double-check the installation for stability and alignment. Confirm that the fan hangs level and that the mounting hardware is firmly secured without any play or wobble. Test the fan at low speed to observe for any abnormal vibrations or noises, then gradually increase to operational speed. Properly installed on a metal joist, the fan should operate smoothly, with the mounting system bearing the load securely. This meticulous approach assures both safety and longevity, preventing structural or electrical issues over the lifespan of the fan.

Forrovenco Ceiling Fans with Lights and Remote, 52 Inch Outdoor Ceiling Fan for Patios Indoor with 3 Downrods, 3 Blades Modern Ceiling Fan, 6 Speed Reversible Quiet DC Motor Solid Wood Fan,52in,Walnut
Modern Ceiling Fan with Light: Our 3 blade ceiling fan with light features unique, planet-friendly, and renewable high-quality...
As an affiliate, we earn on qualifying purchases.
Frequently Asked Questions
Can I Install a Ceiling Fan Without a Joist Mount?
Yes, you can install a ceiling fan without a joist mount by using a compatible ceiling fan brace or retrofit box designed for unsupported ceilings. These accessories provide a secure mounting point and distribute weight evenly across the ceiling structure. verify the brace or box is rated for fan installation and installed into a solid structure, such as a metal ceiling stud or support system, to maintain safety and stability during operation.
What Tools Are Essential for Installing on a Metal Joist?
Think of your tools as your trusted compass and map on a technical journey. To install on a metal joist, you’ll need a cordless drill with metal drill bits, a stud finder compatible with metal, a torque wrench for secure tightening, and a level to ensure proper alignment. Additionally, safety gear like gloves and goggles safeguard you. These essentials guarantee precise, secure installation on your metal ceiling structure.
How Do I Prevent Rust on Metal Ceiling Joists?
To prevent rust on metal ceiling joists, you should apply a rust-inhibiting primer or paint designed for metal surfaces. Confirm the surface is clean and dry before application. Consider using a rust-resistant coating or sealant for added protection. Regularly inspect the joists for signs of corrosion and reapply protective coatings as needed. Proper ventilation also reduces moisture buildup, further minimizing rust formation.
Is Additional Reinforcement Necessary for Heavy Ceiling Fans?
Yes, additional reinforcement is necessary for heavy ceiling fans. You should install a ceiling fan brace or support between the metal joists to guarantee stability and safety. Use a mounting bracket rated for the fan’s weight, and verify that your existing joists can support the load. Proper reinforcement minimizes the risk of structural failure, reduces vibrations, and prolongs the fan’s lifespan. Always adhere to manufacturer specifications and local building codes.
Can I Install a Dimmable Light Fixture on the Fan?
Yes, you can install a dimmable light fixture on your fan, provided the fixture and fan are compatible. Confirm the fixture’s wiring matches your fan’s wiring specifications, and verify that the dimmer switch supports both the fixture and fan motor. Follow manufacturer instructions carefully to prevent electrical issues. Use appropriate wiring connectors and secure all connections properly. Always turn off power before working on electrical components to ensure safety.

Amico Ceiling Fans with Lights, 42 inch Low Profile Ceiling fan with Light and Remote Control, Flush Mount, Reversible, 3CCT, Dimmable, Noiseless, Black Ceiling Fan for Bedroom, Indoor/Outdoor Use
Ceiling Fan with Light: Decorate your home with Amico ceiling fan! While bringing you coolness and comfort, it...
As an affiliate, we earn on qualifying purchases.
Conclusion
Securing a ceiling fan to a metal joist is like anchoring a ship to a sturdy harbor—precision matters. Confirm your mounting is solid, as this foundation supports both safety and performance. Double-check connections and follow manufacturer instructions meticulously. A well-installed fan will operate smoothly, like a well-oiled machine, keeping your space comfortable and safe. Remember, proper installation isn’t just about convenience; it’s the anchor that keeps your cooling system steady amidst the currents of everyday use.

addlon Ceiling Fans with Lights, 42 Inch Low Profile Ceiling Fan with Light and Remote Control, Flush Mount, Reversible, 3CCT, Dimmable, Quiet, Black Small Ceiling Fan for Bedroom Indoor/Outdoor Use
Ceiling Fan with Light: Bring more than just wind and light, but comfort! addlon modern ceiling fan, with...
As an affiliate, we earn on qualifying purchases.

ZMISHIBO 52 Inch Ceiling Fan with Light, App&Remote Control, Flush Mount Low Profile, Dimmable 20W LED Light, Quiet Reversible Motor for Bedroom, Living Room, Apartment, Black
Perfect Size for Rooms: This 52-inch ceiling fan is ideal for cooling and illuminating spacious areas like living...
As an affiliate, we earn on qualifying purchases.