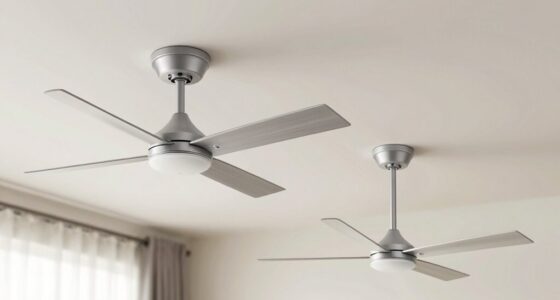
To install a ceiling fan light kit safely, turn off the power at the breaker, then verify no current flows using a voltage tester. Remove the existing fixture and connect the wires, matching color codes: black for hot, white for neutral, and green or bare for ground. Secure all connections with wire nuts, wrap with electrical tape, and carefully tuck wires into the electrical box. Proper installation guarantees safety and performance—continuing will guide you through each step in detail.
Key Takeaways
- Turn off power, verify no current, and remove existing fixture before starting installation.
- Match wiring color codes (hot, neutral, ground) and secure connections with wire nuts and electrical tape.
- Attach the light kit to the ceiling fan following manufacturer instructions, ensuring all screws are tightened securely.
- Connect the light kit wiring to the fan’s wiring, typically matching black to black, white to white, and green to green or ground.
- Restore power, test the light operation, and troubleshoot any flickering or loose connections for safe, proper function.
Installing a ceiling fan light kit requires careful attention to wiring connections, safety protocols, and manufacturer instructions. Begin by ensuring the power to the circuit is turned off at the breaker box to prevent electrical shock. Use a voltage tester to confirm that no current is flowing through the wires before proceeding. Once verified, remove the existing fan housing or light fixture, noting how the wiring is connected. Take pictures if necessary for reference during reassembly, and handle all components carefully to avoid damaging delicate wiring or mounting hardware.
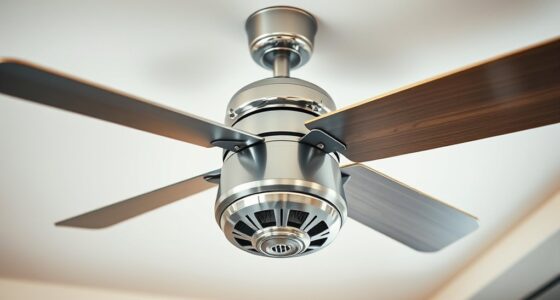
Next, inspect the fan’s mounting bracket and wiring box to confirm they are rated for ceiling fan installation and are securely fastened. Connect the wiring according to the manufacturer’s diagram, which typically involves matching color-coded wires: black (hot), white (neutral), and green or bare copper (ground). Use wire nuts to secure connections tightly, ensuring there are no exposed conductors, and wrap each connection with electrical tape for added security. If your fan kit includes additional wires for the light kit, follow the specific wiring instructions provided, which may involve connecting a blue or black wire from the fan to the light kit wires.
Inspect mounting and wiring, then connect wires matching color codes securely with wire nuts and electrical tape.
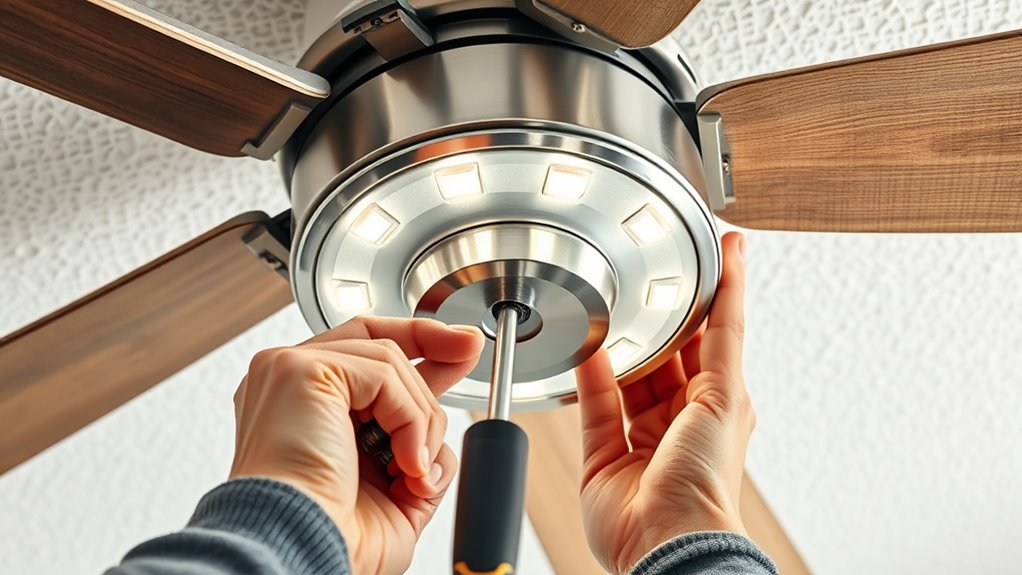
When wiring is complete, carefully tuck the connections into the electrical box, making sure they are not pinched or strained. Attach the mounting bracket and light kit components as specified, tightening all screws securely without over-tightening, which could damage the fixture. If the light kit includes a glass shade or other decorative elements, install these last, following the manufacturer’s instructions precisely to ensure proper fit and safety.
After mounting the light kit, restore power at the breaker and turn on the switch to test the installation. Confirm that the light functions correctly, and check for any flickering or loose connections. If issues arise, turn off the power again and re-inspect all wiring connections, ensuring they are tight and correctly matched. Always adhere to local electrical codes and manufacturer guidelines, as improper wiring can lead to hazards such as shorts or electrical fires.
Finally, tidy up the work area, secure any loose wires, and double-check that all fixtures are firmly mounted. Properly installed wiring and fixtures will ensure safe operation and long-term durability. Remember, if at any point you’re uncertain about wiring procedures or safety, consult a licensed electrician. Precise adherence to these steps guarantees a secure, functional, and code-compliant ceiling fan light kit installation, minimizing risks and maximizing performance. Additionally, understanding reliable installation practices can help prevent common issues associated with improper wiring.

addlon Ceiling Fans with Lights, 42 Inch Low Profile Ceiling Fan with Light and Remote Control, Flush Mount, Reversible, 3CCT, Dimmable, Quiet, Black Small Ceiling Fan for Bedroom Indoor/Outdoor Use
Ceiling Fan with Light: Bring more than just wind and light, but comfort! addlon modern ceiling fan, with...
As an affiliate, we earn on qualifying purchases.
Frequently Asked Questions
Can I Install a Light Kit on Any Ceiling Fan?
Yes, you can install a light kit on most ceiling fans, but compatibility depends on the fan’s design and wiring. Check if your fan has the appropriate mounting bracket and wiring connections for a light kit. Review the manufacturer’s instructions and verify the light kit matches your fan’s model. If unsure, consult the fan’s manual or contact the manufacturer to confirm compatibility before proceeding.
What Tools Are Needed for Installation?
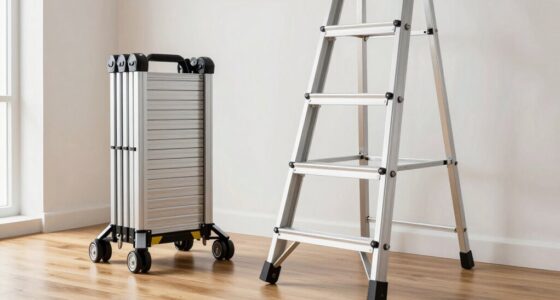
You’ll need a Phillips screwdriver to tighten screws securely, a stepladder or sturdy chair to reach the ceiling safely, and wire strippers to prepare the electrical connections. A voltage tester guarantees your power is off before working, preventing shocks. Having a small adjustable wrench helps tighten mounting hardware. Keep these tools handy, and you’ll find the installation process smooth and efficient, just like a professional.
How Do I Troubleshoot Wiring Issues?
You should first turn off power at the circuit breaker to prevent shock. Use a voltage tester to confirm no current flows through the wires. Check wiring connections against the manufacturer’s diagram, ensuring all wire nuts are secure and wires are properly grounded. Inspect for damaged or frayed wires, and verify that the switch and fixture wires are correctly matched. If issues persist, consult a licensed electrician to avoid hazards.
Is an Electrical Permit Required?
Yes, an electrical permit is required. You need to navigate local neighborhoods’ nuances, noting that many municipalities mandate permits for electrical work to guarantee safety standards. You’ll want to check with your city or county authorities before proceeding, as permits validate compliance, prevent penalties, and promote proper installation. Skipping this step risks legal issues and safety hazards, so always verify permit requirements beforehand to ensure a compliant, certified, and safe ceiling fan light kit installation.
How Do I Replace a Faulty Light Bulb?
To replace a faulty light bulb, first turn off the power at the switch or circuit breaker to guarantee safety. Carefully remove the existing bulb by gripping it firmly and twisting counterclockwise. Inspect the socket for corrosion or damage. Insert a new, compatible bulb, twisting clockwise until secure. Turn the power back on and verify proper operation. Always use appropriate wattage to prevent electrical issues.

Forrovenco Ceiling Fans with Lights and Remote, 52 Inch Outdoor Ceiling Fan for Patios Indoor with 3 Downrods, 3 Blades Modern Ceiling Fan, 6 Speed Reversible Quiet DC Motor Solid Wood Fan,52in,Walnut
Modern Ceiling Fan with Light: Our 3 blade ceiling fan with light features unique, planet-friendly, and renewable high-quality...
As an affiliate, we earn on qualifying purchases.
Conclusion
Think of your ceiling fan with a light kit as a finely tuned orchestra, where each component must harmonize perfectly. When you install the light kit correctly, you’re conducting this symphony with precision, ensuring safety and ideal performance. Like a master conductor, your attention to detail transforms a simple fixture into a functional work of art. With careful installation, you’ve composed a masterpiece that will provide comfort and style for years to come.

ZMISHIBO 52 Inch Ceiling Fan with Light, App&Remote Control, Flush Mount Low Profile, Dimmable 20W LED Light, Quiet Reversible Motor for Bedroom, Living Room, Apartment, Black
Perfect Size for Rooms: This 52-inch ceiling fan is ideal for cooling and illuminating spacious areas like living...
As an affiliate, we earn on qualifying purchases.

Amico Ceiling Fans with Lights, 42 inch Low Profile Ceiling fan with Light and Remote Control, Flush Mount, Reversible, 3CCT, Dimmable, Noiseless, Black Ceiling Fan for Bedroom, Indoor/Outdoor Use
Ceiling Fan with Light: Decorate your home with Amico ceiling fan! While bringing you coolness and comfort, it...
As an affiliate, we earn on qualifying purchases.