
To install a ceiling fan with a quiet DC motor, first make certain your ceiling supports the fan’s weight and that the electrical box is rated for fan mounting. Turn off power, then securely attach the mounting bracket to a ceiling joist or suitable support. Connect wiring properly, matching color-coded wires, and make certain all connections are insulated. Mount the blades evenly and use a blade balancing kit if needed. Finally, test for quiet, vibration-free operation—more details help ensure a smooth, silent setup.
Key Takeaways
- Ensure the ceiling support and electrical box are rated for the fan’s weight and designed for fan installation.
- Follow manufacturer instructions for mounting the fan’s support bracket securely to prevent vibration.
- Make precise electrical connections, matching wiring colors and using rated connectors for safety.
- Install blades evenly and balance them to minimize wobbling and noise during operation.
- Test the fan at different speeds to confirm quiet, smooth operation and adjust blade alignment if needed.
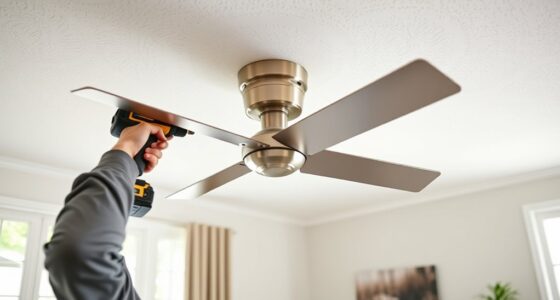
Installing a ceiling fan requires careful planning and adherence to safety standards to guarantee proper operation and stability. The choice of a fan with a quiet DC motor enhances comfort by minimizing noise, but it also demands precise installation to maximize efficiency. Begin by verifying that your ceiling supports the weight of the fan, and ensure the electrical box is rated for fan mounting, typically labeled “fan-rated” or “heavy-duty.” Before proceeding, switch off the power at the circuit breaker to prevent electrical hazards. Use a voltage tester to confirm that the circuit is de-energized, then remove the existing fixture if present, exposing the mounting bracket and electrical wiring.
Next, install the mounting bracket designed for the DC motor fan. Securely attach it to the ceiling joist or a suitable support, ensuring it can bear the fan’s weight and resist vibration. Proper mounting is critical for stability and noise reduction, so tighten all bolts firmly without over-tightening, which could cause damage. Connect the wiring from your ceiling to the fan’s wiring harness, matching colors precisely: typically black or red for hot, white for neutral, and green or copper for ground. Use wire connectors rated for the circuit’s amperage, and ensure that all connections are secure and insulated. It’s essential to follow the manufacturer’s wiring diagram meticulously, especially since DC motor fans often incorporate additional control features.
Securely attach the mounting bracket, matching wires precisely and ensuring all connections are insulated and compliant with the manufacturer’s diagram.
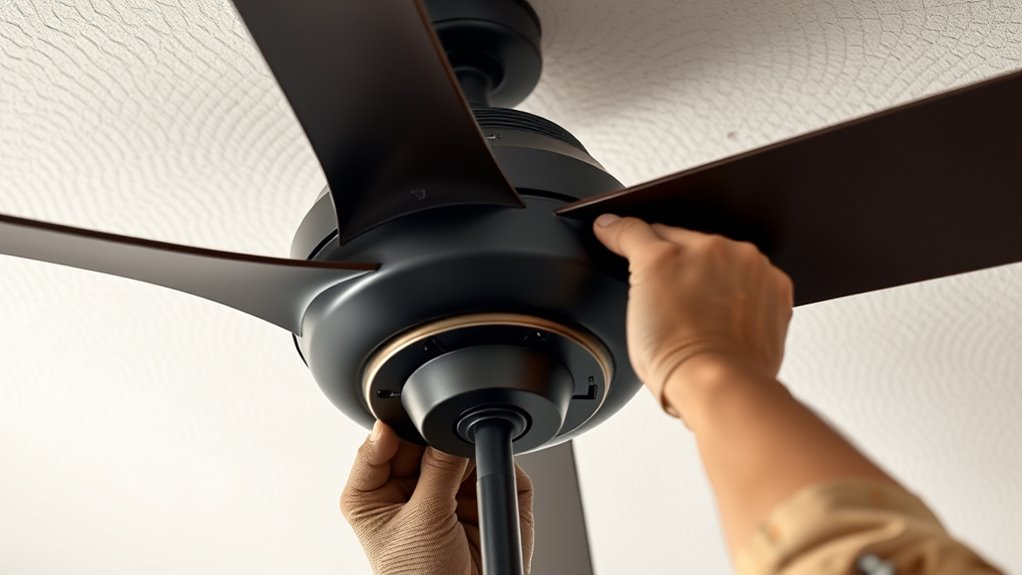
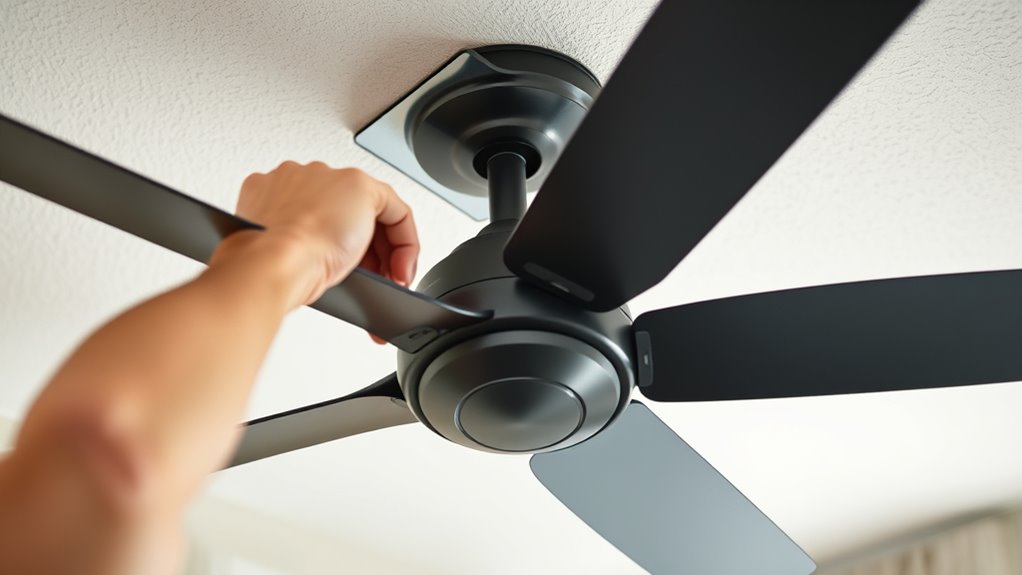
Once the wiring is complete, attach the fan’s motor assembly to the mounting bracket. This step often involves aligning the motor’s mounting plate with the bracket and securing it with screws. Many DC fans feature a quick-connect system or a locking mechanism to facilitate this process. After mounting, attach the blades carefully, ensuring they are balanced and mounted at equal distances. Improperly balanced blades can cause wobbling and noise, undermining the benefits of a quiet motor. Use a blade balancing kit if necessary, and confirm that all screws are tightened uniformly to prevent vibration.
Finally, install any included light fixtures or control systems, following the manufacturer’s instructions. Restore power at the circuit breaker and test the fan at various speeds, paying attention to any unusual vibrations or noise. Adjust blade alignment if needed, and ensure that the fan operates smoothly and quietly. Proper installation of a ceiling fan with a quiet DC motor not only optimizes its performance but also extends its lifespan, providing consistent comfort and energy efficiency over time. Additionally, selecting a quiet DC motor fan can significantly reduce operational noise, creating a more peaceful environment in your space.
ceiling fan with quiet DC motor
As an affiliate, we earn on qualifying purchases.
As an affiliate, we earn on qualifying purchases.
Frequently Asked Questions
Can I Install a Ceiling Fan Without an Existing Electrical Box?
No, you cannot install a ceiling fan without an existing electrical box because it provides essential support and safety. If there’s no box, you’ll need to install a new one that complies with electrical codes. Use a ceiling fan-rated box designed for support and proper grounding. Turn off power before working, and guarantee the box is securely anchored to a ceiling joist or support brace to prevent wobbling or failure.
What Tools Are Required for Installing a Ceiling Fan?
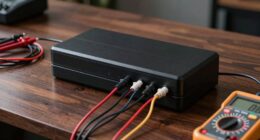
Installing a ceiling fan requires essential tools like a voltage tester, drill, screwdriver, adjustable wrench, ladder, and wire strippers—think of it as assembling a precise machine. First, turn off power at the breaker, then verify no voltage is present. Use the drill for mounting brackets, the screwdriver for securing the fan, and wire strippers to prepare electrical connections. A sturdy ladder guarantees you reach safely, completing a professional, safe installation.
How Do I Ensure the Fan Is Balanced After Installation?
To guarantee your ceiling fan is balanced after installation, start by turning it on at the highest speed. Observe for wobbling or uneven movement. If needed, add balancing clips or weights to the blades’ tips, following the manufacturer’s instructions. Use a blade balancing kit for precise adjustments. Recheck the fan’s operation after each adjustment, ensuring minimal wobbling for safe, smooth operation.
What Safety Precautions Should I Take During Installation?
Did you know that improper installation causes 70% of ceiling fan accidents? To stay safe, turn off the power at the circuit breaker before starting. Wear sturdy gloves and safety goggles to protect against sharp blades and debris. Use a sturdy ladder, ensure the fan’s mounting bracket is secure, and double-check wiring connections for proper insulation. Following these precautions minimizes risk and guarantees a safe, successful installation.
Is It Necessary to Upgrade My Circuit Breaker for a New Fan?
You should verify your fan’s power requirements and compare them with your existing circuit breaker capacity. If the fan’s amperage exceeds your current breaker’s rating, upgrading is necessary to prevent overloads and ensure safety. Consult the fan’s documentation and a qualified electrician if unsure. Properly rated circuit breakers protect your wiring and devices, so don’t skip this step for a safe and reliable installation.

Southwire Electrical Box for Ceiling Fan, Light Fixture, 50lb Ceiling Fan and 75lb Light Fixture Support, Depth Adjustable, Gray, MSBFAN
Adjustable & Secure Installation: The Southwire Electrical Box offers quick setup and strong support as a durable electrical…
As an affiliate, we earn on qualifying purchases.
As an affiliate, we earn on qualifying purchases.
Conclusion
Once you’ve completed the installation, you’ll notice how seamlessly the quiet DC motor enhances your space’s comfort. Coincidentally, many find that upgrading to energy-efficient fans also reduces utility costs over time. Ensuring proper wiring and secure mounting minimizes noise and maximizes performance, making your effort worthwhile. With your precise installation, you’ll enjoy reliable, whisper-quiet operation that complements your room’s ambiance—demonstrating that careful setup truly pays off in long-term satisfaction.
blade balancing kit for ceiling fan
As an affiliate, we earn on qualifying purchases.
As an affiliate, we earn on qualifying purchases.
heavy-duty ceiling fan mounting bracket
As an affiliate, we earn on qualifying purchases.
As an affiliate, we earn on qualifying purchases.