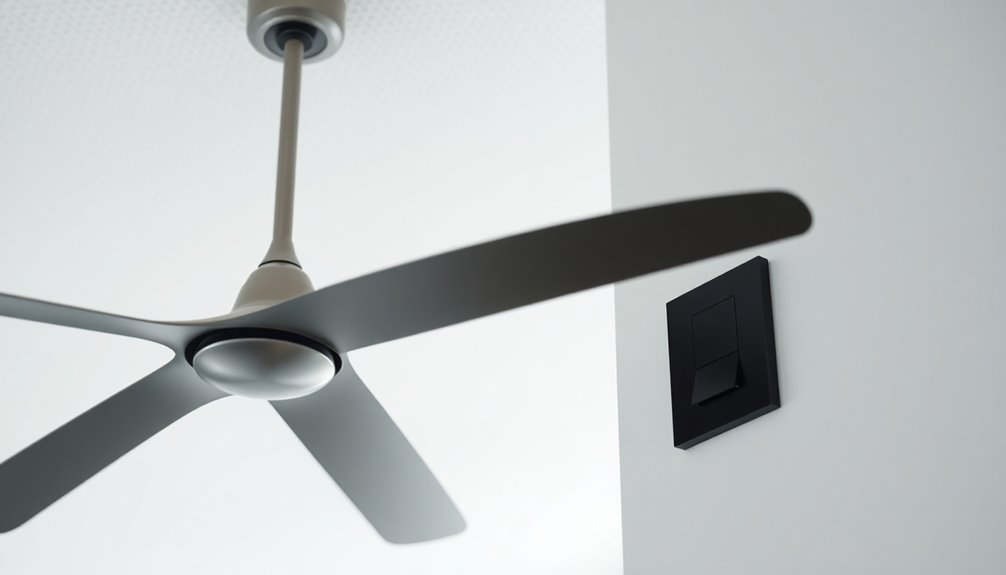
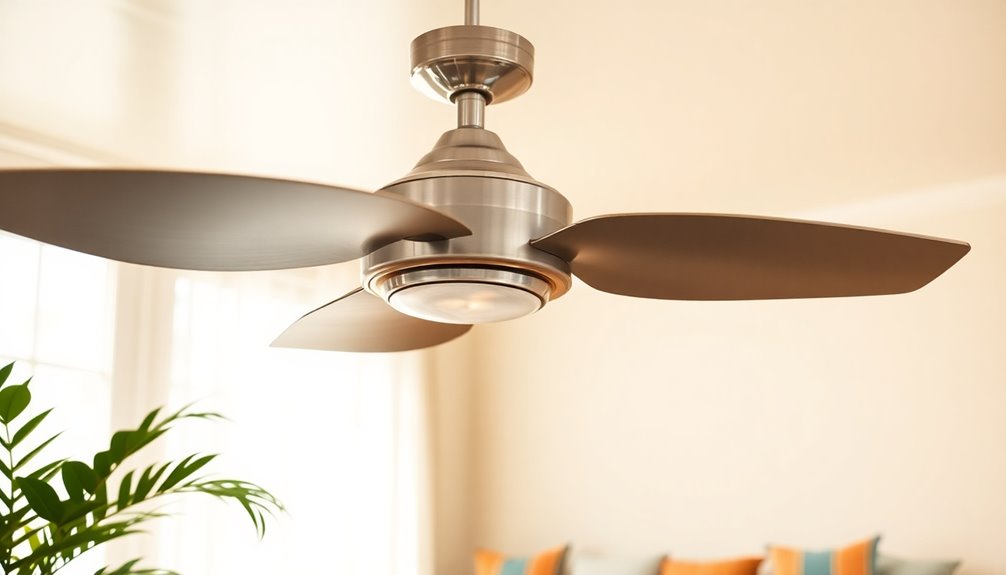
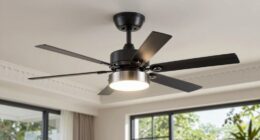
If your ceiling fan's loud, it likely stems from a few common issues. You might have loose screws causing rattling or unbalanced blades that create vibrations. Dust buildup can also lead to squeaks and grinding noises. Inspect the fan for these problems by checking for wobbling blades or unfastened components. Tightening screws or cleaning the blades can help reduce noise. If the sound persists, it could be a sign of worn motor bearings or electrical issues. Discovering solutions to these problems can help restore your fan's quiet operation.
Key Takeaways
- Loose screws or unfastened components can cause rattling or clanking noises in your ceiling fan.
- Unbalanced or warped blades lead to vibrations, resulting in a humming sound during operation.
- Dust accumulation increases friction, which can cause grinding or squeaking noises while the fan is running.
- Worn motor bearings may create grinding sounds due to inadequate lubrication and increased friction.
- Improper installation or loose mounting can result in vibrations and operational noise from the ceiling fan.
Top picks for "ceil loud"
Open Amazon search results for this keyword.
As an affiliate, we earn on qualifying purchases.
Common Causes of Noise

When your ceiling fan starts making unwanted noise, it can be frustrating and distracting. One common cause is loose screws or mounting components. If these screws aren't tight, you may hear rattling or clanking sounds as the fan operates.
Another issue could be unbalanced blades. If the blades are warped or not aligned properly, you'll likely experience vibrations that result in humming or buzzing noises.
Dust accumulation on the blades and motor can also contribute to noise. As dust builds up, it increases friction, causing grinding or squeaking sounds during use.
Additionally, worn or dirty motor bearings can produce similar grinding or squeaking noises due to inadequate lubrication and increased friction.
Improper installation is another culprit. A fan that's loosely mounted or has misaligned blades can lead to vibrations and unwanted noise during operation.
To keep your fan running smoothly, it's important to check for these issues. Make it a habit to inspect your fan regularly, tightening loose screws and cleaning the blades to minimize noise and guarantee peak performance.
Taking these steps can help restore peace and quiet to your space.
Identifying the Source

How can you effectively identify the source of a loud ceiling fan? Start by turning it on and listening closely for specific ceiling fan noises like clicking, humming, or grinding. This helps you pinpoint where the problem might be.
Next, you should examine the fan blades for wobbling or shaking. This could indicate imbalances or loose components contributing to the noise. It's also important to check the motor housing and mounting bracket for any visible damage or wear, as these can cause rattling or buzzing noises.
Using a flashlight, inspect hard-to-reach areas for dirt buildup or loose screws, which can lead to increased friction and operational sounds. Finally, observe the fan's operation at different speed settings. If the noise is consistent across all speeds, it's likely a mechanical issue rather than an electrical one.
Here's a quick reference table to help you:
| Issue | Possible Cause | Next Steps |
|---|---|---|
| Wobbling Blades | Loose components | Tighten screws |
| Buzzing Noise | Damaged motor housing | Inspect for wear |
| Grinding Sound | Dirt buildup | Clean and lubricate |
Easy DIY Fixes

If your ceiling fan's making noise, there are some easy fixes you can try.
Start by tightening any loose screws and cleaning the blades to improve performance.
Finally, use a balancing kit to guarantee the blades are even, which can help cut down on unwanted sounds.
Tighten Loose Screws
Many homeowners overlook the importance of tightening loose screws on their ceiling fans, which can lead to annoying rattling and clicking noises.
If you want to fix a noisy ceiling fan, start by inspecting all visible screws. Focus on the blade brackets, the downrod connection, and any screws securing the light fixture, as these areas often harbor loose screws.
Using a screwdriver, carefully tighten each screw, making sure not to overtighten and risk damaging the components. A snug fit will help eliminate the noise caused by vibration and movement.
Once you've tightened everything, turn on the fan to check for any remaining noise. You should notice a significant reduction or complete elimination of sounds if you've done it right.
To keep your ceiling fan running smoothly, make it a habit to check for loose screws every few months. This simple maintenance task not only helps reduce noise but also prolongs the fan's lifespan.
Clean Dirty Blades
Dusty blades can considerably contribute to the noise your ceiling fan makes. When dust and debris accumulate on the blades, they disrupt airflow and create friction, leading to that annoying noise. A common cause of ceiling fans making clicking sounds is dirty blades.
To address this issue, you'll want to clean dirty blades regularly—every few months is ideal. Start by using a damp cloth to wipe both the top and bottom surfaces of each blade. If your fan is high up, grab a step stool to reach those tricky spots.
Always begin cleaning from the highest point and work your way down to avoid letting dust fall onto already cleaned areas. After you've finished cleaning, test your fan to see if the noise has reduced.
If it still sounds loud, check for loose parts or screws, as they can also contribute to the noise. Remember, maintaining clean blades not only helps reduce noise but also improves overall performance.
Balance Fan Blades
A well-balanced ceiling fan is essential for minimizing noise and guaranteeing smooth operation. If your fan's blades are unbalanced, it can cause excessive noise and vibrations. To check for balance, simply observe the fan while it's running. If you notice wobbling or shaking, it's time for an adjustment.
First, make certain all blades are securely attached and at the same height. Even slight differences can lead to noise and inefficient operation. If you've recently cleaned your fan, verify that dirt accumulation hasn't disrupted the balance. Regular cleaning helps maintain peak performance.
If you find that the blades are still unbalanced after these checks, consider using a blade balancing kit. This kit can help you achieve proper weight distribution and reduce any noise issues.
Additionally, if you still experience persistent noise, inspect your blades for warping or damage—these may need replacement, as they won't balance correctly even after adjustments.
Professional Repair Options

When your ceiling fan becomes excessively loud, seeking professional repair options can be a wise decision.
Professional repair services have the expertise to diagnose complex issues that might go unnoticed, such as a malfunctioning capacitor or faulty motor. They'll pinpoint the source of the noise and recommend the finest course of action.
Experts can replace worn-out components like bearings or capacitors, which not only quiets the fan but also boosts its efficiency.
One vital aspect of a well-functioning fan is ensuring it's correctly balanced. Professionals can tackle any wobbling or misalignment issues that may lead to further noise.
Additionally, hiring a professional guarantees that your fan is securely remounted, addressing any installation-related noise issues effectively.
Regular maintenance from these experts can help prevent noise development and extend your ceiling fan's lifespan, ensuring it performs at its best for years to come.
Maintenance Tips

To keep your ceiling fan running quietly, make regular cleaning a priority and tighten any loose components you find.
Don't forget to lubricate the bearings annually; this reduces friction and noise.
Regular Cleaning Schedule
Establishing a regular cleaning schedule for your ceiling fan can greatly reduce noise and enhance its performance. By committing to a monthly cleaning routine, you'll prevent dust accumulation that can lead to imbalance and unwanted sounds.
Here are some essential tips to keep in mind:
- Use a lightly damp rag to clean the blades and motor housing without causing damage.
- Inspect the fan regularly for signs of damage, such as frayed wires or bent blades.
- Guarantee smooth operation by tightening the screws and checking for any loose parts.
- If your fan is high up, use a step stool or ladder for safe access.
After cleaning, always test your fan to confirm it operates quietly. If it hasn't been maintained for a while, keep multiple damp cloths handy for an effective cleaning session.
Lubrication of Bearings
One important maintenance task that often gets overlooked is the lubrication of ceiling fan bearings. Proper lubrication is vital for reducing friction, which can prevent annoying squeaking or grinding noises during operation.
It's recommended to lubricate the bearings at least once a year, using the fan oil specified by the manufacturer. This guarantees peak performance and prolongs the life of your fan.
Before you add oil, check the oil hole for dryness. You can do this by inserting a pipe cleaner or a plumbing fitting brush to assess the need for lubrication.
If you find that the bearings are dry, it's time to apply the oil. After applying, be sure to wipe away any excess oil with a rag. This step is significant, as excess lubrication can attract dust and debris, leading to more noise issues in the future. Regular maintenance, including lubrication of bearings, is crucial for ensuring your ceiling fan operates quietly and efficiently.
Tightening Loose Components
While lubrication of bearings helps reduce noise, loose components can also be a notable source of sound in your ceiling fan. To keep your fan running quietly, it's vital to regularly check and tighten all parts.
Here are some areas to focus on:
- Fan blades: Confirm each blade is securely fastened to prevent wobbling.
- Motor assembly: Tighten the screws to minimize rattling.
- Mounting bracket: Inspect and secure connections to the ceiling.
- Light fixture connections: Loose screws here can contribute to annoying rattling.
Grab a screwdriver and start tightening the screws on the blade brackets and motor assembly. You'll want to confirm everything is snug, especially around the mounting bracket and downrod connection.
After you've tightened these loose components, test the fan at various speed settings. If the noise diminishes, you've likely solved the issue.
Regular maintenance can greatly enhance your ceiling fan's performance and quietness, making your indoor environment more comfortable. So, don't neglect this simple yet effective task—your ears will thank you!
Cleaning Your Ceiling Fan

Cleaning your ceiling fan is crucial for keeping it quiet and efficient. Regular cleaning helps prevent dust accumulation, which can lead to imbalance and increased noise during operation.
Start by safely accessing the fan blades and housing with a step stool or ladder.
Begin your cleaning from the highest point of the fan and work your way down. Use a lightly damp rag to wipe down the blades and motor housing, removing any dirt or grime that has built up over time. If your fan hasn't been cleaned in months, you may need multiple damp cloths to tackle the dust effectively.
After you've finished cleaning, it's a good idea to test the fan for noise. You'll likely notice a significant reduction in sound, which indicates that you've successfully removed the debris causing the issues.
Not only does cleaning your fan reduce noise, but it also improves its efficiency and lifespan by preventing wear from dirt and debris buildup.
Tightening Loose Parts

Have you ever noticed that your ceiling fan starts to rattle or click during use? This annoying noise often stems from loose components. To fix this, you'll want to focus on tightening loose screws and making sure everything is secure.
Here are some steps to take into account:
- Check the downrod and canopy screws.
- Inspect the light fixture connections.
- Tighten blade brackets to secure the fan blades.
- Establish a routine maintenance schedule.
By tightening these loose screws and bolts, you can greatly reduce the noise when your ceiling fan is running. Loose parts can create vibrations that lead to a noisy ceiling fan, disrupting the peace in your home. Additionally, regular maintenance can help you identify best home security systems that may include features to monitor noise levels in your home.
Use a screwdriver to carefully tighten any visible fasteners, but be careful not to overtighten them, as that could cause additional issues.
Regularly checking for loose components is essential for proactive maintenance, allowing you to prevent noise development and extend your fan's lifespan.
Inspecting Electrical Connections

Inspecting electrical connections is essential for maintaining a quiet and safe ceiling fan. Loose or frayed wires can cause humming or buzzing sounds, signaling potential electrical issues. To guarantee everything runs smoothly, check all wire nuts and connectors to confirm they're securely fastened. Improper connections can lead to inconsistent power flow and noise during operation.
Here's a quick reference table to help you identify common electrical issues:
| Issue | Symptoms |
|---|---|
| Loose or Frayed Wires | Humming or buzzing sounds |
| Damaged Insulation | Crackling or sizzling noises |
| Improper Connections | Inconsistent fan operation |
| Electrical Shorts | Risk of shock or fire hazard |
While inspecting, always turn off the power at the circuit breaker to guarantee your safety. Look for any signs of wear or damage on the wiring; damaged insulation can create electrical shorts, which require immediate attention. Regularly verifying electrical connections as part of your maintenance routine can help prevent future noise issues and guarantee your ceiling fan operates safely and efficiently.
When to Seek Help

When your ceiling fan starts making persistent noises, it's time to contemplate calling in a professional. Ignoring these sounds could lead to bigger problems down the line.
Here are some signs you shouldn't overlook:
- Unusual crackling or sizzling sounds—these could signal serious electrical issues.
- Significant wobbling after balancing attempts—this might indicate installation problems or the need for replacement parts.
- Noises coming from the motor—these can suggest wear or malfunction that could lead to failure.
- Difficulty diagnosing the problem—if you're unsure, it's best to consult an expert.
A noisy ceiling fan might seem like a minor annoyance, but it can point to deeper mechanical issues. If basic troubleshooting hasn't resolved the problem, it's wise to seek help.
Professional evaluation can help identify potential hazards and guarantee safety. Don't hesitate to reach out to customer service for recommendations; they can connect you with qualified professionals.
Addressing these issues promptly can save you time and money in the long run, preventing further damage to your fan or electrical system.
Frequently Asked Questions
How Do I Stop My Ceiling Fan From Being Loud?
To stop your ceiling fan from being loud, start by tightening all screws and bolts on the fan and blades.
Clean the blades and motor housing to avoid dust buildup that can cause noise.
Lubricate the motor bearings annually to reduce friction.
Check the blade alignment for balance and adjust as needed.
Finally, make sure the fan is securely mounted to the ceiling to prevent vibrations that contribute to unwanted sounds.
How Can I Make My Ceiling Fan Quieter?
"If it ain't broke, don't fix it" doesn't apply here!
To make your ceiling fan quieter, start by tightening all screws and bolts.
Clean the blades and motor to remove dust, and lubricate the motor bearings annually.
Use a blade balancing kit to verify everything's aligned.
Finally, check the mounting to confirm it's secure.
Why Is My Fan Making a Weird Loud Noise?
If your fan's making a weird loud noise, it could be due to several issues.
Check for loose screws or components, as they may cause rattling sounds. Unbalanced blades can lead to vibrations, producing humming or buzzing.
Dust buildup can increase friction, causing grinding noises. Also, inspect the motor for worn parts or misalignments.
Finally, look into any electrical problems, as faulty wiring might be creating those unusual sounds.
How Do You Fix a Loud Fan Noise?
You might think a loud fan noise is just something you have to live with, but it doesn't have to be that way.
Start by tightening any loose screws on the blades and motor assembly. Clean and lubricate the motor bearings to eliminate grinding sounds.
Check for warped blades and use a balancing kit if needed. Finally, make certain the fan's properly mounted.
If the noise continues, you might want to call a professional for help.
Conclusion
If your ceiling fan's making noise, don't just put up with it! With a little effort, you can often pinpoint the cause and tackle it yourself. Believe it or not, studies show that nearly 30% of ceiling fans develop noise issues due to loose parts or lack of maintenance. So, stay proactive with regular checks and cleaning, and you'll enjoy a quieter, more efficient fan for years to come!