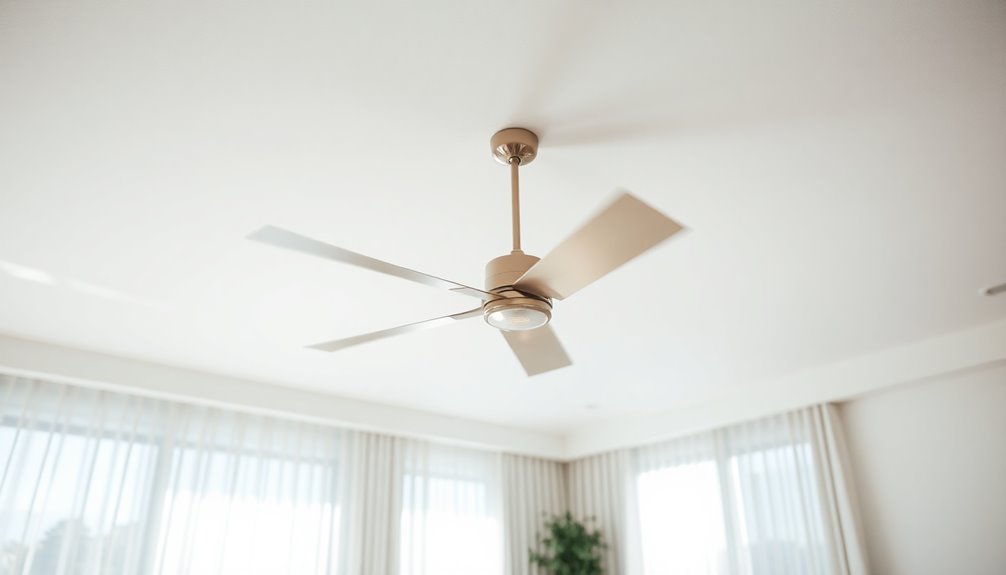
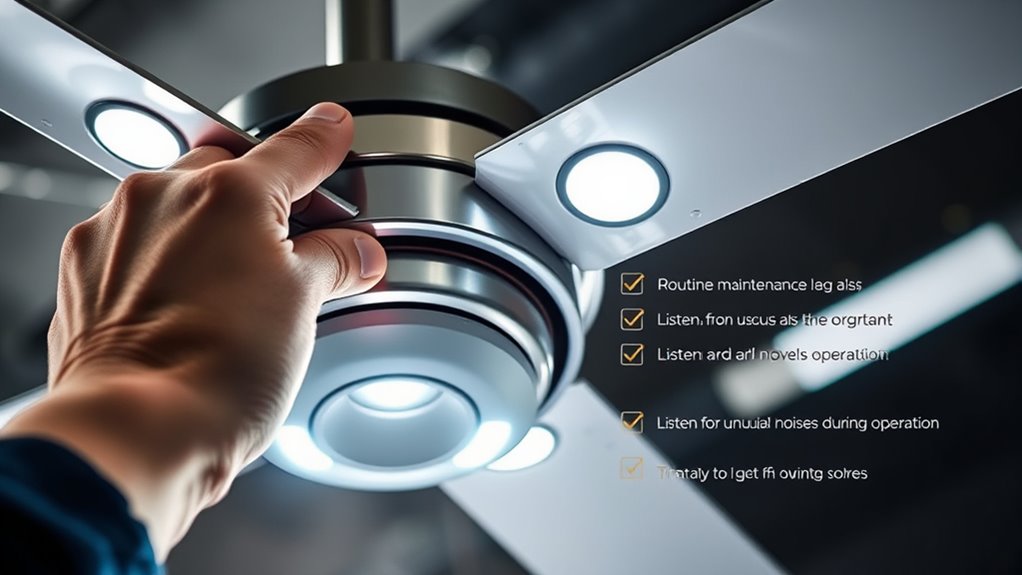
To keep your ceiling fan running smoothly, weekly maintenance should include inspecting the blades for dust and damage, cleaning them thoroughly, and ensuring all hardware is tight. Test the fan’s operation, listen for unusual noises, and verify that the speed and switch work properly. Check for wobbling or imbalance, clean electrical connections, and confirm the fan rotates in the correct direction. Continuing with these steps will help you maintain peak performance and safety.
Key Takeaways
- Regularly inspect and tighten fan blades, screws, and mounting hardware to prevent wobbling and ensure safety.
- Clean blades, motor housing, and electrical contacts to remove dust and debris for optimal operation.
- Test fan functionality, including speed, rotation direction, and noise levels, to identify mechanical or electrical issues.
- Check for vibrations, balance, and alignment using leveling tools and balance kits to maintain smooth performance.
- Keep detailed maintenance records, schedule weekly inspections, and address any safety concerns promptly.
Inspect Fan Blades for Dust and Damage
To keep your ceiling fan running smoothly, start by inspecting the blades for dust and damage. Over time, fan blades collect dust buildup, which can reduce airflow and efficiency. Wipe each blade with a damp cloth or soft brush to remove dirt and debris. Protective styling benefits can also be maintained by ensuring blades are clean and damage-free, preventing wobbling caused by uneven weight distribution. Check for signs of damage such as cracks, warping, or missing parts that could cause wobbling or imbalance. Damaged blades not only impair performance but can also be dangerous if left unaddressed. Look for sticky stains or grease buildup and clean with a mild soap solution to keep blades moving smoothly. Confirm the blades are free from warping or bending by comparing their shape to manufacturer specifications or removing them for close inspection. Material durability is key in maintaining their integrity over time. Additionally, inspecting the mounting hardware can prevent loose blades from causing cybersecurity vulnerabilities, which could lead to operational issues. Regularly tightening the hardware can also prevent loose blades, which can cause wobbling or noise issues. Dry the blades thoroughly to prevent moisture-related issues.
Clean Fan Blades and Motor Housing

To keep your fan running smoothly, start by removing dust from the blades with a soft brush or specialized cleaning tool. Wipe down the motor housing and blades with a damp cloth and mild soap, making sure to remove grease and dirt. Always dry all surfaces thoroughly before turning the fan back on to prevent moisture issues. Regular cleaning can also help prevent yellowing of white fan blades caused by exposure to environmental elements appliance maintenance.
Blade Cleaning Techniques
Cleaning your ceiling fan blades and motor housing regularly helps keep it running smoothly and quietly. To perform effective blade cleaning, start by wiping each fan blade with a soft cloth or microfiber towel dampened with mild soap and water, removing dust buildup, dirt, and sticky stains. For a deeper clean, if possible, remove the blades and wash them individually with a gentle cleaner, ensuring they’re completely dry before reattaching. Use a soft, damp cloth to carefully wipe the motor housing, avoiding harsh chemicals or abrasive materials that could cause damage. Additionally, use a vacuum with a brush attachment or compressed air to clear dust from vents and motor vents. Regular cleaning every 6 to 12 months prevents dust buildup that can cause imbalance or noise. Proper airflow around the fan also contributes to optimal operation and longevity, especially as automation in maintenance becomes more prevalent. Incorporating regular maintenance practices can further extend the lifespan of your ceiling fan and improve its efficiency. Moreover, understanding alimony laws and legal guidelines can be beneficial if your maintenance routines are affected by property or legal disputes. Integrating HVAC maintenance awareness can help ensure all components, including fans, operate at peak performance and efficiency.
Motor Housing Wipe-Down
Before you start wiping down the motor housing, make sure the fan is completely turned off and has stopped moving. Regular maintenance of the motor housing helps prevent dust buildup, which can cause overheating and noise issues. Use a soft cloth or duster to gently clean the exterior, removing dust, dirt, and cobwebs. For a deeper clean, lightly dampen the cloth with a mild soap solution, avoiding excess moisture. Additionally, carefully vacuum around the motor housing and blades with a brush attachment to eliminate dust and debris. Regularly inspecting and wiping down the motor housing extends your fan’s lifespan and guarantees ideal airflow. Proper dust removal in your cleaning process ensures you can see all dirt and dust clearly, making maintenance more effective. Maintaining a clean motor housing also supports vibrational health and optimal fan operation. Incorporating digital literacy programs can further enhance seniors’ ability to perform such maintenance safely. Staying informed about AI-driven cleaning tools can help streamline your routine and improve efficiency. Here’s a quick overview:
| Step | Action |
|---|---|
| 1 | Turn off and stop the fan |
| 2 | Wipe with a soft cloth |
| 3 | Vacuum around motor |
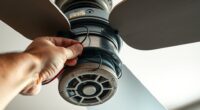
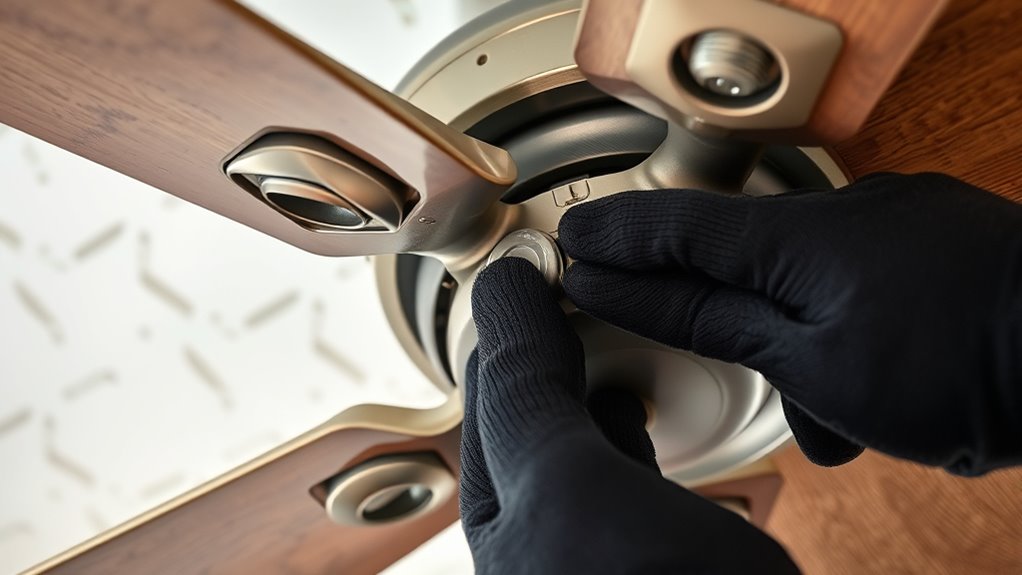
Check for Loose Screws and Mounting Hardware

Start by inspecting all screws attaching the fan blades, motor housing, and mounting bracket to guarantee they’re tight. Use a screwdriver to tighten any loose screws immediately to prevent wobbling and noise. Also, check the ceiling mount and downrod screws for signs of loosening caused by vibrations or temperature changes. Regularly inspecting these components helps maintain optimal fan performance metrics, ensuring your ceiling fan operates smoothly and quietly. Properly securing all hardware can also prevent damage to mounting hardware, which is essential for safety. Additionally, inspecting for structural integrity helps identify potential issues before they lead to failure, keeping your ceiling fan safe to operate. Consulting industry standards can help identify if replacement parts are needed to keep the fan functioning safely.
Inspect Blade Attachments
Regularly inspecting your ceiling fan’s blade attachments is essential for safe and efficient operation. Start by checking each blade to ensure all screws and brackets are secure and tight. Loose screws can cause wobbling, noise, and uneven wear, so tighten any that feel loose with a screwdriver. Incorporating ergonomic considerations into your inspections can help prevent further issues and ensure a smoother operation. Look for signs of corrosion, damage, or wear on the mounting hardware, and replace any compromised parts immediately. Confirm that all blades are firmly attached and evenly aligned to maintain proper balance and prevent strain on the motor. Periodically remove the blades to inspect the mounting hardware thoroughly. Re-tighten or replace fasteners as needed to keep the blades securely attached. Regular inspections also help identify any early signs of wear and tear, which can prevent costly repairs later. Monitoring aura variations in your fan’s operation can also help detect underlying issues early. Consistent checks help prevent issues and prolong your fan’s lifespan.
Tighten Ceiling Mounting
Ensuring your ceiling fan is securely mounted is crucial for safe and smooth operation. Start by inspecting all screws and bolts securing the fan to the mounting hardware and ceiling plate. Tighten any that feel loose to maintain stability and prevent wobbling.
Use a screwdriver to verify that the mounting hardware is firmly attached, as loose hardware can cause vibrations or even detachment. Check the hanger ball and bracket for signs of looseness or wear, re-tightening or replacing components as needed.
Confirm that the ceiling mount is flush and secure, which helps keep the fan stable during operation. Regularly examine the mounting hardware for rust or damage, and replace compromised parts promptly.
Properly tightened mounting hardware ensures your ceiling fan runs quietly, safely, and efficiently.
Check for Vibrations
To check for vibrations, begin by inspecting all mounting screws and bolts to make sure they’re tight. Loose screws can cause wobble and increase vibrations during operation. Verify that the ceiling fan is securely attached to the ceiling bracket or mounting plate, preventing side-to-side movement. Check for loose screws attaching the blades to the motor hub, which can create imbalance. Examine the mounting hardware for signs of wear, rust, or damage, and replace any compromised parts immediately. Use a level to confirm proper alignment, as misalignment contributes to vibrations and noise.
| Check Area | What to Look For | Action Needed |
|---|---|---|
| Mounting screws & bolts | Loose or missing screws | Tighten or replace |
| Ceiling bracket | Wobble or loose fit | Secure firmly |
| Blade attachment | Loose screws or wobble | Tighten blades |
| Mounting hardware | Rust or damage | Replace if damaged |
| Fan alignment | Misaligned fan | Adjust for level |
Test Fan Operation and Listen for Unusual Noises
When testing your ceiling fan’s operation, turn it on and carefully observe how it starts up. Watch for smooth fan operation without hesitation or wobbling, which indicates proper balance.
When testing your ceiling fan, ensure it starts smoothly without wobbling for proper balance.
Listen closely for unusual noises like squeaks, grinding, rattling, or buzzing, as these can signal mechanical issues. Pay attention to persistent squeaks or grinding sounds after lubrication, which may require further inspection or part replacement.
Check that the fan maintains a steady speed and airflow; irregular airflow could point to motor or blade imbalance problems.
Ensure the fan remains stable during operation, with no wobbling or side-to-side movement.
Identifying these issues early helps prevent damage and guarantees your ceiling fan runs quietly and efficiently.
Verify Fan Speed and Switch Functionality
Start by testing each fan speed to confirm it shifts smoothly without noise or hesitation.
Next, toggle the switch to verify it turns the fan on and off properly and moves between speeds seamlessly.
Finally, observe the airflow at each setting to validate the switch functions correctly and the fan responds as expected.
Test Fan Speed Settings
Ensuring your fan’s speed settings work correctly is essential for safe and efficient operation. During maintenance, test the fan’s ability to switch smoothly between low, medium, and high speed settings.
Observe the blade rotation at each level to confirm it responds appropriately, indicating proper fan speed regulation. Check the wall switch or remote control to ensure it operates consistently without delays or electrical issues.
Inspect the speed control switch or dimmer for signs of damage or wear that could affect performance. Record any irregularities, such as delayed responses or inconsistent speeds, so you can address potential electrical or mechanical problems promptly.
Regularly testing fan speed settings keeps your fan functioning smoothly and helps prevent unexpected breakdowns.
Check Switch Operation
Checking the switch operation is a crucial step in maintaining your ceiling fan’s performance. During inspection, toggle the switch to verify it operates smoothly without sticking or delays.
Test each speed setting—low, medium, and high—to confirm the fan responds correctly without hesitation or noise. Look for signs of wear, corrosion, or loose connections that could disrupt electrical contact.
Confirm that flipping the switch results in immediate fan response, indicating proper engagement with the circuitry. If the switch fails to control the fan speed or turns the fan on and off intermittently, replace or repair it promptly.
This inspection helps guarantee safe, reliable fan operation and prevents potential electrical issues down the line.
Confirm Proper Fan Response
To confirm your ceiling fan responds properly, turn it on and cycle through all speed settings, watching for smooth acceleration and deceleration without hesitation or unusual noises.
Check that each speed setting operates smoothly, guaranteeing the fan’s response is consistent and reliable.
Use the wall switch or remote control to test the on/off function, confirming commands are executed instantly and accurately.
Observe the fan’s operation when changing speeds, making sure it accelerates or decelerates smoothly without wobbling or noise.
Additionally, verify that the direction switch changes the rotation correctly, providing appropriate airflow for seasonal needs.
Confirming proper fan response ensures your fan operates efficiently, quietly, and safely, making it ready for ideal performance until your next maintenance check.
Examine Fan Stability and Balance
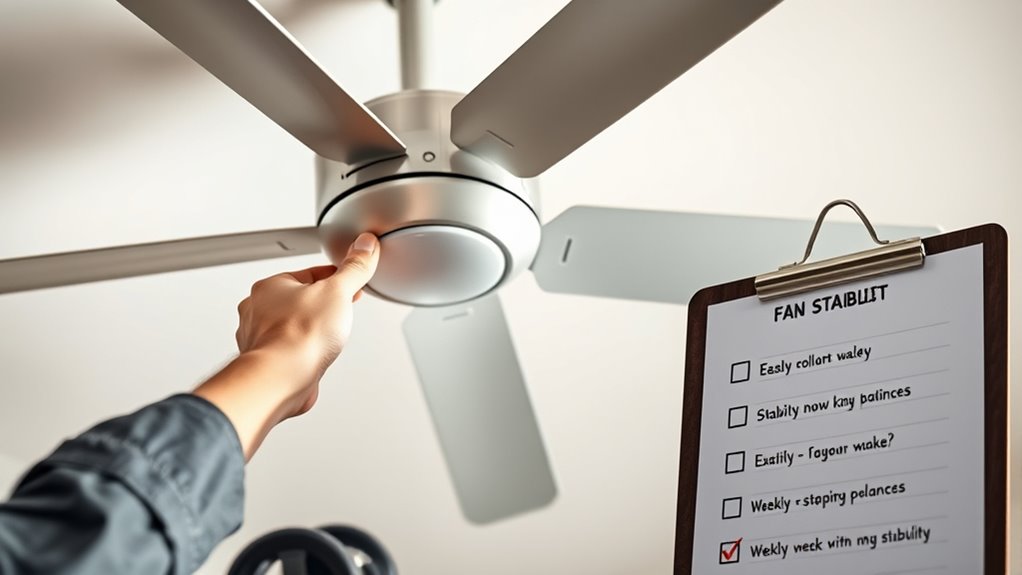
Examining your fan’s stability and balance is essential for safe and efficient operation. If you notice wobbling or side-to-side movement, it indicates an imbalance or loose components.
To address this:
- Inspect the fan during operation for wobbling, which signals imbalance or loose parts.
- Remove the blades to check for warping, cracks, or missing pieces that could destabilize the fan.
- Use a fan balance kit to identify blade imbalance and add or adjust weights accordingly.
Additionally, tighten all screws securing the blades and ensure the mounting bracket and canopy are firmly attached to the ceiling.
Proper fan stability prevents wobbling and extends the life of your ceiling fan, ensuring safe, quiet operation. Regular checks keep your fan balanced and functioning reliably.
Tighten Any Loose Components
Ensuring all components are tightly secured is essential for your fan’s safe and quiet operation. Regularly check for loose screws, bolts, and mounting brackets that could cause wobbling or noise. Use a screwdriver to tighten any loose blade screws; loose blades lead to imbalance and motor stress. Focus on the screws attaching blades, the motor housing, and light fixture, tightening them firmly. Pay close attention to the mounting hardware to maintain proper alignment and stability. Incorporate this routine into your weekly maintenance to prolong your fan’s lifespan. Here’s a quick checklist:
| Component | Tightening Method | Notes |
|---|---|---|
| Blade screws | Screwdriver | Prevent wobbling |
| Mounting brackets | Wrench | Ensure stability |
| Bolts attaching fan | Tighten securely | Avoid vibrations |
| Loose components | Inspect & tighten | Maintain safe operation |
Remove Dust and Debris From Electrical Connections
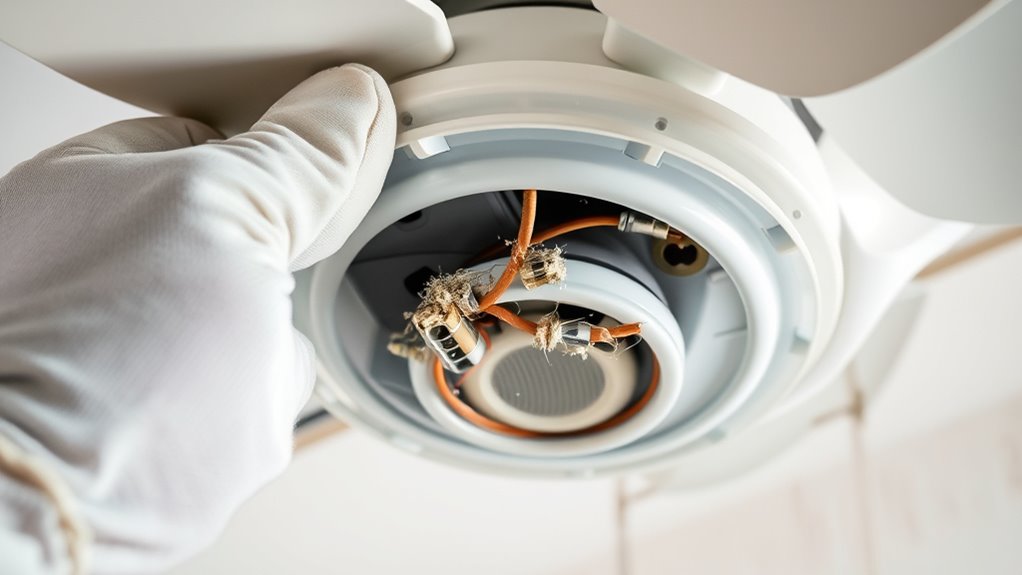
Have you turned off the ceiling fan and disconnected the power supply before starting? Removing dust and debris from electrical connections is essential for safe, efficient operation. Dust buildup can cause safety hazards like short circuits or overheating.
Always disconnect power before cleaning ceiling fan electrical connections to ensure safety and prevent hazards.
To keep everything in check:
- Use a small brush or compressed air to carefully clean the electrical contacts and wiring.
- Check for corrosion, loose wires, or burn marks that could signal electrical issues.
- Gently wipe the connections with a dry or slightly damp cloth to eliminate dust and prevent future problems.
Ensure Proper Fan Direction and Rotation

To keep your ceiling fan operating efficiently, it’s essential to verify that it’s rotating in the correct direction for the season. Check the fan’s motor housing and observe the blades’ movement.
In summer, the fan should rotate counterclockwise to create a cooling downdraft, while in winter, it should turn clockwise to help distribute warm air. Use the fan’s switch or control, usually located on the motor housing or wall, to adjust the rotation direction if needed.
Proper maintenance includes ensuring the blades are mounted correctly and not warped, as this can affect the rotation. Regularly inspect the movement during operation for wobbling or irregular rotation, which could indicate misalignment or motor issues.
Correct rotation enhances efficiency and comfort year-round.
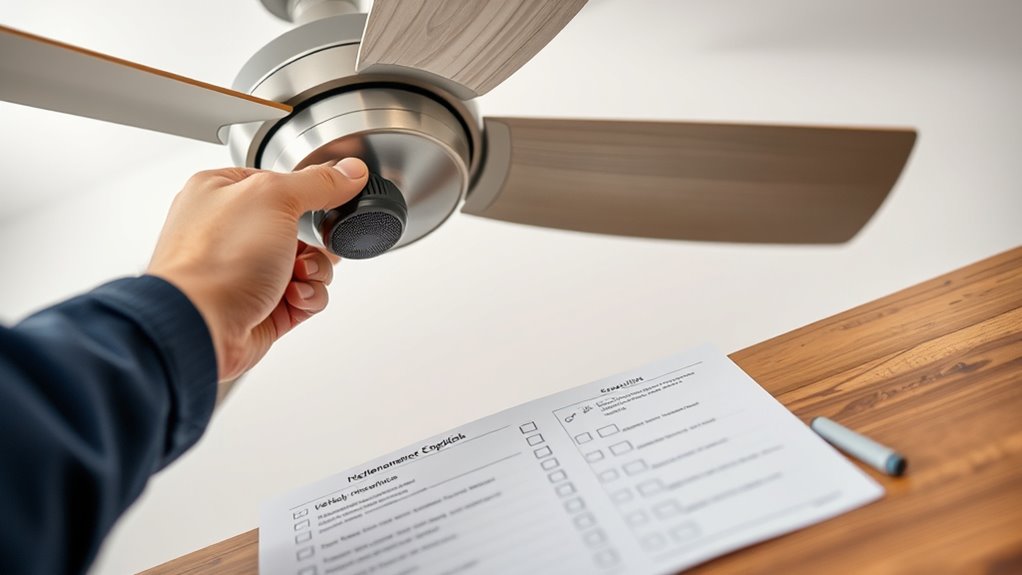
Record Maintenance Observations and Schedule Next Check

Keeping detailed records of your ceiling fan maintenance helps you track issues and guarantee consistent performance. Your maintenance log should include observations like loose screws, dust buildup, unusual noises, or wobbling.
This documentation helps identify recurring problems and plan timely repairs. To stay organized:
- Record all maintenance activities, issues, and observations in a dedicated log or digital record.
- Schedule the next check at the end of each week, adjusting based on usage and environmental factors.
- Review your log regularly to detect patterns that signal the need for professional repairs or part replacements.
Frequently Asked Questions
What Maintenance Does a Ceiling Fan Need?
You need to keep your ceiling fan in good shape by cleaning it weekly to remove dust and dirt, which can cause wobbling and noise. Check and tighten all screws on blades, brackets, and light fixtures regularly.
Lubricate the motor bearings every few months if possible. Inspect the blades for damage and replace them if needed.
Also, guarantee electrical connections are secure and free of corrosion to keep your fan running smoothly.
How Often Should Ceiling Fans Be Serviced?
Did you know that neglecting ceiling fan maintenance can increase energy costs by up to 10%? You should service your ceiling fans every three to six months for peak performance.
In high-use or dusty areas, consider more frequent checks, like monthly cleanings.
Seasonal maintenance, such as cleaning and adjusting fan direction, is recommended twice a year.
Regular inspections will help prevent issues, ensuring your fan runs smoothly and efficiently.
What Is the Preventive Maintenance of a Fan?
Preventive maintenance of a fan means you regularly inspect, clean, and lubricate it to keep it running smoothly and safely. You check for loose screws, worn blades, and electrical issues.
While cleaning dust from blades and motor parts to maintain airflow and reduce noise. Lubricating bearings and moving parts helps prevent friction and wear, ensuring your fan lasts longer. Scheduling these tasks early helps you spot problems before they become costly or dangerous.
Do Ceiling Fans Ever Need to Be Oiled?
Think of your ceiling fan as a well-oiled machine needing just a bit of TLC to keep spinning smoothly. Yes, some fans do need oiling—usually every 1 to 3 years—especially if they’ve oil ports near the motor.
If you hear squeaking or grinding, it’s a sign to lubricate. But if your fan has sealed bearings, it’s maintenance-free and doesn’t need oil.
Conclusion
By following this weekly ceiling fan maintenance checklist, you’ll keep your fan running smoothly and efficiently—no need for a knight in shining armor to save the day. Regular upkeep prevents dust bunnies from turning into dust monsters and guarantees peak airflow, even if you feel like you’re stuck in a sci-fi flick. Stay proactive, record your findings, and your fan will continue to keep your space cool and comfortable without a hitch.