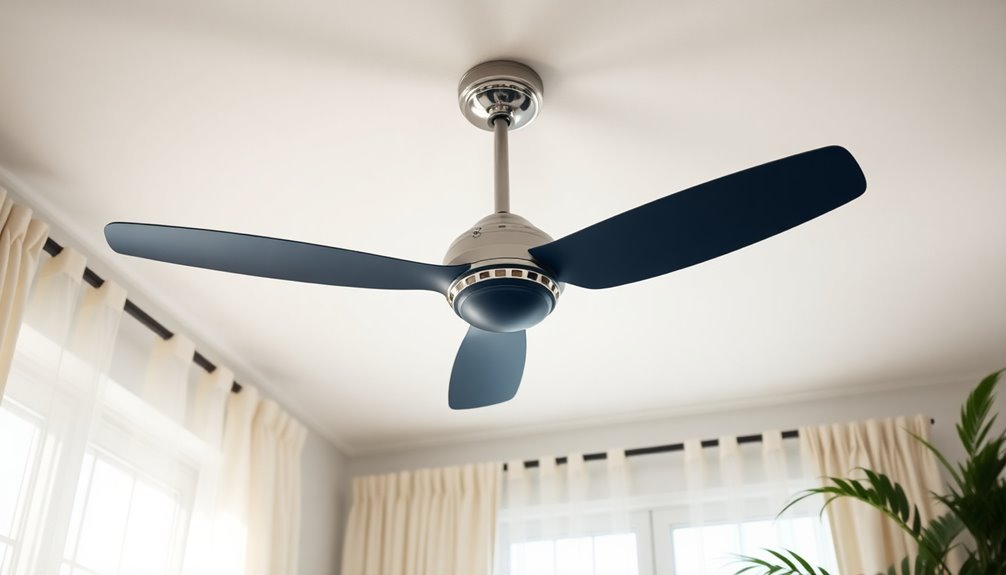
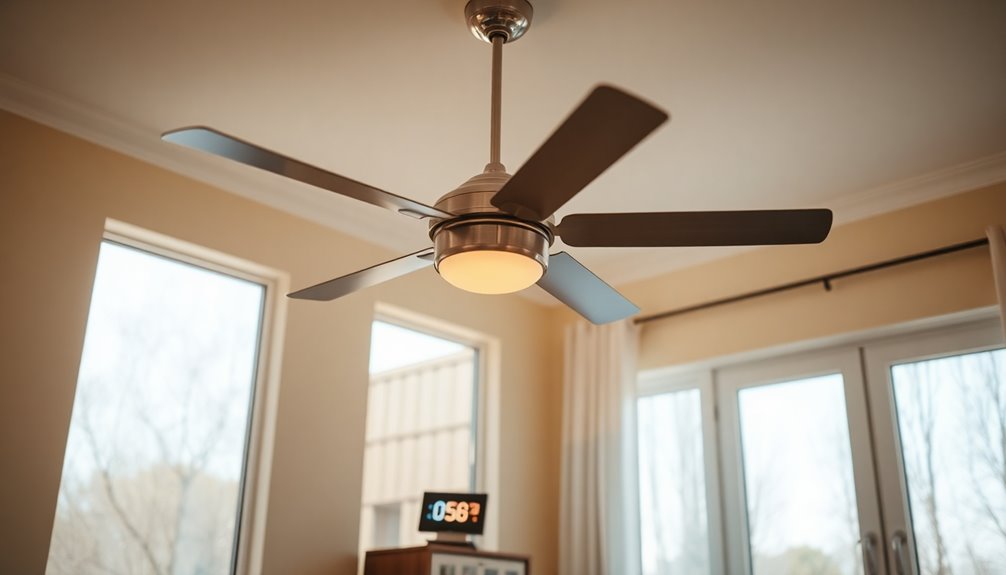
Yes, you can spray paint a ceiling fan to give it a fresh look without breaking the bank. Start by turning off the power and disassembling the fan for safety. Clean the surfaces and lightly sand them to guarantee the paint adheres well. Use a high-quality spray paint, like Rust-Oleum, and apply it in light, even coats for the best finish. Don't forget to protect your surroundings from overspray. After painting, reassemble the fan and check its functionality. You'll find plenty of tips and techniques to make your project even easier and more effective.
Key Takeaways
- Yes, you can spray paint a ceiling fan to revitalize its appearance and customize it to match your decor.
- Ensure safety by turning off the power and disassembling the fan before starting the painting process.
- Use Rust-Oleum or Krylon spray paints for durable finishes, and apply light coats for a smooth result.
- Sand surfaces lightly for better paint adhesion, and allow adequate drying time between coats.
- After painting, reassemble the fan securely and perform regular maintenance to preserve the finish.

Shark FlexBreeze Pro Mist Fan — Indoor & Outdoor, Integrated Misting, Pedestal to Tabletop, Corded or Cordless, Up to 24-Hr Battery, Oscillating, Charcoal Grey, FA302 (2025 Release)
Shark FlexBreeze Pro Mist is an ultra-powerful indoor and outdoor fan with 70 ft. reach. Bring the breeze...
As an affiliate, we earn on qualifying purchases.
Benefits of Spray Painting Fans

When you're looking to breathe new life into an old ceiling fan, spray painting can really make it pop. This DIY project offers you the chance to transform outdated designs at a fraction of the cost of a new fan, often costing under $25. You can easily paint the fan in a color that complements your room's decor, allowing for endless customization.
One of the biggest benefits of spray painting is the smooth, even finish it provides. Applying light coats guarantees better adhesion and a professional look, making your once drab ceiling fan something to admire.
Whether you're revitalizing a sunroom or updating a child's bedroom, a spray-painted fan can enhance the overall aesthetic of the space.
Additionally, many users report that their spray-painted fans continue to look great and function well for years. Unlike other quick fixes, this method rejuvenates white ceiling fans or any other design, guaranteeing longevity in both appearance and performance.

Koonie 10 Inch Camping Misting Fan 11L Tank, 20000mAh Cooling Battery Floor Fan with Remote, 4 Timers, 4 Speeds, 3 Mist Modes, 45°/90° Oscillation, 10° Tilt, Portable for Outdoors Patios, Travel
[Powerful Cooling On Demand] Stay cool with 3 misting modes (1-3-5 holes) and 4 wind speed settings. This...
As an affiliate, we earn on qualifying purchases.
Preparation for Painting

Preparing your ceiling fan for a fresh coat of paint involves several significant steps to guarantee the best results.
First, make sure the power is turned off at the circuit breaker. This prevents any electrical hazards while you work.
Next, carefully remove the fan blades and any other components, such as light globes, to give yourself easier access for cleaning.
Once everything is disassembled, clean the fan blades and body using mild soap and water or baby wipes. This will help remove dust and debris, ensuring the surface is smooth for ideal paint adhesion.
After cleaning, lightly sand the surfaces of the fan blades with 120 grit sandpaper. This step is essential as it creates a better grip for the coat of primer and paint, enhancing overall durability.
Finally, protect your surroundings by laying down newspapers or plastic sheeting on the ceiling and floor around the fan. This will catch any overspray during the painting process, making cleanup much easier.
With these preparation steps completed, you'll set the stage for a successful and beautiful paint job on your ceiling fan.

HOLMES 16" Outdoor Misting Stand Fan, Hose Connection, 3 Speeds, 3 Micro-Mist Levels, 80° Oscillation, Adjustable Height, 25° Head Tilt, GFCI Plug, Black
FEEL THE BREEZE - 3 customized speeds for your optimal airflow with up to 16.5ft/sec high-speed velocity
As an affiliate, we earn on qualifying purchases.
Essential Tools and Materials

To get started with spray painting your ceiling fan, you'll need a few essential tools and materials.
Make certain you have the right spray paint, a quality sprayer, and safety gear to protect yourself during the process.
With the right supplies in hand, you can guarantee a smooth and efficient painting experience.
Required Painting Supplies
Before diving into the spray painting process, you'll need to gather some essential supplies to guarantee a smooth and successful project. Start with Rust-Oleum Ultra Cover spray paint in your desired color. If your ceiling fan has wood blades, pick up a semi-gloss primer to prepare the surface, and for metal brackets, grab some gloss spray paint.
Next, make certain you have the right tools on hand. You'll need 120 grit sandpaper for surface preparation and flat square-tip paintbrushes for those tricky, detailed areas. A HomeRight Finish Max Pro paint sprayer can greatly ease the application process, ensuring an even finish.
Don't forget about protecting your workspace! Large cardboard boxes can serve as effective spray booths to catch overspray and keep everything tidy.
Cleaning supplies are vital too; use mild soap, water, and baby wipes to thoroughly clean the fan components before you start painting. This guarantees the paint adheres well.
Optional materials like disposable liners for quick cleanup and a white paint pen for touch-ups will enhance your overall painting experience, leading to professional-looking results.
Recommended Spray Paint Types
Selecting the right spray paint is essential for achieving a professional finish on your ceiling fan. For the blades, you should opt for semi-gloss or gloss spray paint, like Rustoleum Ultra Cover paint in Gloss White. This choice guarantees even coverage and durability.
When it comes to metal components, gloss spray paint is ideal for achieving that factory-like finish on brackets and fan bodies.
Here are some recommended spray paint types and tools to take into account:
- Rustoleum Ultra Cover in Gloss White
- Krylon Fusion All-In-One for plastic surfaces
- Rustoleum Metal Primer for better adhesion
- Valspar Spray Paint for a variety of colors
Before you start painting, always apply a primer, especially when moving from dark to light colors. This enhances paint adhesion and coverage, giving you a smoother finish.
Remember to have essential tools on hand, such as a paint sprayer for larger areas and flat square-tip paintbrushes for detailed work. With the right materials, your ceiling fan will look stunning and refreshed!
Necessary Safety Equipment
When tackling the spray painting of a ceiling fan, it's vital to equip yourself with the right safety gear. First and foremost, wear a mask to protect against inhaling paint fumes and particles. This step is imperative for your respiratory health, especially when using spray paint.
Next, use protective eyewear to shield your eyes from overspray and paint mist. This'll help you avoid irritation and potential long-term damage. Additionally, consider wearing gloves to prevent skin contact with paint, making cleanup easier once you're done.
Don't forget about your surroundings! Employ drop cloths or tarps to protect the floor and nearby furniture from paint splatters and spills. This not only keeps your space tidy but also prevents accidental damage to your belongings.
Finally, guarantee proper ventilation by working in a well-ventilated area or outdoors. Good airflow minimizes your exposure to harmful vapors, markedly reducing health risks.

Misting Fan Portable, 20000mAh 12-Inch Outdoor Misting Fan for Patios Outside, 2 In 1 Pedestal & Tabletop Oscillating Fans with Misting Kit, Rechargeable Cooling Fans with Remote/Mist/7 Gear/Timer
❄️【Strong Wind Mist, Rapid Cooling 2-14℃】- Are you searching for the ultimate cooling solution to combat the sweltering...
As an affiliate, we earn on qualifying purchases.
Painting Process Overview

Before you start painting your ceiling fan, make certain you've prepared everything properly. This includes turning off the power and sanding the fan blades for better paint adhesion.
Once you're ready, you'll want to apply the paint using even strokes for a smooth finish.
Preparation Steps Required
To kick off the preparation for spray painting your ceiling fan, start by turning off the power at the circuit breaker to guarantee your safety during disassembly.
Once that's done, you'll need to carefully remove the fan blades and any glass covers using a screwdriver. This not only provides easier access for painting but also helps prevent damage to these components.
Next, follow these essential preparation steps:
- Clean all components thoroughly with a damp cloth to eliminate dust and debris.
- Allow the surfaces to dry completely before applying any paint.
- Use painter's tape and paper to mask off the fan base and any areas you don't want to paint.
- Gather all necessary materials, including spray paint, sandpaper for surface preparation, and protective gear.
Application Techniques Explained
Getting started with the painting process requires a solid understanding of the application techniques that yield the best results. First, verify you've turned off the power at the circuit breaker before disassembling your ceiling fan for safety.
Lightly sand the fan blades and components to create a smooth surface for ideal paint adhesion.
When you're ready to paint, use spray paint for an even application. Apply light coats, allowing adequate drying time between each one—typically, two to three coats are recommended for full coverage. This method not only enhances the finish but also prevents drips and runs.
For hard-to-reach areas, employ angled paint brushes to guarantee every nook and cranny gets painted. If you're dealing with larger surfaces, consider using a paint sprayer for efficiency and a professional finish.
Once you've finished painting, let all components dry completely before reassembling the fan. This step is vital to avoid smudging or damaging the newly painted surfaces.
Following these techniques will help you successfully paint a ceiling fan and achieve a fresh look in your space.
Tips for Even Coverage

Achieving an even coat when spray painting a ceiling fan requires careful technique and preparation. To guarantee you get that flawless finish, follow these tips for even coverage:
- Use Light Coats: Apply thin layers of spray paint to avoid drips and allow each coat to dry for about 30 minutes.
- Sand Surfaces: Lightly sand the fan blades and components before painting. This creates a smooth surface that enhances adhesion and promotes even application.
- Maintain Distance: Keep the spray can 6-12 inches away from the surface. This distance helps achieve a consistent layer of paint across all components.
- Steady Motion: Move the spray can in a steady, sweeping motion. This prevents over-spraying in any one area, which can lead to uneven texture and color.
Final Assembly Steps

Once you've let all the painted components dry thoroughly, it's time to carefully reassemble the ceiling fan. Start by attaching the blades back to the motor assembly, making sure to secure any screws or fasteners tightly. This is a significant part of the final assembly steps, so take your time to guarantee everything fits well.
Next, double-check that all electrical connections are reattached correctly. This step is essential for maintaining safe operation of your fan, so don't skip it.
After reassembling the fan, inspect for any paint drips or uneven coverage. If you notice any imperfections, touch them up with a small brush or paint pen to achieve a polished look.
Then, carefully restore the light fixtures by reinstalling the bulbs and glass covers, making sure they're securely in place.
Once everything is back together, it's time to turn the power back on at the circuit breaker. Finally, test the fan to confirm its functionality and appreciate the aesthetic improvement you've made. Enjoy your newly painted ceiling fan!
Maintenance After Painting

To keep your newly painted ceiling fan looking its best, regular maintenance is key. A few simple steps can help you maintain its appearance and functionality.
Start by turning off the fan and wiping it down with a damp cloth periodically to prevent dust buildup, which can affect both aesthetics and efficiency.
Here are some essential maintenance tips after painting:
- Inspect the fan blades and body regularly for any signs of chipping or peeling paint.
- Perform touch-ups with a paint pen or small brush as needed to keep the appearance fresh.
- Avoid using abrasive cleaners or materials that could scratch the paint; instead, opt for mild soap and water for cleaning.
- Monitor the fan's functionality to guarantee the paint hasn't added excess weight to the blades, which could interfere with movement.
Community Experiences and Tips

Many DIY enthusiasts have shared their experiences and tips on transforming ceiling fans through spray painting, creating a vibrant community dedicated to home improvement.
One key takeaway from the community experiences is the importance of sanding metal surfaces before applying spray paint. This step guarantees better adhesion, preventing chipping down the line.
Many have successfully revitalized outdated ceiling fans for under $25, a fraction of the cost of new fans that can exceed $100. Users frequently recommend Rust-Oleum spray paints for their durability and range of finishes, including satin and metallic, which can really enhance your fan's appearance.
Additionally, allowing sufficient curing time between coats—typically 1-2 hours—has been highlighted to avoid scratches during reinstallation. This patience can make a significant difference in the final look of your project.
Lastly, sharing your before-and-after photos on social media not only showcases your hard work but also inspires others in the community.
Engaging with fellow DIYers can lead to valuable feedback and encouragement, helping you achieve the ceiling fan makeover you've envisioned.
Frequently Asked Questions
Is It Safe to Spray Paint a Ceiling Fan?
Yes, it's safe to spray paint a ceiling fan if you take the right precautions.
First, turn off the power at the breaker and work in a well-ventilated space. Clean and sand the fan to guarantee the paint sticks well.
Use spray paint meant for metal or wood to avoid issues. After painting, let everything dry completely before reassembling.
With regular maintenance, you can keep your fan looking great and functioning properly.
What Kind of Paint to Use on Ceiling Fans?
Ever thought about transforming your ceiling fan's look?
For wood blades, you'll want a semi-gloss primer and paint for a durable finish. If your fan has metal brackets, go for gloss spray paint—it'll give you an even coat and a sleek appearance.
Rustoleum Ultra Cover in Gloss White works wonders for the fan body, while gloss white spray paint is perfect for the metal brackets.
Don't skip the primer when switching from dark to light colors!
Can I Spray Paint My Ceiling Fan Without Taking It Down?
Yes, you can spray paint your ceiling fan without taking it down. Just make sure to turn off the power at the circuit breaker for safety.
Mask off the motor and light fixture with painter's tape and paper, leaving only the blades exposed. Lightly sand the blades for better paint adhesion, then apply spray paint suited for the material.
Allow enough drying time between coats for a smooth, professional finish.
How Do I Change the Color of My Ceiling Fan?
Changing the color of your ceiling fan is like giving it a fresh coat of personality.
First, turn off the power and carefully remove the blades.
Sand them down and clean with soap and water for good paint adhesion.
Use a semi-gloss primer for wood and gloss spray for metal.
Apply several light coats, letting each dry before the next.
Once everything's dry, reassemble and restore power to enjoy your revamped fan!
Conclusion
In a world where your ceiling fan is a blank canvas, spray painting it transforms it into a vibrant work of art, much like a butterfly emerging from a cocoon. With careful preparation and the right tools, you can breathe new life into your space. Just as a gardener tends to their flowers, you'll nurture your fan with maintenance, ensuring it continues to spin beautifully. So, spread your creative wings and let your imagination take flight!