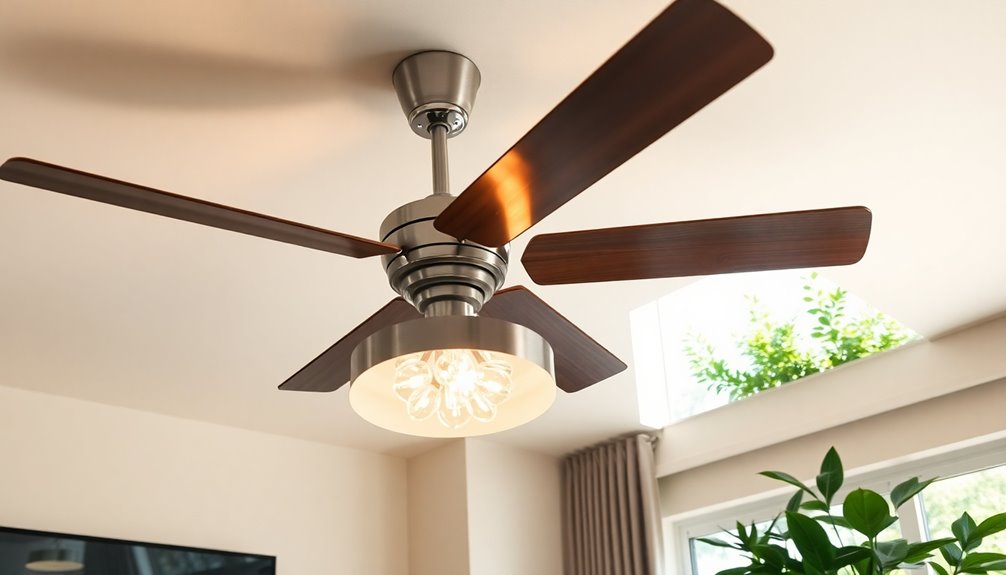
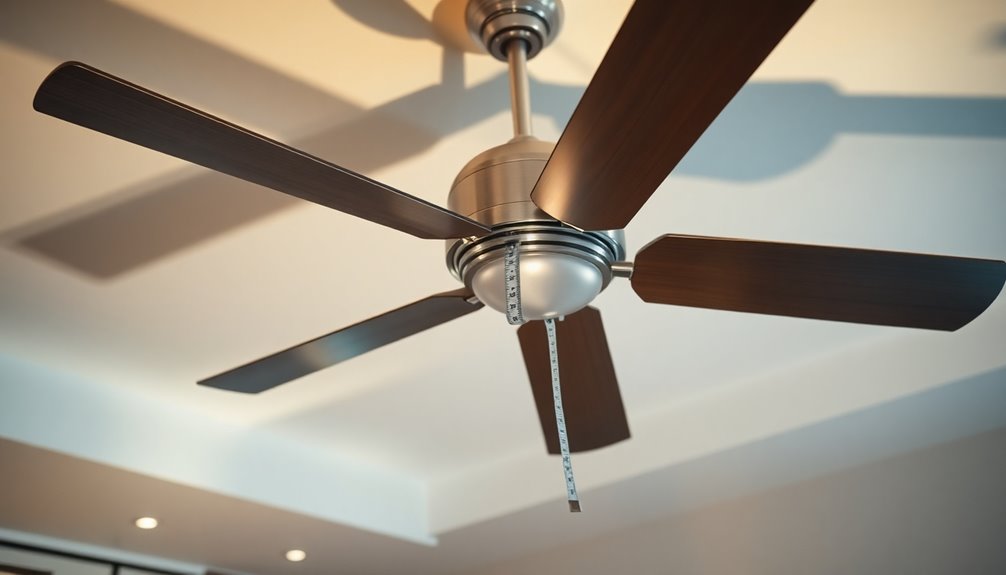
Yes, you can add a ceiling fan to an existing light fixture, but it's important to check a few things first. Inspect the electrical box to verify it's fan-rated and can support the fan's weight. Make sure your wiring complies with safety standards, and that your circuit can handle the combined load. A support beam or bracket may be needed for stability. It's also a good idea to reflect on how you'll control the fan and light separately. If you're unsure about the steps or requirements, you'll discover helpful details that clarify the process further.
Key Takeaways
- Ensure your existing light fixture has a fan-rated electrical box to support the ceiling fan's weight and operation.
- Check that the wiring can handle the total load of 100-120 watts for both the fan and light.
- Assess the ceiling structure for proper support, using a fan brace kit if necessary to prevent wobbling.
- Consider installing separate switches for the fan and light for better control and convenience.
- Always turn off power and follow safety precautions before starting the installation to ensure a safe process.
Assessing Your Current Setup

Before you plunge into adding a ceiling fan, it's vital to assess your current setup. Start by examining your existing light fixture. Is it mounted on a fan-rated electrical box? This box needs to support the weight and movement of the ceiling fan, so check to confirm it's up to the task.
Next, inspect the condition of the wiring. Verify it meets current safety standards and can handle the power requirements of both the fan and any attached light fixture, typically around 100-120 watts total.
Don't forget to evaluate the ceiling structure. A ceiling fan generally requires a sturdy mounting bracket that's attached to two ceiling joists or a specialized ceiling fan support box.
Additionally, determine if your existing light switch can accommodate a separate switch for the fan and light. If it can't, you might need to run additional wiring for independent operation.
Finally, assess the circuit capacity. You need to verify it can handle the additional load of the ceiling fan without overloading, especially if other devices share the same circuit.
Taking these steps will help you successfully install a ceiling fan and enjoy its benefits.
Understanding Electrical Requirements

Understanding the electrical requirements is vital if you want to successfully add a ceiling fan to your existing light fixture. Standard ceiling fans typically need about 50-60 watts, and when you include an additional light fixture, you're looking at a total of approximately 100-120 watts.
Make certain your existing circuit can handle this load without exceeding its capacity, usually around 15-20 amps for residential circuits.
If your light fixture operates on a separate circuit, you might need to run a new wire back to the switch, allowing for independent control of the fan and light.
Check that your existing wiring meets the fan's power needs, as older wiring may not comply with current safety standards and might require replacement.
Don't forget to verify the presence of a ground wire in your setup. Grounding is vital for the safe operation of both ceiling fans and light fixtures.
If everything checks out, you'll guarantee that your fan operates efficiently and safely, providing the comfort and ambiance you desire in your space.
Ensuring Proper Support

When adding a ceiling fan to your existing light fixture, guaranteeing proper support is essential for a safe and successful installation. Standard light boxes often can't handle the added weight and movement of ceiling fans, so check if your electrical box is rated for ceiling fan support. A safety factor of at least 10:1 is recommended, meaning the support you install should hold at least ten times the fan's weight.
To effectively support the ceiling fan, consider using a ceiling fan brace kit, or if you have access, install a two-by-four or two-by-six between two ceiling joists. This will provide the necessary stability for your fan.
Without adequate support, your ceiling fan might wobble or vibrate during operation, which can lead to accidents or damage over time. Proper installation with the right support not only enhances the safety and longevity of your ceiling fan but also guarantees it runs smoothly and efficiently.
Installation Techniques

Successfully installing a ceiling fan involves a series of straightforward steps that guarantee a secure and efficient setup.
First, check that the existing electrical box can support the weight of the fan; standard light boxes often can't handle this. If needed, use a fan brace kit, which typically includes a sturdy electrical box designed specifically for fan mounting.
Next, to confirm stability, install a support beam or blocking between ceiling joists, securing it with wood screws or bolts. This extra support is essential for safely holding your ceiling fan.
When you're ready to connect the fan, follow the manufacturer's wiring diagram closely. This will help you make the right electrical connections, and don't forget to use wire connectors to join the wires securely.
For downrod installations, carefully feed the fan wiring through the downrod and the mounting bracket. Make sure all components are properly secured before you restore power.
If you want to control the fan and light separately, consider installing separate switches. This setup enhances convenience and gives you more control over your ceiling fan without any hassle. Additionally, ensure you have the right tools and safety precautions in place to avoid any accidents during installation.
Safety Precautions

Before you start your ceiling fan installation, taking safety precautions is a must to guarantee a smooth process. First, always turn off the power at the main circuit breaker. This step is essential to prevent electrical shock while you work on the ceiling fan/light.
After that, use a voltage tester to confirm that the power is indeed off at the existing light fixture.
Next, check that the electrical box is fan-rated and securely mounted. This provides proper fan support and prevents accidents or injuries from a falling fan. If your current box isn't suitable, you may need to replace it with a new one designed for ceiling fans.
Don't forget to wear your protective gear, such as gloves and safety glasses, to safeguard against potential injuries during installation.
Finally, follow the manufacturer's instructions carefully and consult local electrical codes to guarantee compliance and safety throughout the process.
Exploring Control Options

Numerous control options are available for ceiling fans, allowing you to customize your experience based on convenience and preference. You can choose between traditional and modern controls to suit your needs.
| Control Method | Description | Pros |
|---|---|---|
| Pull Chain | A switch on the fan to control the fan and light. | Simple and straightforward |
| Remote Control | Adjust fan speed and light from anywhere in the room. | Convenient and flexible |
| Smart Technology | Control via smartphone apps or voice commands. | High-tech and customizable |
If you prefer a pull chain, it's an easy way to control the fan and ceiling light directly. However, if you're looking for convenience, a remote control lets you adjust the fan without needing to pull chains or access a switch. In cases where the fixture is a fan/light combo, you may need to replace the existing switch or add another wire to independently control each component. For a seamless experience, consider smart technology options that integrate with your smart home system, offering yet another way to control the fan.
Frequently Asked Questions
Can You Run a Ceiling Fan off a Lighting Circuit?
Yes, you can run a ceiling fan off a lighting circuit, but you need to verify the circuit can handle the combined wattage of both the fan and lights, typically around 100-120 watts.
Standard ceiling fans usually draw about 1 amp, so check the circuit's load capacity to avoid overload.
If both are on the same circuit, remember the lights must be on for the fan to work, limiting your flexibility.
How Do I Know if My Light Box Will Support a Ceiling Fan?
To know if your light box will support a ceiling fan, check the weight rating; it should be at least 50 pounds.
Inspect how securely the box is attached to the ceiling joists, as an unsupported box can cause instability.
If it's not fan-rated, you might need to replace it with a ceiling fan support box or add a brace.
Always follow local building codes to guarantee safety during installation.
How to Wire up a Ceiling Fan With a Light?
To wire up a ceiling fan with a light, first, turn off power at the circuit breaker and use a voltage tester to guarantee safety.
Connect the fan's black wire to the ceiling's black wire, the white wires together, and the ground wires.
If there's a light kit, follow the manufacturer's instructions for connecting its wires.
Finally, secure everything in the electrical box and attach the fan's mounting bracket.
You're all set!
Can You Install a Ceiling Fan Where a Can Light Is?
Ever thought about swapping out that can light for a ceiling fan? You can definitely install a ceiling fan where a can light is, but make sure the existing electrical box can support the fan's weight.
If it can't, you'll need to replace it with a fan-rated box. Don't forget to turn off the power before starting, and check that the wiring meets the fan's requirements and local electrical codes.
Conclusion
Adding a ceiling fan to your existing light can transform your space, making it more comfortable and inviting. Imagine the gentle breeze as you unwind after a long day; it's a small change with a big impact. By carefully evaluating your setup and following safety precautions, you're not just improving your home, but also creating a sanctuary for yourself and your loved ones. So go ahead, embrace this upgrade and enjoy the perfect blend of style and functionality.
