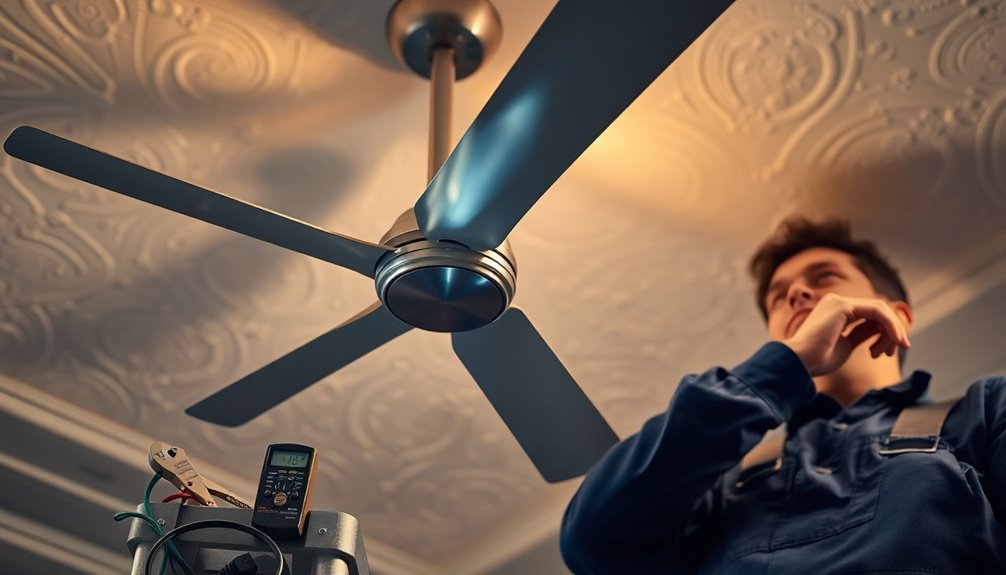
Yes, you can install a ceiling fan yourself. First, make sure to turn off the power at the circuit breaker for safety. You'll need to gather some tools and check that your electrical box can support the fan's weight. Follow the manufacturer's instructions closely while attaching the mounting bracket, wiring the fan, and ensuring everything's secure. After installation, restore power to test its functionality. While it's a manageable DIY project, it's crucial to follow safety precautions to avoid any issues. Keep going to explore tips on troubleshooting and maximizing your fan's efficiency.
Key Takeaways
- Yes, you can install a ceiling fan yourself with basic tools and following safety precautions.
- Ensure to turn off power at the circuit breaker before starting the installation.
- Measure your room to select the appropriate fan size for optimal performance.
- Follow the manufacturer's installation manual for specific wiring and mounting instructions.
- Troubleshoot common issues like noise or flickering lights to ensure proper functionality after installation.

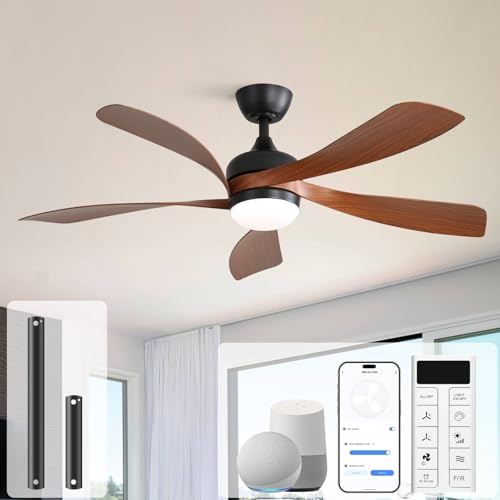
ZMISHIBO 52 Inch Ceiling Fan with Light, App&Remote Control, Flush Mount Low Profile, Dimmable 20W LED Light, Quiet Reversible Motor for Bedroom, Living Room, Apartment, Black
Perfect Size for Rooms: This 52-inch ceiling fan is ideal for cooling and illuminating spacious areas like living...
As an affiliate, we earn on qualifying purchases.
Benefits of Installing a Ceiling Fan

Installing a ceiling fan offers numerous benefits that can transform your living space. One significant advantage is the potential for reduced energy bills. Homeowners often report savings of around $500 annually when ceiling fans are used alongside HVAC systems. Additionally, the use of commercial grade heat pumps can further enhance energy efficiency in your home.
By improving air circulation, these fans create effective cooling during the summer and help distribute warm air in the winter, enhancing overall comfort in your home environments. Additionally, integrating smart home devices can further enhance the functionality of your ceiling fan and improve energy efficiency. Furthermore, using ceiling fans can contribute to maintaining an optimal emotional alignment in your living space, promoting a sense of calm and well-being. Heated mattress pads can also complement your home comfort during colder months.
Properly installed ceiling fans can lower your reliance on air conditioning, leading to increased energy efficiency. This not only saves you money but also benefits the environment.
With a variety of sizes and styles available, you can easily find ceiling fans that complement your decor while maximizing airflow according to your room's dimensions. Many modern ceiling fans come equipped with features like remote controls and integrated lighting, adding even more functionality and convenience to your space. Additionally, using Energy Star certified fans can significantly enhance your comfort while further reducing energy consumption.
Whether you're tackling DIY projects over the weekend or looking to upgrade your home's comfort, installing ceiling fans can be a smart and stylish choice. Embrace the benefits of ceiling fans, and enjoy a more comfortable, energy-efficient living environment.
Sofucor 52" Smart Ceiling Fan, Indoor/Outdoor Ceiling Fans with Lights and Remote, Compatible with Alexa/Google/App, 3-Color Light 6-Speed Timing Reversible DC Motor for Bedroom Living Room Patio
Voice & App & Remote Control: Sofucor alexa ceiling fan with light can be controlled in 3 ways....
As an affiliate, we earn on qualifying purchases.
Preparation Steps for Installation

Before you plunge into your ceiling fan project, you'll want to take a few essential preparation steps to guarantee a smooth installation.
Start by turning off power at the circuit breaker to secure safety during your work. Secure the wall switches in the off position with electrical tape.
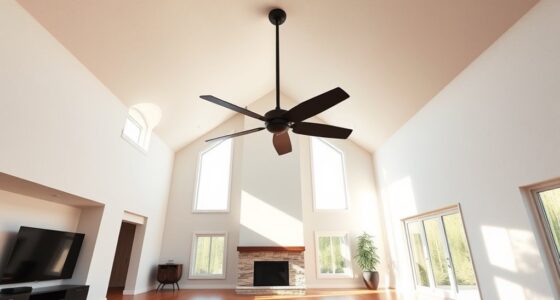
Next, measure the room size to choose the right fan; a 36-inch fan works for rooms under 12 feet, while a 52-inch fan is better for spaces between 15 to 18 feet.
Gather the necessary tools, including a screwdriver, wire stripper, pliers, and a ladder. Make certain all parts of the ceiling fan are included before you begin.
Then, inspect the existing electrical box to confirm it's a fan-rated junction box that can support the weight of your new fan; if not, consider replacing it.
Finally, read the manufacturer's installation manual thoroughly to understand any specific requirements for your ceiling fan model.
This preparation will set you up for success as you move forward with the installation process, making sure everything is in place before you start.

52in Smart Low Profile Ceiling Fans with Lights Remote,Quiet DC Motor,Outdoor Indoor Flush Mount Ceiling Fan,Control with WIFI Alexa App,Dimmable,6-speed,3 White Wood blades,for Modern Bedroom Patio
【Voice &APP &Remote Control】52 inch Ceiling fan with lights and remote (handheld and wall mounted), still in control...
As an affiliate, we earn on qualifying purchases.
Installation Process Overview

With your preparation steps complete, you're ready to commence on the installation process. First, turn off the power at the circuit breaker. You'll need to remove the existing light fixture and guarantee the junction box is rated for fan support.
Next, attach the mounting bracket to the junction box, making sure it's securely mounted. Follow the manufacturer's instructions for this step, as proper alignment and tightness are vital for stability. Then, connect the fan wiring according to the color codes: black to black, white to white, and ground to ground.
Once the wiring is done, it's time to attach the blades. Make sure everything is fastened properly before moving on. After you've completed these steps, restore power at the circuit breaker.
To help you keep track, here's a quick overview of the installation process:
| Step | Action | Notes |
|---|---|---|
| 1. Remove | Existing light fixture | Guarantee power is off before removal |
| 2. Attach | Mounting bracket | Check for secure mounting |
| 3. Connect | Fan wiring | Follow color codes for connections |
| 4. Test | The fan | Confirm functionality and stability |
Finally, test the fan to guarantee it operates smoothly.
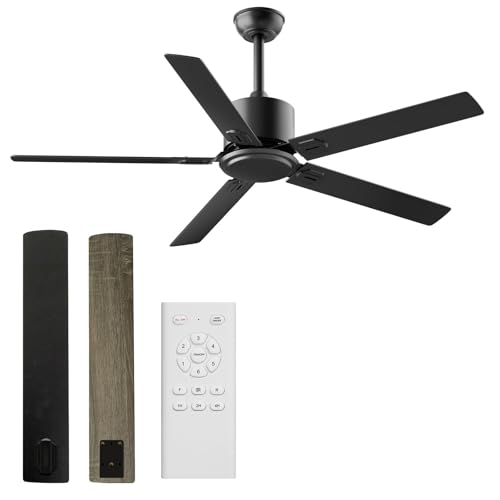
Obabala Ceiling Fans With Remote 42 Inch Black Ceiling Fan No Light 6 Speeds Reversible Timing Noiseless Modern Ceiling Fan Without Lights For Bedroom Kitchen Indoor Outdoor (Black)
Ceiling Fan No Light: Decorate your home with Obabala 42 inch ceiling fans! While bringing you coolness and...
As an affiliate, we earn on qualifying purchases.
Safety Precautions to Follow

When working on ceiling fan installation, prioritizing safety is vital to protect yourself from potential hazards. First and foremost, always turn off the power at the breaker box before beginning any electrical work. This simple step can prevent serious electrical shock.
After that, use a voltage tester to confirm that no electricity is flowing to the wires you'll be handling.
Next, equip yourself with safety goggles and gloves to shield against debris and sharp objects while you're working overhead. Wearing the right gear considerably reduces the risk of injury.
When using a ladder, make sure it's stable and positioned on a flat surface to avoid accidents as you reach for the ceiling. A wobbly ladder can lead to falls, which can be dangerous.
Lastly, always follow the manufacturer's instructions closely, paying attention to any safety warnings specific to the ceiling fan model you're installing. These guidelines are critical for guaranteeing a successful and safe installation.
Troubleshooting Common Issues

Even after taking all the necessary safety precautions, you might encounter some common issues with your ceiling fan.
Here's a quick guide to troubleshooting:
- Power Issues: If your fan isn't working, check the power supply and verify the circuit breaker is functioning correctly.
- Noise and Wobbling: A noisy fan may indicate loose screws or misaligned fan blades. Tighten all screws and adjust the alignment to resolve the issue.
For wobbling, verify that all blades are evenly spaced and attached securely.
– Light Problems: If the light's flickering, inspect the light bulbs and wiring connections for loose bulbs or damaged wiring.
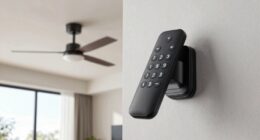
Remote control issues can also arise; often, simply replacing the batteries and re-syncing the remote to the fan will fix the problem.
Always follow the manufacturer's instructions for your specific model. Additionally, ensure that the ceiling fan is rated for optimal air circulation to maximize its efficiency and performance.
By addressing these common issues, you can enjoy a smoothly functioning ceiling fan without further complications.
Frequently Asked Questions
Is It Hard to Install a Ceiling Fan by Yourself?
Installing a ceiling fan by yourself isn't too hard if you've got basic tools and skills.
It typically takes 2-3 hours, especially if you follow the manufacturer's instructions closely. Make sure to turn off the power at the circuit breaker and use a voltage tester for safety.
Having a friend help can make the process smoother, especially when lifting the fan. Just pay attention to alignment and stability during installation, and you'll be fine!
Do You Need an Electrician to Install a New Ceiling Fan?
When you're ready to elevate your space with a ceiling fan, you might wonder if you need a pro to help.
While you can tackle the project yourself if you're handy, an electrician's expertise guarantees everything's up to code and safe.
They'll make sure the fan's securely mounted and wired correctly, saving you from future headaches.
If you're unsure, letting a professional handle it can be a wise choice for peace of mind.
Can the Average Person Install a Ceiling Fan?
Yes, the average person can install a ceiling fan.
With basic DIY skills and the right tools, you can tackle this project successfully. Just make sure you read the installation manual thoroughly and follow safety precautions.
Allocate about 2-3 hours for the installation to handle any unexpected challenges.
Don't forget to check that your ceiling fan is anchored to a fan-rated electrical box for safety and stability.
Is Installing a Ceiling Fan a DIY Job?
Imagine you're a skilled ship captain, ready to navigate the seas of home improvement. Installing a ceiling fan is definitely a DIY job for you!
With basic electrical knowledge and a few essential tools, you can transform your space. Just make sure your electrical box is fan-rated and follow safety precautions.
Immerse yourself in detailed instructions or online tutorials, and in a few hours, you'll enjoy a breezy, energy-efficient haven right in your own home.
Conclusion
Installing a ceiling fan yourself can be a rewarding journey, transforming your space into a cool oasis. With the right preparation and a few handy tools, you can dance with the wires and harness the breeze in no time. Just remember to tread carefully and follow safety precautions, like a tightrope walker balancing high above. So, embrace your inner DIY enthusiast, and let the gentle whir of your new fan bring comfort to your home.