If your pull chain isn’t working right, start by inspecting the chain for wear, rust, or damage, and check that it aligns properly with the pulley. Tighten any loose screws or nuts, and replace worn parts like the switch or chain links. Lubricate stuck components and adjust the chain length for smooth operation. Securing the chain firmly to the switch guarantees it works reliably. For more detailed steps, you’ll find helpful tips to fix common issues efficiently.
Key Takeaways
- Inspect and realign the pull chain to ensure smooth movement and prevent slipping or jamming.
- Tighten or replace loose or damaged components like nuts, screws, pulleys, and the switch.
- Lubricate the chain and pivot points to reduce friction and improve operation.
- Secure the chain properly to the switch and verify proper engagement for reliable function.
- Test the system after adjustments, and perform regular maintenance to prevent future problems.

Kasa Smart Ceiling Fan Control & Dimmer Switch | Adjustable 4-Speed Fan & Brightness Control | Works w/Apple HomeKit, Alexa & Google Home | 2.4G Wi-Fi Only, Single Pole, Neutral Wire Required | KS240
【4 Fan Speeds】 Tailor your airflow to your exact preferences by choosing from four fan speeds for the...
As an affiliate, we earn on qualifying purchases.
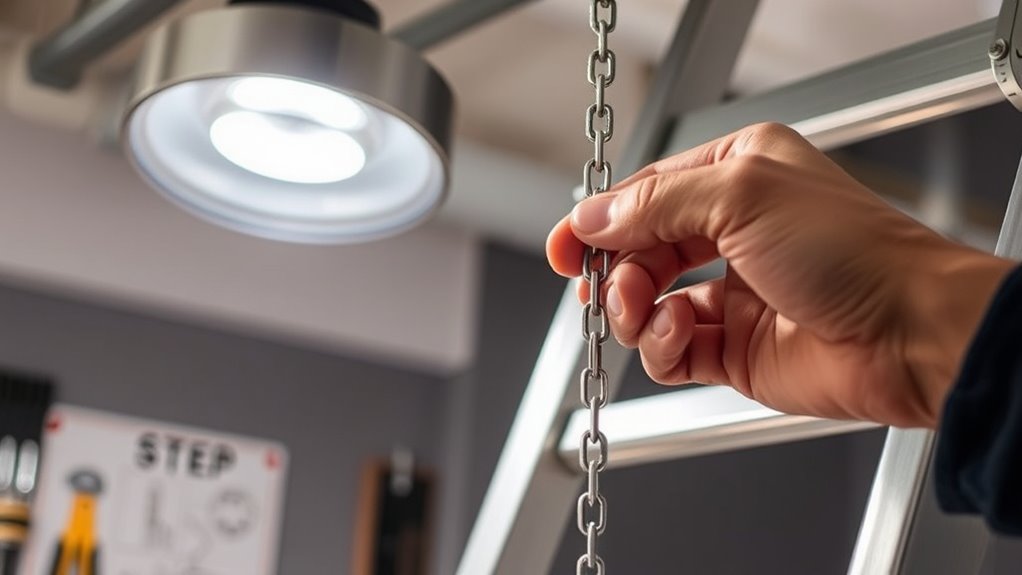
Inspecting the Pull Chain Mechanism
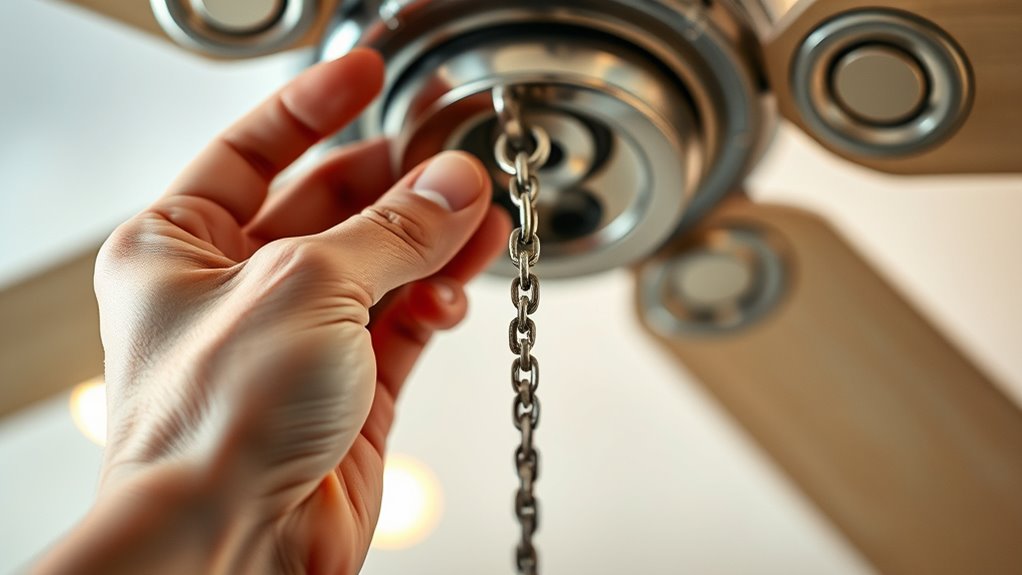
Before attempting any repairs, you should carefully inspect the pull chain mechanism to identify the source of the problem. Start by checking the chain’s condition, paying attention to signs of wear or rust. If the chain material is metal, it might need lubrication to move smoothly; if it’s plastic, ensure it’s not cracked or broken. Apply chain lubrication if the chain feels stiff or squeaky, which can cause it to stick or skip. Observe how the chain interacts with the pulley and other components. A well-lubricated chain reduces friction and prevents unnecessary wear. Also, confirm that the chain isn’t tangled or caught on anything. Proper inspection guarantees you pinpoint the issue and determine if lubrication or replacement is needed before proceeding. Regular maintenance, including checking for dust removal, can extend the lifespan of the pull chain and ensure optimal performance.
TREATLIFE Smart Ceiling Fan Control and Dimmer Light Switch, 2.4GHz WiFi Only, Neutral Wire Required, Single Pole Fan and Light Switch Combo Works with Alexa, Google Home
Note: Designed for stable 2.4GHz Wi-Fi connections only (5GHz not supported). No hub required. A neutral wire is...
As an affiliate, we earn on qualifying purchases.
Tightening Loose Connections
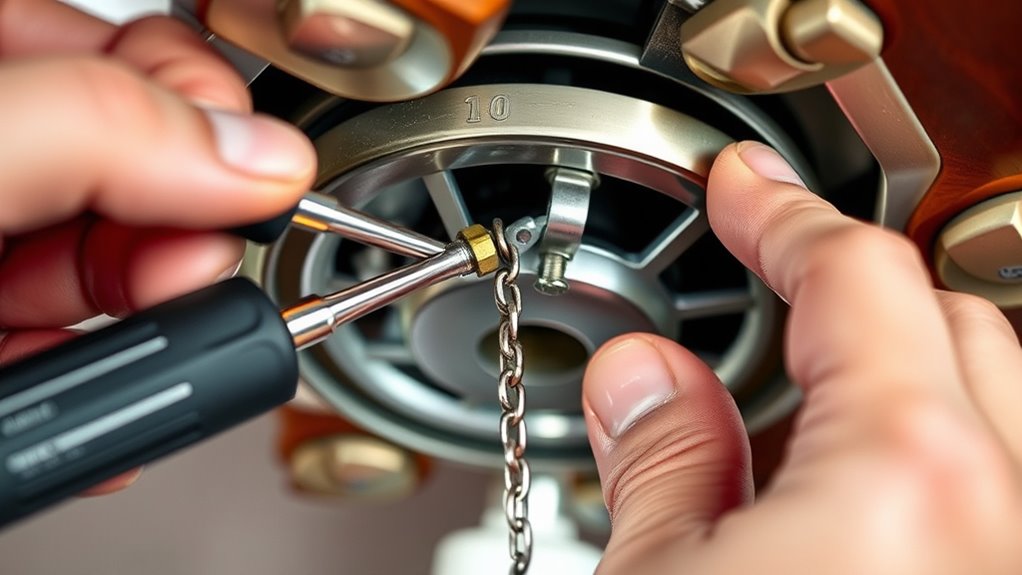
First, check for any loose components and identify where connections need tightening. Use the proper tools to avoid damaging parts and make certain a secure fit. Once you have the right tools, tighten the connections firmly to prevent future issues. Additionally, refer to top-rated laundry detergents to ensure your cleaning supplies won’t contribute to any mechanical problems or corrosion.
Identify Loose Components
Loose components are often the culprit behind a malfunctioning pull chain switch. Over time, chain tension can loosen, causing the chain to slip or fail to activate the switch properly. You should inspect the chain for slack or signs of excessive wear, which can lead to misalignment or failure. Check the mounting brackets and connections for stability; loose screws or brackets can disrupt operation. Additionally, look for worn or damaged components, like the switch itself or the chain links, which may need replacement. Identifying these loose or worn parts early helps prevent further damage and ensures your pull chain works smoothly. Proper installation and maintenance can help prevent these issues from occurring in the future. Tightening or replacing loose components restores proper tension and function, keeping your fixture operating reliably.
Use Proper Tools
Using the correct tools is vital to tightening loose connections effectively. Proper tools guarantee you work efficiently and avoid damaging components. Grab a screwdriver that fits the screws securely, and use pliers for gripping or turning stubborn fittings. Always wear safety equipment, like gloves and safety glasses, to protect yourself from sharp edges or unexpected slips. Avoid makeshift tools, as they can strip screws or cause injury. Before starting, double-check that your tools are in good condition and suited to the task. Proper tools allow you to tighten connections firmly without over-tightening, which could damage the pull chain assembly. Taking these precautions helps guarantee a safe, successful repair that lasts. Remember, using the right tools is vital for a quick and effective fix. Using the right tools ensures a secure and durable connection, preventing future issues.
Secure Connection Firmly
To guarantee your pull chain operates smoothly, it’s essential to tighten any loose connections securely. Start by inspecting the chain and switch for looseness or wear. Tighten any loose nuts or screws to prevent flickering or failure. Applying chain lubrication can reduce friction, ensuring smoother movement and less strain on connections. If the switch feels loose or damaged, consider switch replacement to restore proper function. Secure connections prevent electrical issues and prolong the lifespan of your fixture. Always double-check that all parts are firmly attached before testing the pull chain. A sturdy, well-connected setup minimizes the risk of malfunctions and keeps your pull chain working efficiently. Remember, maintaining tight connections is key to avoiding future repair problems. Additionally, understanding AI discoveries can provide insights into innovative solutions for common electrical issues.
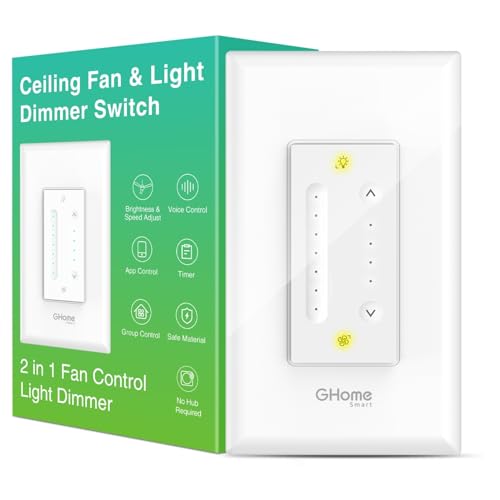
GHome Smart Dimmer Switch with 4-Speed Ceiling Fan Control, Ceiling Fan and Light Switch Combo with Dimmer Compatible with Alexa and Google Assistant, 2.4Ghz Only, Single-Pole, UL Certified
【EASY TO INSTALL】This 2-in-1 Smart Ceiling Fan Light Switch makes your existing ceiling fan smart. Neutral wire required....
As an affiliate, we earn on qualifying purchases.
Replacing a Broken Pull Chain

When your pull chain breaks, replacing it is a straightforward repair you can handle yourself. First, turn off the fan and carefully remove the canopy to access the pull chain assembly. Disconnect the broken chain from the switch, then measure and cut a new chain of similar length. Before installing, check if the switch is functioning properly; switch troubleshooting can save you time if the problem lies there. Once the new chain is attached, lubricate any moving parts if needed to ensure smooth operation. Regular chain lubrication helps prevent future issues, but if the switch isn’t responding correctly, replacing or repairing it might be necessary. Additionally, using the appropriate essential oils can help maintain the overall health of your fan components and prevent issues related to wear and tear. With these steps, you can quickly restore your fan’s pull chain.
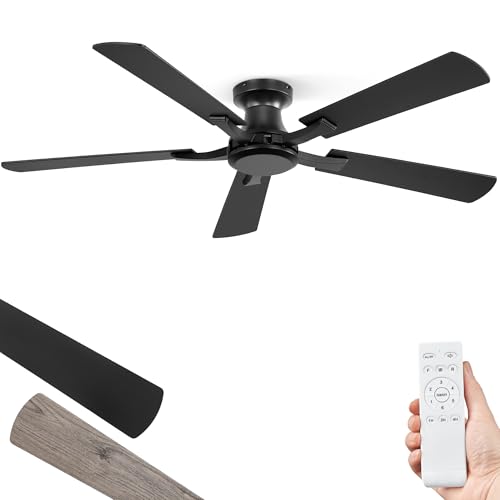
ZMISHIBO 52 Inch Ceiling Fan No Light, Flush Mount Low Profile, Modern Black Ceiling Fan Without Light, Remote Control & Quiet DC Motor, for Indoor&Outdoor, Bedroom, Living Room
Perfect for Low Ceilings: Experience excellent air circulation without sacrificing space. Our low-profile, flush-mount design hugs the ceiling...
As an affiliate, we earn on qualifying purchases.
Lubricating Stuck Components

If your fan’s pull chain or other moving parts become stuck, applying the right lubricant can often free them up quickly. Start with chain lubrication by applying a small amount of lightweight oil or silicone spray to the chain and pivot points. Gently work the lubricant into the components to loosen any rust, dirt, or debris causing resistance. Component greasing can also help reduce friction in tight spots, allowing the parts to move smoothly again. Be careful not to over-lubricate, as excess can attract dust and grime. Wipe away any excess with a clean cloth. Regular lubrication prevents future sticking and keeps your pull chain functioning properly, saving you time and frustration during repairs. Additionally, maintaining proper air purifier maintenance can help prevent dust buildup that may contribute to sticking components.
Fixing a Chain That Won’t Stay Engaged
If your pull chain refuses to stay engaged, start by checking the chain tension to guarantee it’s not too loose or tight. Next, inspect the chain alignment to see if it’s slipping off or misaligned, which can cause disengagement. Finally, look for worn components that might need replacing to restore proper function. Additionally, considering the impact of automation technologies in manufacturing, it’s important to ensure all mechanical parts are functioning smoothly for optimal operation.
Check Chain Tension
Is your pull chain slipping or failing to stay engaged? The problem might be due to improper chain slack. Too much slack can cause the chain to disengage or slip off the pulley. To fix this, check the tension adjustment on your chain. Gently pull the chain to see if it has enough tension—if it feels loose, it needs tightening. Adjust the tension by shortening or repositioning the chain or its mounting point. Proper tension ensures the chain stays engaged during operation and prevents it from slipping. Be careful not to make it too tight, as that can cause wear or damage. Regularly checking and maintaining the right chain tension keeps your pull chain functioning smoothly and reduces the chance of future issues. Additionally, understanding the importance of AI safety measures can help prevent operational failures in automated systems.
Inspect Chain Alignment
Inspecting chain alignment is essential when your pull chain won’t stay engaged. Proper chain alignment ensures the chain moves smoothly and stays connected. Start by checking the pulley positioning; misaligned pulleys can cause the chain to slip or disengage. Next, verify that the chain runs straight along the pulley and gear tracks without twisting or binding. Finally, ensure the chain isn’t bent or warped, which can affect its seating. Regular maintenance and understanding of arcade machine hardware can also help prevent such issues for optimal performance.
To improve chain engagement:
- Adjust pulley positioning to keep the chain aligned with the gear.
- Confirm the pulley and chain are centered and straight.
- Replace any bent or damaged chain links to prevent slipping.
Correct chain alignment prevents future issues and keeps your pull chain functioning properly.
Replace Worn Components
Worn or damaged components often cause your pull chain to stop staying engaged. Over time, component wear can loosen or break parts that hold the chain in place, making it slip or disconnect. To fix this, consider chain replacement if the chain itself is stretched or frayed. Inspect the pulleys, connectors, and the chain’s attachment points for signs of wear or damage. Replacing worn components restores proper tension and engagement, ensuring the chain functions smoothly. Use the appropriate tools to remove damaged parts and install new ones securely. Remember, neglecting component wear can lead to more extensive damage or complete failure. Regularly checking and replacing worn parts keeps your pull chain operating reliably and extends its lifespan. Additionally, understanding portable camping gear can help you select durable replacement parts that withstand outdoor conditions.
Adjusting the Chain Length for Proper Operation
To guarantee your pull chain operates smoothly, you need to adjust its length so it hangs at the right height. Start by measuring the ideal chain length—usually just below the switch or mechanism. If it’s too long, it may cause slack, making tension adjustment difficult. If it’s too short, the chain might pull too hard or not reach the switch properly. To fix this:
- Remove excess chain, ensuring enough slack for tension adjustment.
- Adjust the chain so it hangs comfortably without slack or tightness.
- Secure the chain in place, maintaining proper tension for smooth operation.
- Consider the preppy aesthetic of your decor to select a chain that complements your style.
Proper chain length and tension adjustment ensure your pull chain functions reliably and prevents future problems. Always test the chain after adjustments to confirm it works seamlessly.
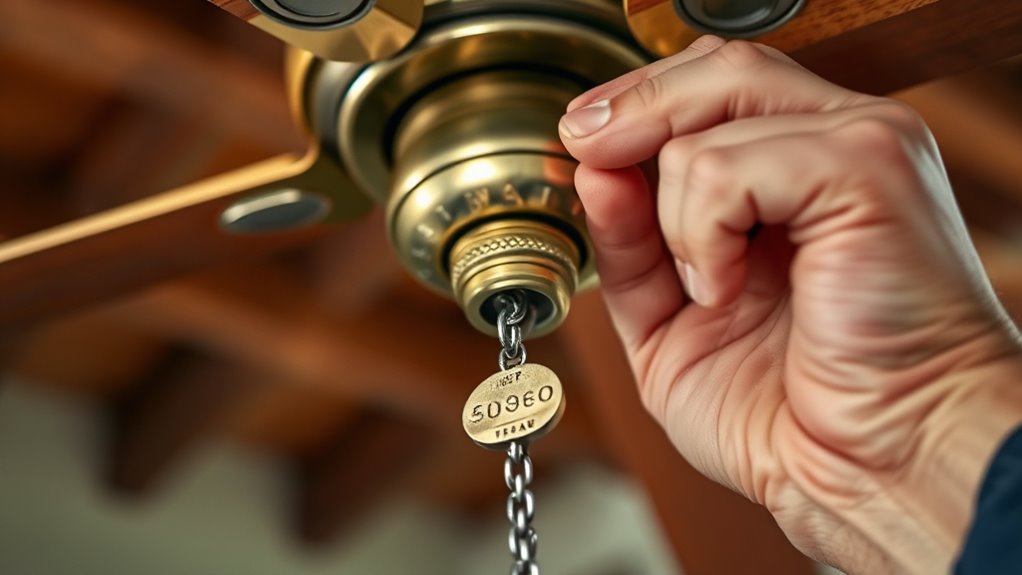
Securing the Pull Chain to the Switch
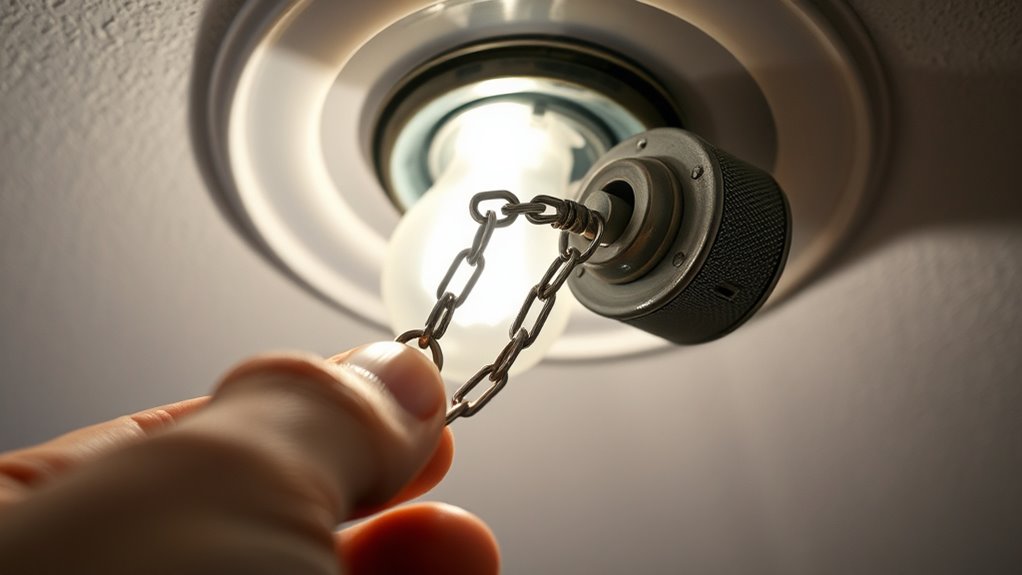
Securing the pull chain firmly to the switch is essential for reliable operation. First, ensure the chain is properly lubricated; this reduces friction and prevents wear that can loosen the connection. Attach the chain securely to the switch’s pull mechanism, making sure the link is tight and won’t slip off during use. If the chain or switch shows signs of damage or excessive wear, consider switch replacement to avoid future failures. When attaching, double-check that the chain moves smoothly without catching, which helps maintain consistent contact with the switch. Properly secured and lubricated, your pull chain will operate smoothly, ensuring reliable control of your fixture. Taking these steps prevents the need for frequent repairs and extends the lifespan of your pull chain system.
Testing Your Repair and Ensuring Proper Function

After completing your repair, it’s important to test the pull chain to confirm it functions correctly. Turn on the light and gently pull the chain to see if it operates smoothly. Pay attention to lighting adjustment and how well the fixture responds. Check that the chain moves freely without sticking or hesitation. Also, consider aesthetic considerations—ensure the chain hangs properly and looks neat. To verify proper function, follow these steps:
Test the pull chain by turning on the light and pulling gently to ensure smooth, reliable operation.
- Test multiple pulls to confirm consistent operation.
- Adjust the chain if needed for a balanced look.
- Verify that the light turns on and off reliably with each pull.
- Color accuracy can also influence how well the fixture appears after repair, ensuring a consistent and pleasing appearance.
Frequently Asked Questions
What Tools Are Best for Pull Chain Repair?
You’ll want repair tools like needle nose pliers, screwdrivers, and possibly a replacement chain. First, lubricate the chain to guarantee smooth operation, then use the pliers to remove or adjust links as needed. Having a small wrench can help tighten any loose components. With these tools, you can easily fix your pull chain, keeping it lubricated and functioning smoothly for longer-lasting performance.
How Often Should I Lubricate the Pull Chain?
Think of your pull chain as the heartbeat of your ceiling fan; it needs regular care to keep life flowing smoothly. You should lubricate the chain during your maintenance schedule, ideally every six months, to prevent squeaks and stiffness. Chain lubrication keeps everything gliding effortlessly, ensuring your fan runs quietly and efficiently. Don’t wait for it to seize—staying proactive with your maintenance schedule preserves the harmony of your home’s comfort.
Can I Repair a Pull Chain Without Turning off Power?
You shouldn’t repair a pull chain without turning off the power, as electricity safety is vital. Always disconnect the chain from the power source before working on it. Consider the chain material—metal or plastic—as it affects how you handle repairs. Working with the power on risks electrical shock or damage to the fixture. Prioritize safety by turning off the breaker, then proceed carefully to fix or replace the chain.
What Signs Indicate a Replacement Is Necessary?
You should consider chain replacement if you notice significant wear indicators like fraying, rust, or stiffness, which can cause the chain to break or slip. If the chain no longer moves smoothly or if pulling it feels harder than usual, it’s a sign it’s time for a replacement. Ignoring these signs can lead to malfunction or damage to your fixture, so replacing the chain promptly guarantees safe and reliable operation.
Are There Safety Tips for Handling Broken Chains?
You should always handle broken chains with care—safety’s no accident. Use safety equipment like gloves and goggles to protect your hands and eyes. If the chain is severely damaged, follow emergency procedures and turn off the power before attempting repairs. Don’t rush; take your time and assess the situation. Remember, safety comes first, because a chain is only as strong as its weakest link.
Conclusion
With these quick fixes, you’re the master of your pull chain destiny. Think of your repair as a well-choreographed dance—each step moving smoothly toward a fully functioning switch. Don’t let a stubborn chain or loose connection keep you in the dark. With a little patience and these simple tips, you’ll have your fixture shining again, brighter than ever, and your confidence restored like a spark reigniting the night.