To install a remote receiver without attic access, start by choosing a suitable wall or protected spot that avoids interference and moisture. Use flexible tools like wire pullers or opt for wireless options such as signal boosters or Wi-Fi extenders to handle wiring challenges. Guarantee the receiver has a reliable, nearby power source and mount it securely for safety and performance. For detailed steps, keep going—more tips await to help you complete your setup smoothly.
Key Takeaways
- Choose an accessible, stable location near the device’s line of sight, avoiding interference from electronics and metal objects.
- Use wireless or powerline adapters to bypass wiring challenges in areas without attic access.
- Mount the receiver on a sturdy wall or surface using brackets, ensuring it’s elevated and protected from moisture and vibrations.
- Plan cable routing carefully if wiring is possible, employing fish tapes or professional help to minimize wall damage.
- Test signal strength and device connectivity after installation, adjusting placement or adding signal boosters as needed.

Fourair Infrared Wireless IR Repeater Long Range 500 Feet and IR Remote Control Extender Repeater Kit Infrared IR Extender for Expansion (IR Emitter and Receiver)
- Wireless IR Repeater: Hides components for a tidy setup
- Wide Compatibility: Works with most infrared devices
- Long Range Operation: Supports up to 700 feet distance
As an affiliate, we earn on qualifying purchases.
As an affiliate, we earn on qualifying purchases.
Assessing Your Installation Location and Planning Ahead

Before beginning your installation, it is essential to carefully assess the location where you’ll install the remote receiver. Consider alternative installation methods that suit your space, especially if attic access isn’t available. Look for spots that are dry, stable, and free from excessive heat or humidity, which can damage electronic components. Think about the receiver’s proximity to power sources and your existing wiring, as well as ease of access for future maintenance. Planning ahead helps avoid unnecessary complications and guarantees reliable operation. Don’t forget safety precautions—avoid areas with potential electrical hazards or structural obstructions. Taking these steps upfront will streamline the process and prevent issues down the line, making your installation smoother and safer. Additionally, evaluating the installation environment for factors like ambient temperature and electromagnetic interference can significantly influence the receiver’s performance and longevity. Ensuring proper noise levels and avoiding interference sources can help maintain system efficiency and reliability over time. Being aware of potential sources of electromagnetic interference can also protect the system from signal disruptions.
Gathering the Necessary Tools and Materials
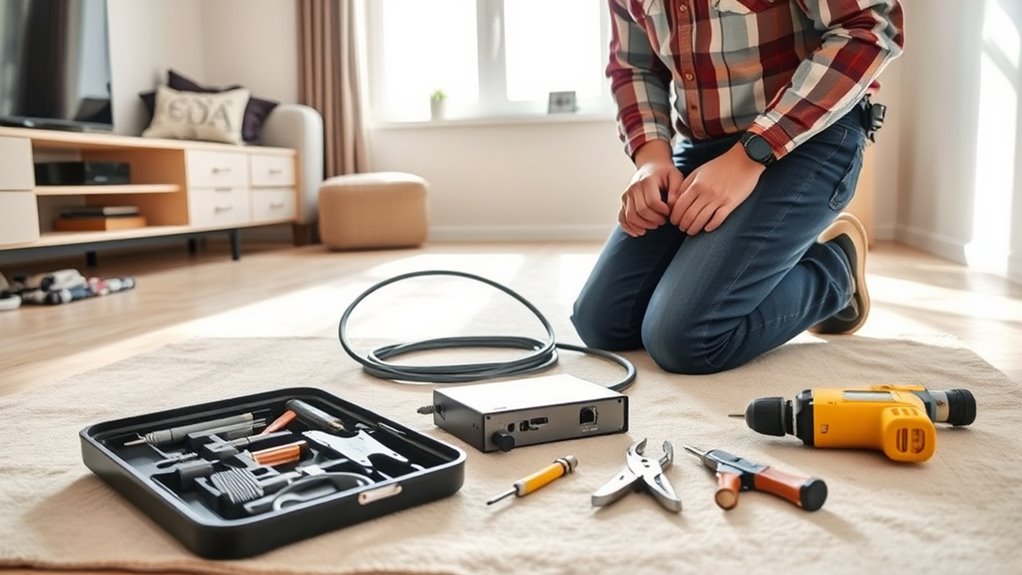
Before you start installing the remote receiver, you need to gather all the tools and materials you’ll require. Make a checklist of essential equipment and supplies to guarantee nothing gets overlooked. Having everything ready beforehand will make the installation process smoother and quicker. If you’re considering performance upgrades, such as ECU remapping or exhaust system improvements, ensure you have the appropriate tuning tools on hand. Additionally, understanding the privacy policies related to your equipment can help you manage any data collection during the installation process. Being aware of the toilet flushing mechanisms can also assist in troubleshooting any issues that might arise during setup.
Tools and Equipment Checklist
To successfully install a remote receiver without attic access, you’ll need to gather the right tools and materials to guarantee a smooth process. Start with a drill, screwdriver, and a level to ensure secure placement and proper alignment. A ladder or step stool is essential for reaching high spots safely. Consider wireless alternatives like remote controls or signal extenders if wiring proves difficult. Having a tape measure and wire strippers on hand helps with accurate measurements and connections. If you’re unsure about the installation, don’t hesitate to seek professional assistance to avoid mistakes. Gathering these tools beforehand minimizes delays and makes the process more efficient. Proper preparation guarantees you can install your remote receiver securely and effectively, even without attic access. Additionally, understanding Kia Tuning options can help optimize your vehicle’s performance if needed after installation. Being familiar with electrical wiring and safety protocols is crucial to prevent hazards during setup. Ensuring compatibility with your existing home theater system can also streamline the installation process and improve overall functionality.
Materials and Supplies Needed
Gathering the right materials and supplies is essential for a smooth remote receiver installation without attic access. You’ll need basic tools like screwdrivers, a drill, and a ladder. For the remote placement, consider wireless alternatives such as Wi-Fi or RF transmitters to avoid running long cables. Make certain you have suitable mounting brackets or enclosures to secure the receiver in its new location. If you plan to extend signals or connect multiple devices, gather necessary cables, connectors, and possibly a signal booster. Don’t forget to have weatherproofing materials if installing outdoors. Having all these supplies ready beforehand streamlines the process and helps prevent multiple trips. Proper planning with the right tools and materials makes remote placement easier and more efficient. Additionally, assessing the environment to incorporate vertical storage solutions can help keep components organized and accessible, especially in tight or challenging spaces. Planning for environmental considerations ensures the durability and reliability of your installation in varying conditions. Moreover, understanding signal propagation can aid in positioning the receiver for optimal performance and coverage.
Choosing the Optimal Spot for the Receiver
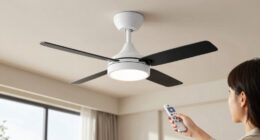
Choosing the right spot for your remote receiver is crucial to guarantee clear signal transmission and reliable operation. You want to find a remote location that minimizes interference from electronics, metal objects, or thick walls. Keep the receiver away from devices like Wi-Fi routers, cordless phones, or microwave ovens, which can disrupt signals. Instead, position it where it has a direct line of sight to your remote control and the transmitter. Elevate the receiver if possible to avoid obstructions and improve signal strength. Proper interference management is essential; avoiding cluttered or metallic areas ensures your remote works seamlessly. Take your time to test different spots before finalizing the placement, ensuring consistent performance without signal dropouts. Additionally, considering the signal range can help you select an optimal position for reliable coverage throughout your space.
Running Wires Through Walls or Ceilings Without Attic Access
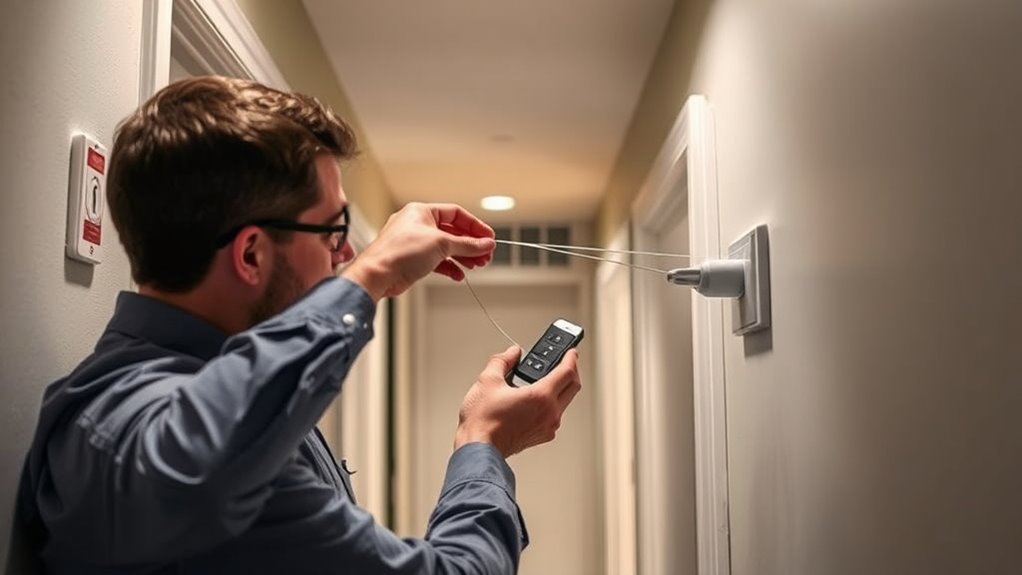
Running wires through walls or ceilings without attic access can be challenging, but it’s manageable with the right tools and techniques. You might consider using flexible fish tapes or wire pullers to navigate tight spaces, but sometimes, the walls are too complex. Wireless alternatives, like powerline adapters or Wi-Fi extenders, can eliminate the need for running physical wires altogether. If you’re unsure about drilling or cutting into walls, professional assistance is a smart choice. Electricians or home wiring specialists can safely route cables or install wireless solutions, saving you time and avoiding damage. Proper planning and the right equipment make this process smoother. Whether you choose to run wires directly or opt for wireless alternatives, remote work setup expert help guarantees a clean, safe, and efficient installation. Additionally, understanding GMC tuning techniques can be beneficial if your setup involves integrating smart vehicle systems or custom electronics.
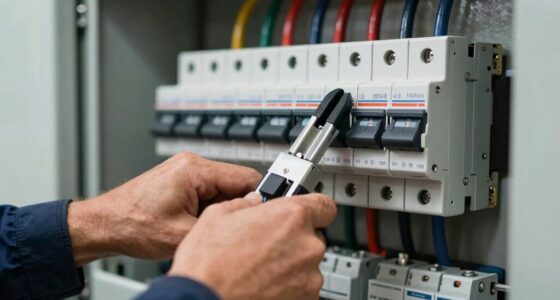
Securing Power Supply to the Remote Receiver
Securing a reliable power supply to your remote receiver is essential for consistent operation. Without it, unexpected outages or power surges can disrupt the system. To guarantee stability, consider these key points:
- Use a surge protector to guard against voltage spikes that could damage the receiver.
- Connect the receiver to a dedicated outlet for steady power.
- Incorporate a battery backup to keep the system running during outages.
- Check that the power cord and connections are secure and free of damage.
- Regularly inspecting your electrical connections can help prevent potential issues and ensure ongoing reliable performance.
- Understanding electrical safety practices is vital to prevent accidents and protect your equipment.
- Tailoring your setup to include customizable strategies can help adapt to evolving technologies and ensure long-term reliability.
Taking these steps helps prevent interruptions and prolongs the lifespan of your equipment. A surge protector shields against unpredictable power surges, while a battery backup ensures continuous operation during outages. Proper connections and dedicated outlets contribute to a reliable setup.
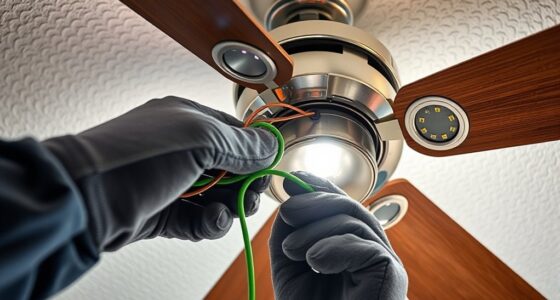
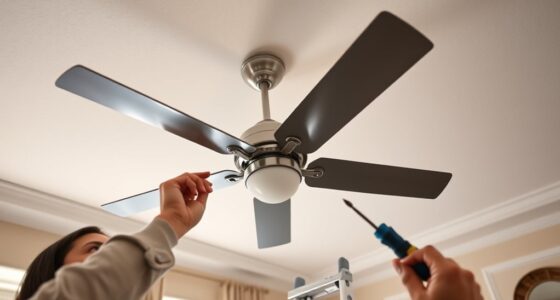
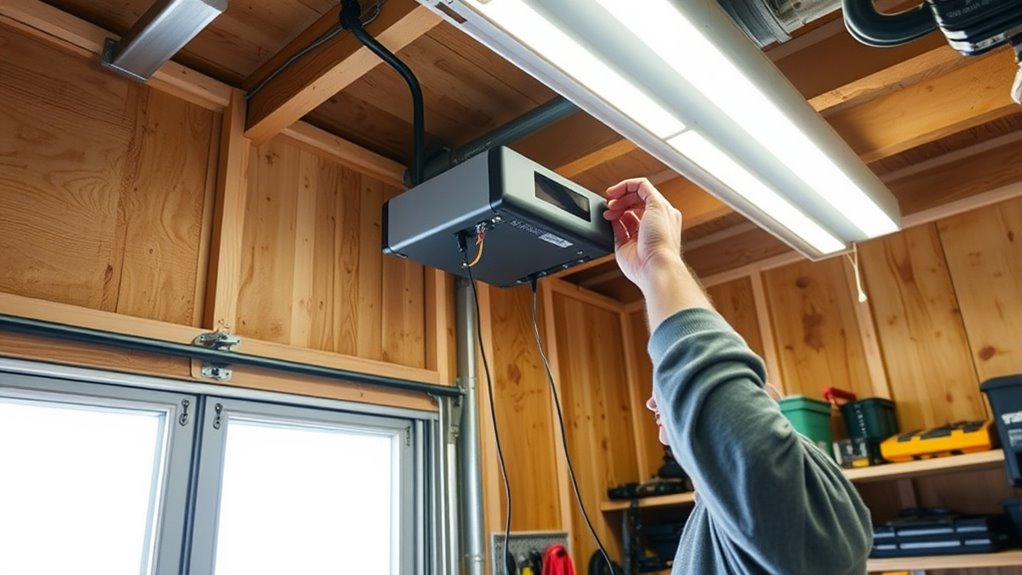
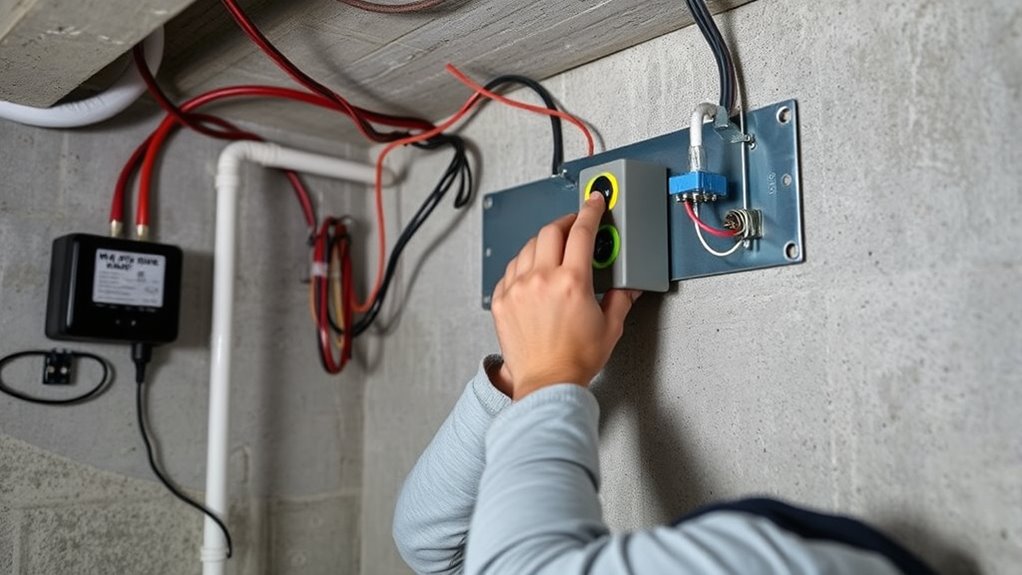
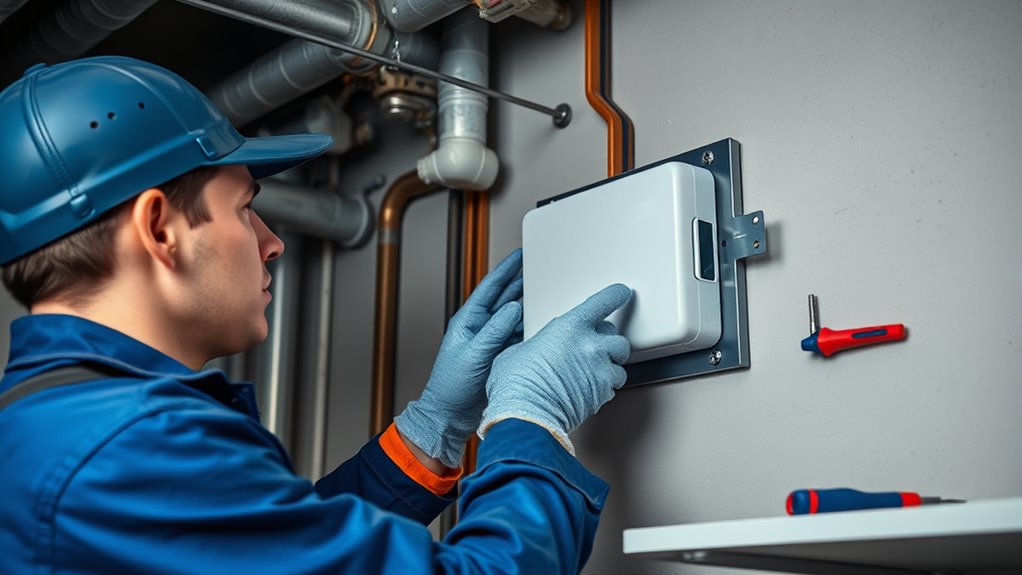
Mounting the Receiver Safely and Efficiently

Once you’ve confirmed a stable power connection, the next step is to mount the remote receiver securely and efficiently. For remote mounting, choose a location that’s protected from moisture, extreme temperatures, and vibrations. Use sturdy brackets or mounting plates to attach the receiver to a wall or other solid surface. Always follow safety precautions to prevent accidents; ensure the area is clear of obstructions and that your tools are insulated. Avoid mounting the receiver near electrical hazards or heat sources. Check that the mounting surface can support the weight of the receiver and that cables are neatly managed to prevent tripping or damage. Proper remote mounting not only keeps your system functioning reliably but also guarantees safety during installation and long-term operation. Additionally, consider the types of self watering plant pots to ensure your setup accommodates any specific size or shape requirements. When selecting a mounting location, consider the installation environment to optimize signal strength and accessibility. Evaluating the construction materials of the mounting surface can also influence stability and durability over time.
Connecting and Testing the System
After you’ve mounted the receiver, the next step is to connect the system components properly. Make certain your wireless connection is secure, as this impacts overall signal strength. Once connected, test the system by turning on your remote and checking the signal stability. Here are some key steps:
- Verify the receiver is within range of your remote’s signal.
- Use the device’s indicator lights to confirm a proper connection.
- Adjust the receiver’s placement if you notice weak signal strength.
- Run a quick test to ensure the remote controls all connected devices smoothly.
Troubleshooting Common Issues During Installation

When installing a remote receiver without attic access, you may encounter common issues that can disrupt your setup. Signal interference is a frequent problem, especially if nearby electronics or metal objects weaken the signal. To troubleshoot, try relocating the receiver or transmitter to reduce interference. If the signal remains weak, consider using wireless alternatives like signal boosters or repeaters to improve connectivity. Check that all connections are secure and that the receiver is within the recommended distance from the transmitter. Ensure your batteries are fresh, as low power can cause signal drops. If problems persist, test the system in different locations to identify interference sources. Addressing these issues quickly will help guarantee your remote receiver functions reliably without attic access.
Frequently Asked Questions
Can I Install a Remote Receiver Outdoors Without Attic Access?
Yes, you can install a remote receiver outdoors without attic access. Just make certain it’s wireless compatible, so you don’t need extensive wiring, and choose a weatherproof model to withstand outdoor conditions. Mount it in a sheltered location, like under an eave or covered area, to protect it from rain and snow. Proper outdoor weatherproofing guarantees reliable operation, and wireless compatibility simplifies the installation process without attic access.
What Safety Precautions Should I Consider During Installation?
When installing a remote receiver outdoors, prioritize DIY safety by wearing insulated gloves and eye protection. Be aware of electrical hazards, especially with wiring or power sources. Always turn off the power before starting, use proper tools, and follow manufacturer instructions carefully. If you’re unsure about any step, consider consulting a professional. Taking these precautions helps prevent accidents and guarantees a safe, successful installation.
How Do I Conceal the Wires for Aesthetic Purposes?
To achieve wire concealment and aesthetic integration, start by running wires along baseboards or molding to hide them from view. Use wire covers or raceways that match your wall color for a seamless look. If possible, hide wires behind furniture or inside wall panels. Keep wires tidy with clips or ties, and avoid cluttered or exposed wiring to maintain a clean, professional appearance in your space.
Is Professional Assistance Recommended for Complex Installations?
Is tackling complex installations a mountain or a molehill? You might face DIY challenges that require specialized tool requirements, especially if you’re new to this. While you can attempt some tasks yourself, professional assistance is highly recommended for intricate setups to guarantee safety and proper function. Don’t underestimate the complexity—trust experts to handle the job efficiently, saving you time, frustration, and potential mistakes.
What Are the Signs of an Improperly Installed Remote Receiver?
If your remote receiver isn’t working properly, you might notice inconsistent signals, frequent outages, or difficulty syncing with your device. These are common signs of improper installation. For remote receiver troubleshooting, check for installation errors like loose wiring or incorrect placement. If problems persist, it’s best to consult a professional. Proper setup guarantees reliable operation and avoids future issues caused by installation mistakes.
Conclusion
Installing a remote receiver without attic access may seem challenging, but with careful planning, it’s completely doable—like solving a puzzle where each piece falls into place. By following these steps and staying patient, you’ll guarantee a clean, secure setup that works perfectly. Remember, patience is your best tool, turning what feels like a maze into a smooth path. Soon, you’ll enjoy a seamless system, just like a well-orchestrated symphony.