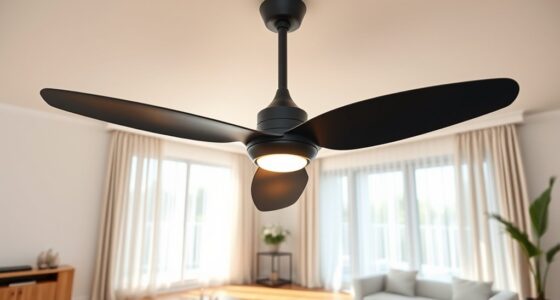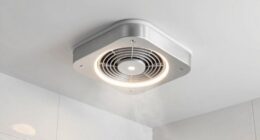
To install a ceiling fan, first turn off the power at the circuit breaker and verify wires are de-energized. Then, prepare the junction box and mount it securely, attaching the mounting bracket and threading wiring through the downrod. Connect the fan wires properly, secure the blades and light kit, and tighten all screws. After restoring power, test the fan’s operation and make certain everything runs smoothly. Continue with detailed instructions to complete a safe, correct installation.
Key Takeaways
- Turn off power at the circuit breaker and verify wires are de-energized before starting installation.
- Secure the mounting bracket to a fan-rated junction box, ensuring it is level and firmly attached.
- Connect the fan’s wiring: match black to black, white to white, and connect the ground wire securely.
- Attach the fan to the mounting bracket, then assemble blades, light fixtures, and downrod as needed.
- Restore power, test the fan at all speeds, and ensure smooth operation, wobble-free performance, and proper light functioning.

RACO RETRO-BRACE 936 1.5-in. Deep Ceiling Fan Box for Old Work 2.5-in. Knockouts, Old Work Electrical Box, Adjustable Brace, and Mounting Bracket for Ceiling Light Fixtures & Chandelier Fans
DESIGNED FOR RESTORATIONS: Our Hubbell RACO RETRO-BRACE 1.5-in. Deep Ceiling Fan Box for Old Work is specially designed…
As an affiliate, we earn on qualifying purchases.
As an affiliate, we earn on qualifying purchases.
Turn Off Power to the Circuit
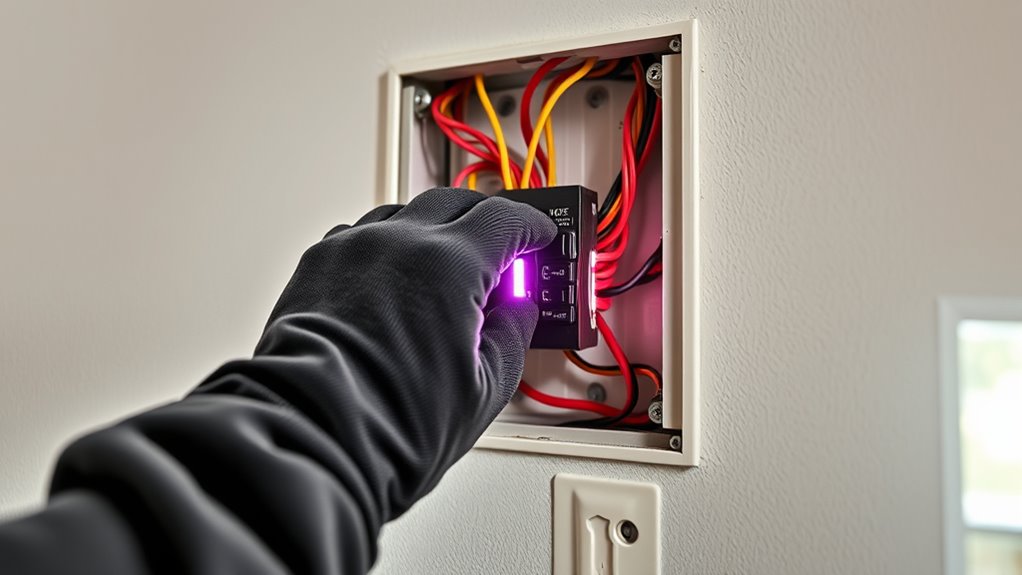
Before starting the installation, you need to turn off the power to the ceiling fan. Locate the circuit breaker that controls the fan’s circuit in your main electrical panel. Switch it to the OFF position to cut the power completely. To guarantee no current is flowing, use a voltage tester or circuit breaker detective to confirm the wires are de-energized. Also, set the wall switch to the OFF position to prevent accidental activation. For added safety, place electrical tape over the circuit breaker switch after turning it off, so it can’t be turned back on accidentally. Always verify that the power is truly off before touching any wires to avoid electrical shock. Properly turning off the circuit breaker is essential for a safe and smooth installation process. Understanding electrical safety protocols is crucial to prevent accidents during installation. Additionally, adhering to local electrical codes ensures the installation meets safety standards. Consulting a licensed electrician can provide further guidance on safe installation practices and compliance requirements. It’s also helpful to familiarize yourself with circuit breaker operation to better understand how to safely control power to your fixtures. Familiarity with the electrical panel layout can further assist in quick troubleshooting and safety measures during the process.

Westinghouse 0110000 Saf-T-Brace for Ceiling Fans, 3 Teeth, Twist and Lock,Silver(Pack of 1)
Saf-T-Brace allows safe, simple installation of fans and fixtures
As an affiliate, we earn on qualifying purchases.
As an affiliate, we earn on qualifying purchases.
Prepare and Mount the Junction Box
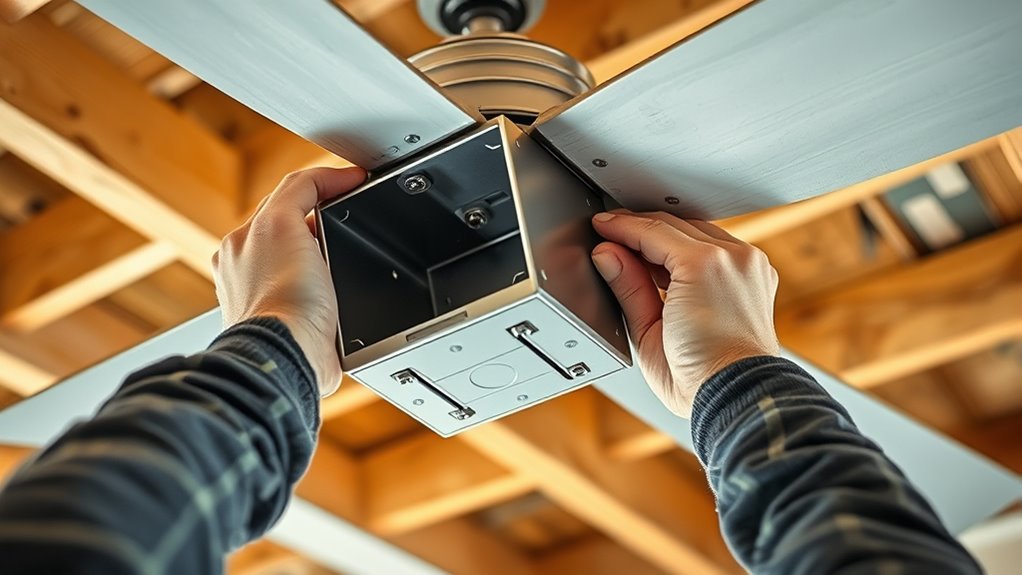
Start by verifying the existing junction box is suitable for your ceiling fan. A fan-rated junction box, usually metal and marked as such, can safely support the weight of a fan and is essential for proper installation. Security measures are often overlooked during installations but are crucial for safety and preventing accidents. Ensuring the junction box is properly rated helps avoid potential safety hazards and complies with electrical codes. If the box isn’t fan-rated, you’ll need to remove it and replace it with a sturdy, approved one. Make sure the new junction box is mounted securely to a ceiling joist or support brace to handle the fan’s weight and movement. Proper mounting prevents wobbling and ensures safety when you install a ceiling fan. Additionally, confirming the electrical connections meet safety standards is vital to prevent future issues. Using a durable support is important to maintain the stability of the fan over time. When selecting your support, consider the weight capacity to ensure it can handle the fan’s load and any future upgrades. Once the junction box is securely in place, you’re ready to connect the wiring and proceed with attaching the fan, making sure your setup is both safe and stable for the fan blades’ operation.

2Pcs Universal Electric Cooling Fan 2 Terminal Pigtail Plug Wire Harness Connector
Universal Cooling Fan 2 Terminal Pigtail Plug Wire Harness Connector 18AWG WIRE.
As an affiliate, we earn on qualifying purchases.
As an affiliate, we earn on qualifying purchases.
Attach the Mounting Bracket and Set the Downrod
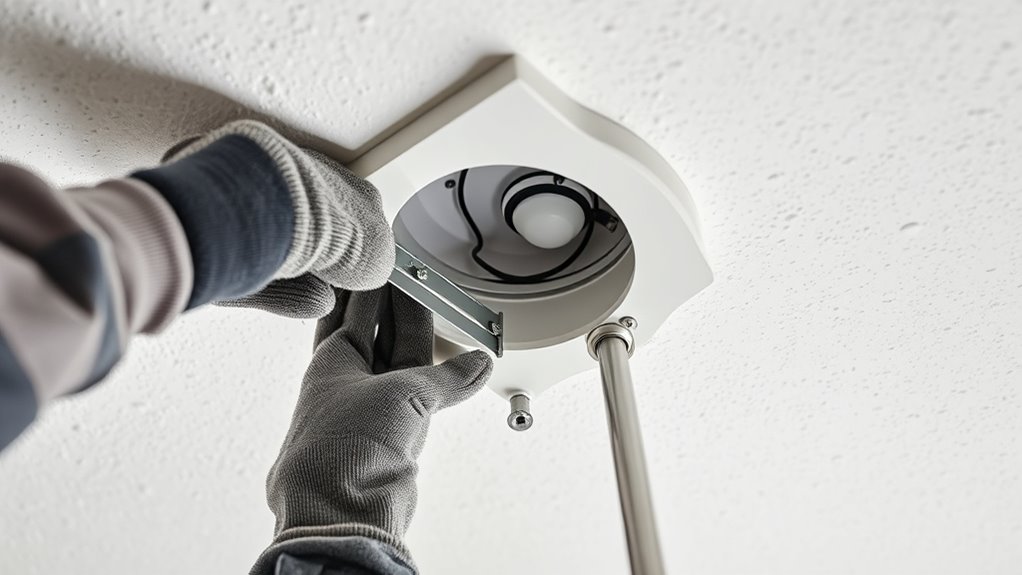
First, secure the mounting bracket to the ceiling junction box, making sure it’s level and firmly attached. Next, select the right downrod length based on your ceiling height and angle, then thread the electrical wires through it. When choosing the downrod, consider the home cinema setup concept to ensure the fan’s height complements your room’s design and functionality. Additionally, verify that the downrod’s diameter matches the fan’s mounting requirements to ensure stability. For optimal performance, ensure the downrod is compatible with the fan’s installation specifications before connecting it to the motor. Incorporating installation technology in the process can help achieve precise alignment and secure connections. Finally, connect the downrod to the fan motor securely to prevent wobbling before attaching the canopy.
Securing the Mounting Bracket
To secure the mounting bracket, you need to attach it firmly to the ceiling junction box using the appropriate screws. Make sure the bracket is level and aligned with the switch box to ensure proper fan placement. Tighten the screws securely, supporting the weight of the fan later on.
Before proceeding, check that the ceiling height and angle are suitable for the downrod length you plan to use. Thread the main fan wires through the downrod and into the mounting bracket, keeping the wires organized.
Confirm that the mounting bracket is securely fastened, as it will hold the entire fan assembly. Once secured, you’re ready to attach the downrod and move forward with the installation.
Choosing the Correct Downrod
Choosing the correct downrod is essential to guarantee your ceiling fan operates safely and looks proportionate to your space. Measure your ceiling height to select the right length, typically between 4 and 36 inches. A properly sized downrod ensures maximum air circulation and prevents wobbling. When attaching the downrod, thread the wiring through it before connecting to the fan housing. Secure the downrod to the motor using a clevis pin and cotter pin for stability. Verify the downrod is aligned and tightened tightly to avoid shifting during operation. For sloped ceilings, opt for an angled mounting kit or adjustable downrod. Additionally, selecting the appropriate downrod length enhances fan efficiency and safety during use. Properly choosing and installing the downrod can also help prevent potential installation issues that might arise from incorrect sizing. Ensuring the downrod is correctly rated for your fan’s weight and size can further improve overall performance and longevity. It is also important to check the material compatibility of the downrod to ensure durability and safety over time.
Connecting the Downrod Properly
Begin by threading the main wires through the downrod and mounting bracket before attaching it to the fan motor. Make sure to secure the connections properly to prevent any electrical issues. Verify the wiring is clear and not pinched, preventing damage or electrical issues. Connect the wires from the ceiling fan to the wiring in the downrod, securing them with electrical tape if needed for extra insulation. Make sure the ground wire is properly attached to the grounding screw or wire in the mounting bracket. Once wiring is secure, align the downrod with the mounting bracket according to the manufacturer’s instructions, ensuring proper orientation. Attach the downrod to the fan base with the clevis pin and cotter pin, making sure it’s securely fastened. Confirm the length of the downrod suits your ceiling height and clearance before proceeding. Proper wiring connections are essential to ensure safe and reliable operation of the ceiling fan. Additionally, double-checking the electrical code requirements can help prevent potential safety hazards.

Ceiling Fan Mounting Bracket,1PCS AICWIOO Cast Aluminum Sloped Cathedral Ceiling Canopy Bracket for Living Room Outside Patio Porch with Mounting Hardware(Black)
QUALITY MANUFACTURING – Our Ceiling Fan Mounting Kits is constructed from cast aluminum not cheap plastic,offering exceptional strength,corrosion…
As an affiliate, we earn on qualifying purchases.
As an affiliate, we earn on qualifying purchases.
Connect the Wiring of the Ceiling Fan

Connecting the wiring of your ceiling fan involves matching each wire from the fan to the corresponding house wires and securing them properly. You’ll connect the fan’s black wire to the house’s black (hot) wire, the white wire to the house’s white neutral, and the green or bare wire to the ground. Use wire nuts to secure each connection tightly, then cover them with electrical tape for extra safety. If your fan has a light kit, connect the blue or red wire from the fan to the house’s black wire, following the manual’s instructions. Before attaching the canopy, carefully push all wiring into the junction box to avoid damage.
| Fan Wire | House Wire | Emotion |
|---|---|---|
| Black | Black | Power flows freely |
| White | White | Safety and neutrality |
| Green/Bare | Ground | Security and stability |
| Blue/Red | Hot (if light) | Brightness and energy |
| All wires | Covered and secured | Confidence in your work |
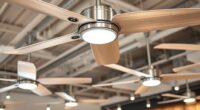
Assemble and Attach the Fan Blades and Light Kit
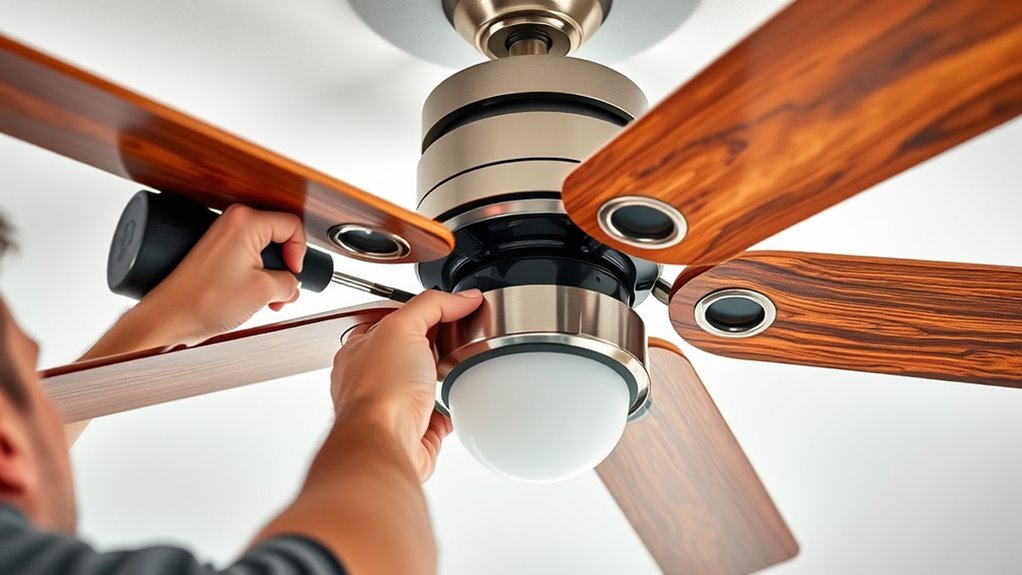
Now, it’s time to attach the fan blades and light kit. Start by securing the blades to the brackets, making sure they’re aligned and evenly tightened.
Then, connect the wiring and attach the light fixture. Double-check all screws for stability.
Attach Blade Brackets
Have you ever wondered how to securely attach the fan blades and light kit to guarantee smooth operation? Properly attaching the blade brackets is key to ceiling fans functioning quietly and efficiently. Keep in mind that for flush mount or sloped ceiling installations, you might need to adjust the bracket placement slightly. Here’s how:
- Attach each blade bracket to the fan blade using the provided hardware, ensuring the brackets are aligned correctly.
- Secure the brackets to the motor’s blade arms with screws, tightening them carefully to avoid damaging the blades.
- Connect the light kit wiring to the fan motor or switch wires, matching color-coded wires and securing them with wire nuts, like a piece of electrical tape for extra insulation.
Following these steps helps maintain proper air circulation and prevents wobbling. Rights Reserved.
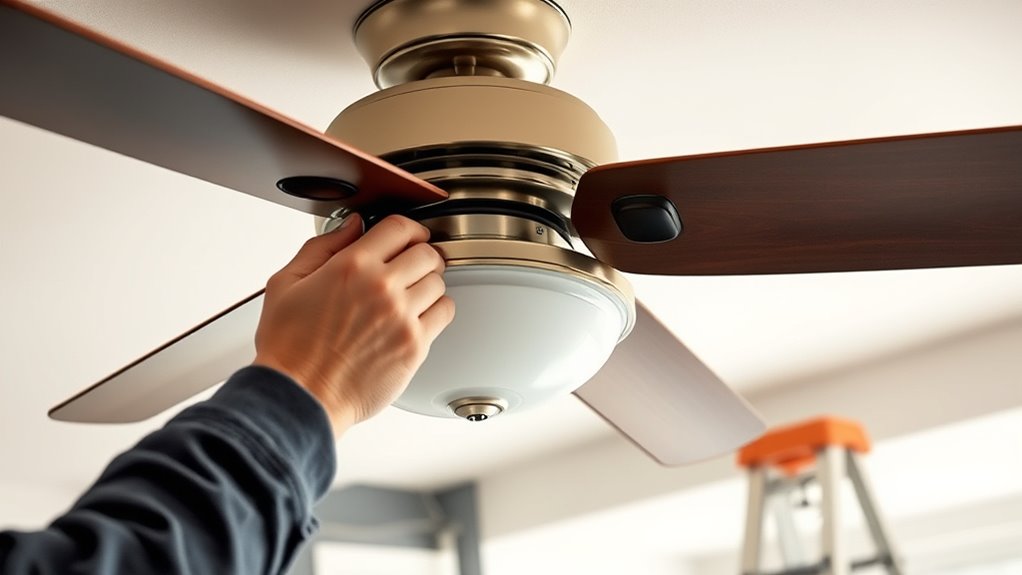
Secure Fan Blades
After attaching the blade brackets to the fan motor, the next step is to assemble the fan blades and secure them properly. You’ll attach each blade to its bracket using the provided hardware, making sure they face the same direction for ideal airflow. Tighten the screws until snug but avoid overtightening to prevent warping. Double-check that all blade screws are evenly tightened to prevent wobbling during operation. It’s also important to guarantee the blades are balanced and securely attached before restoring power. Here’s a quick overview:
| Task | Tip |
|---|---|
| Attach blades | Use manufacturer-supplied screws for best fit |
| Tighten screws | Tighten evenly to prevent wobbling |
| Balance the blades | Check for wobbling before turning on the fan |
Install Light Fixture
To install the light fixture, start by aligning it with the mounting bracket or screw holes on the fan and securing it firmly with the supplied screws.
Next, connect the wiring by matching the wires: black to black, white to white, and ground to ground, then secure them with wire nuts.
Once wired, insert the compatible light bulbs into the fixture sockets, ensuring they don’t exceed the recommended wattage.
Finally, carefully attach any glass globes or shades over the bulbs, making sure they’re securely in place.
Here’s a quick rundown:
- Align and secure the light fixture with screws.
- Connect the wiring according to color-matching instructions.
- Insert bulbs and attach shades securely.
Test the light to confirm everything functions properly.
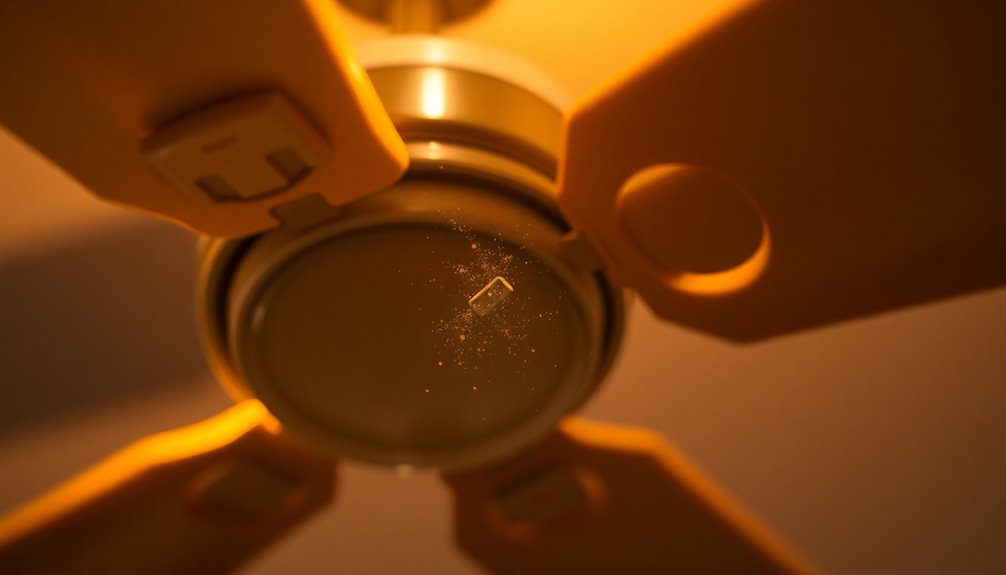
Finalize Installation and Restore Power
Once you’ve secured all wiring and mounting components, carefully push the fan’s canopy up to the ceiling and tighten the canopy screws to cover the junction box. Double-check that all wire connections are tight and the fan is firmly attached to prevent wobbling or vibrations. Next, restore power at the circuit breaker by flipping it back on. To test the installation, turn on the wall switch or remote control. Confirm that the fan runs smoothly, quietly, and at different speeds, and that the light works properly if applicable. Use the table below to verify key steps:
| Step | Action |
|---|---|
| Secure wiring | Ensure all wire nuts are tight |
| Attach canopy | Tighten canopy screws |
| Restore power | Flip circuit breaker back on |
| Test fan functions | Check speed, light, and wobble |
| Confirm operation | Fan runs quietly and smoothly |
Test the Fan and Perform Maintenance Checks
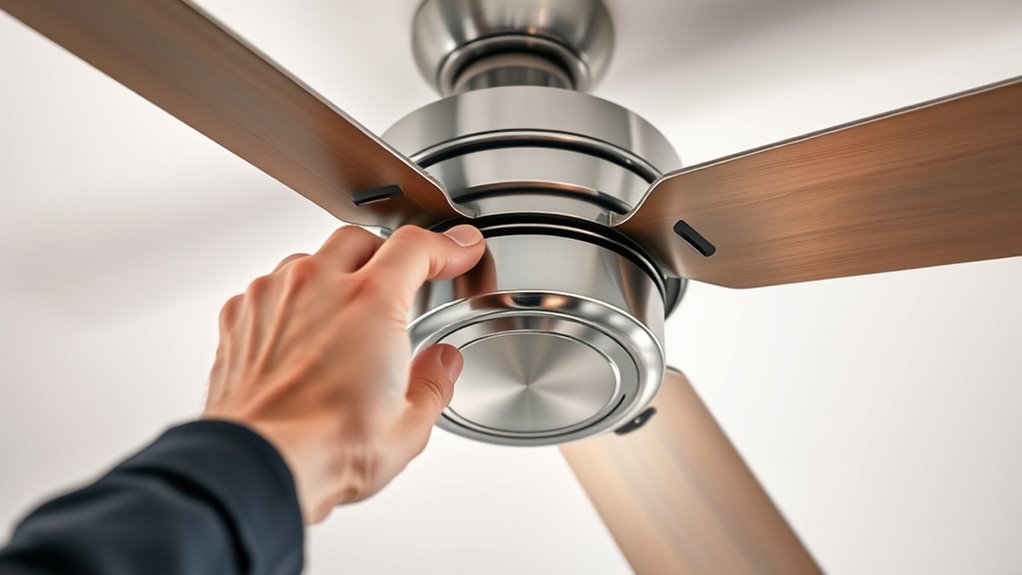
Testing your ceiling fan thoroughly guarantees it operates safely and efficiently. First, turn on the fan and verify it runs smoothly at all speed settings, checking for wobbling or unusual noises.
Next, use the remote or wall switch to test the forward and reverse functions, ensuring proper airflow for different seasons.
Finally, inspect the blades and mounting hardware regularly for dust buildup or loose screws, tightening as needed to keep everything stable.
Additionally, check that any light fixtures turn on and off properly, with bulbs securely installed.
To maintain ideal performance, clean the blades with a damp cloth or cleaner periodically.
Regular checks and maintenance will extend your fan’s lifespan and keep it running quietly and safely.
Frequently Asked Questions
How to Install a Ceiling Fan Step by Step?
You want to know how to install a ceiling fan step by step. First, make certain the junction box is secure or use a retrofit brace.
Attach the mounting bracket, connect the wiring matching black to black, white to white, and ground wires.
Assemble the fan components, hang the fan on the bracket, tighten all screws, and restore power.
Test the fan to make sure it works properly.
What Color Wires Go Together on a Ceiling Fan?
You might think wire colors always match perfectly, but it’s best to verify, as conventions can vary. Typically, you connect the black or red wire from your ceiling fan to the black or red household wire.
The white fan wire should be connected to the white neutral wire. The green or bare copper wire is connected to the ground.
Always double-check the fan’s manual to confirm correct matches and secure connections with wire nuts for safety.
Can I Install a Ceiling Fan by Myself?
Yes, you can install a ceiling fan by yourself if you’re comfortable with basic electrical work and have the right tools. Many fans are designed for DIY installation, with clear instructions and quick-install features.
Just make sure to follow safety precautions, turn off the power, and understand wiring basics. If you’re unsure or uncomfortable, hiring a professional guarantees safety and proper setup.
What Holds a Ceiling Fan to the Ceiling?
The ceiling fan is held to the ceiling by a sturdy mounting bracket attached to a fan-rated junction box. This box must be securely fastened to a ceiling joist, beam, or support brace to prevent wobbling or falling.
The bracket connects to the fan’s mounting hardware, ensuring stability. Using a proper, rated junction box and secure mounting hardware keeps your fan safely attached and functioning smoothly.
Conclusion
Once you’ve completed the installation, you’ll find that a little patience and careful attention go a long way. Taking the time to double-check connections and make certain everything’s secure can help prevent unexpected surprises down the road. With your new ceiling fan humming softly, you might discover that a gentle breeze can make even the busiest days feel a bit lighter. Remember, a well-installed fan is your quiet partner in comfort—peace of mind included.