Start by turning off power at the breaker to guarantee safety. Remove the canopy cover and identify ceiling wires: hot, neutral, and ground. Connect the ceiling hot wire to the receiver’s ‘Line’ terminal, neutral to ‘Neutral’, and ground to the grounding point. Link the fan wiring to the receiver’s corresponding terminals, then secure everything within the canopy, ensuring all connections are insulated and secure. Follow safety codes and manufacturer instructions; further details help ensure a correct and safe installation.
Key Takeaways
- Turn off power at the circuit breaker and remove the canopy to access wiring before starting.
- Connect ceiling hot, neutral, and ground wires to the remote receiver’s corresponding terminals securely.
- Link the fan’s wiring to the receiver’s designated terminals, following the manufacturer’s wiring diagram.
- Tuck the receiver into the canopy, ensuring all wires are insulated and connections are secure.
- Restore power, then test remote control functions for fan operation and lighting, troubleshooting as needed.

Wiring a ceiling fan with a remote receiver requires careful attention to the electrical connections to guarantee safe and proper operation. The process involves integrating the remote receiver into the existing wiring system within the canopy, ensuring that all connections adhere to electrical codes and manufacturer instructions. Your primary focus should be on correctly identifying the circuit wires—live (hot), neutral, and ground—and making precise connections to the receiver and fan components.
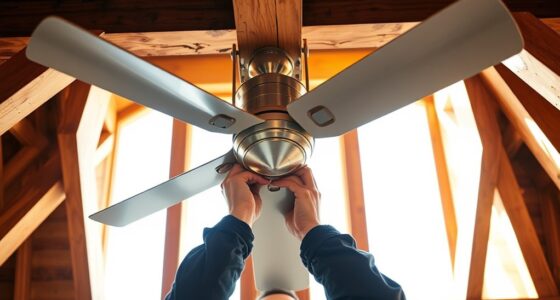
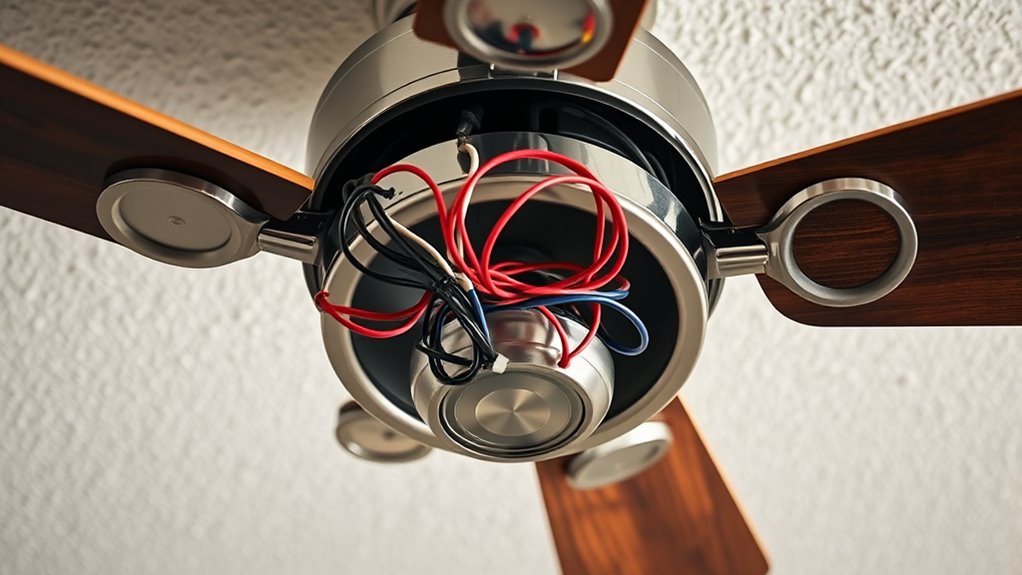
Begin by turning off the power supply at the circuit breaker to eliminate any risk of electrical shock. Remove the canopy cover from the fan assembly to access the wiring compartment. Typically, you’ll find a set of wires coming from the ceiling—hot (usually black or red), neutral (white), and ground (green or bare copper). The remote receiver’s wiring terminals are designed for straightforward connections; typically, they include labeled inputs such as ‘Line,’ ‘Neutral,’ and ‘Ground’ or ‘GND.’ Carefully read the receiver’s wiring diagram to confirm these labels.
Turn off power, access wiring, and identify hot, neutral, and ground wires before connecting the remote receiver.
Connect the ceiling’s hot wire to the receiver’s ‘Line’ terminal using a wire connector. Likewise, connect the neutral wire from the ceiling to the receiver’s neutral terminal, ensuring a secure and insulated connection. The ground wire should be attached to the fan’s grounding point or the grounding terminal in the canopy. It’s essential to use wire connectors rated for the wire gauge and to twist the wires tightly before securing with the connector. Once these connections are made, connect the fan’s wiring to the corresponding terminals on the receiver, typically marked for fan power and lighting.
Ensure that all wire connections are properly insulated and that no bare wire is exposed outside the connectors. Use electrical tape or heat-shrink tubing if necessary to reinforce any connections. After wiring, carefully tuck the receiver into the canopy, making sure it’s positioned securely without pinching any wires or obstructing the canopy cover. Reinstall the canopy cover, ensuring it fits flush and is properly secured. It is also important to verify that the wiring conforms to electrical codes to prevent hazards and ensure safety.
Finally, restore power at the circuit breaker and test the remote control operation. Confirm that the fan responds correctly to remote commands for turning on, off, and adjusting speeds. Check the lighting control if applicable. If the fan or remote doesn’t respond properly, double-check all wiring connections for correctness and security. Proper wiring within the canopy is critical for safe operation and should always follow the manufacturer’s instructions and local electrical codes. If any uncertainty arises, consult a licensed electrician to avoid potential hazards and ensure compliance with safety standards.
Frequently Asked Questions
Can I Install a Remote Receiver in an Existing Ceiling Fan?
Yes, you can install a remote receiver in an existing ceiling fan, but it depends on the fan’s design and wiring. Turn off power before starting. Remove the fan’s canopy, locate the wiring compartment, and check for space and compatibility. Connect the receiver according to the manufacturer’s instructions, usually by matching wire colors. Secure the receiver, reassemble the canopy, and restore power to test the remote functionality.
What Safety Precautions Should I Take Before Wiring?
Think of wiring your ceiling fan as steering a delicate ship through calm yet unpredictable waters. Before you begin, turn off the power at the circuit breaker to prevent electric shocks—don’t rely on the wall switch alone. Use insulated tools and verify power is off with a voltage tester. Wear gloves and safety goggles for protection. Double-check your wiring diagram, and proceed methodically to guarantee a safe, secure connection.
How Do I Troubleshoot Remote Signal Issues?
First, verify the remote’s batteries are fresh and properly installed. Check the receiver’s wiring connections for secure, correct placement, referencing the wiring diagram. Confirm the remote and receiver are paired correctly, and reset them if necessary. Ensure no obstructions block the signal, and verify that the remote’s frequency matches the receiver’s. If issues persist, test with another remote or receiver to identify faulty components.
Is Professional Wiring Required for Remote-Controlled Fans?
You don’t necessarily need a professional electrician to wire a remote-controlled ceiling fan if you have electrical knowledge and follow safety protocols. However, if you’re unfamiliar with wiring or local electrical codes, hiring a licensed electrician is advisable. Proper wiring involves connecting the fan, remote receiver, power source, and switches correctly. Making sure correct grounding and adherence to safety standards is essential to prevent electrical hazards and ensure reliable operation.
Can I Replace the Remote Receiver Myself?
Yes, you can replace the remote receiver yourself if you’re comfortable with electrical work. Studies show that DIY repairs save homeowners an average of 30% on service fees. Before starting, turn off power at the circuit breaker and verify compatibility with your fan model. Follow the manufacturer’s instructions carefully, disconnecting the old receiver and wiring in the new one securely. If unsure, consult a professional to ensure safety and proper installation.
Conclusion
Wiring a ceiling fan with a remote receiver guarantees seamless operation and enhanced convenience. Proper wiring reduces the risk of electrical faults; according to the National Electrical Code, correct wiring practices can decrease electrical hazards by up to 40%. By following the outlined steps carefully, you’ll ensure reliable performance and safety. Remember, accurate wiring not only prolongs the lifespan of your fan but also guarantees ideal efficiency and user safety.