To replace a broken pull-chain switch, start by turning off the power and unplugging your lamp. Gather the right tools like screwdrivers, wire strippers, and a replacement switch. Carefully disassemble the lamp, removing the shade and base if needed, and access the old switch. Disconnect the wiring, install the new switch, and then test your work before reassembling everything. If you keep going, you’ll discover detailed steps to make certain a safe and successful fix.
Key Takeaways
- Turn off power at the circuit breaker and verify with a voltage tester before starting.
- Gather appropriate insulated tools and safety gear, and prepare a clean, organized workspace.
- Remove the lamp shade and base if needed to access the switch housing safely.
- Carefully disconnect the old pull-chain switch, noting wiring connections for proper reinstallation.
- Install the new switch, secure all connections, and restore power to test functionality safely.
replacement pull chain switch for lamp
As an affiliate, we earn on qualifying purchases.
As an affiliate, we earn on qualifying purchases.
Tools and Materials Needed for the Job

Before you start replacing the broken pull-chain switch, gather all the necessary tools and materials. Ensuring proper electrical safety is vital, so double-check that your tools are in good condition and insulated. You’ll need a screwdriver, voltage tester, wire strippers, and replacement switch. Keep your workspace organized to prevent accidents. Regular tool maintenance, like cleaning and inspecting your tools, helps avoid slips or damage during the job. Wear insulated gloves and safety glasses for added protection. Having the right tools on hand makes the process smoother and safer, reducing the risk of electrical shock or mishandling. Double-check that you have everything before proceeding to avoid unnecessary delays or safety hazards. Proper preparation ensures a safe, efficient switch replacement. Additionally, understanding electrical safety protocols can significantly reduce the risk of accidents during the repair process. Being aware of Real Couples’ experiences can also provide helpful insights when working with electrical fixtures in your home. Consulting AI Entertainment resources on recent technological advancements can occasionally offer innovative safety tips and tools that improve DIY electrical work.
electrical switch repair kit
As an affiliate, we earn on qualifying purchases.
As an affiliate, we earn on qualifying purchases.
Safety Precautions Before Starting
Before you begin, make sure the power is turned off to avoid shocks. Use the proper tools to prevent accidents and damage. Always wear safety gear like gloves and goggles to protect yourself throughout the process. Additionally, being aware of your surroundings and potential hazards can help ensure a safer workspace. Home security systems can provide added safety during DIY projects in your home. Ensuring proper electrical safety practices can further reduce risks associated with working on electrical components. Incorporating remote collaboration tools during troubleshooting can also help if you need assistance or a second opinion.
Power Off Always
To guarantee your safety, always turn off the power supply before working on a pull-chain switch. Power off always is essential for switch replacement safety, preventing electrical shocks or injuries. Before starting, switch off the circuit breaker or unplug the fixture completely. Confirm the power is off by testing the switch or fixture with a voltage tester. Never assume the power is off; double-checking avoids accidents. Remember, working with live wires can be dangerous, so taking this simple step protects you from harm. Ensuring the power is off always is a vital safety measure that should never be skipped. Prioritizing switch replacement safety helps you work confidently and avoids unnecessary risks. Stay vigilant, and always verify the power is disconnected before proceeding. Additionally, using a voltage tester to confirm the absence of voltage provides an extra layer of safety.
Use Proper Tools
Using the right tools is essential to guarantee a safe and efficient switch replacement. Gather screwdrivers, pliers, a voltage tester, and wire strippers before starting. If you’re considering wireless options or decorative switches, make certain you have the correct tools for handling different types of wiring and mounting. Proper tools prevent damage to the fixture and reduce the risk of electrical shock. Use insulated tools to protect yourself while working with live wires, even if you’ve turned off the power. A voltage tester confirms power is off, ensuring safety. Handling delicate components like decorative switches carefully avoids breakage. Having the appropriate tools at hand streamlines the process, minimizes hazards, and helps you achieve a clean, professional-looking replacement.
Wear Safety Gear
Wearing safety gear is essential to protect yourself from potential electrical hazards and injuries. Before you begin, make sure you have the right protective clothing and safety equipment. This reduces the risk of shocks, burns, or cuts. Always wear insulated gloves to safeguard your hands, and safety goggles to shield your eyes from sparks or debris. A long-sleeved shirt and sturdy pants help prevent burns or scrapes. Use insulated footwear to avoid grounding issues. Remember, proper safety gear isn’t optional—it’s your first line of defense. Additionally, understanding aerosol purification techniques can help you maintain a safer environment during repairs. Incorporating knowledge about protective measures for electrical work can further enhance your safety practices. Being aware of dog breed safety considerations can also be beneficial when working around pets in the household to prevent accidents.
lamp switch replacement tools
As an affiliate, we earn on qualifying purchases.
As an affiliate, we earn on qualifying purchases.
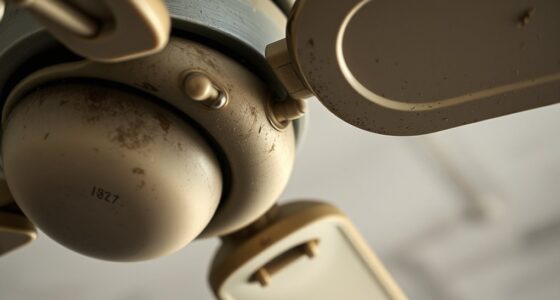
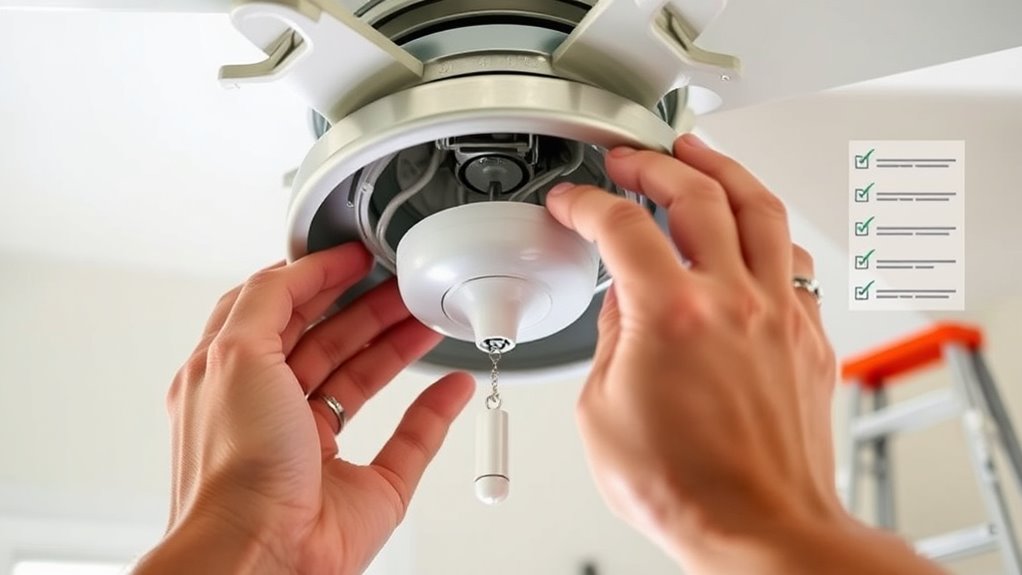
Identifying the Faulty Pull-Chain Switch
When your ceiling fan or light fixture isn’t responding to the pull chain, the switch inside might be faulty. To confirm a switch malfunction, start by inspecting the pull chain mechanism itself. If it moves freely but nothing happens, the switch could be the issue. Turn off power and carefully remove the fixture cover to access the switch. Check the wiring connections for looseness or corrosion—wiring inspection is vital. If the wiring looks good, test the switch with a multimeter for continuity. No continuity indicates a faulty switch that needs replacing. Don’t forget to double-check all connections before reassembling. Proper electrical safety procedures are essential when working with fixture wiring. Additionally, understanding the pull-chain switch operation can help in diagnosing issues more accurately. Recognizing common signs of switch failure early can prevent further damage and ensure safe operation. Identifying a faulty pull-chain switch early saves time and prevents unnecessary troubleshooting of other fixture components.
DIY electrical switch replacement
As an affiliate, we earn on qualifying purchases.
As an affiliate, we earn on qualifying purchases.
Preparing Your Workspace and Lamp
Start by clearing your workspace to give yourself plenty of room to work safely. Gather all the tools you’ll need, like screwdrivers and replacement switches, so everything’s within reach. Before doing anything, unplug the lamp and secure it to prevent accidental shocks or damage. Additionally, appliance safety checks can help ensure your workspace is prepared for the repair. Remember that addressing virtual affairs and maintaining honest communication can prevent emotional damage that might affect your focus during repairs.
Clear Workspace Setup
Before you begin replacing the pull-chain switch, it’s important to clear your workspace and set up your lamp properly. A tidy area helps you work efficiently and keeps you safe around electrical wiring. Confirm your lamp is unplugged and placed on a stable surface. Clear away clutter that might distract or cause accidents. Gather ample lighting to see tiny details clearly. Keep your tools within reach to avoid unnecessary movement. Ultimately, make sure your workspace is dry and free from hazards, so you can focus on the delicate task of working with lighting fixtures and electrical wiring. A well-prepared environment reduces stress and boosts confidence, making your DIY project smoother and safer. Incorporating organized storage techniques can also help you maintain a clutter-free workspace during and after your project. Utilizing AI in Business tools can assist in planning your project steps and ensuring safety protocols are followed. Additionally, considering the safety features of electrical devices can help prevent overheating or electrical issues during repair.
Gather Necessary Tools
Gathering the necessary tools is a crucial step to guarantee your repair goes smoothly. Proper tool selection ensures you have everything needed for a safe and efficient process. Before starting, review your workspace and lamp, making sure it’s well-lit and stable. Use insulated tools to maintain electrical safety and prevent shocks. Keep your tools organized to avoid delays or accidents. Additionally, understanding the principles of sound healing science can help inform safer repair practices when working with electronic components. Being aware of cultural beliefs related to self-image and confidence can also encourage a positive attitude during your DIY project. Familiarity with retail hours can help plan your shopping for tools and supplies ahead of time. Here’s a quick guide to essential tools:
| Tool | Purpose |
|---|---|
| Screwdriver | Remove screws and panels |
| Pliers | Grip and manipulate wires |
| Voltage tester | Confirm power is off |
Having these tools ready minimizes risk and streamlines your repair, ensuring a safe and successful replacement.
Unplug and Secure Lamp
To guarantee safety during your repair, unplug the lamp from the electrical outlet before doing anything else. This guarantees electrical safety and prevents accidental shocks during lamp disassembly. Once unplugged, secure the lamp to prevent it from tipping over or falling, which could cause damage or injuries. Take a moment to set up your workspace in a well-lit, clutter-free area so you can work confidently.
Remember:
- Feel confident knowing you’re prioritizing electrical safety
- Keep your workspace organized for quick access to tools
- Protect yourself from sharp edges during lamp disassembly
- Minimize the risk of accidental electrical contact
- Approach the task with focus and caution
This preparation makes your repair safer and more efficient.
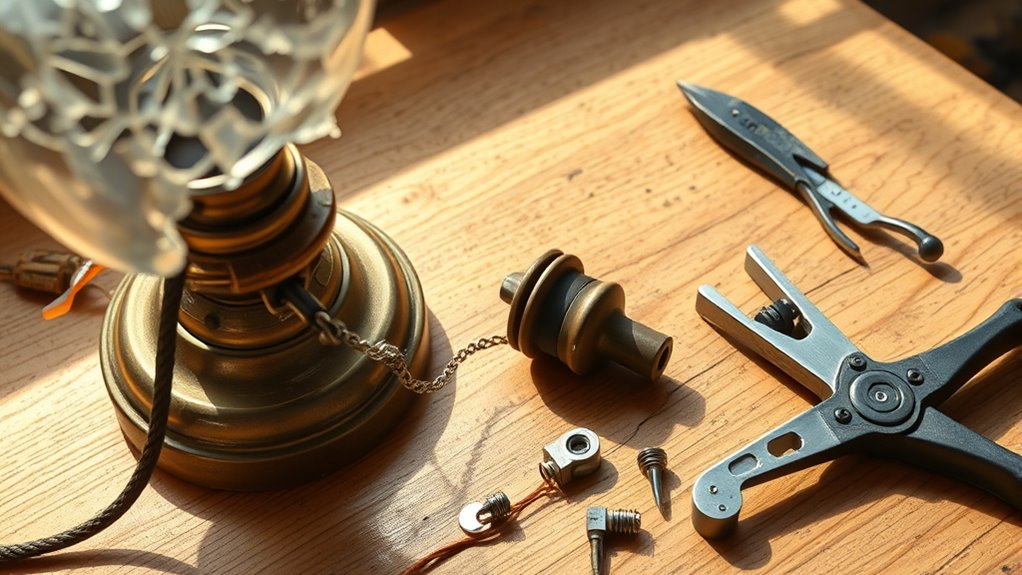
Removing the Lamp Shade and Base (If Necessary)
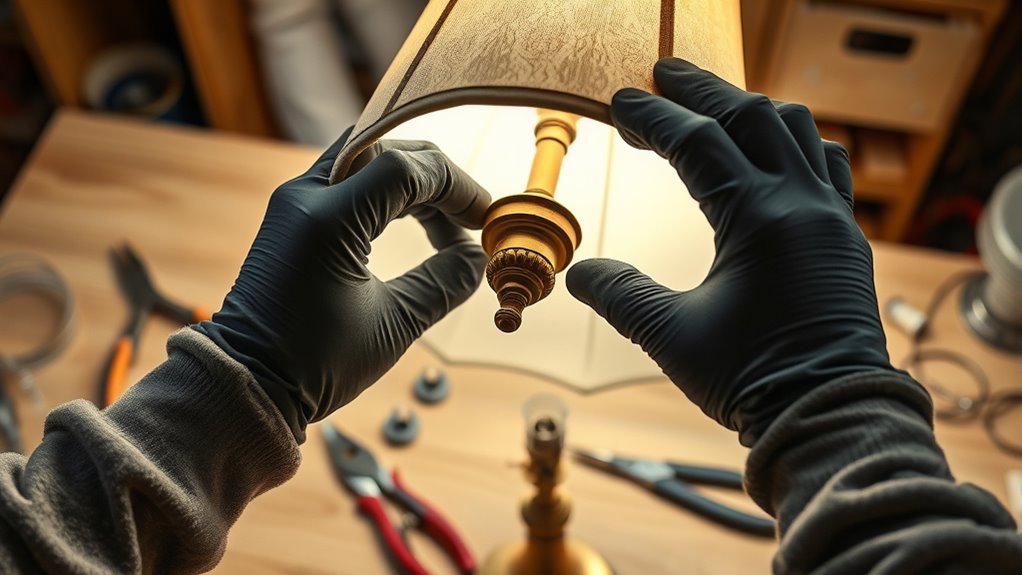
If your lamp has a removable shade or base, you’ll need to take them off before accessing the switch. Start with lamp shade removal by carefully lifting or unscrewing the shade, ensuring you don’t damage it. Next, if your lamp has a detachable base, proceed with lamp base disassembly. This might involve unscrewing bolts or loosenings to lift the base away from the socket. Removing these parts creates clear access to the switch and wiring. Keep track of all screws and hardware to make reassembly easier. Take your time to avoid damaging delicate components. Once the shade and base are removed, you’ll have a straightforward view of the switch housing, ready for the next steps in replacing your broken pull‑chain switch.
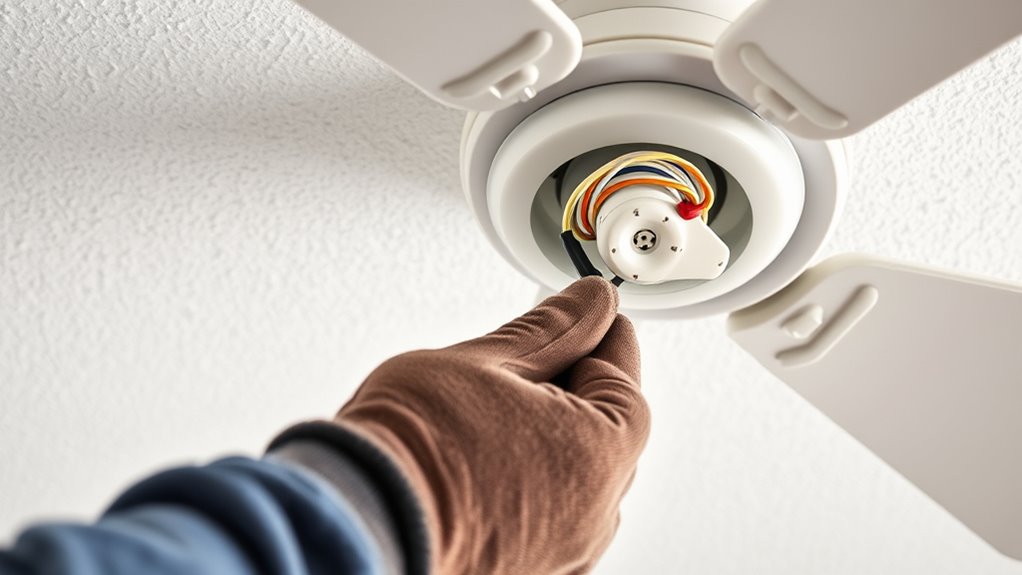
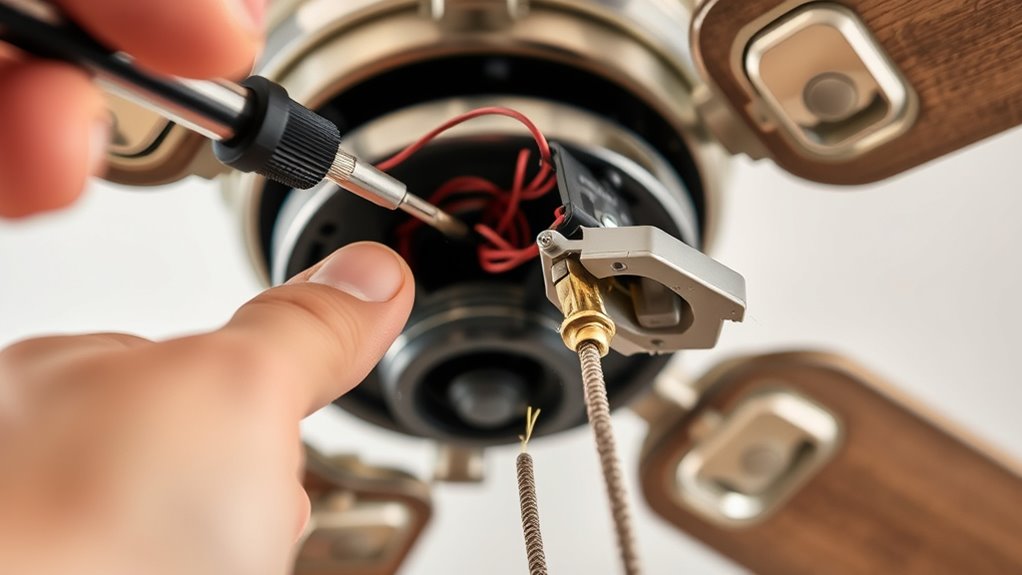
Accessing and Disconnecting the Old Switch

How do you access and disconnect the old switch once the shade and base are removed? First, locate the switch wiring inside the fixture. Carefully loosen any screws securing the switch, noting the wiring connections. Check switch compatibility to make a new switch will fit properly. As you disconnect, keep track of each wire to prevent confusion later. Handle the wiring gently to avoid damage or shorts.
Be mindful of these key points:
- Feel a sense of accomplishment as you reveal the hidden switch
- Overcome frustration with patience during disconnection
- Make safety by turning off power before working
- Recognize the significance of proper switch wiring connections
- Prepare for a successful upgrade by understanding the wiring layout
This step is essential to make a smooth replacement process.
Installing the New Pull-Chain Switch

With the old switch disconnected and wires labeled or noted, you’re ready to install the new pull-chain switch. First, verify the replacement switch is compatible with your lamp’s wiring and socket type. Carefully connect the wires to the new switch, matching the labels or notes you made earlier. Make sure all connections are secure and properly insulated. If you encounter issues with switch compatibility, double-check the specifications before proceeding, as an incompatible switch can cause problems or damage. Once connected, gently secure the switch in its socket or housing. Take a moment to troubleshoot the switch if it feels loose or doesn’t operate smoothly. Proper installation ensures safe operation and makes troubleshooting switch issues easier down the line.
Testing the New Switch and Restoring the Lamp

Once you’ve securely installed the new switch, it’s important to test it before fully restoring your lamp. Carefully plug it in and turn the switch on. Watch for proper operation and listen for any unusual sounds that might indicate switch troubleshooting issues. If the lamp doesn’t turn on, double-check connections and verify the switch is installed correctly. Remember to prioritize electrical safety—avoid touching exposed wires and use insulated tools if needed.
- Feel confident knowing you’ve successfully replaced a crucial component
- Experience relief as your lamp flickers back to life
- Eliminate doubts about the switch’s functionality
- Gain peace of mind through proper electrical safety practices
- Celebrate completing the repair with pride and confidence
Final Checks and Tips for Future Maintenance
After confirming that your new switch operates correctly, it’s a good idea to perform some final checks to verify everything remains in good condition. Inspect the wiring connections to ensure they’re secure and free of damage. Establish a regular maintenance schedule to keep the switch and lamp in ideal shape—clean contacts and check for corrosion periodically. Keep troubleshooting tips handy in case issues arise later, like flickering or failure to turn on. If you notice any irregularities, turn off the power and recheck your connections before seeking professional help. Proper maintenance prolongs the lifespan of your switch and prevents future problems. Staying attentive to your lamp’s condition and performing routine checks will save you time and effort down the line.
Frequently Asked Questions
How Long Does It Typically Take to Replace a Pull-Chain Switch?
Replacing a pull-chain switch usually takes about 30 minutes to an hour, depending on your familiarity with electrical work. Follow installation tips carefully and prioritize safety precautions, like turning off power before starting. Gather the right tools, double-check connections, and work methodically. If you’re unsure, take your time or consult a professional. Properly replacing the switch guarantees safety and extends the fixture’s lifespan.
Can I Replace the Switch Without Removing the Entire Lamp?
Sure, you can replace the switch without removing the whole lamp—if you’re comfortable with lamp wiring and switch compatibility. It’s a bit like performing brain surgery on a lamp; you need to carefully disconnect the old switch and connect the new one, all while keeping the wiring intact. Just make certain the new switch matches the lamp’s wiring and fits properly, or you might end up in a bright, shocking situation.
What Are Common Signs Indicating the Switch Needs Replacement?
If your lamp’s switch malfunctions or you notice flickering lights, it’s a sign the switch might need replacing. Common signs include difficulty turning the lamp on or off, inconsistent operation, or the switch feeling loose. Flickering lights often indicate poor connections or worn-out internal parts. If you experience these issues, it’s time to evaluate replacing the switch to guarantee safe and reliable operation of your lamp.
Is It Necessary to Use Specific Types of Switches for Different Lamps?
Think of your lamp as a delicate dance partner, where the right switch keeps the rhythm smooth. You need to guarantee switch compatibility so it fits perfectly with your lamp’s wiring and socket size. Different lamps demand switches with varying durability to handle frequent use or specific wattages. Using the correct switch type prevents malfunctions and prolongs your lamp’s life, keeping your space shining brightly without a hitch.
How Often Should I Check or Replace My Pull-Chain Switch?
You should check your pull-chain switch annually to make certain it functions properly. Regular switch maintenance helps prevent electrical issues, keeping your lamp safe to use. If you notice flickering, difficulty turning on, or if the switch feels loose, it’s time to replace it. Staying on top of switch upkeep promotes lamp safety and prolongs its lifespan. Don’t ignore signs of wear—addressing them promptly keeps your lighting secure and reliable.
Conclusion
Remember, a stitch in time saves nine, so don’t delay fixing that switch. With the right tools and a bit of patience, you can breathe new life into your lamp. Follow the steps carefully, stay safe, and double-check your work. Soon, your lamp will shine bright again, saving you money and giving you a satisfying sense of accomplishment. When you take things step by step, even tricky repairs become manageable.