
To replace a fan light diffuser, first gather your tools and a compatible replacement. Turn off the power to guarantee safety, then carefully remove the existing diffuser without forcing it. Clean the fan and light area to improve installation. Check that the new diffuser fits properly, then secure it in place. Make sure it’s aligned well and fits snugly. Once everything looks good, restore power and test your light—the details that follow will guide you through each step smoothly.
Key Takeaways
- Turn off the power at the circuit breaker and test the fan to ensure safety before removal.
- Carefully remove the existing diffuser, noting its attachment method and handling with care.
- Clean the fan blades and light fixture area to ensure a dust-free workspace and smooth installation.
- Select a replacement diffuser matching the size, shape, material, and finish of the original for proper fit.
- Securely attach the new diffuser, double-check alignment, restore power, and test the fan and light operation.

Aspen Creative 25002-65-1 Replacement Alabaster Glass shade for Flush Mount or Semi-Flush Mount, 1/2" Center Hole, 11-1/2" Diameter x 4" Height
Material & Color: Alabaster Glass Shade
As an affiliate, we earn on qualifying purchases.
As an affiliate, we earn on qualifying purchases.
Gather Your Tools and Replacement Diffuser
Before you begin replacing the fan light diffuser, make sure you have all the necessary tools and the correct replacement diffuser options. Your tools checklist should include a screwdriver, possibly a ladder, and gloves for safety. Carefully examine your existing diffuser to identify compatible replacement options—these come in various sizes, shapes, and finishes. Picking the right diffuser ensures a seamless fit and maintains your ceiling fan’s aesthetic. Once you gather your tools and review the available replacement diffuser options, you’ll be prepared to proceed smoothly. Having everything ready saves time and prevents frustration during the process. Double-check that you have the correct replacement diffuser to match your fan model, ensuring a hassle-free installation. Incorporating space organization techniques during this process can help you stay focused and reduce stress, making the task more manageable.
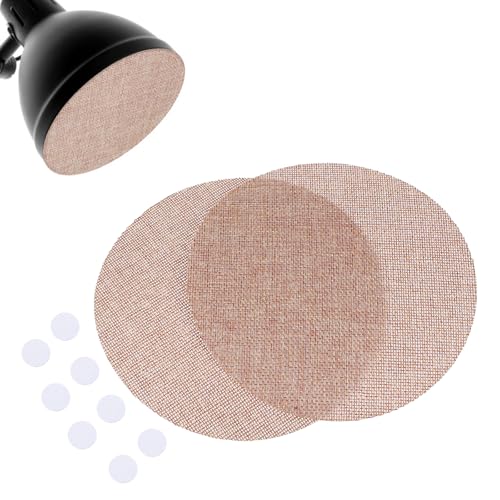
HOMSFOU 2pcs 7 Inch Lampshade Diffuser: Fabric Lamp Shade Replacement Cover for Ceiling Fan & Spotlights – Cloth Lamp Shade Light Softener for Home Lighting (Light Brown)
Soft Light Diffusion: The lamp shade diffuser effectively softens harsh light, reducing glare and protecting eyes, especially suitable…
As an affiliate, we earn on qualifying purchases.
As an affiliate, we earn on qualifying purchases.
Turn Off Power to the Ceiling Fan
Before starting, make sure to turn off the circuit breaker that controls your ceiling fan. Once you’ve flipped the switch, test the fan light to confirm the power is really off. This step keeps you safe as you proceed with the diffuser replacement. Additionally, verifying the power status ensures that no accidental electrical contact occurs during your work. Consulting electrical safety guidelines can further help prevent hazards during the process.
Turn Off Circuit Breaker
To safely start replacing your fan light diffuser, you need to cut off the power supply. Turning off the circuit breaker ensures no electrical current flows to the ceiling fan, preventing risks during maintenance. This step is vital for safe lighting design adjustments and proper ceiling fan maintenance. Locate your home’s main electrical panel and identify the breaker connected to the fan circuit. Flip the switch to the OFF position, and consider using a breaker lock for added safety. Confirm that the power is truly off before proceeding to remove the diffuser. Taking this precaution protects you from electric shocks and makes the entire process safer and more straightforward. Always double-check before touching any parts of the fan or light fixture. Additionally, staying informed about practical support resources can help you troubleshoot or seek assistance if needed. Being aware of electrical safety protocols is essential when working with any electrical fixtures.
Confirm Power Is off
Make certain the power is truly off before proceeding by testing the fan light fixture. This safety precaution helps prevent electrical shocks during troubleshooting or replacement. Turn on the wall switch and gently tap the light fixture to see if it responds. Use a voltage tester on the socket or switch to confirm no current flows. Here’s an image to visualize safety: | Step | Action | Result | |———————-|——————————————-|———————————|
| Turn off circuit | Switch off breaker controlling the fan | Power is cut off |
|---|---|---|
| Test fixture | Tap or use tester on the light fixture | No response, no power flow |
| Confirm breaker | Check breaker is off | Visual confirmation |
| Proceed safely | Begin replacement process | No risk of electrical shock |
Additionally, understanding the types of headphone jacks can help when selecting compatible tools or replacement parts for electrical components. Always prioritize safety precautions during electrical troubleshooting to avoid accidents. Ensuring proper electrical safety practices is essential when working with any electrical components, including ceiling fans. It is also helpful to familiarize yourself with electrical wiring basics to ensure correct and safe installation or replacement.
Aspen Creative 25002-65-1 Replacement Alabaster Glass shade for Flush Mount or Semi-Flush Mount, 1/2" Center Hole, 11-1/2" Diameter x 4" Height
Material & Color: Alabaster Glass Shade
As an affiliate, we earn on qualifying purchases.
As an affiliate, we earn on qualifying purchases.
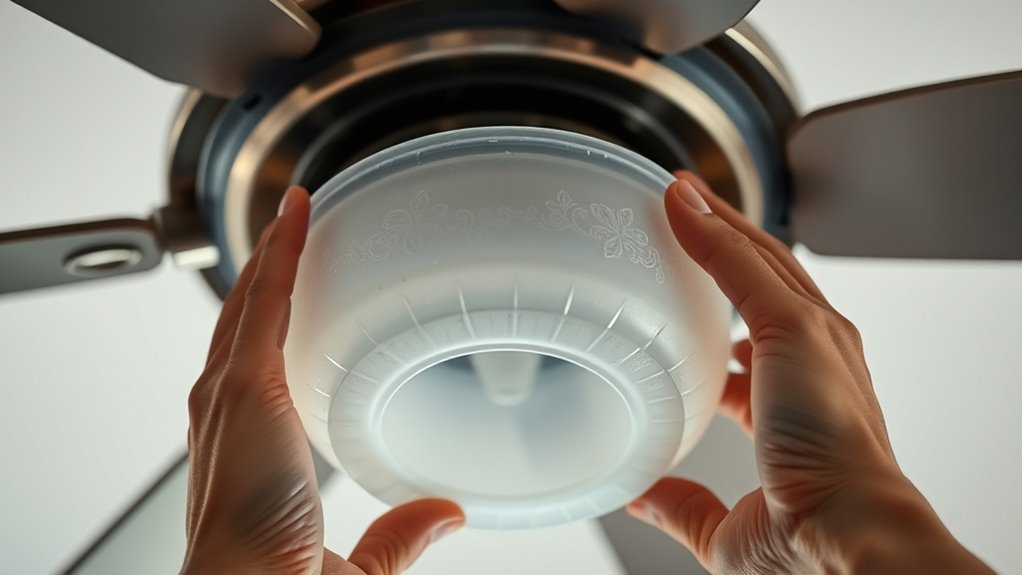
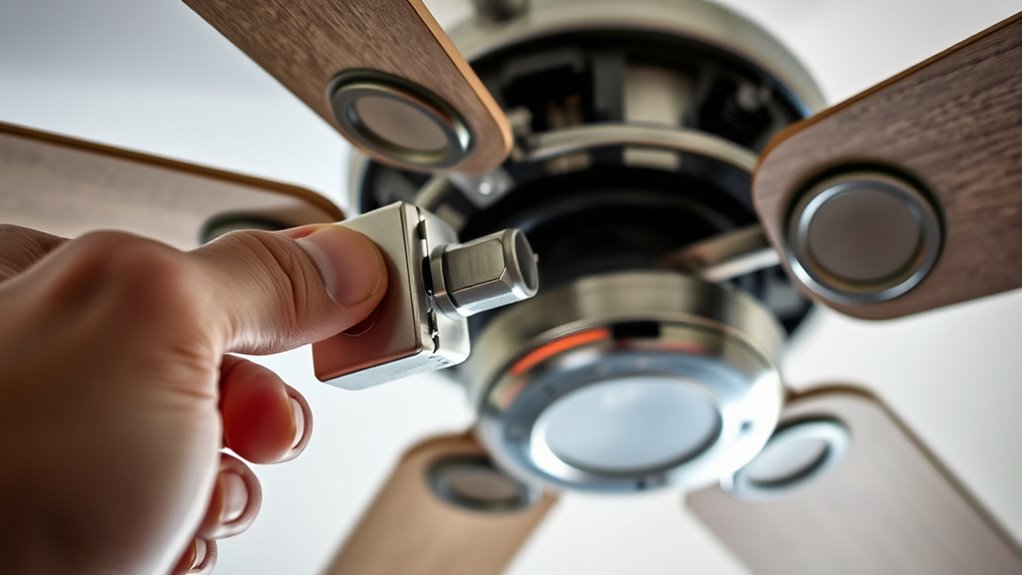
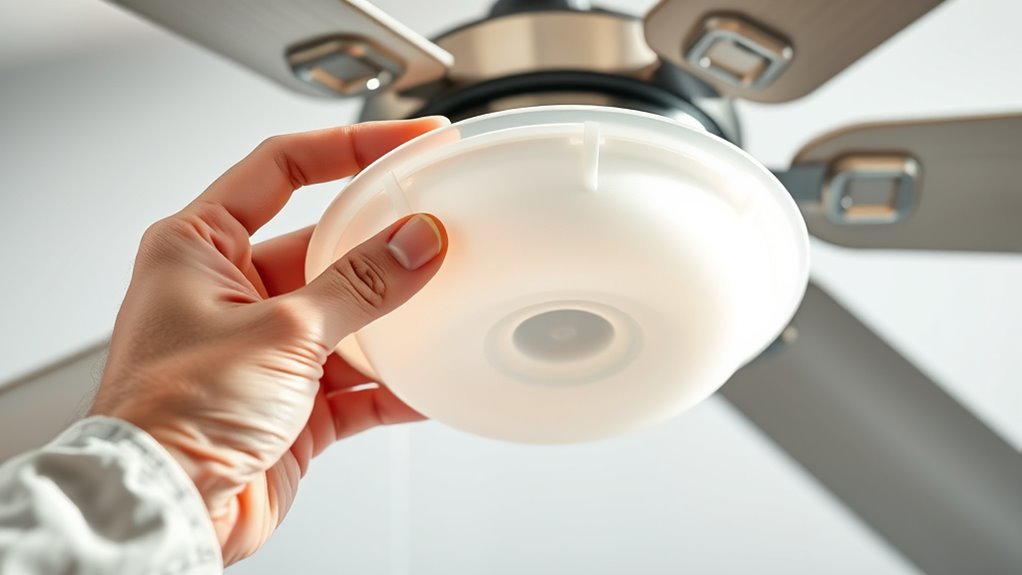
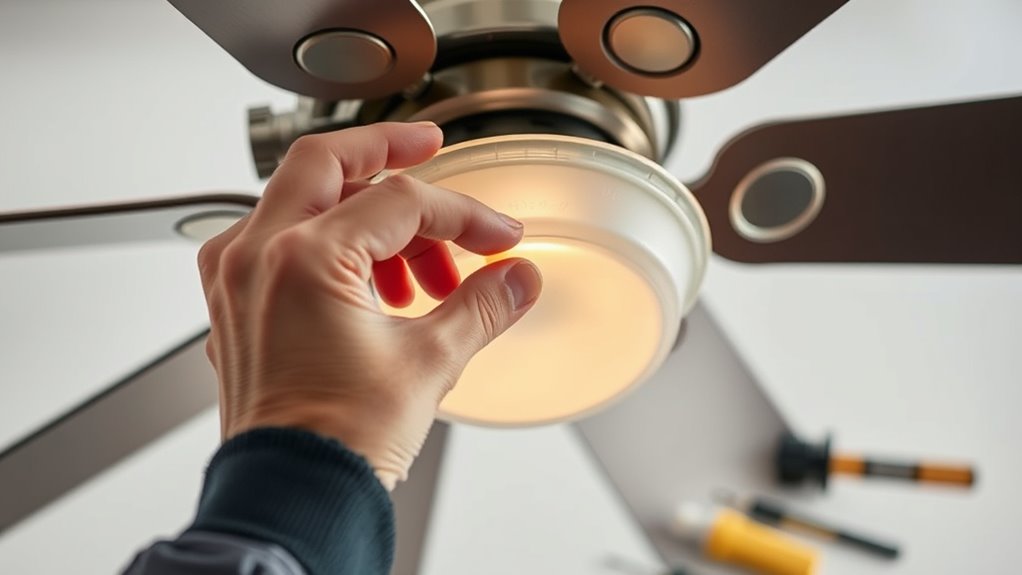
Remove the Existing Diffuser Carefully
Careful removal of the existing diffuser is essential to prevent damage to the fixture or ceiling. During fan maintenance, you might encounter different diffuser styles, from glass bowls to plastic covers. Gently hold the diffuser with both hands and avoid applying excessive force. If it’s held in place with clips or screws, carefully release or unscrew them first. Some diffusers may be snug, so wiggle it slightly to loosen. Never force a diffuser off, as this could crack or break it. Take your time, and if you encounter resistance, double-check for hidden clips or fasteners. Proper removal guarantees a smooth replacement process and preserves the integrity of the fixture for future maintenance. Understanding diffuser types can help you identify the best removal technique and avoid accidental damage. Additionally, being aware of essential oils for maintenance might offer calming benefits during the process. Incorporating vocal clarity into your instructions can ensure clear communication if you seek assistance.

FANTASTIC SHADE CLIPS Ceiling Fan Drum Shade Kit – 100% Linen, with Adapter & FREE Diffuser Fits Standard Ceiling Fan Light Kits (Check Compatibity Before Ordering) Dusty Rose
Enhanced Aesthetics: Transform your ceiling fan from an ugly to stylish. Add an extra layer of elegance and…
As an affiliate, we earn on qualifying purchases.
As an affiliate, we earn on qualifying purchases.
Clean the Fan and Light Fixture Area
After removing the diffuser, take a moment to clean the fan and light fixture area thoroughly. Begin with fan blade cleaning by using a microfiber cloth or a gentle brush to remove dust and debris. Be sure to reach all blades and the motor housing. To prevent future dust accumulation, consider incorporating regular cleaning routines into your maintenance schedule. Regular cleaning not only keeps your fan functioning smoothly but also reduces the risk of dust buildup, which can cause noise or imbalance. Next, polish the light fixture to restore its shine—use a soft cloth and a mild cleaner suitable for the fixture’s surface. While cleaning, check for any accumulated dirt or grime that could affect the fixture’s brightness or operation. This step helps prevent dust buildup that can cause noise or imbalance in the fan. Ensuring the area is spotless also makes it easier to install the new diffuser securely and safely. Proper maintenance practices can extend the life of your fan and light fixture, making this cleaning step even more worthwhile. Take your time to do this properly for ideal results.
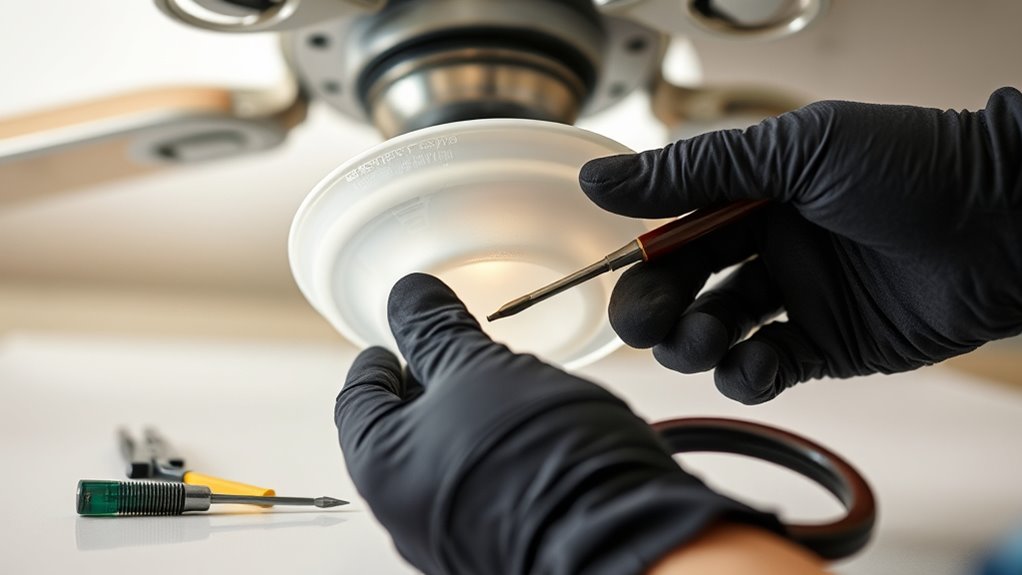
Inspect the New Diffuser for Compatibility
Inspect the New Diffuser for Compatibility
Before installing the new diffuser, make sure it fits your fan light properly. Check the size to verify it’s compatible, and confirm the fitting type matches your fixture. Also, verify that the material of the diffuser matches your existing setup for a seamless replacement. Ensuring the toilet cleaner effectiveness and material compatibility can help maintain optimal hygiene and prevent damage. Additionally, confirm that the diffuser’s design complements the overall lighting aesthetics of your space for a consistent look. For optimal performance, consider the diffuser’s material to ensure durability and longevity in your specific environment.
Check Size Compatibility
To guarantee your new diffuser fits properly, start by measuring its dimensions and comparing them to the existing diffuser or the fixture opening. Accurate size measurement is essential to ensure the diffuser dimensions match. Use a ruler or tape measure to record the diameter, width, and height. Check these measurements against the current diffuser or fixture specifications. Here’s a quick reference:
| Diffuser Dimension | Measurement Needed |
|---|---|
| Diameter | Measure across the center |
| Width | Measure side to side |
| Height | Measure top to bottom |
| Opening Size | Measure the fixture opening |
Confirming these measurements helps you select a diffuser that fits snugly without gaps or overlaps, preventing mishaps and ensuring proper light distribution. Additionally, understanding diffuser size compatibility helps in making an informed selection. For added assurance, consider consulting the precise measurements provided by the manufacturer or retailer to avoid any sizing issues.
Confirm Fitting Type
Inspect the new diffuser to determine if it matches the fitting type of your fixture. Fitting types vary, so check if the diffuser’s attachment method aligns with your fan’s socket or mount. Look at the diffuser shapes as well—some are round, square, or rectangular—ensuring it fits snugly without gaps. Compare the shape and size carefully to your current diffuser, as mismatched fitting types can cause instability or poor light distribution. If the diffuser has clips, tabs, or a specific locking mechanism, verify these features match your fixture’s design. Confirming the fitting type now saves time later and prevents potential installation issues. Taking this step ensures your new diffuser will fit securely and function correctly, providing a seamless replacement process.
Verify Material Match
Ensuring the new diffuser’s material matches your fixture is essential for both safety and performance. Check that the material safety standards are met, confirming the diffuser is non-toxic and heat-resistant. Inspect the diffuser’s color matching to ensure it aligns with your existing fixture for a seamless look. A mismatch in material can cause overheating or damage, so verify that the new diffuser is compatible with your fan’s specifications. Pay attention to the texture and finish, making sure they resemble your original diffuser. By carefully examining these aspects, you prevent potential safety hazards and maintain the aesthetic integrity of your fan. Taking these steps now saves you time and effort later, ensuring your replacement is both safe and visually cohesive.
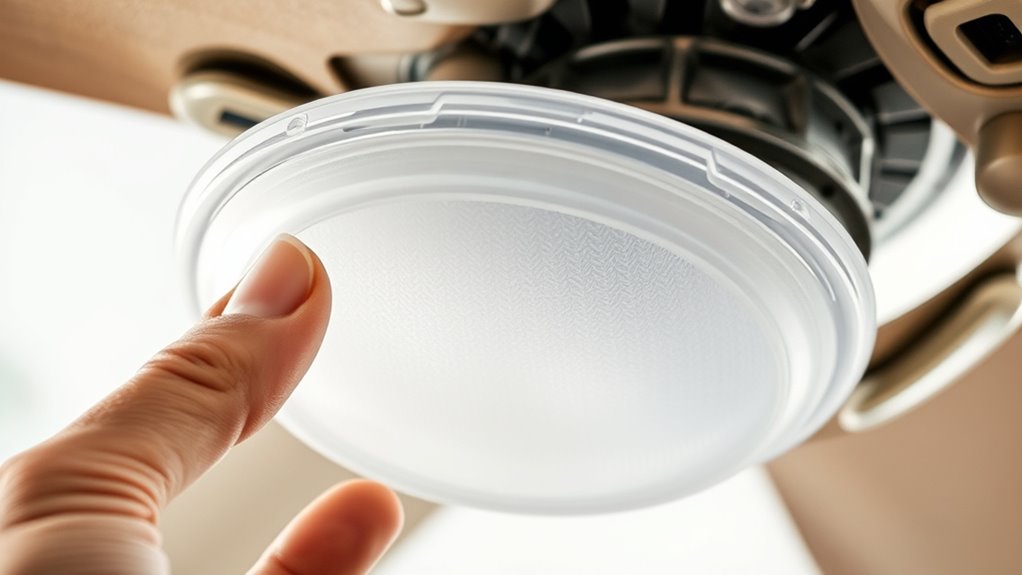
Position the New Diffuser Correctly
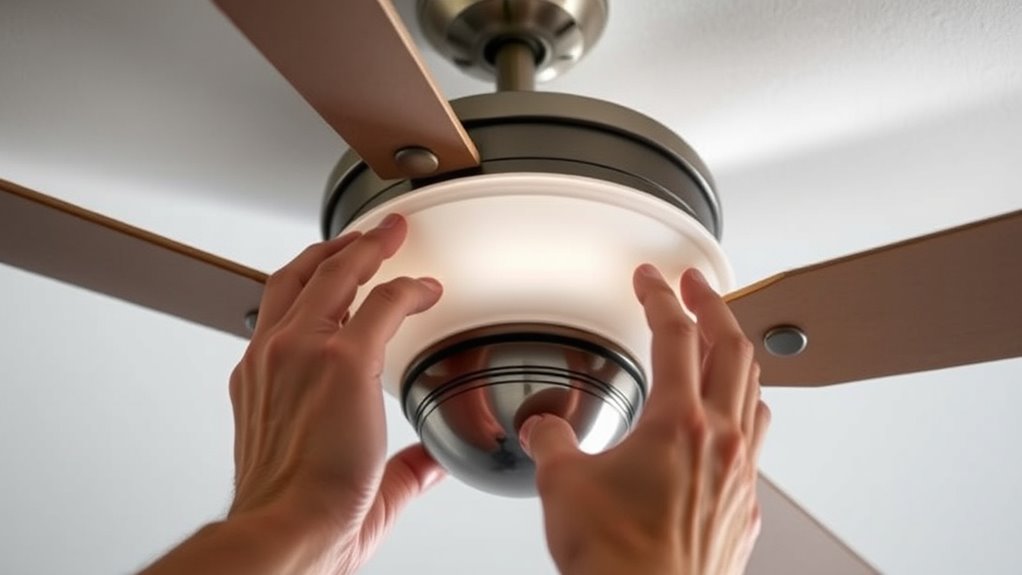
Before installing the new diffuser, make sure you hold it up to the light fixture to confirm the correct orientation. Proper diffuser positioning is essential for even light distribution and aesthetic appeal. Use alignment techniques such as matching the diffuser’s edges with the fixture’s frame or ensuring the pattern aligns correctly. Check that any tabs, clips, or notches are positioned to fit smoothly into the fixture’s slots. Take your time to verify that the diffuser sits flush and level, avoiding any tilting or gaps. This step guarantees the diffuser will stay securely in place and look seamless once installed. Correct diffuser positioning prevents future adjustments and helps you achieve a professional, finished appearance.
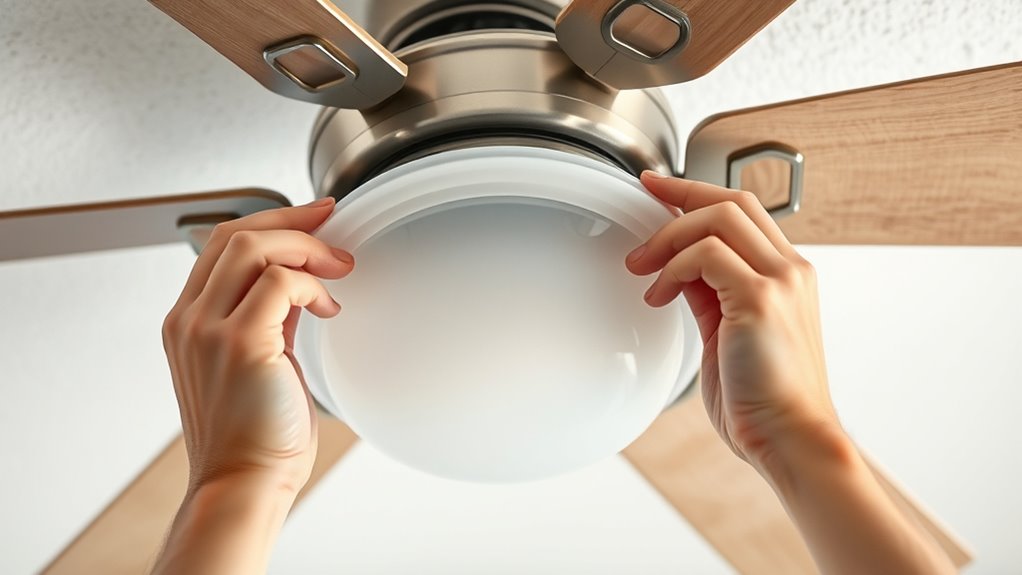
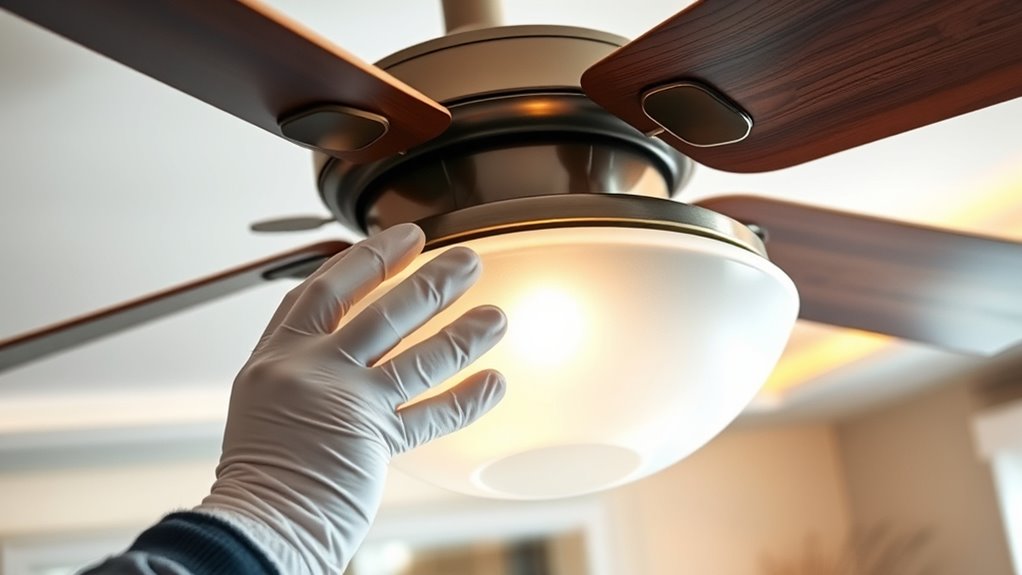
Secure the Diffuser in Place
To keep your diffuser secure, make sure you tighten it firmly without overdoing it. Use the appropriate hardware, like screws or clips, to hold it in place properly. This guarantees safety and prevents the diffuser from shifting or falling.
Secure Diffuser Properly
Securing the diffuser properly is essential to prevent it from shifting or falling out of place. Follow safety precautions to avoid injury, and handle the diffuser gently to prevent damage. Double-check that it sits flush and is firmly held by clips or screws. Use handling tips like wearing gloves to avoid fingerprints and ensure a secure grip. Keep the following table in mind for best practices:
| Step | Safety Precautions | Handling Tips |
|---|---|---|
| Align diffuser | Turn off power before starting | Support edges when lifting |
| Insert clips or screws | Avoid force to prevent breakage | Use both hands for stability |
| Tighten securely | Keep tools away from face | Check for wobbling |
| Confirm stability | Ensure power is off | Test diffuser gently |
| Final inspection | Wear safety glasses | Clean area afterward |
Proper securing guarantees safety and longevity of your diffuser.
Use Appropriate Hardware
Choosing the right hardware is key to guaranteeing your diffuser stays securely in place. The correct fasteners and mounting brackets support your lighting design while maintaining safety. Select hardware compatible with your diffuser’s size and weight, and always follow the manufacturer’s instructions. Using appropriate hardware helps prevent wobbling or falling, which could compromise electrical safety. Verify screws or clips are rated for the material of your ceiling and diffuser. Proper installation minimizes risk and assures a professional look. Confirm that all components are tightened securely without over-tightening, which could damage the diffuser. Prioritizing the right hardware not only preserves your lighting design but also protects against accidents and electrical hazards. Always double-check your work before restoring power.
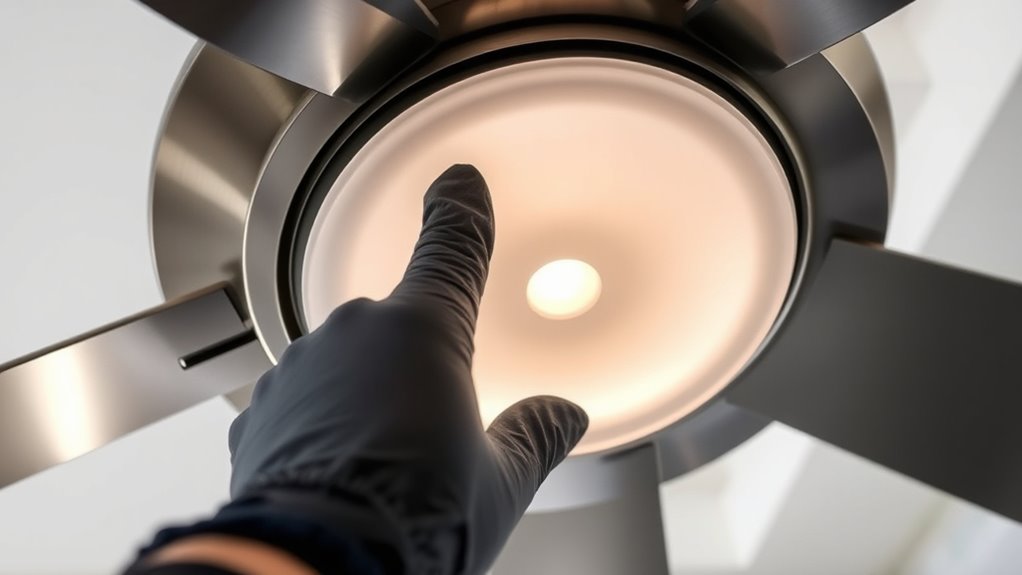
Check for Proper Fit and Alignment
Before attaching the new diffuser, it’s important to guarantee it fits properly and aligns correctly with the fan. Begin by verifying the diffuser size to ensure it matches the light fixture’s specifications. If it’s too small or large, it won’t sit securely or may cause uneven lighting. Once you have the right size, check the light fixture alignment to confirm the diffuser will sit flush without gaps or wobbling. Carefully hold the diffuser in place and observe how it fits against the fixture. Proper alignment is key to avoiding uneven distribution of light and ensuring a neat appearance. Taking these steps now saves you from adjustments later and guarantees your new diffuser functions correctly.
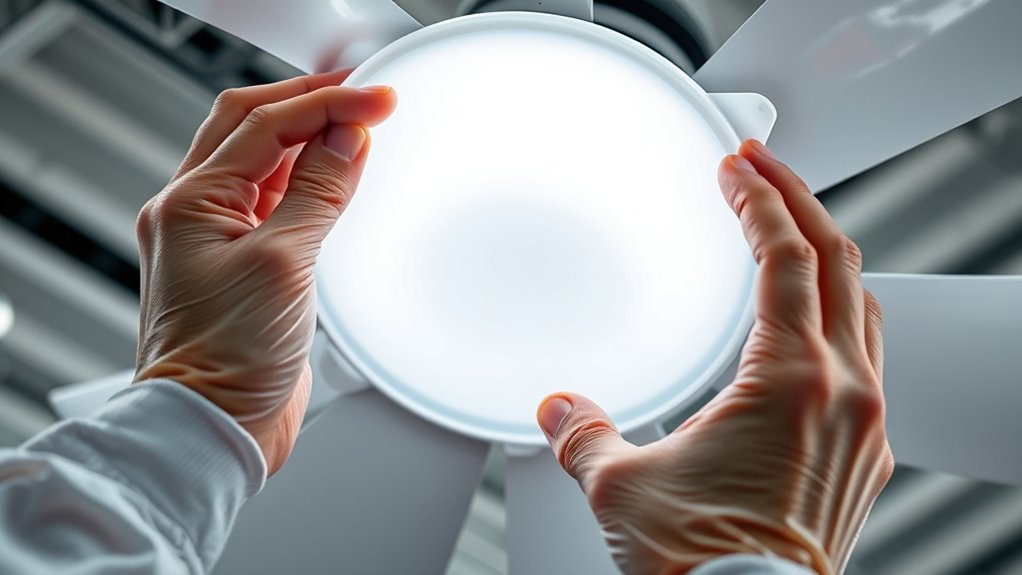
Restore Power and Test the Light
Now that the diffuser is securely in place, it’s time to restore power to the fan light. Turning the switch back on will bring your ceiling fan back to life, revealing the results of your effort. Before flipping the switch, take a moment to verify everything looks correct and secure. Once energized, follow these steps:
- Turn on the ceiling fan and check if the light operates smoothly.
- Observe the fan diffuser for any flickering or uneven illumination.
- Confirm that the fan’s speed and light functions work properly.
- Feel confident knowing your work has improved your ceiling fan’s appearance and functionality.
Restoring power and testing your fan diffuser ensures your ceiling fan looks great and works perfectly, giving your space a fresh, updated feel.
Finalize and Enjoy Your Updated Ceiling Fan
With the power restored and your ceiling fan functioning properly, it’s time to put the finishing touches on your project. Now, you can assess your lighting design to ensure the new diffusers enhance your space’s ambiance. Take a moment to clean any remaining dust or fingerprints for a polished look. Proper fan maintenance is key to longevity, so keep an eye on the blades and motor for any signs of wear. Enjoy the refreshed appearance and improved light distribution that your new diffusers provide. This upgrade not only enhances your room’s aesthetic but also simplifies future fan upkeep. Finally, remind yourself to periodically check your fan’s components so it stays operating smoothly and looks great for years to come.
Frequently Asked Questions
How Do I Identify the Correct Diffuser Size for My Fan?
When figuring out the correct diffuser size, start by checking your fan model identification, usually found on a label or manual. Then, measure your current diffuser carefully, noting its diameter or length, depending on the shape. Diffuser measurement is key to ensuring a perfect fit. If you’re unsure, compare your measurements with the specifications listed in your fan’s manual or contact the manufacturer for guidance.
Can I Replace the Diffuser Without Turning off the Power?
You shouldn’t replace the diffuser without turning off the power. For electrical safety, always switch off the circuit before handling the fixture. Attempting a DIY installation while the power is on risks electric shock or damage. To stay safe, make sure the power is completely off at the breaker, then carefully remove and replace the diffuser. Taking these precautions protects you and ensures proper installation.
What Should I Do if the New Diffuser Doesn’t Fit Properly?
So, your new diffuser decided to play hard to fit? Don’t panic—it’s just diffuser adjustment time! Fitting difficulties happen, but you can gently bend or trim the edges for a better fit. Remember, forcing it might turn into a diffuser disaster. Take a deep breath, use careful adjustments, and make certain it aligns perfectly. After all, a well-fitted diffuser keeps your fan light shining without a hitch!
Are There Specific Cleaning Products Recommended for Diffuser Maintenance?
For diffuser maintenance, you should choose gentle cleaning solutions like mild soap and water or vinegar diluted with water. Avoid harsh chemicals that could damage the diffuser material. Regularly clean it to prevent dust buildup and ensure ideal light diffusion. Follow maintenance tips such as turning off the fan before cleaning and using a soft cloth. This keeps your diffuser in great condition and extends its lifespan effectively.
How Often Should I Replace My Ceiling Fan Diffuser?
You should replace your ceiling fan diffuser when it becomes stained, discolored, or damaged, which can affect your lighting design. Regular cleaning helps maintain its appearance, but if the diffuser no longer provides ideal light quality or shows signs of wear, it’s time for a replacement. Doing so also supports fan motor maintenance by preventing dust buildup that could impact performance. Typically, replace the diffuser every 2-3 years for best results.
Conclusion
Replacing your fan light diffuser is straightforward and saves you money. Don’t worry about damaging the fixture—you’ll handle it gently and double-check compatibility beforehand. With just a few tools and some care, you’ll have a fresh look in no time. Imagine enjoying a brighter, more updated space without the hassle of calling a professional. Once you finish, you’ll feel proud knowing you upgraded your ceiling fan yourself—simple, satisfying, and cost-effective.