To replace a ceiling fan motor, first turn off the power at the circuit breaker and verify no voltage using a tester. Remove the fan blades, light kit, and canopy to access the motor housing. Disconnect the wiring, noting the connections for reassembly. Detach the old motor from its mounting hardware, then carefully install the new motor, secure it, and reconnect the wiring matching the original setup. Finally, reattach the fan components, restore power, and test the fan’s operation. Continuing will guide you through each step in detail.
Key Takeaways
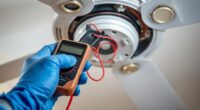
- Turn off power at the circuit breaker and confirm with a voltage tester before starting.
- Remove fan blades and light kit to access the motor housing safely.
- Disconnect wiring carefully, noting the original wiring configuration for accurate reassembly.
- Attach the new motor securely to the mounting bracket, reconnect wiring, and reassemble ceiling components.
- Restore power, test fan operation at different speeds, and ensure all parts are secure and functioning properly.
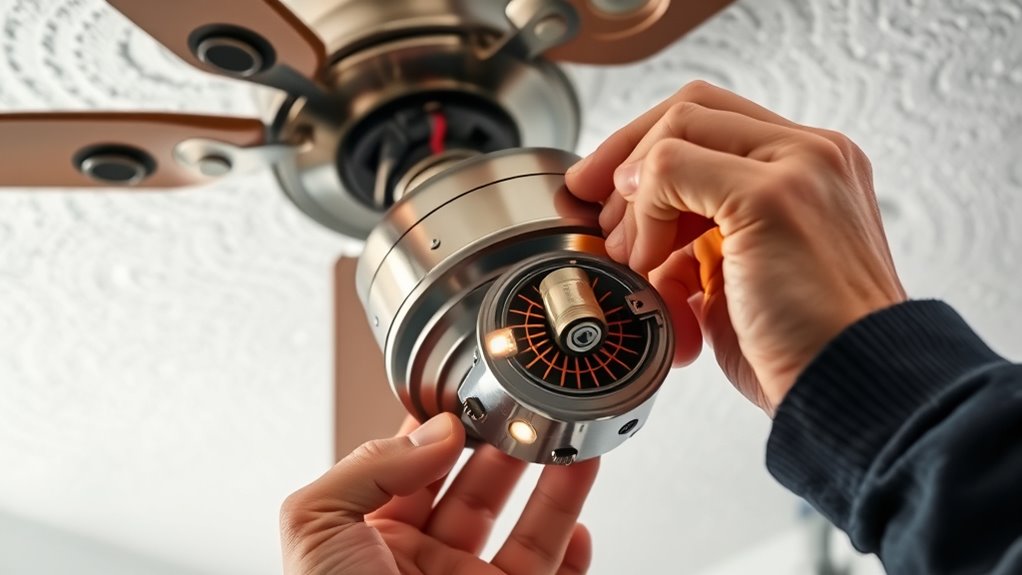
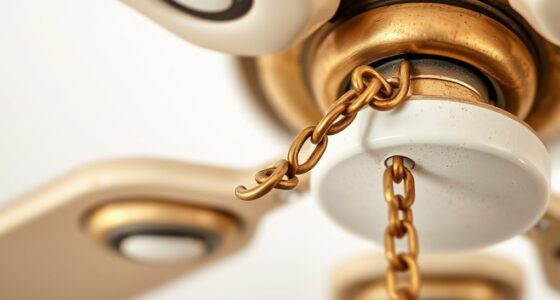
Replacing a ceiling fan motor requires careful planning and precise execution to guarantee safety and proper functionality. Begin by turning off the power supply at the circuit breaker to eliminate any risk of electrical shock. Confirm that the power is disconnected by testing the fan with a non-contact voltage tester. Once confirmed, remove the fan’s light kit and blades to access the motor housing. Use a screwdriver to detach any mounting screws securing the fan to the ceiling box, then carefully lower the assembly, supporting it with your hand to prevent stress on the wiring.
Turn off the power, test with a voltage tester, then carefully remove the fan components to access the motor housing.
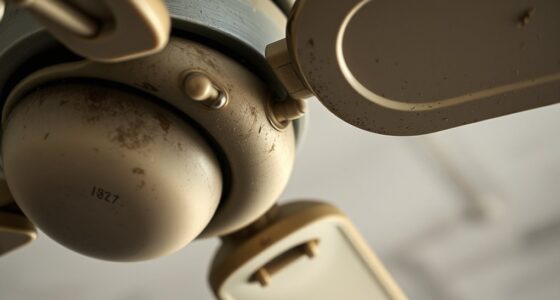
Next, disconnect the wiring connections between the fan and the ceiling. Note the wire configuration or take a picture for reference, as this will assist during reassembly. Typically, you’ll find black (hot), white (neutral), and green or copper (ground) wires. Use wire strippers or pliers to disconnect these wires, then remove the mounting bracket or canopy that holds the motor to the ceiling box. With the motor exposed, identify the mounting hardware securing it to the fan’s motor plate. Remove these screws carefully, ensuring the motor comes loose without damaging surrounding components.
Once the old motor is free, inspect the mounting plate and wiring connections for signs of wear or damage. Prepare the new motor by verifying it matches the specifications of the original and that it includes all necessary mounting hardware. Position the new motor onto the mounting bracket, aligning screw holes precisely. Secure it with the provided screws, tightening them evenly to prevent misalignment. Reconnect the wiring in the same configuration as noted earlier, ensuring all connections are tight and insulated with wire nuts for safety. Attach the motor to the mounting plate, then reassemble the ceiling box components, including the canopy.
Before restoring power, double-check all connections and mounting points for security. Turn the circuit breaker back on, then test the fan’s operation at various speeds to confirm proper installation. Observe for unusual noises, vibrations, or wobbling, which could indicate misalignment or loose components. Reinstall the fan blades and light kit, ensuring all screws are tightened securely. Finally, verify that the fan operates smoothly and quietly, confirming that the motor replacement was successful and that the fan functions as intended. Proper adherence to these steps guarantees both safety and excellent performance of your ceiling fan after replacing the motor. Additionally, consulting resources on Inspiring Women Speakers can motivate and inform your approach to tackling challenging tasks like this.
Frequently Asked Questions
Can I Replace the Motor Myself or Should I Hire a Professional?
You can replace the ceiling fan motor yourself if you have electrical experience and the necessary tools. Carefully follow safety protocols, turn off power at the breaker, and consult the fan’s wiring diagram. However, if you’re unsure about electrical work or encounter complex wiring, it’s safer to hire a professional. This minimizes risks of electrical shock or damage, ensuring the replacement is done correctly and safely.
What Safety Precautions Are Necessary When Replacing a Ceiling Fan Motor?
You should shut off power at the circuit breaker before starting. Use a voltage tester to confirm no electricity flows to the fan. Wear insulated gloves and safety goggles to protect against accidental shocks or debris. Make certain the fan is securely supported to prevent falling. Keep your workspace dry and organized, and avoid working alone if possible. Following these precautions minimizes risk and ensures a safe replacement process.
How Long Does It Typically Take to Replace a Ceiling Fan Motor?
Replacing a ceiling fan motor typically takes between 30 minutes and an hour, depending on your experience and the fan’s complexity. You’ll need to disconnect power, remove the fan blades and housing, disconnect wiring, and install the new motor. Precise work and careful handling of components can streamline the process. If you’re familiar with electrical systems, expect closer to 30 minutes; novices should allocate up to an hour to guarantee safety and accuracy.
What Tools Are Required for Replacing a Ceiling Fan Motor?
You need a screwdriver, a wire stripper, pliers, and a voltage tester to replace a ceiling fan motor. Use the screwdriver to remove the fan blades and canopy, the wire stripper to prepare electrical connections, the pliers to disconnect wiring and secure connections, and the voltage tester to verify safety by confirming power is off. Having these tools ready ensures a precise, safe, and efficient motor replacement process.
How Do I Identify the Correct Replacement Motor for My Fan?
You identify the correct replacement motor by checking your fan’s model number, usually found on the label or inside the motor housing. Match the motor’s specifications, such as voltage, horsepower, and mounting type, to guarantee compatibility. Confirm the number of blades, blade pitch, and fan size. If uncertain, take the old motor or its details to a hardware store or consult the manufacturer’s manual for precise matching.
Conclusion
Replacing a ceiling fan motor is a precise process that guarantees safe and efficient operation. Properly installed, it extends the lifespan of your fan and maintains ideal airflow. Did you know that a well-maintained ceiling fan can save you up to 40% on cooling costs annually? By following the correct steps, you prevent electrical hazards and unnecessary repairs. Stay diligent during installation, and your ceiling fan will serve you reliably for years to come.