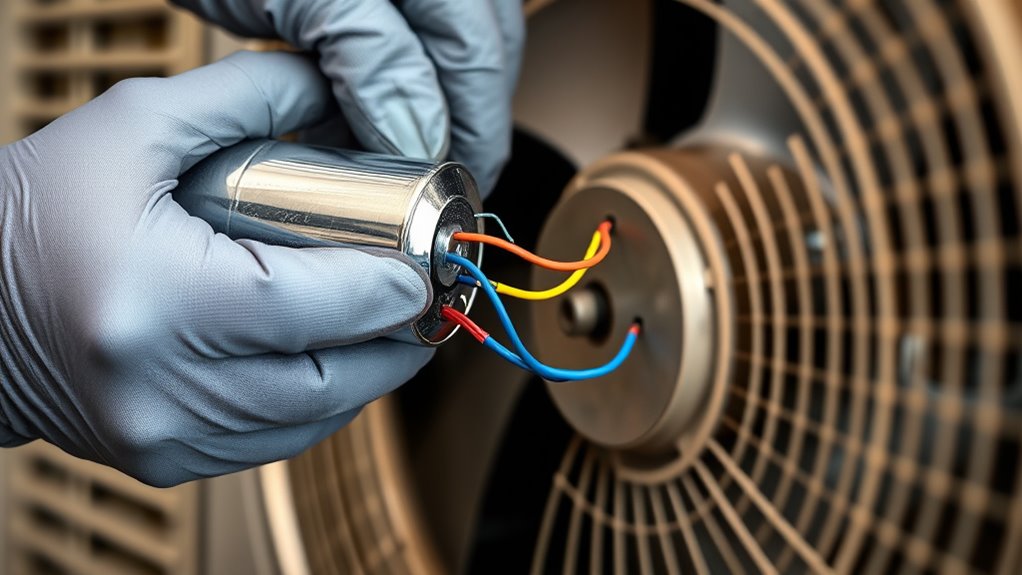
If your fan’s speed has dropped, replacing the capacitor may restore its proper function. First, turn off and unplug the fan, then safely discharge the capacitor using a resistor. Find the capacitor inside the assembly, disconnect it, and install a new one matching the original specs. After securing everything, turn the fan back on to test its operation. For step-by-step guidance, you’ll find valuable tips that simplify the process.
Key Takeaways
- Identify signs of a failing capacitor, such as slow startup, noise, or inconsistent speeds.
- Disconnect power safely, discharge the faulty capacitor, and remove it carefully.
- Match and install a new capacitor with correct capacitance and voltage specifications.
- Reconnect wires securely, ensuring proper positioning and tight connections.
- Test the fan post-replacement to confirm restored speed, smooth operation, and absence of unusual noises.
Recognizing the Signs of a Failing Fan Capacitor

A failing fan capacitor often shows itself through noticeable symptoms that you can observe. One of the most common signs is the fan running intermittently or struggling to start, which indicates the capacitor isn’t providing enough initial boost. You might also notice the fan making unusual noises or running at inconsistent speeds, suggesting the capacitor’s lifespan is nearing its end. Over time, a capacitor’s effectiveness diminishes, reducing the fan’s overall performance and lifespan. If your fan isn’t functioning as smoothly as before or if it’s taking longer to reach full speed, these are red flags. Recognizing these symptoms early helps you avoid further damage and ensures you replace the capacitor before it completely fails. Additionally, understanding fan capacitor maintenance can help extend the lifespan of your fan and prevent unexpected breakdowns.
Gathering the Necessary Tools and Safety Equipment

Before you start, make sure you have the essential safety gear like gloves and safety glasses to safeguard yourself. Gather the required tools, including a screwdriver and a multimeter, to complete the replacement. Always disconnect the power supply following proper steps to ensure your safety before working on the fan. Additionally, understanding how to determine the correct capacitor size can help ensure compatibility and proper functioning of your fan. Checking the air quality in your workspace can also prevent respiratory irritation during repair.
Essential Safety Gear
To safely replace a fan capacitor, you need to gather the right tools and safety equipment before starting the job. Prioritizing safety is essential to prevent injuries. Wear safety gloves to protect your hands from electric shocks and sharp edges. Eye protection shields your eyes from potential sparks or debris. Confirm your workspace is well-lit and dry. Use insulated tools to minimize risk. Here’s a quick overview:
| Safety Gear | Purpose |
|---|---|
| Safety gloves | Protect against electric shocks and cuts |
| Eye protection | Guard eyes from sparks, debris, or accidental splashes |
| Insulated tools | Reduce risk of electric shock |
| Work gloves | Provide better grip and additional protection |
| Proper footwear | Prevent slips and protect feet from falling objects |
Always double-check safety gear before starting the repair. Additionally, understanding AI’s impact on privacy can help inform safe handling of electronic components and data security during repairs. Being aware of electrical safety protocols is crucial to avoid hazards when working with capacitors and other electrical parts. Moreover, consulting manufacturer instructions ensures proper procedures are followed to prevent damage or safety issues.
Required Tools List
Gathering the right tools and safety equipment is essential before replacing a fan capacitor. You’ll need basic hand tools like screwdrivers, pliers, and a multimeter to test capacitor types and troubleshoot techniques effectively. A voltage tester is crucial to ensure power is disconnected before handling components. Having a new capacitor that matches the specifications of your fan is vital—check the label for capacitance and voltage ratings. Additionally, keep insulated gloves nearby for safety. Proper tools make it easier to access and disconnect the faulty capacitor, while the right safety gear minimizes risk during troubleshooting and replacement. Being aware of air purifier maintenance tips can also help prevent future issues with your fan or other household appliances. Ensuring that you understand the importance of contrast ratio can help in diagnosing issues related to performance and image quality during the process. Familiarity with product authenticity checks can help in selecting reliable replacement parts. Preparing these items beforehand ensures a smooth process, reduces potential hazards, and helps you restore your fan’s performance efficiently.
Power Disconnection Steps
Start by turning off the fan’s power switch and unplugging the unit from the electrical outlet. Before proceeding, use a voltage tester to verify there’s no live current, confirming the power is completely disconnected. Next, carefully remove the fan’s access panel to locate the capacitor. To prevent confusion during reassembly, label the capacitor’s wires clearly, noting their connections. This step is vital, especially if you need to test or replace the capacitor later. Always wear safety equipment like gloves and eye protection to guard against accidental shocks or debris. Double-check that the capacitor is de-energized with your voltage tester before handling. Being aware of electrical safety protocols ensures proper handling and reduces risks during replacement. Additionally, consulting manufacturer instructions can provide specific guidance tailored to your fan model. Taking these power disconnection steps helps guarantee your safety and makes the replacement process smoother. It is also helpful to keep a fire extinguisher nearby in case of emergencies during electrical work.
Turning Off Power and Disarming the Fan

Before handling the fan, confirm the power is completely turned off to prevent any risk of electrical shock. Electrical safety is your top priority during this process. Switch off the circuit breaker or unplug the fan from the power source. Don’t assume the fan is de-energized; test the wires with a voltage tester to verify no current is present. Disarming the fan involves carefully removing any covers or guards, which may vary depending on the model. Always ascertain that your tools are compatible with your fan’s components to avoid damaging parts. Taking these precautions helps protect you and ensures the equipment remains intact. Additionally, understanding the fan’s electrical components can help prevent mishandling during the repair. Knowing how the gasket or seal functions can also prevent damage when removing parts. Proper knowledge of the fan’s motor system can assist in diagnosing issues and ensuring a safe repair process. Once the power is off and the fan is disarmed, you’re ready to proceed with locating and replacing the capacitor safely.
Locating the Capacitor Within the Fan Assembly
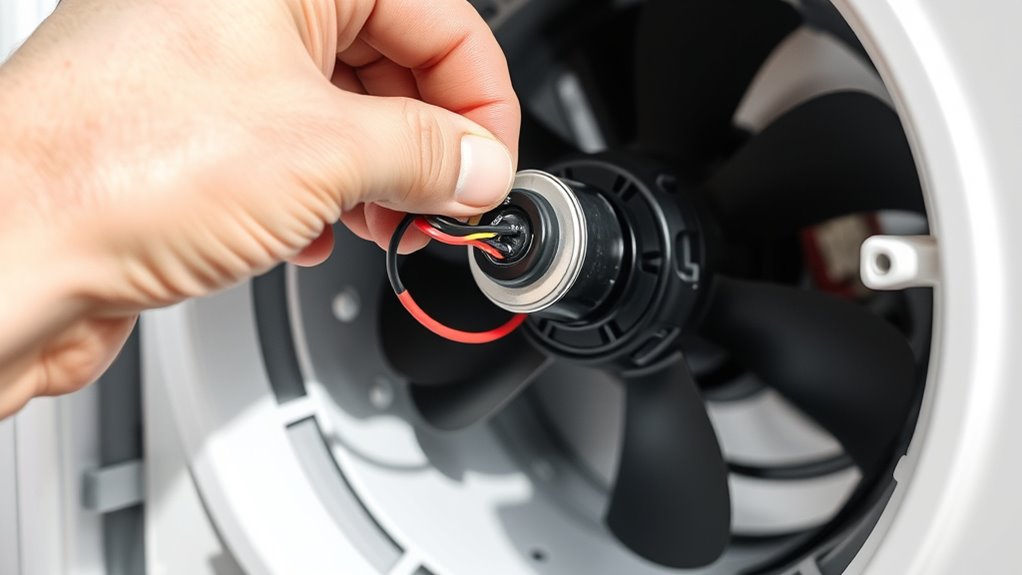
Once the fan is disarmed and the power is confirmed off, you can locate the capacitor by first removing the fan’s cover or access panel. The capacitor is usually housed within the fan assembly, often attached to the side or underneath the motor. Look for a small, cylindrical or rectangular component with wires connected to it. In some models, the capacitor is mounted on a bracket or secured with clips inside the enclosure. To identify it quickly, follow the electrical wires from the motor—this will lead you to the capacitor. Remember, the capacitor location varies depending on the fan design, but it’s generally positioned in a way that’s accessible once you remove the cover or panel. Additionally, understanding motor components can help you recognize the capacitor more easily during inspection. Being familiar with small electrical parts can also facilitate troubleshooting and replacement. Knowing the fan assembly design can further streamline the process of locating the capacitor efficiently.
Discharging the Capacitor Safely
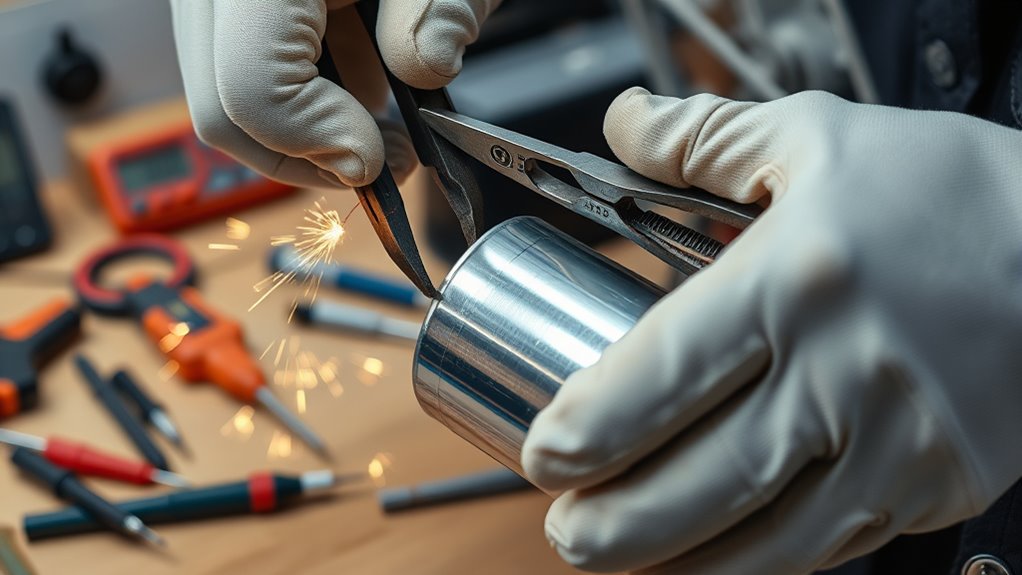
After locating the capacitor within the fan assembly, the next step is to discharge it to prevent electrical shock. Proper capacitor safety is vital, so always follow discharge procedures carefully. Before handling, wear insulated gloves and use a screwdriver with an insulated handle. To discharge, connect a resistor across the terminals to safely release stored energy. This prevents sparks and damage. Remember, never short-circuit directly across the terminals. Additionally, understanding industry trends can help keep you updated on best safety practices. Proper protective measures are essential for safe handling of electrical components. Recognizing cultural approaches to safety can also enhance your overall safety mindset. Here’s a quick guide:
| Step | Action |
|---|---|
| 1 | Turn off power and unplug the fan |
| 2 | Wear protective gear |
| 3 | Use a resistor to discharge the capacitor |
| 4 | Verify capacitor is fully discharged before handling |
Following these steps ensures safe, effective capacitor safety during replacement.
Removing the Faulty Capacitor

Before removing the faulty capacitor, make sure the unit is completely powered off. Then, access the capacitor by removing any panels or covers. Finally, identify the damaged part to guarantee you’re replacing the correct component. Ensuring proper safety precautions prevents electrical hazards during the process. Additionally, consulting the manufacturer’s guidelines can provide specific instructions for your model.
Power Off the Unit
Have you turned off the power to guarantee safety before working on the fan? Ensuring the unit is unplugged is a vital maintenance tip that prevents electrical hazards. Before troubleshooting basics, double-check that no current runs through the system. Remember, working with live electricity is dangerous and can cause injury. Use a voltage tester to confirm power is off. Here’s a quick guide:
| Step | Action | Purpose |
|---|---|---|
| Turn off power | Unplug the fan or switch off breaker | Safety first |
| Confirm power is off | Use voltage tester | Prevent shocks |
| Remove access panel | Prepare for capacitor removal | Clear working area |
| Discharge capacitor | Safely discharge remaining energy | Avoid sparks or shocks |
| Proceed to removal | Follow troubleshooting basics | Efficient repair |
Access the Capacitor
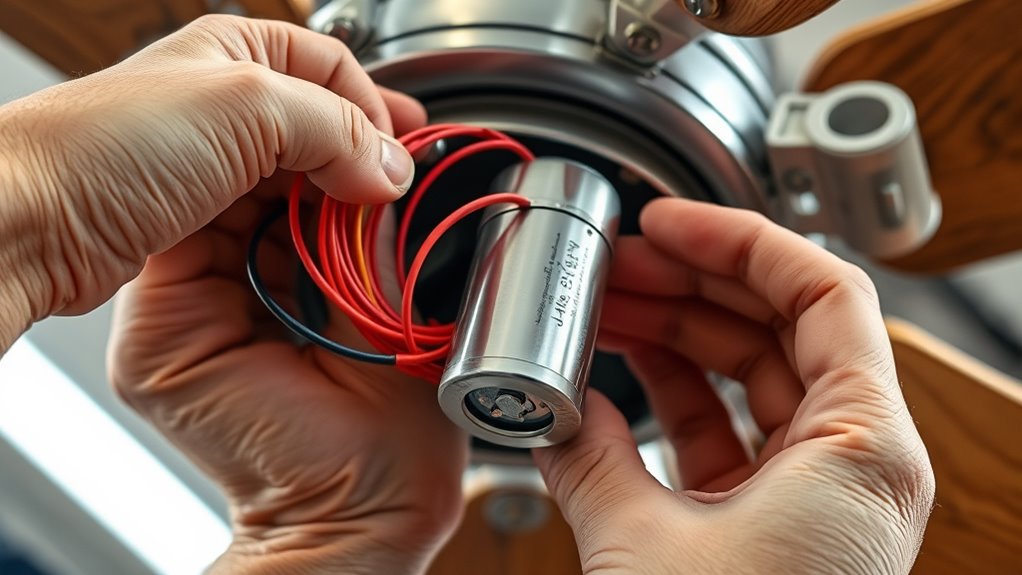
To access the capacitor, start by locating the fan’s access panel and removing it carefully. Once open, you’ll see the fan blade attached to the motor mounting. Gently hold the fan blade in place to prevent it from turning while you work. Look for the capacitor, which is usually mounted near the motor and connected with wires. Before proceeding, verify the power is off. Carefully disconnect the wires connected to the capacitor, noting their positions for reassembly. If needed, use a screwdriver to remove any screws securing the capacitor to the motor mounting. Be gentle to avoid damaging surrounding components. With the capacitor free, you can now remove it completely, making way for the new one.
Identify the Faulty Part
When identifying the faulty capacitor, start by visually inspecting it for obvious signs of damage, like bulging, leaking, or burn marks. These faulty capacitor symptoms often appear after years of use, as capacitor lifespan varies but generally ranges between 5 and 10 years. If your fan isn’t starting, runs loudly, or doesn’t reach full speed, the capacitor could be the culprit. A faulty capacitor may also feel swollen or show signs of corrosion. Always check for these visual clues first, as they’re quick indicators of failure. Remember, capacitors can fail gradually or suddenly, so if your fan’s performance has declined and you notice these symptoms, it’s time to replace the faulty part to restore proper operation.
Selecting the Correct Replacement Capacitor
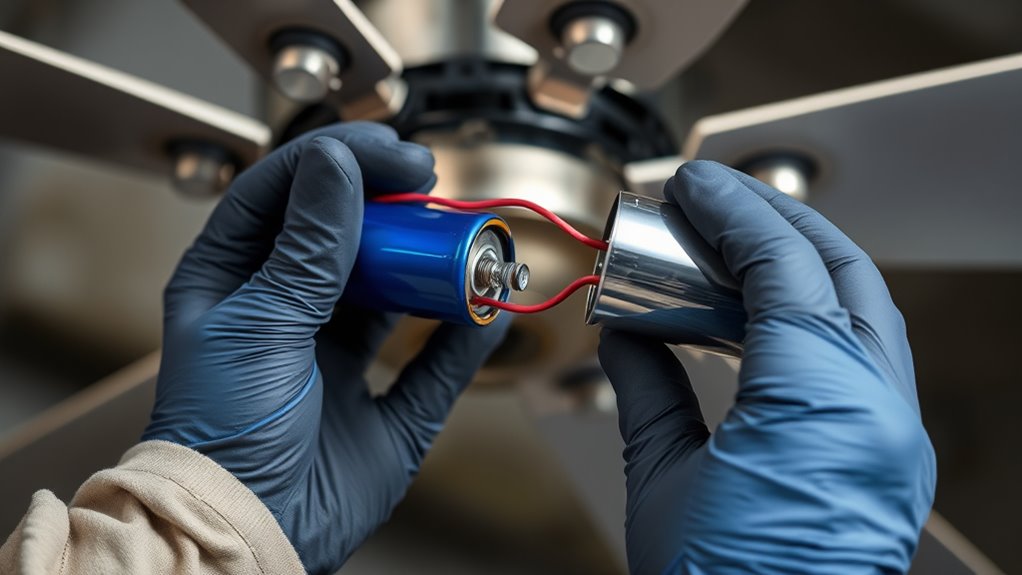
Choosing the right replacement capacitor is essential to guarantee your fan operates safely and efficiently. To do this, you need to match the capacitor’s specifications, including capacitance value (measured in microfarads), voltage rating, and type. Check your original capacitor’s label or user manual for these details. Selecting a capacitor with an incorrect capacitance can lead to poor performance or damage, reducing its lifespan and increasing the need for frequent replacements. Always opt for a high-quality, compatible part to ensure reliable operation. Remember, a well-chosen capacitor not only restores your fan’s speed but also extends its capacitor lifespan, decreasing the overall replacement frequency. Taking the time to select the correct part ensures your fan runs smoothly and safely for years to come.
Installing the New Capacitor Properly

Before installing the new capacitor, make sure the fan is unplugged and all power sources are disconnected to prevent electrical shock. Carefully position the capacitor near the motor mounting, ensuring it’s secure and oriented correctly. Connect the wires according to the wiring diagram, matching the terminals precisely. Be mindful of the fan blade clearance to avoid damage during installation. Proper placement ensures the capacitor interacts effectively with the motor, restoring peak performance. Use the table below to verify correct connections and placement:
| Step | Details |
|---|---|
| Secure mounting | Attach capacitor firmly to motor mounting |
| Connect wires | Match terminals as per wiring diagram |
| Check fan blade clearance | Ensure no contact with blades during operation |
| Confirm orientation | Properly align capacitor for ideal function |
| Final inspection | Ensure all connections are tight and safe |
Testing the Fan After Replacement
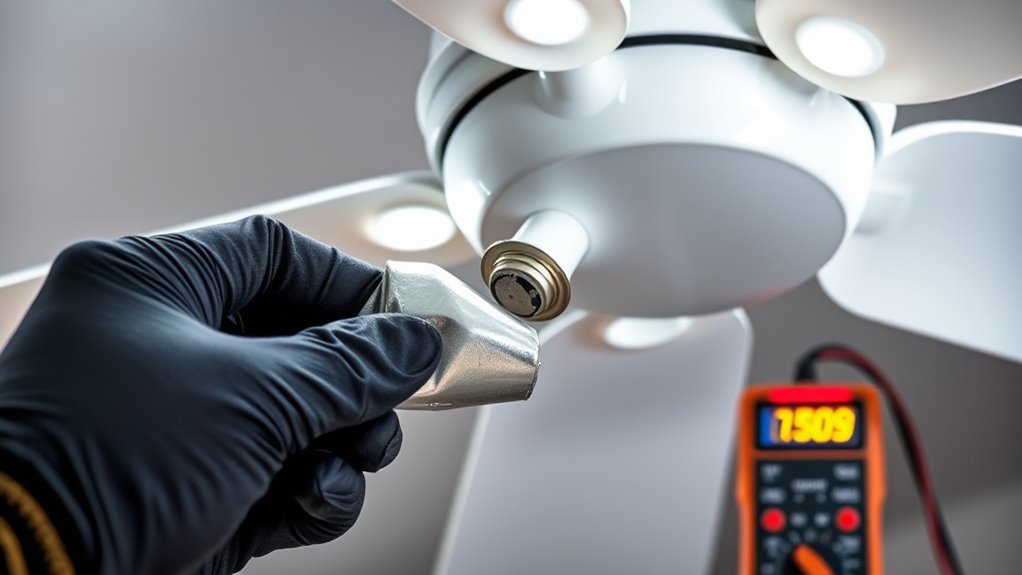
Before testing the fan, make sure the power is turned off to avoid any hazards. Once it’s safe, turn the power back on and observe the fan’s operation closely. Listen for any unusual noises that could indicate a problem with the new capacitor.
Ensure Power Is Off
Since working with electrical components can be dangerous, it’s crucial to turn off the power before testing the fan after replacing its capacitor. Ensuring the power is off protects you from electrical shock and maintains electrical safety during fan troubleshooting. Before touching any wires or components, unplug the fan or switch off the circuit breaker. Double-check that the power is completely disconnected to prevent accidental shocks.
- Confirm the power source is turned off using a voltage tester
- Wait a few minutes after switching off to let capacitors discharge
- Use insulated tools to avoid any accidental contact with live parts
Taking these precautions guarantees safety during testing and helps you correctly assess whether the new capacitor is working properly. Remember, safety always comes first when working with electrical appliances.
Observe Fan Operation
Have you connected the fan to the power supply and turned it on? Now, observe how the fan operates. Check if the fan reaches its normal speed, which indicates the capacitor is functioning properly. If it runs slower than before, the new capacitor might be underperforming, or the capacitor’s lifespan is nearing its end. Listen for any irregularities in operation, like sudden stops or inconsistent speeds. Verify the blades spin smoothly without wobbling or unusual vibrations. Confirm that the fan starts promptly and maintains steady operation. If the fan doesn’t run at the expected speed or stalls, double-check the capacitor connections. Proper operation confirms you’ve successfully restored the fan’s performance, and the capacitor is doing its job.
Check for Unusual Noises
After replacing the fan capacitor, it’s important to listen carefully for any unusual noises during operation. Pay attention to fan noise that seems abnormal, such as grinding, squealing, or rattling. These sounds can indicate issues like misalignment or loose parts. Also, check for unusual vibrations that might suggest imbalance or loose mounting.
To confirm your fan is running smoothly:
- Observe if there’s persistent, harsh fan noise after startup
- Feel for excessive vibrations or wobbling during operation
- Listen for any rattling or squeaking that wasn’t present before
Addressing these signs early can prevent further damage and ensure your fan operates quietly and efficiently.
Tips for Maintaining Your Fan’s Performance
Regularly inspecting your fan’s components can help guarantee it runs smoothly and efficiently. Focus on fan blade maintenance by cleaning dust and debris to prevent imbalance and reduce strain on the motor. Check that the blades are securely attached and not warped. Additionally, ensure proper motor lubrication; applying a few drops of oil to the motor’s moving parts keeps it running quietly and prevents overheating. Keep the fan’s vents clear to allow proper airflow. Periodic checks of the electrical connections can prevent issues caused by loose wires. By maintaining these elements, you extend your fan’s lifespan and maintain ideal performance. Regular upkeep not only preserves efficiency but also helps catch potential problems early, saving you time and money in the long run.
Frequently Asked Questions
How Long Does a Typical Fan Capacitor Last Before Needing Replacement?
A typical fan capacitor lasts about 5 to 10 years, depending on its quality and usage. The capacitor lifespan varies because factors like electrical surges, heat, and moisture can speed up wear. Replacement frequency depends on these conditions; you should check your fan regularly for signs of failure, such as noise or reduced speed. When it shows signs of trouble, it’s time to replace the capacitor to keep your fan running smoothly.
Can I Replace a Fan Capacitor Myself Without Professional Help?
You can definitely try a DIY repair to replace your fan capacitor, but don’t skip safety precautions. Turning off power and discharging the capacitor is essential. If you’re comfortable with basic tools and electrical work, you can follow online guides. Just remember, if you feel unsure or uncomfortable, it’s better to call a professional. Safety first guarantees you avoid shocks or damage during the replacement.
What Are the Risks of Using an Incorrect Capacitor Replacement?
Using an incorrect capacitor can pose serious risks. If the capacitor isn’t compatible, it might cause the motor to overheat, fail prematurely, or even become a safety hazard. Always check capacitor compatibility before replacement, and follow safety precautions, like disconnecting power and wearing protective gear. Employing the wrong part can lead to damage or electrical shock, so double-check specifications to ensure safety and proper operation.
How Does a Faulty Capacitor Affect Overall Fan Performance?
A faulty capacitor directly impacts your fan’s performance by disrupting motor startup and voltage regulation. When the capacitor malfunctions, it can cause the motor to struggle to start or run inefficiently, reducing airflow and increasing energy consumption. You might notice the fan slowing down or making unusual noises. Without proper voltage regulation, the motor faces stress, leading to potential damage and further performance issues over time.
Are There Any Energy Efficiency Benefits to Replacing an Old Fan Capacitor?
Replacing an old fan capacitor can lead to energy savings by improving the fan’s efficiency, which reduces electricity consumption. This not only saves you money on energy bills but also lessens the environmental impact by lowering your carbon footprint. Upgrading the capacitor guarantees your fan runs smoothly and efficiently, helping you contribute to a greener environment while enjoying cost-effective operation. It’s a simple step with significant benefits for both your wallet and the planet.
Conclusion
Replacing your fan capacitor not only restores lost speeds but also unexpectedly extends your fan’s lifespan. As you go through the process, you might notice how a simple fix keeps your room cooler and more comfortable. It’s funny how a small part can make such a big difference, isn’t it? By staying attentive and cautious, you’ll enjoy the cool breeze longer, turning an unexpected repair into a satisfying win for your home comfort.
