
To fix sagging downrods after years of use, first turn off the power and inspect the fan for loosened or damaged parts. Tighten loose bolts or replace the downrod if it’s bent or worn. Verify the mounting hardware is secure and properly aligned for stability. After adjustments, test the fan to ensure smooth operation. For detailed steps to restore your ceiling fan’s stability, keep exploring the best techniques.
Key Takeaways
- Inspect the downrod and mounting hardware for rust, wear, or looseness, and tighten or replace as needed.
- Verify the ceiling support structure is secure and free from damage before reattaching the downrod.
- Replace old or bent downrods with new, compatible hardware to restore proper alignment.
- Check and adjust the fan blades for level positioning to prevent wobbling caused by sagging.
- Regularly maintain and tighten hardware to prevent future sagging and ensure long-term stability.
Identifying the Signs of Sagging Downrods
How can you tell if your downrods are sagging? One clear sign is uneven fan blade alignment, which can cause wobbling and noise. When downrods sag, the ceiling fan height changes, making it look off-center or too low. Check if the fan blades appear tilted or if the fan itself hangs unevenly from the ceiling. You might notice the fan wobbling more than usual or difficulty in keeping it balanced. Sagging downrods also affect the overall stability, posing safety risks. Regularly inspecting the fan’s position helps catch issues early. If the fan isn’t level or the blades aren’t aligned properly, it’s a good indication that the downrod may be sagging and needs attention. Additionally, a noticeable change in the fan’s sound during operation can signal issues with the downrod’s stability, which is an important safety concern. Being aware of downrod stability can help prevent accidents and maintain proper ceiling fan function. Checking for loose or worn hardware can also reveal potential issues before they worsen.
Gathering the Necessary Tools and Materials
Before you start repairing, make sure you have all the essential tools and materials on hand. Check your list for items like screwdrivers, replacement downrods, and mounting brackets, so you’re prepared. Don’t forget to gather safety equipment such as gloves and goggles to protect yourself during the repair process.
Essential Tools Checklist
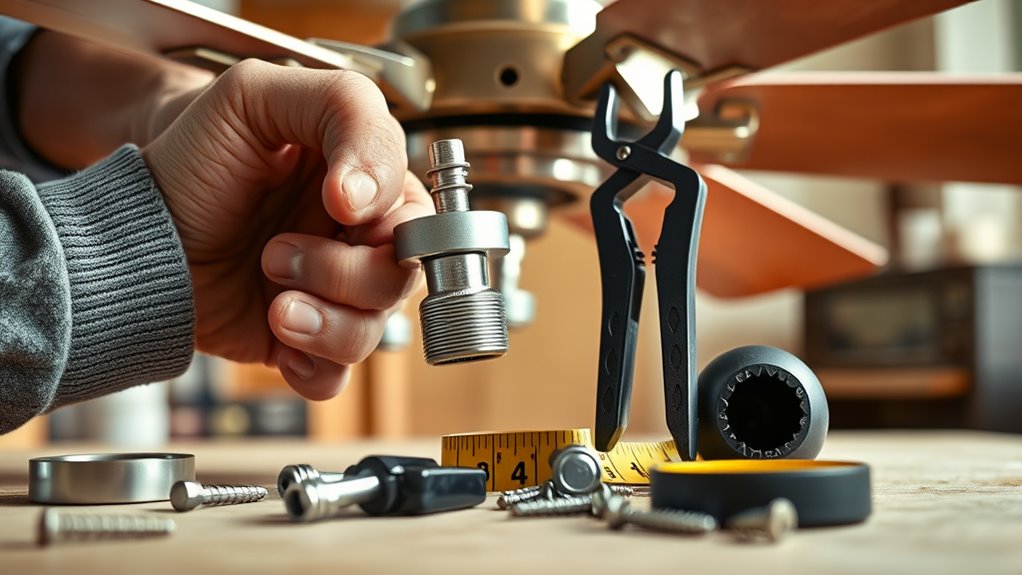
To successfully fix sagging downrods, you need to gather the right tools and materials first. Start with a sturdy ladder to reach the ceiling safely, along with a screwdriver or adjustable wrench for tightening or loosening mounting hardware. A measuring tape helps check the length of the downrod, especially if replacement is needed. If you’re troubleshooting motor noise, have a multimeter ready to test electrical connections. For fan blade alignment, gather a level or straightedge to ensure the blades hang evenly. Having these tools on hand makes the repair process smoother and more efficient. Proper tool selection is crucial to avoiding damage and ensuring a secure, long-lasting fix for your ceiling fan. Additionally, understanding the maximizing space and organization principles can help create a clutter-free environment that simplifies future maintenance tasks. Being familiar with the types of ceiling fans can also assist in selecting the right replacement parts or upgrades for your fixture. When working with ceiling fans, it’s also helpful to know about maintenance and tuning techniques to keep your fan operating smoothly over time.
Required Materials List
Having the right materials ready before you start fixing sagging downrods guarantees a smooth repair process. Gather items like replacement downrods, a ladder, and basic hand tools. You’ll also need adjustable wrenches, screwdrivers, and pliers. If you want to enhance ceiling fan aesthetics, consider choosing downrods made from durable materials that match your fan’s style and fan blade materials. Ensuring proper installation techniques is essential for long-term stability and safety. Additionally, understanding how to get divorce can be helpful if you’re planning major home upgrades during a life transition. Proper maintenance and inspection of your ceiling fan components can prevent future sagging issues and extend the lifespan of your fan.
Safety Equipment Needed
Ensuring you have the right safety equipment on hand is essential for a secure and effective repair. Before starting, gather safety glasses to protect your eyes during fan blade maintenance and motor lubrication. Wear work gloves to prevent injuries from sharp edges or hot components. A sturdy ladder is necessary for reaching ceiling fans safely. Keep a dust mask nearby to avoid inhaling debris or dust. If you’re using tools like screwdrivers or lubricants, ensure they are in good condition. Having a fire extinguisher nearby is wise in case of electrical issues. Proper safety gear helps prevent accidents and keeps you focused. Additionally, being aware of industry standards and AI-powered safety innovations can support your well-being if you experience any irritation or discomfort during the process. Always turn off the power before working on the fan to avoid electrical hazards. With the right equipment, you’ll complete your repair safely and efficiently.
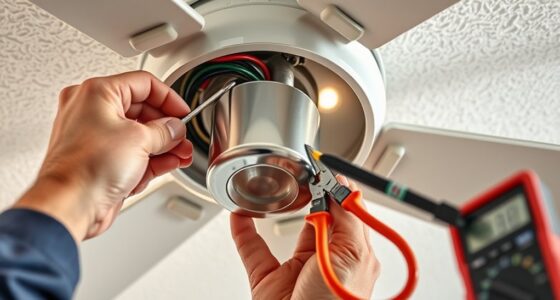
Turning Off Power and Preparing the Workspace
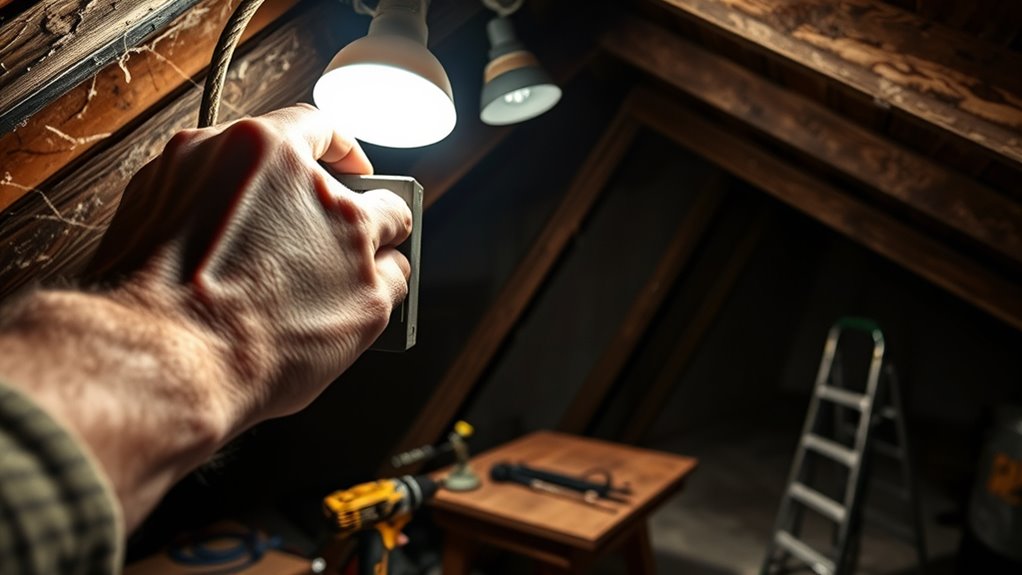
Before starting, turn off the main power to guarantee safety. Clear the area around the downrod to give yourself enough space. It is also helpful to familiarize yourself with the exfoliation process, which can improve the overall condition of your fixtures and surrounding areas. Additionally, understanding the signs of spoilage can ensure you are handling materials safely and effectively during the repair. Being aware of the power consumption of related electrical components can help you prevent overloads and ensure energy-efficient operation during any repairs.
Turn Off Main Power
To safely work on sagging downrods, you need to turn off the main power supply. This prevents accidental activation of the ceiling fan or light fixture while you’re working. Start by switching off the circuit breaker that controls the fan’s power source—this is especially important if you plan to adjust or remove the downrod. If your ceiling fan has a wireless remote, ensure it’s also turned off or removed to avoid unintended operation. Before touching the blades or downrod, double-check that the fan is completely powered down. Proper electrical safety can also include ensuring electrical safety when working on ceiling fans. This simple step keeps you protected from electrical shocks and unexpected movements. Additionally, understanding city dynamics can help you identify the best time or method for maintenance if your fan is in a hard-to-reach location. Once the power is off, you can proceed confidently with your repairs, knowing you’ve minimized any risk.
Clear the Work Area
After turning off the main power, the next step is to clear your work area. Remove any furniture or objects under the ceiling fan to prevent accidents. Verify the area is well-lit so you can see the fan blades and mounting hardware clearly. Check that the ceiling fan is securely mounted, as sagging downrods may have affected its stability. Clear space around the fan for easy access to fan blade alignment and mounting components. This will help you work safely and efficiently. Remember to wear safety glasses and a dust mask if needed. Ensuring the proper installation of the fan can prevent future sagging issues. Additionally, inspecting the support structures can identify potential problems before they worsen, ensuring a safer repair process. It’s also advisable to double-check the construction quality of the fan setup to avoid recurring issues. Clearing the workspace reduces the risk of damage or injury during the repair process and makes it easier to handle the downrod and other parts.
Gather Necessary Tools
Turning off the power is the essential first step before working on your ceiling fan. This guarantees safety and prevents shocks. Once powered down, gather the necessary tools to fix sagging downrods effectively. You’ll need:
- A sturdy ladder or step stool
- Screwdrivers (Phillips and flat-head)
- Wrench or pliers
- Replacement downrod or extension rods
- A level for proper fan blade alignment
Different ceiling fan types may require specific tools, so check your model beforehand. Before starting, clear the workspace to avoid accidents. Taking these precautions makes adjusting fan blades and downrods safer and more precise. Having everything ready ensures a smoother repair process, saving you time and frustration. Remember, proper fan blade alignment is crucial for optimal operation and longevity.
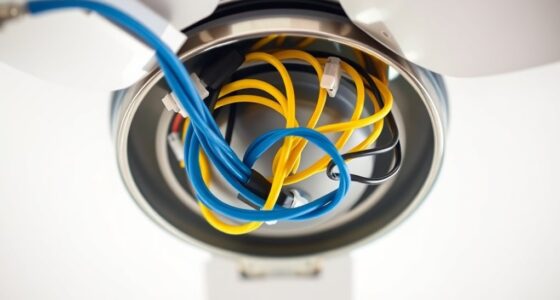
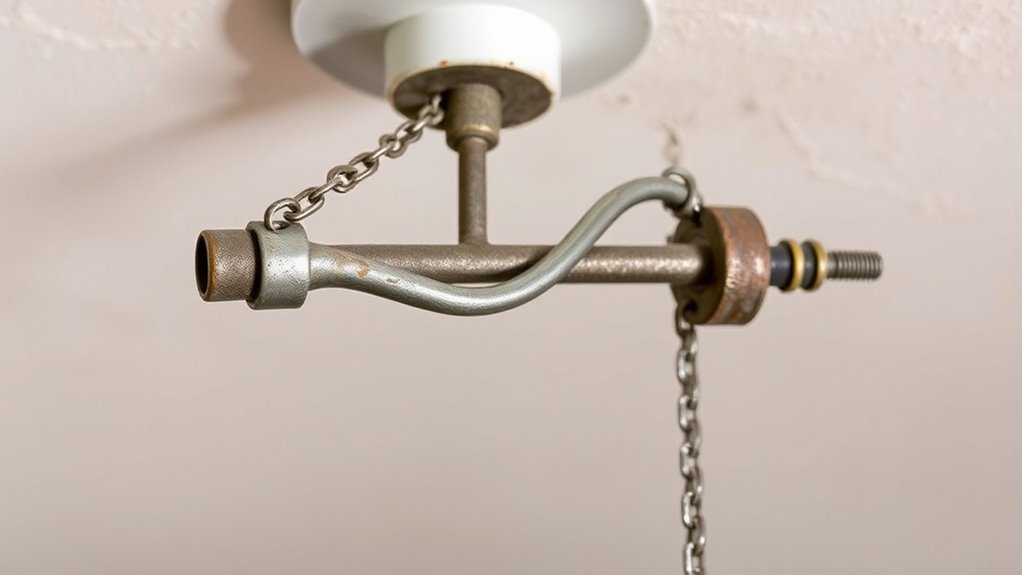
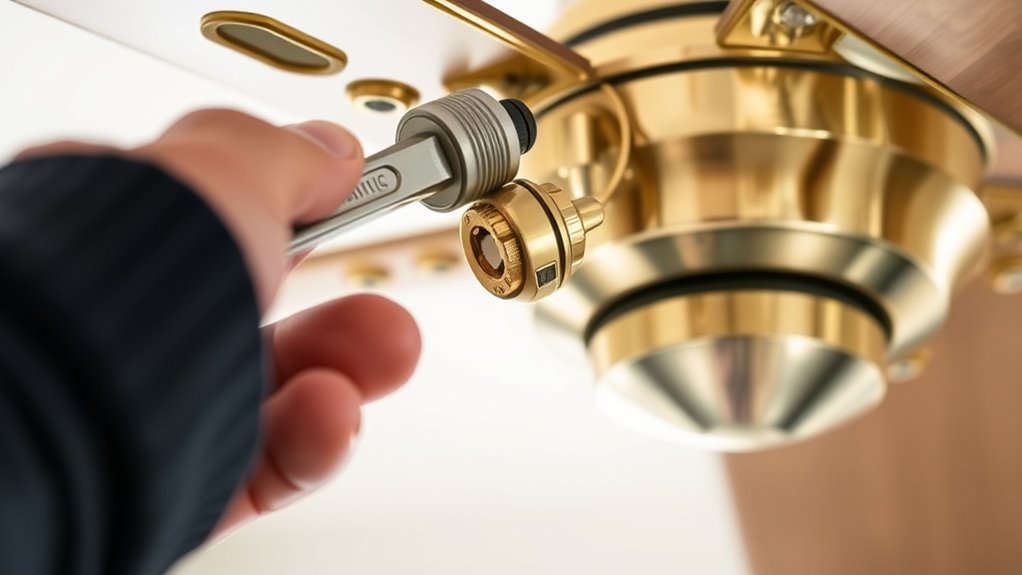
Inspecting the Downrod and Mounting Components
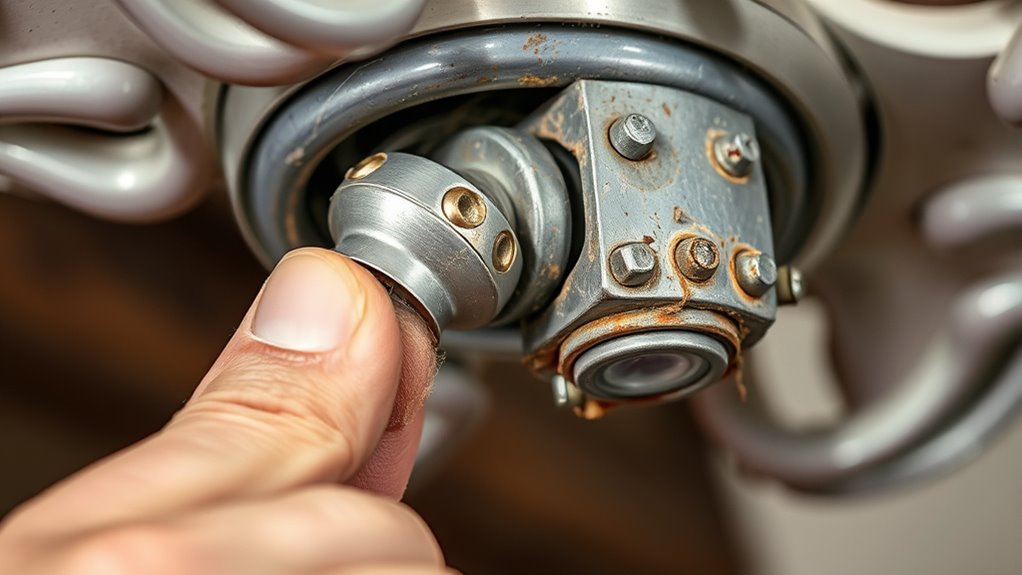
Before attempting to fix sagging downrods, you should thoroughly inspect the downrod and mounting components for any signs of damage or wear. Check for loose connections, rust, or bent parts that could affect fan stability. Ensure the downrod is properly aligned to prevent wobbling and maintain fan blade alignment. Also, verify electrical safety by inspecting wiring for frays or corrosion. Tighten any loose bolts or screws, and replace damaged hardware immediately.
| Inspection Focus | Key Insight |
|---|---|
| Fan Blade Alignment | Proper alignment ensures smooth operation and less wear. |
| Electrical Safety | Prevents hazards and ensures reliable fan performance. |
| Hardware Condition | Tight, undamaged components sustain stability. |
| Structural Integrity | No cracks or bends, ensuring safety and longevity. |
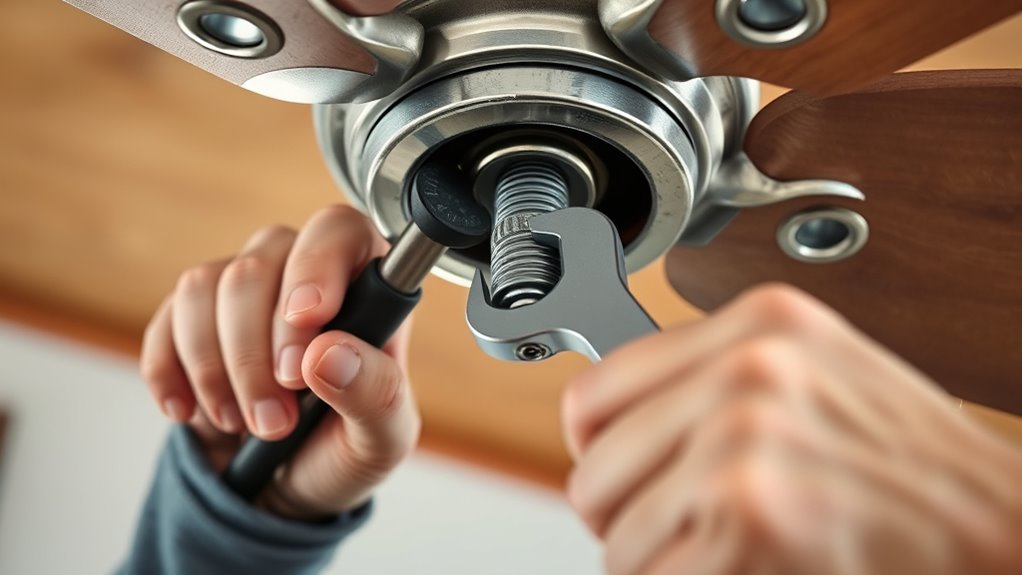
Removing the Existing Sagging Downrod
Have you identified that your downrod is sagging and needs removal? Removing it properly is vital to restore fan blade alignment and ceiling fan height. Start by turning off the fan and ensuring the power is disconnected. Support the fan blades or motor to prevent sudden movements. Carefully unscrew the downrod from the mounting bracket, keeping note of how it’s attached. As you remove the downrod, check for rust or damage that might have caused the sagging. This step helps you prepare for a secure replacement or adjustment. Be cautious not to disturb the mounting hardware or wiring. Proper removal guarantees a stable foundation for fixing or replacing the downrod, ultimately improving fan performance and safety.
- Turn off power and support fan blades
- Gather necessary tools (wrench, ladder)
- Unscrew the downrod from the mounting bracket
- Inspect for rust, damage, or wear
- Carefully detach without disturbing wiring
Choosing the Right Replacement or Adjustment Method
When selecting a replacement or adjustment method, consider the material of your current downrod to guarantee compatibility. Decide if a simple adjustment will work or if you need a full replacement based on your budget and the severity of sagging. There are budget-friendly options available that can fix the problem without sacrificing safety or style.
Material Compatibility Tips
Choosing the right replacement or adjustment method begins with understanding material compatibility. You need to verify that the new downrod matches the existing hardware to prevent issues like misaligned fan blades or wobbling. Check the material of your current downrod—metal, wood, or composite—and select a compatible replacement. This helps maintain proper fan blade alignment and ensures durability. When shopping, consider the thread type and diameter to avoid fit problems. Avoid mixing incompatible materials, like plastic with metal, which can cause corrosion or weakening over time. Also, confirm that the finish matches your ceiling fixture for aesthetic consistency. Proper material compatibility keeps your fan functioning smoothly and prolongs its lifespan, making adjustments or replacements hassle-free.
Adjustment vs. Replacement
Deciding whether to adjust or replace sagging downrods depends on the severity of the issue and the condition of the hardware. If the downrod is only slightly sagging and the fan motor and ceiling fan blades are still in good shape, an adjustment may suffice. Tightening or repositioning the downrod can restore balance without much hassle. However, if the downrod is bent, corroded, or damaged beyond simple adjustment, replacement is a better choice. Consider the age of the hardware; older components may weaken over time, increasing the risk of wobbling or motor strain. Replacing the downrod ensures stability, reduces noise, and prolongs the life of your ceiling fan. Always evaluate the condition of the fan motor and blades to determine the best approach.
Budget-Friendly Options
To keep costs down while fixing sagging downrods, explore simple adjustment methods first, as they often require minimal tools and expense. You can tighten existing fittings or add additional support clips to stabilize the rod. For a quick fix, consider replacing only the end brackets or adjusting the length with inexpensive extension pieces. If you want to update your space, look for decorative fixtures that blend seamlessly with your current décor, saving money on new lighting options. These small upgrades can refresh your room’s look without breaking the bank. Keep in mind, choosing affordable solutions also means prioritizing ease of installation and compatibility with your existing setup. With a little DIY effort, you can fix sagging downrods effectively and affordably.
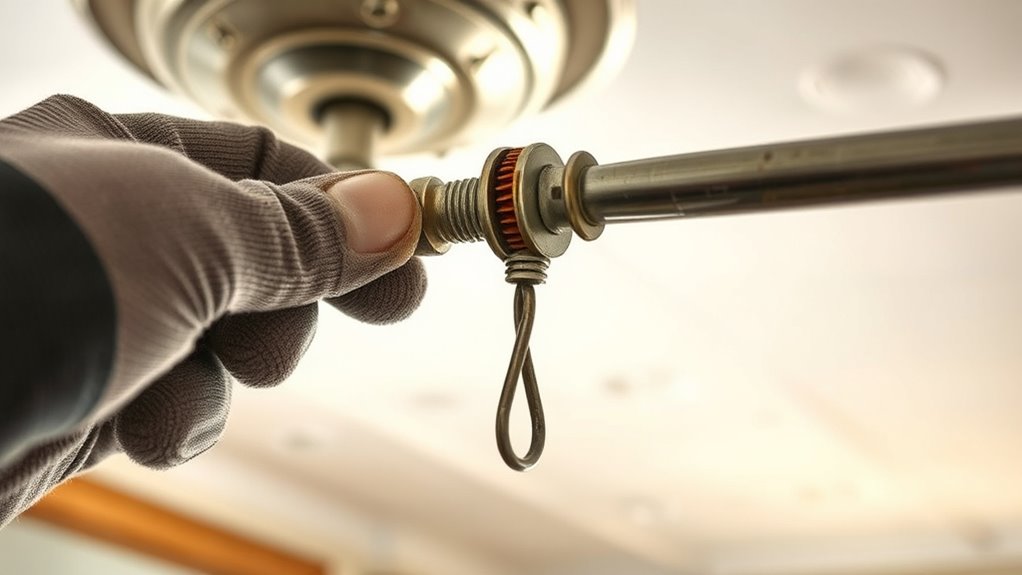
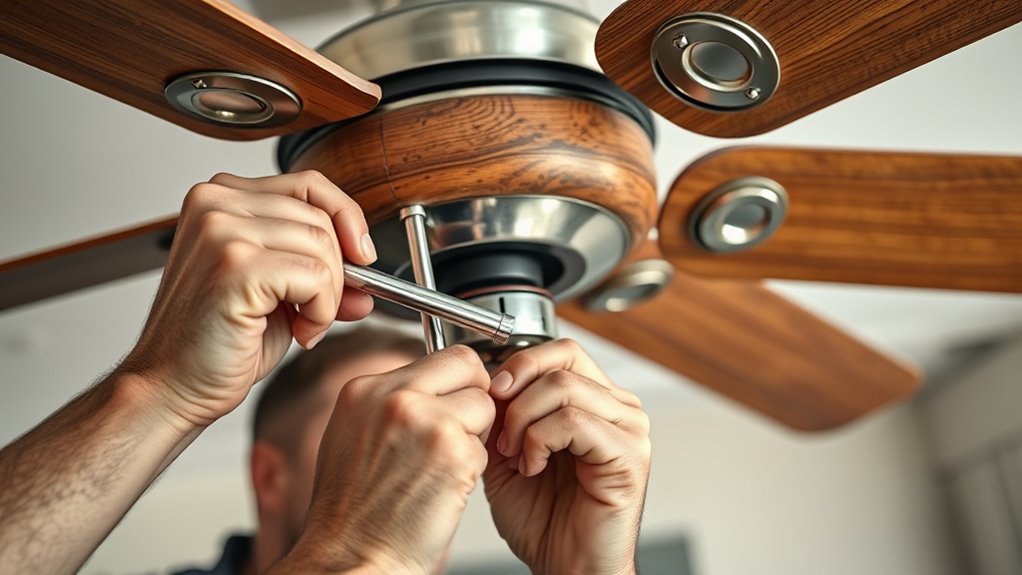
Installing the New or Adjusted Downrod
Once you’ve measured and prepared the correct length for your new downrod, it’s time to install or adjust it. Begin by attaching the downrod securely to the fan motor housing, ensuring the connection is tight and straight. As you hang the fan, check fan blade alignment; the blades should be level and evenly spaced. If your fan has a remote control, use it to make any necessary adjustments to the fan’s tilt or speed settings for peak performance. Make sure the downrod is aligned properly with the mounting bracket before tightening all bolts. Proper installation prevents sagging and ensures smooth operation. Take your time to double-check all connections, and test the fan’s movement and remote control functions before finishing.
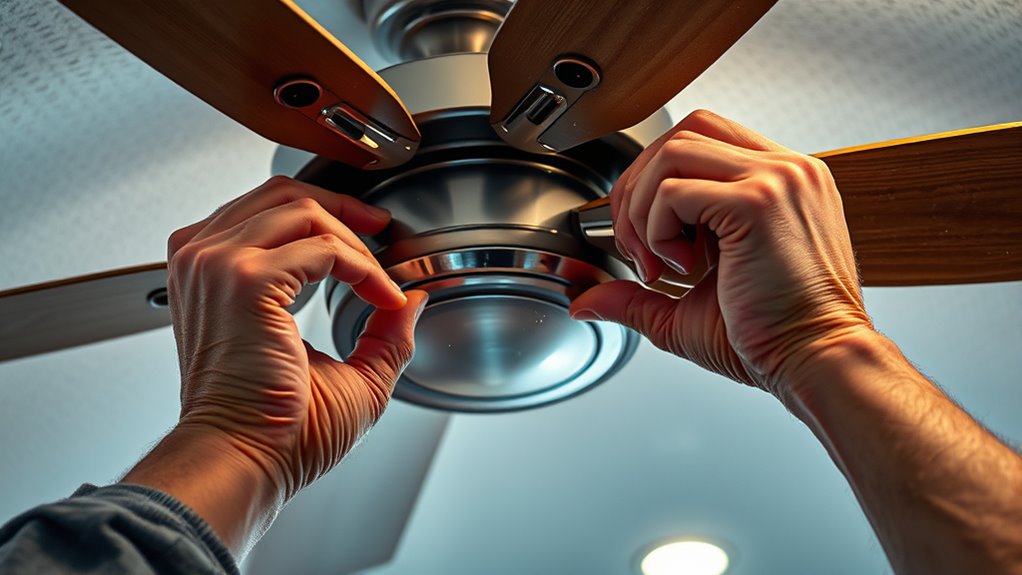
Securing the Downrod Properly for Stability
Ensuring the downrod is securely fastened is essential for the fan’s stability and safe operation. A properly secured downrod maintains fan blade alignment and prevents wobbling caused by loose connections. To achieve this, check that the downrod is tightly connected to both the ceiling mount and the fan motor. Use a wrench to tighten bolts evenly, avoiding overtightening which could damage components. Confirm that the mounting hardware is straight and free of debris. Properly securing the downrod enhances motor stability, reducing vibrations. Consider these tips:
- Tighten all bolts in a crisscross pattern
- Inspect for worn or damaged mounting hardware
- Ensure the downrod is flush against the mounting bracket
- Check that the fan motor housing is level
- Verify that fan blade alignment remains consistent
Testing the Fan for Proper Operation and Balance
After tightening all bolts and confirming the downrod’s stability, it’s important to test the fan’s operation to verify everything functions correctly. Turn on the fan and observe its movement. Check that the fan blades are properly aligned and not wobbling, which indicates good fan blade alignment. If you notice imbalance, gently adjust any misaligned blades. Use the remote control to change speeds and turn the fan on and off, troubleshooting any remote control issues that may prevent proper operation. Listen for unusual noises and ensure the fan runs smoothly at all speed settings. Confirm that the fan responds promptly to remote commands. If issues persist, revisit blade alignment or remote troubleshooting to ensure your ceiling fan is functioning safely and efficiently.
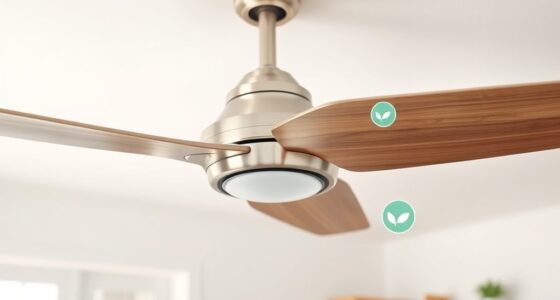
Maintaining Your Ceiling Fan to Prevent Future Sagging
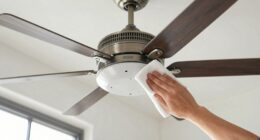
To prevent your ceiling fan from sagging in the future, regular maintenance is key. Keep the fan balanced by periodically checking fan blade balancing; uneven blades can cause strain on downrods. Ensure remote control troubleshooting is smooth by replacing batteries and verifying signal range, which prevents unnecessary vibrations. Clean the fan blades and motor housing to reduce dust buildup that can affect stability. Tighten all mounting hardware and downrod connections to avoid loosening over time. Consider inspecting the ceiling joist or support structure for any signs of wear or damage. Regularly checking and maintaining these components helps keep your fan level and secure, reducing the risk of future sagging. Proper upkeep guarantees your fan remains safe and functional for years to come.
Frequently Asked Questions
Can Sagging Downrods Cause Ceiling Fan Vibrations or Noise Issues?
Sagging downrods can definitely cause ceiling fan vibrations or noise issues. When the downrod’s weight shifts or becomes uneven, it affects the fan’s balance, leading to wobbling and rattling. Over time, this imbalance worsens, making the fan noisy and unstable. To fix this, check the downrod’s attachment, verify it’s straight, and consider balancing the fan or replacing worn parts to restore smooth operation.
What Safety Precautions Should I Take When Working Near Ceiling Fans?
When working near ceiling fans, you need to prioritize safety by checking electrical safety, ensuring the power is off before starting, and verifying no live wires are exposed. You should also assess ladder stability, making sure it’s level and secure to avoid falls. Always wear protective gear, work in good lighting, and keep your workspace clutter-free. These precautions help prevent accidents and keep you safe during maintenance or repairs.
How Often Should I Inspect My Ceiling Fan for Potential Sagging?
You should inspect your ceiling fan for potential sagging at least once every six months as part of your maintenance schedule. Regular checks help catch issues early, preventing further damage. Keep aesthetic considerations in mind, ensuring the downrods and blades are aligned and secure. If you notice any signs of sagging or wobbling, address them promptly to maintain safety and visual appeal.
Are There Specific Tools Recommended for Adjusting or Replacing Downrods?
Oh, the thrill of downrod adjustment—nothing beats the excitement of hunting for the perfect tools! For downrod replacement or adjustments, you’ll want a sturdy adjustable wrench, pliers, and maybe a socket set. These adjustment tools make the job easier and safer. Just remember, a little patience and the right tools turn a sagging nightmare into a quick fix, saving you from future ceiling fan drama.
Can I Fix a Sagging Downrod Without Professional Help?
You can definitely handle a sagging downrod with DIY repair skills, saving you money and time. Start by inspecting the downrod and brackets, then tighten any loose screws or bolts. If it’s still sagging, consider replacing the downrod or adjusting the length. Home improvement projects like this are manageable with basic tools and patience, making it a simple task to restore your ceiling fan’s stability without professional help.
Conclusion
Now that you’ve fixed your sagging downrod, your ceiling fan should run smoothly again. Remember, regular checks can prevent future issues, saving you time and trouble—like a trusty knight’s armor standing strong through ages. Keep an eye on your fan’s stability, and don’t hesitate to tighten connections if needed. With a little maintenance, your fan will continue to cool your space for years to come—no medieval castle required!