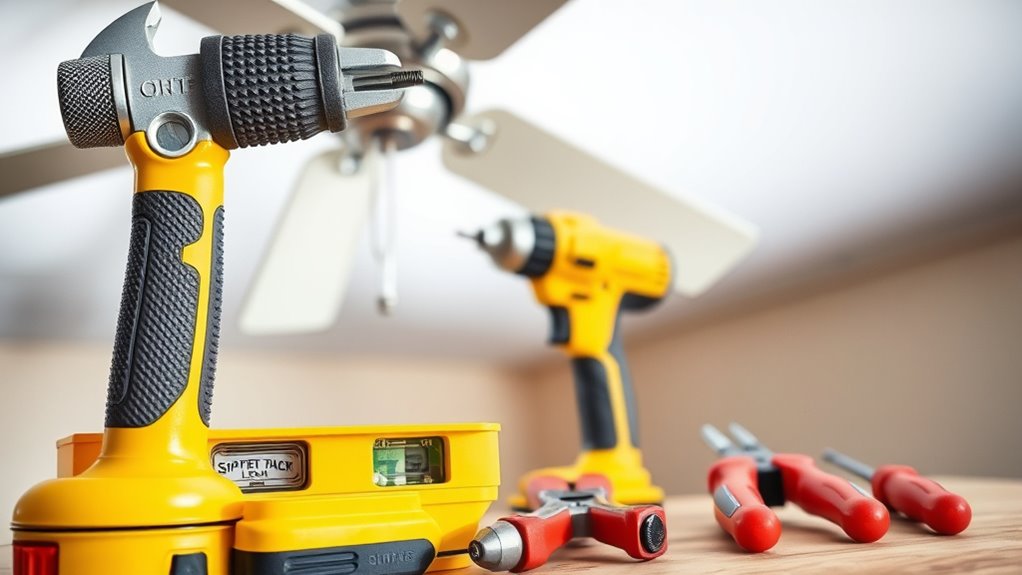

To successfully install a ceiling fan yourself, you’ll need essential tools like a sturdy stepladder, safety glasses, gloves, and a voltage tester to make certain power is off. Use wire strippers, insulated pliers, and wire nuts for safe wiring connections. For mounting, have a cordless drill, screwdriver bits, a level, and appropriate anchors or toggle bolts. Additional tools such as a hammer and magnetic screwdriver can ensure a secure, precise installation. Keep exploring to master every step confidently.
Key Takeaways
- Use a voltage tester, wire strippers, and insulated pliers to safely handle electrical wiring.
- Employ a cordless drill, screwdriver bits, and anchors for mounting and securing the ceiling fan.
- Have a sturdy ladder or scaffolding to access high ceilings safely and accurately.
- Utilize a level and appropriate tools to ensure proper alignment and a balanced installation.
- Keep safety equipment like gloves and glasses on hand to protect against electrical hazards and debris.

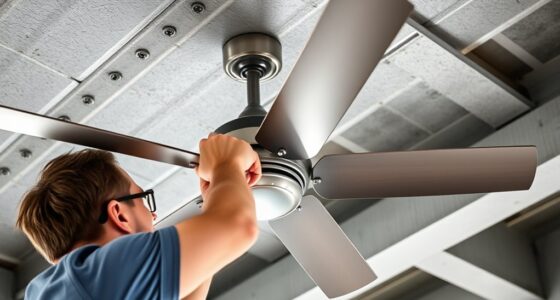
Installing a ceiling fan yourself requires the right set of tools to guarantee safety and accuracy. Precision is vital when working with electrical wiring and structural components, so selecting the appropriate tools ensures the installation complies with safety standards and functions as intended. Begin with a sturdy stepladder or scaffolding to reach the ceiling safely, especially when working at heights exceeding eight feet. A reliable voltage tester is essential to confirm that power is disconnected before handling any wiring, preventing electrical shock. Always verify that the circuit breaker controlling the fan’s circuit is turned off, and use the tester to double-check for live voltage at the fixture box.
Using proper tools like a stepladder and voltage tester ensures safe, accurate ceiling fan installation.
A cordless drill equipped with a variety of screwdriver bits accelerates the process of attaching mounting brackets, fan blades, and light kits. Precision in drilling and fastening reduces the risk of loose connections or unstable mounts. A socket set or adjustable wrench is necessary for securing mounting hardware and tightening electrical connections firmly. When working with electrical components, wire strippers are indispensable for removing insulation from wires cleanly and accurately, ensuring good contact points without damaging conductors. Insulated pliers also serve a dual purpose: gripping and manipulating wires or hardware safely, and cutting wire when needed.
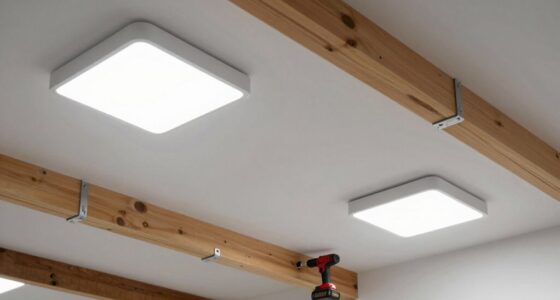
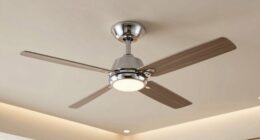
A sturdy, magnetic screwdriver provides leverage and control during assembly, especially in tight or awkward spaces. A level is essential for aligning the fan’s mounting bracket and ensuring it hangs straight, which affects both safety and aesthetic appeal. For tasks involving drywall or ceiling mounting, a drill bit suitable for the material facilitates making precise holes for anchors or mounting screws. When hanging a ceiling fan, especially from drywall or plaster ceilings, anchors or toggle bolts are often necessary; thus, a hammer and a set of appropriate anchors are required to secure the mounting bracket firmly.
Finally, a complete toolkit should include safety equipment such as gloves to protect your hands from sharp edges and electrical contacts, and safety glasses to shield your eyes from debris or accidental contact during drilling. Having a detailed, organized collection of these tools enables a methodical approach to installation, minimizes errors, and enhances safety. Each tool plays a specific role in ensuring that your ceiling fan installation is performed efficiently, securely, and in accordance with electrical and structural safety standards. Proper preparation with the right tools ultimately results in a functional, long-lasting fixture that meets safety protocols and aesthetic expectations.

16 Pcs Ceiling Fan Balancing Kit,4 Sets Fan Weights Balance Kit Including 4 Pcs Plastic Balancing Clip and 12 Pcs Metal Self-Adhesive 3G Weight,Ceiling Fans Balancers,Fans Blade Balancings Kits
【Super Value Pack】Ceiling fan balancing kit offers great value with 4 complete sets included in the package.Each set…
As an affiliate, we earn on qualifying purchases.
As an affiliate, we earn on qualifying purchases.
Frequently Asked Questions
Can I Install a Ceiling Fan Without an Existing Electrical Box?
You can install a ceiling fan without an existing electrical box, but you must first guarantee safety and compliance. You’ll need to install a rated electrical box that can support the fan’s weight, often involving mounting a new box to a ceiling joist or using a brace or support bar. This process requires precise measurement, proper tools, and adherence to electrical codes to ensure secure, safe installation.
What Safety Precautions Should I Take During Installation?
You should always turn off the circuit breaker before beginning installation to prevent electrical shock. Wear insulated gloves and use a voltage tester to confirm power is off. Make certain the ceiling structure can support the fan’s weight, and follow the manufacturer’s instructions carefully. Keep your workspace dry, and avoid working alone if the fixture is heavy or complex. Prioritize safety to prevent accidents and ensure proper installation.
How Do I Determine the Correct Size Fan for My Room?
Measure the room’s square footage precisely using a tape measure. For rooms up to 75 square feet, select a fan with a blade span of 29-36 inches. For 76-144 square feet, choose a 36-42 inch fan. For larger rooms, such as 144-225 square feet, opt for a 44-52 inch fan. Make certain the fan’s airflow capacity (CFM) matches the room size for ideal performance.
Is It Necessary to Hire an Electrician for Installation?
You can install a ceiling fan yourself if you’re comfortable with electrical work, but hiring an electrician ensures safety and compliance with local codes. Think of the electrician as a skilled guide steering through a complex maze, preventing dangerous mistakes. If you lack experience, hiring a professional minimizes risks, guarantees proper wiring, and provides peace of mind. Always prioritize safety—professional assistance is a smart investment for a secure, efficient installation.
How Do I Troubleshoot Common Installation Issues?
To troubleshoot common installation issues, first verify power supply continuity with a multimeter to eliminate electrical faults. Make certain all wiring connections are secure and correctly matched: black to black (hot), white to white (neutral), and green or copper to ground. Check the ceiling box for stability and proper support. If the fan wobbles, balance the blades with a balancing kit. Finally, consult the fan’s manual for model-specific troubleshooting steps.

KAIWEETS Voltage Tester/Non-Contact Voltage Tester with Signal Percentage, Dual Range AC 12V/70V-1000V, Live/Null Wire Tester, Electrical Tester with LCD Display, Buzzer Alarm, Wire Breakpoint Finder
SAFETY FIRST: It will send out multiple alarms through sound and light. When the voltage is detected, the…
As an affiliate, we earn on qualifying purchases.
As an affiliate, we earn on qualifying purchases.
Conclusion
Having the right tools guarantees a safe and efficient ceiling fan installation. For example, consider a homeowner who used a voltage tester, screwdriver, and ladder to install a fan correctly—avoiding electrical hazards and structural issues. By following proper procedures with these essential tools, you minimize risks and ensure a professional finish. Always double-check connections and stability before completing your project, guaranteeing long-term performance and safety of your new ceiling fan.

PULITUO'S 20V Cordless Drill/Driver, Electric Screwdriver – 2 Batteries, 30Nm, 21+1 Torque, 2 Speed, Keyless 3/8" Chase Drill with LED Light, Kit for Home (Green)
Powerful 20 V Motor and 2 x 1.5 Ah Battery: Equipped with a robust 20 V motor and…
As an affiliate, we earn on qualifying purchases.
As an affiliate, we earn on qualifying purchases.

KURUI Heavy Duty Hollow Wall Anchors for Drywall Ceiling, Toggle Bolts and Wing Nut Kit, 28Pcs Metal Drywall Anchors and Screws Assortment Set, 3 Sizes Butterfly Anchors for Hanging 1/8, 3/16, 1/4
MULTIPLE SIZE OPTIONS – This toggle bolt assortment includes 3 sizes (1/8 in, 3/16 in, 1/4 in) to…
As an affiliate, we earn on qualifying purchases.
As an affiliate, we earn on qualifying purchases.