Swapping halogen bulbs for LED in legacy fan lights is a smart move to save energy, enjoy longer-lasting bulbs, and improve lighting quality. First, turn off the power and make certain safety before removing the old bulbs carefully. Then, choose compatible LED options and install them securely. Afterward, check that everything works properly. For detailed steps and tips on the best way to replace your bulbs smoothly, keep exploring the next sections.
Key Takeaways
- Turn off power at the circuit breaker and verify with a voltage tester before removing old bulbs.
- Allow halogen bulbs to cool completely to prevent burns during removal.
- Ensure the new LED bulbs are compatible with your fan lights’ socket type and wattage requirements.
- Handle LED bulbs with gloves or a cloth to avoid fingerprints and ensure proper installation without forcing.
- After installation, turn the power back on and check for proper operation, brightness, and absence of flickering.

PARTPHONER E12 Base LED Light Bulbs B11 Candelabra Bulbs 60W Equivalent, Non-Dimmable 6W LED Bright Candle Small Base Chandelier Bulb 600 Lumen, 5000K Cold White for Ceiling Fan, Pack of 6
Efficient Illumination: Our E12 LED bulbs provide bright, energy-saving lighting equivalent to 60W incandescent bulbs, while consuming only…
As an affiliate, we earn on qualifying purchases.
As an affiliate, we earn on qualifying purchases.
Understanding the Benefits of LED Replacement
Switching from halogen bulbs to LED lighting offers numerous advantages that make the upgrade worthwhile. One major benefit is energy efficiency; LED bulbs use considerably less electricity, helping you reduce your energy bills and lessen your environmental impact. Additionally, LEDs provide a much longer lifespan, meaning you won’t have to replace them as often. This lifespan enhancement saves you time and money on maintenance and replacements. LEDs also generate less heat, making your space safer and more comfortable. Plus, they offer better light quality, with options for different brightness levels and color temperatures. Incorporating sustainable lighting options can further enhance your efforts to reduce your environmental footprint. Many modern LEDs are designed with eco-friendly materials and manufacturing processes, aligning with eco-conscious practices. Furthermore, choosing LED lighting can contribute to tiny house principles by maximizing efficiency and minimizing waste, which is especially beneficial in small living spaces. Overall, upgrading to LED lighting not only benefits your wallet but also contributes to a more sustainable, energy-conscious lifestyle.
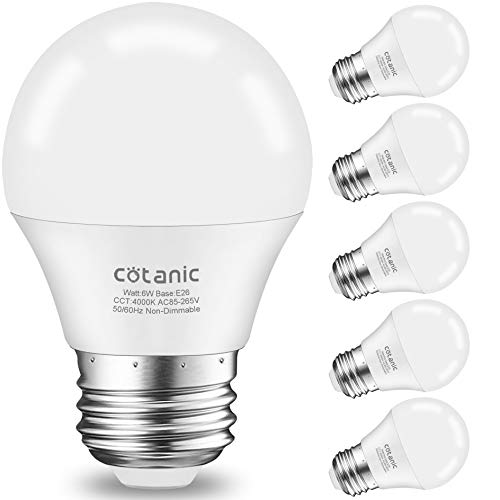
Cotanic A15 LED Bulb, Ceiling Fan Bulbs 6W (60W Equivalent),4000K Natural Daylight,E26 Standrad Base Light,600lm,CRI 80+ LED Globe Shape Bulb,Non-Dimmable,6 Packs
Ceiling Fan Light Bulb: These A15 bulbs utilize LED chips that are 10 times brighter than 60-watt incandescent…
As an affiliate, we earn on qualifying purchases.
As an affiliate, we earn on qualifying purchases.
Gathering the Necessary Tools and Materials
Before you begin swapping halogen bulbs for LED, it’s essential to gather the right tools and materials to guarantee a smooth and safe process. Start by selecting basic tools like a screwdriver, possibly a ladder, and gloves to protect your hands. Safety precautions are vital, so ensure the power is turned off at the circuit breaker before handling any electrical components. Proper tool selection helps prevent damage to the fixture and reduces the risk of injury. Keep your new LED bulbs handy, preferably those compatible with your fan light fixture. Gather a cloth or towel to handle bulbs safely and avoid fingerprints. Having everything within reach minimizes disruptions and ensures a safer, more efficient bulb replacement. Proper preparation is key to a successful upgrade. Additionally, understanding the importance of electrical safety can help prevent accidents during the process. Being aware of Glycolic Acid benefits can also guide proper skincare routines post-installation if desired. A basic understanding of vehicle tuning options can inspire future upgrades for your car.

Gardner Bender GTK-2 Safety Kit, GVD-3504 Non-Contact Voltage Tester and GFI-3501 GFI Tester, 2-Piece
Non-Contact Voltage Tester senses AC voltage from 50-600V
As an affiliate, we earn on qualifying purchases.
As an affiliate, we earn on qualifying purchases.
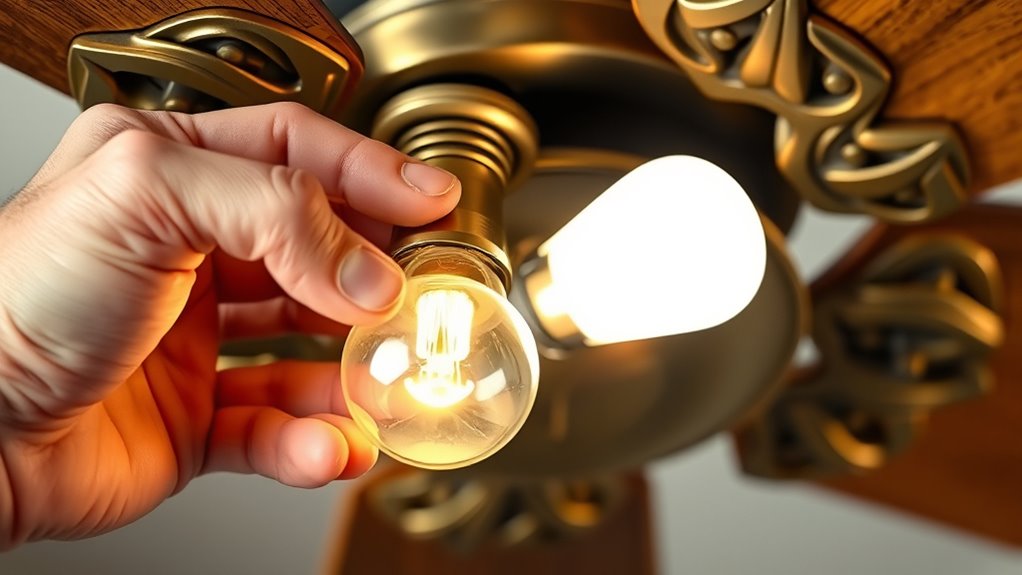
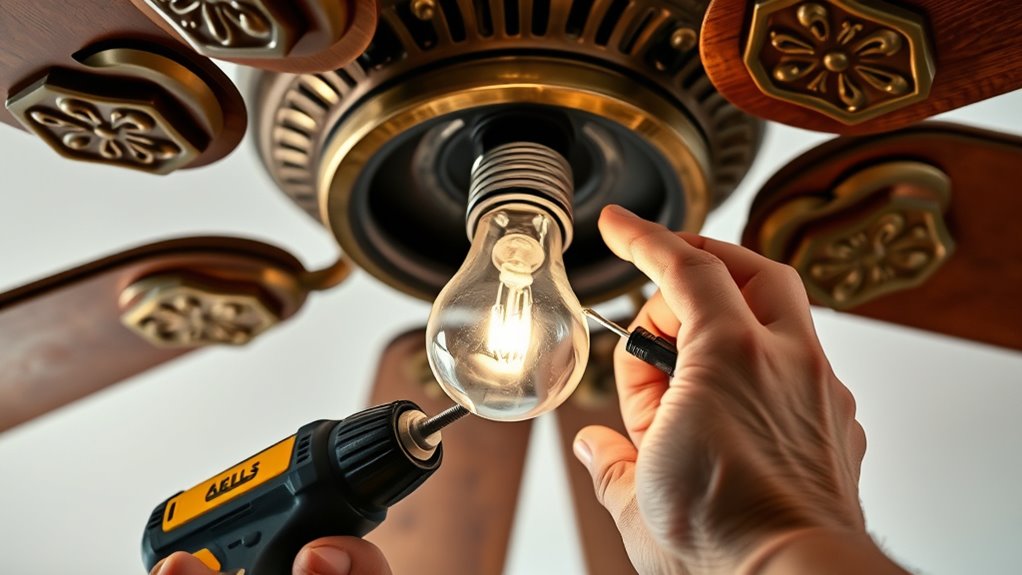
Safely Removing the Old Halogen Bulbs
To safely remove the old halogen bulbs, start by turning off the power at the circuit breaker to prevent any electrical shock. Confirm the power is off by testing the bulb socket with a voltage tester. Follow these safety precautions to guarantee a smooth removal: 1. Verify bulb compatibility before handling to avoid damage. 2. Allow the bulbs to cool completely to prevent burns. 3. Use a clean, dry cloth or gloves to handle bulbs, avoiding direct contact with your skin. 4. Gently twist or pull the halogen bulb out, ensuring you don’t force or twist excessively, which could damage the socket or fixture. Additionally, understanding the importance of color temperature adjustments can help in selecting the appropriate LED replacement for your fan lights. Proper bulb disposal is also essential to ensure environmental safety and compliance with local regulations. Being aware of energy efficiency benefits can also motivate the switch to LED bulbs, which consume less power and last longer.
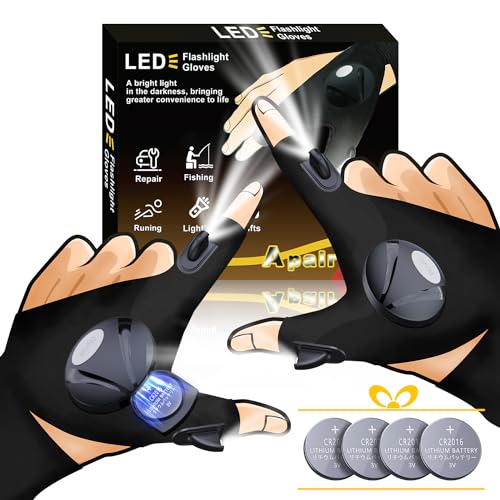
LOUISWARE LED Flashlight Gloves, Unique Gift for Men Dad Father Husband Birthday Stuff, Cool Stretchy Fingerless Light Gloves Gadget for Repairing Electrician Mechanic DIY Handmade, 1 Pair
【Unique Love Gifts for Men and Women】 You can't go wrong with this practical light glove to show…
As an affiliate, we earn on qualifying purchases.
As an affiliate, we earn on qualifying purchases.
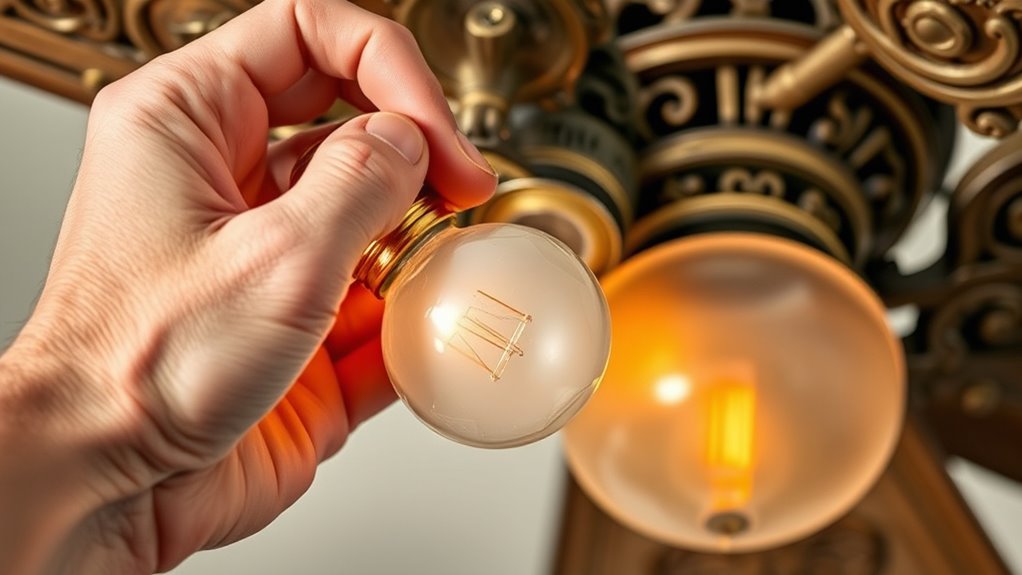
Installing Your New LED Bulbs

Once the old halogen bulbs are safely removed and the socket is clear, you can begin installing your new LED bulbs. Carefully insert the LED bulb into the socket, ensuring it fits snugly without forcing it. Unlike halogen bulbs, LEDs provide bright, consistent lighting, reducing dim lighting issues over time. Take note of the bulb’s orientation if it’s directional, and align it properly. LED bulbs have a much longer bulb lifespan, so you’ll enjoy years of reliable illumination with less frequent replacements. Be gentle during installation to avoid damaging the socket or the bulb. Once secured, turn on the light to verify proper operation. Proper installation ensures you get maximum efficiency and longevity from your new LED bulbs, enhancing your space’s lighting quality. Additionally, understanding the lighting technology behind LED bulbs can help you choose the best options for your needs. Considering energy-efficient lighting options can further reduce your electricity costs and environmental impact. To optimize your farmhouse bedroom ambiance, consider the warm color palettes that promote coziness and relaxation.
Final Checks and Tips for Ongoing Maintenance

After installing your new LED bulbs, it’s important to perform final checks to guarantee everything functions properly. Ensure the bulbs are securely fitted, and turn on the fan lights to verify proper operation. Check for flickering or unusual dimming, which could indicate electrical issues. Regularly cleaning the bulbs and fixtures helps maintain energy efficiency and prolongs bulb lifespan. Incorporate proper maintenance practices to help prevent potential problems and ensure safety. Here are some tips for ongoing maintenance:
- Inspect connections periodically to prevent loose wiring.
- Clean bulbs with a soft cloth to maximize brightness.
- Replace bulbs at the first sign of dimming or flickering.
- Keep fixtures free of dust and debris to sustain energy efficiency.
- Remember that fathers often serve as role models in household maintenance and care, so maintaining your fixtures can set a positive example. Additionally, understanding the electrical system of your fixtures can help identify issues early and ensure safe operation.
Following these steps ensures your LED upgrade stays cost-effective and long-lasting.
Frequently Asked Questions
Can I Use Any LED Bulb for My Specific Fan Light Model?
You might wonder if any LED bulb works for your fan light. To guarantee bulb compatibility, first identify your fan model, as different models have specific socket sizes and wattage limits. Check your fan’s manual or look for model details. Once you know your fan’s specifications, select LED bulbs that match those requirements. This way, you avoid issues like flickering, overheating, or damage, ensuring safe and efficient lighting.
Will Swapping Bulbs Affect My Fan’S Warranty or Electrical Safety?
Coincidence often brings questions about warranty implications and electrical safety when swapping bulbs. If you choose the right LED bulbs compatible with your fan, it typically won’t void your warranty or compromise safety. However, using incompatible or substandard LEDs might raise concerns. Always check your fan’s guidelines, ensure proper wattage, and opt for certified LEDs to safeguard your warranty and maintain electrical safety.
Are There Compatibility Issues Between LED Bulbs and Dimmer Switches?
You might face dimmer compatibility issues with LED bulbs, which can cause flickering or buzzing, reducing your bulb lifespan. Not all LED bulbs work well with existing dimmer switches, so check if your dimmer is rated for LED use. Upgrading to a compatible dimmer switch can improve performance and extend the bulb’s lifespan. Always verify compatibility to guarantee smooth dimmer operation and maximize your LED bulb’s longevity.
How Do I Choose the Correct Wattage for LED Replacement Bulbs?
Think of choosing the right wattage like tuning a musical instrument—balance is key. You follow wattage guidelines to guarantee your LED bulbs match your fixture’s needs. Always check bulb compatibility to prevent flickering or dimming issues. Usually, select LED bulbs with lower wattage than halogens but equivalent brightness. This way, you get efficient lighting without overloading your fixture, creating harmony in your space.
What Should I Do if the LED Bulb Flickers After Installation?
If your LED bulb flickers after installation, don’t worry. Flickering causes often include loose connections, incompatible dimmers, or incorrect wattage. Troubleshooting tips include tightening the bulb securely, checking if your dimmer switch supports LEDs, and verifying the bulb’s wattage matches your fixture’s requirements. If flickering persists, try replacing the bulb or upgrading to a compatible dimmer. This helps guarantee a steady, flicker-free light.
Conclusion
Switching from halogen to LED bulbs can cut your lighting energy use by up to 80%. Not only do LEDs last 25 times longer, but they also generate markedly less heat, making your home safer. With just a few simple steps, you can enjoy brighter, more efficient lighting. Remember, upgrading your bulbs is an easy way to save money and reduce your environmental impact—making your home smarter and greener with minimal effort.