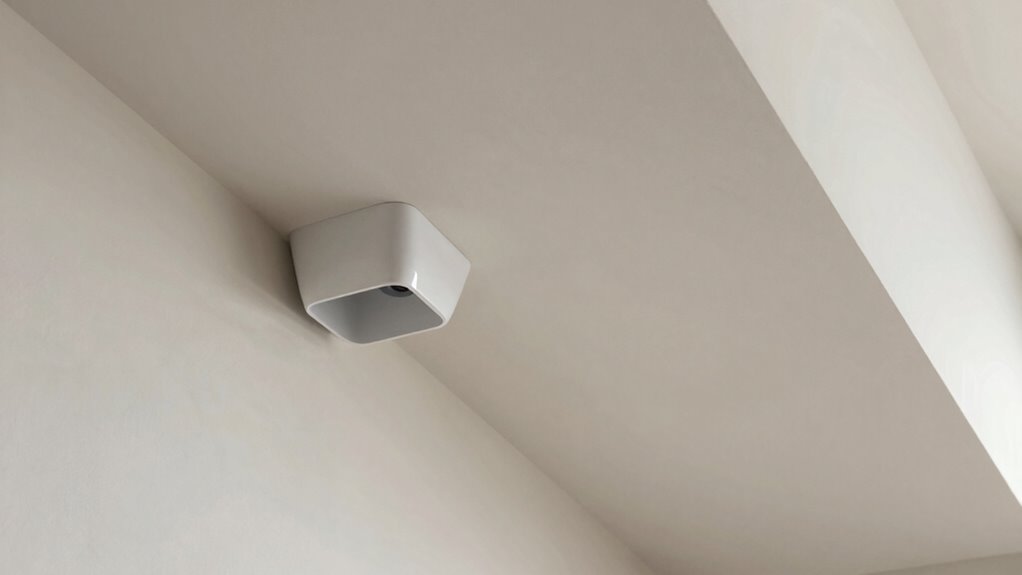
If you’re installing fixtures on angled or vaulted ceilings, sloped ceiling adapters make the job easier by ensuring your light hangs straight and secure. These adjustable accessories help you match the fixture’s angle to the ceiling, preventing uneven hanging and shadows. They support various fixture types and ceiling slopes, giving you a professional look. To learn about choosing and installing the right adapter for your space, keep exploring the options available.
Key Takeaways
- Choose adjustable adapters that can be fine-tuned to match various ceiling slopes and angles.
- Measure your ceiling’s angle accurately to select the right adapter for a secure fit.
- Install the adapter first onto the electrical box, then adjust to ensure even fixture hanging.
- Verify compatibility with your fixture type (pendant, chandelier, semi-flush) before installation.
- Use a level tool during installation to ensure proper alignment and prevent uneven lighting.
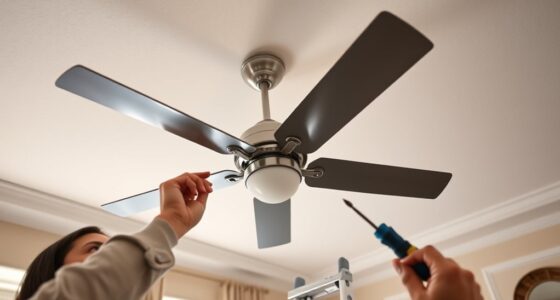
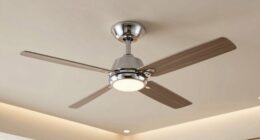
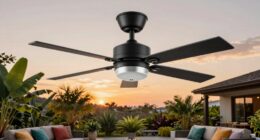
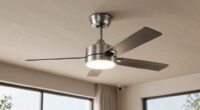
If you’re installing a ceiling fixture on a sloped or vaulted ceiling, you’ll need a sloped ceiling adapter to guarantee proper alignment and secure mounting. These adapters are essential because they help bridge the angle difference between the fixture and the ceiling surface, ensuring your lighting looks professional and functions safely. Without one, your fixture might hang unevenly, casting unwanted shadows or creating a cluttered appearance. When choosing a sloped ceiling adapter, consider how it will affect your lighting options. Some adapters are adjustable, allowing you to fine-tune the angle for optimal light distribution, which is especially helpful if your ceiling has multiple slopes or complex angles. This flexibility can enhance the overall aesthetic and functionality of your space.
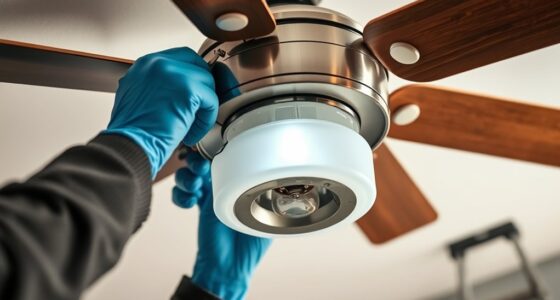
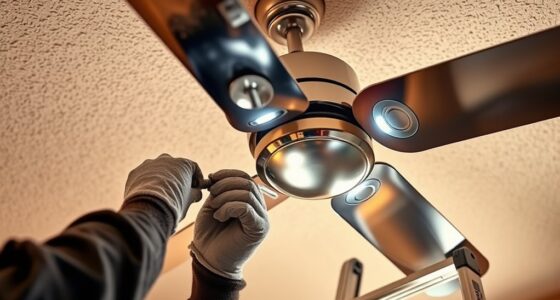
Installation tips are crucial when working with sloped ceiling adapters. First, turn off the power supply to prevent accidents. Measure the angle of your ceiling accurately to select an adapter that matches the slope. Many adapters come with adjustable features, so ensure you understand how to set the correct angle before mounting. It’s often best to start by attaching the adapter to the electrical box, then adjusting it so that the fixture hangs evenly. Use a level tool to double-check that the fixture is properly aligned before tightening all screws. Properly securing the adapter is key to avoiding wobbling or shifting over time, especially if you plan to use heavier fixtures.
Lighting options also influence your choice of adapter. For example, if you prefer flush mounts or semi-flush fixtures, ensure your adapter can accommodate the fixture’s mounting hardware. If you’re looking to hang a pendant or chandelier, verify that the adapter provides enough clearance and support for the weight. Some adapters are designed specifically for certain types of fixtures, so read product descriptions carefully. Additionally, consider the type of bulbs you plan to use. LED bulbs generate less heat and are energy-efficient, but make sure your fixture and adapter can support the wattage and heat output.

MAYOMAJO 4-Pack Sloped Ceiling Adapter for Chandeliers Pendant Lights Adjustable 0-180 Degrees Accommodate Sloped Ceiling (Black)
Versatile Adapters: This 4-pack set of sloped ceiling adapters allows you to install chandeliers and pendant lights on…
As an affiliate, we earn on qualifying purchases.
As an affiliate, we earn on qualifying purchases.
Frequently Asked Questions
Can Sloped Ceiling Adapters Be Used Outdoors?
Yes, you can use sloped ceiling adapters outdoors, but make sure they have outdoor durability. Look for weatherproof options designed to withstand rain, sun, and temperature fluctuations. These adapters are specially made with materials that resist corrosion and damage from the elements. By choosing weatherproof outdoor adapters, you’ll ensure your lighting setup remains functional and safe, even in harsh weather conditions.
Are There Size Restrictions for Different Ceiling Angles?
It’s not exactly a walk in the park, but yes, there are size restrictions for different ceiling angles. You might face compatibility issues if the angle exceeds the adapter’s maximum or minimum limits. To avoid a Titanic-sized problem, measure your ceiling’s angle carefully and check the product specifications. This guarantees your adapter fits well and functions properly, preventing frustration and ensuring your lighting setup works smoothly.
How Do I Choose the Right Adapter for My Light Fixture?
To select the appropriate adapter for your light fixture, first verify its fixture compatibility with sloped ceiling adapters. Make certain the adapter supports your ceiling angle and fixture type. Prioritize installation safety by choosing an adapter that is easy to install securely and is designed for your specific fixture. Measure your ceiling carefully, and consult manufacturer guidelines to ensure a proper fit and safe, reliable lighting.
Do Adapters Affect Overall Lighting Efficiency?
You might think adapters are just a tiny detail, but they can actually impact your lighting efficiency more than you’d expect. Poor adapter compatibility or mismatched lighting angles can cause light to spread unevenly or diminish brightness. While they don’t drastically change wattage, the right adapter ensures ideal light direction and coverage, keeping your space well-lit without sacrificing performance. Ironically, the smallest adjustments can make the biggest difference in your lighting setup.
Can I Install Adapters Myself or Need Professional Help?
You can attempt DIY installation of adapters if you’re comfortable with basic electrical work and follow instructions carefully. However, for safety and ideal results, it’s wise to seek professional assistance, especially for complex angled ceilings or if you’re unsure about wiring. Professional installers ensure everything is correctly fitted and compliant with safety standards, reducing risks of electrical issues or damage, making your lighting setup both effective and secure.

Feekoon 1 Pack 3 Outlet Light Socket Adapter, Convert E26/E27 Bulb Socket to 3 Prong Outlet with Extension Cord, Light Bulb Plug Adapter Converter Suitable for Outdoor Porch Garage Patio Use (Black)
[Patent Registered]E26/E27 Light Socket Adapter: convert E26/E27 light bulb to 3 outlet socket adapter, good for adding a…
As an affiliate, we earn on qualifying purchases.
As an affiliate, we earn on qualifying purchases.
Conclusion
Now that you know how to choose and install a sloped ceiling adapter, you’re ready to brighten up your space with ease. Think of it as turning a tricky corner into a smooth, straight path—like guiding a boat through choppy waters to calm seas. With the right adapter, your angled ceiling becomes just another surface to work with, not against. So go ahead, make your lighting effortless and enjoy your beautifully illuminated room!

Rierdge Black Sloped Ceiling Adapter for Chandeliers Pendant Lights, Suitable for Vaulted Angled or Irregular Ceilings
【Package Include】 1 x sloped ceiling adapter, which is suit for M10 or M12 thread, weight capacity up…
As an affiliate, we earn on qualifying purchases.
As an affiliate, we earn on qualifying purchases.
MAYOMAJO 4-Pack Sloped Ceiling Adapter for Chandeliers Pendant Lights Adjustable 0-180 Degrees Accommodate Sloped Ceiling (Black)
Versatile Adapters: This 4-pack set of sloped ceiling adapters allows you to install chandeliers and pendant lights on…
As an affiliate, we earn on qualifying purchases.
As an affiliate, we earn on qualifying purchases.