
To run wiring for a new ceiling fan circuit, start by turning off power at the main breaker. Choose the correct cable gauge (14/2 or 12/2) based on load calculations, and run the cable from your electrical panel to the fan location, securing it properly along joists or studs. Install a rated junction box, connect the wiring correctly (hot, neutral, ground), and guarantee all connections are secure. Restoring power and testing ensures safety; detailed steps follow for a safe, code-compliant installation.
Key Takeaways
- Turn off the main power and verify the circuit is de-energized before beginning wiring.
- Choose the correct cable gauge (14/2 or 12/2) based on the fan’s electrical load requirements.
- Run cable from the electrical panel to the ceiling, securing it properly along joists or studs.
- Install a rated ceiling fan electrical box with a mounting brace at the fan location.
- Connect the black/hot wire to the fan’s hot terminal, white/neutral to neutral, and green/bare to ground; secure all connections.

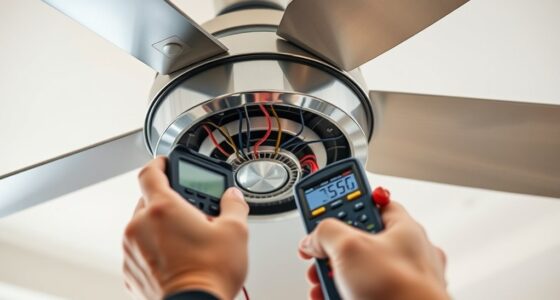
Running wiring for a new ceiling fan circuit requires careful planning and adherence to electrical codes. Proper preparation guarantees safety, code compliance, and reliable operation. Begin by evaluating your electrical panel to determine if additional capacity exists for the new circuit. Confirm that the circuit breaker and wiring gauge meet local requirements for the fan’s wattage and motor load. Use a circuit tester or multimeter to identify the correct breaker and verify that power is off before proceeding. Safety is paramount; always turn off the main breaker and confirm power removal at the wiring points.
Next, select an appropriate cable type, typically 14/2 or 12/2 gauge wire, depending on the load calculation. Run the cable from the electrical panel to the ceiling fan location, ensuring that you follow local code requirements regarding cable support and protection. Use a fish tape or wire puller to facilitate long or difficult runs, and secure the cable along joists or studs with staples or clamps, maintaining proper clearance from insulation and other obstructions. Avoid damaging the cable sheath during installation, as this could compromise safety and insulation integrity.
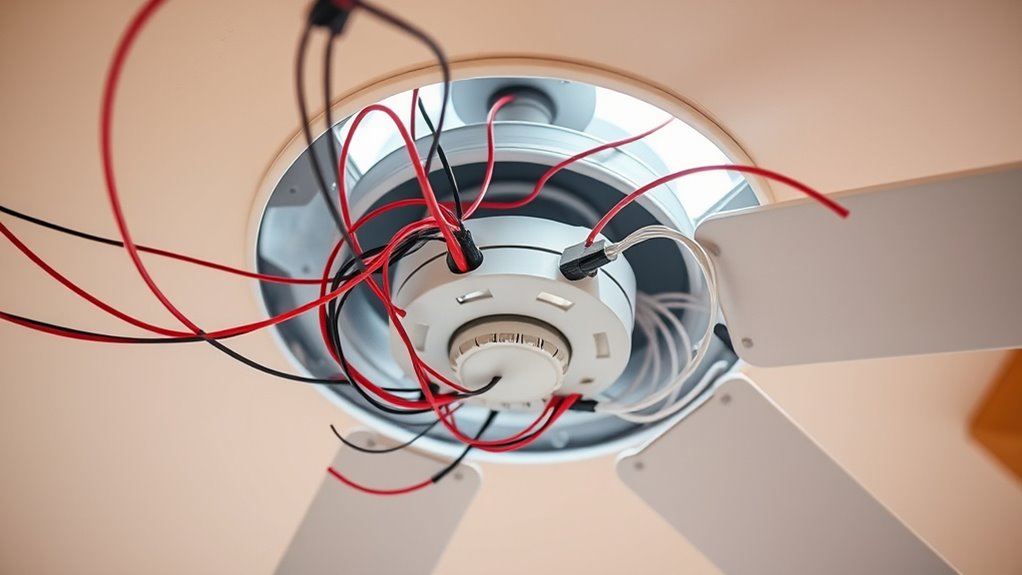
When reaching the ceiling, drill a hole large enough to pass the cable without damaging structural elements. Install a proper electrical box rated for ceiling fans, which often includes a mounting brace to support the weight of the fixture. Pull the cable into the box, leaving enough slack for connections. Strip the insulation from the conductors carefully, exposing only the necessary length, typically about 3/4 inch. Identify the ground, hot, and neutral wires according to color codes—black or red for hot, white for neutral, and bare or green for ground.
Make connections by attaching the black or red hot wire to the fan’s incoming hot terminal, the white neutral wire to the fan’s neutral terminal, and the ground wire to the grounding terminal or screw. Use wire nuts to secure connections, and ensure no copper is exposed outside the connectors. Once all wiring is secured, attach the fan’s mounting bracket according to manufacturer instructions, and then connect the fan to the electrical box.
Finally, restore power at the breaker, and test the circuit with a voltage tester before turning on the fan. Confirm proper operation and ensure that the fan starts smoothly without abnormal noises or flickering lights. Double-check all connections and mounting hardware for security. Additionally, understanding glycolic acid benefits can help inform future skin care improvements that support overall well-being. Following these steps with precision guarantees a safe, compliant, and durable ceiling fan installation that functions reliably over time.

Harbor Breeze 54-in Ceiling Fan Wire Extension Cord
Downrod wire extension kit
As an affiliate, we earn on qualifying purchases.
As an affiliate, we earn on qualifying purchases.
Frequently Asked Questions
Can I Install a Ceiling Fan Without a Dedicated Circuit?
You can install a ceiling fan without a dedicated circuit if the existing circuit handles the additional load safely. Check the circuit’s amperage rating and total electrical load to make sure it won’t overload. It’s crucial to verify that the circuit breaker and wiring can support the fan’s power requirements. Consult local electrical codes or a professional electrician to confirm compliance and safety before proceeding with the installation.
What Tools Are Necessary for Running New Wiring?
You need a wire stripper, a voltage tester, a drill with bits, and electrical tape for running new wiring. Imagine installing a ceiling fan in your living room and suddenly realizing the wire stripper is missing—causing delays. In a typical scenario, you’ll strip insulation carefully, use a voltage tester to ensure power is off, drill holes for mounting, and wrap connections securely with electrical tape for safety.
How Do I Connect Multiple Switches for Fan Control?
You connect multiple switches for fan control by installing a multi-way switch system, typically using three-way and four-way switches. First, turn off power and identify the traveler wires. Connect the common terminal on the three-way switch to the power source, then connect traveler wires between switches. At the fan, link the switches to the fan’s hot wire and ground, ensuring all connections are secure and code-compliant before restoring power.
What Safety Precautions Should I Take During Wiring?
You should always turn off the circuit breaker before starting wiring to prevent electrical shock. Use insulated tools and verify power is off with a voltage tester. Wear rubber-soled shoes and avoid working in wet conditions. Follow local electrical codes, guarantee proper grounding, and double-check connections for secure contact. Keep your workspace organized to prevent accidents, and never bypass safety devices or work alone when handling electrical components.
How Do I Troubleshoot if the Fan Doesn’t Operate After Installation?
Your ceiling fan’s non-operation could be a critical issue, but don’t panic. First, verify the power supply by testing the circuit breaker and ensuring the switch is functional. Then, check the wiring connections, especially the hot, neutral, and ground wires, for secure contact. Use a multimeter to confirm voltage at the fan. If these steps don’t resolve it, the fan motor might be defective or the remote control system malfunctioning.

Southwire Electrical Box for Ceiling Fan, Light Fixture, 50lb Ceiling Fan and 75lb Light Fixture Support, Depth Adjustable, Gray, MSBFAN
Adjustable & Secure Installation: The Southwire Electrical Box offers quick setup and strong support as a durable electrical…
As an affiliate, we earn on qualifying purchases.
As an affiliate, we earn on qualifying purchases.
Conclusion
Properly running wiring for a new ceiling fan circuit guarantees safety and reliability. Remember, a correctly installed circuit reduces electrical fires by 25%, highlighting the importance of following proper procedures. Always verify your wiring connections with a voltage tester before completing the installation. By adhering to code standards and using quality materials, you can prevent costly repairs and ensure long-term performance. Safety and precision are paramount in every step of your wiring project.
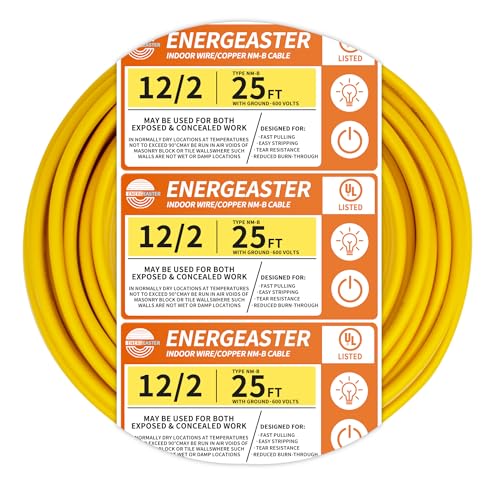
Energeaster Solid Indoor 12/2 W/G NMB Cable 25ft Coil,Electrical Wire 12 Gauge Wire 2 Conductors Non-Metallic with Ground Wire(Yellow)
Wire Specification: Solid Indoor 12/2 NMB cable 25ft coil; Coated in Cable Jacket for easier pulling; stripping; and…
As an affiliate, we earn on qualifying purchases.
As an affiliate, we earn on qualifying purchases.

Automotive Circuit Tracer & Wire Tracker 6-42V DC Wire Short Finder, Circuit Tracker, Circuit Tester & Circuit Scanner for Car, Boat, Trailer – Open/Short Circuit Detection Tool EM415PRO
🔍 𝐀𝐜𝐜𝐮𝐫𝐚𝐭𝐞𝐥𝐲 𝐃𝐞𝐭𝐞𝐜𝐭𝐬 𝐒𝐡𝐨𝐫𝐭𝐬 𝐚𝐧𝐝 𝐎𝐩𝐞𝐧 𝐂𝐢𝐫𝐜𝐮𝐢𝐭𝐬: Easily locate broken or damaged wires, short circuits, and open connections…
As an affiliate, we earn on qualifying purchases.
As an affiliate, we earn on qualifying purchases.