
To install a fan on a sloped ceiling, start by selecting a fan with an adjustable mounting system and blades designed for angled ceilings. Prepare the site by checking ceiling support, clearance, and lighting needs. Assemble and attach the mounting bracket securely using the proper tools. Wire the fan carefully, ensuring all connections are tight and safe. Finally, test the installation for smooth operation and stability. Continue exploring each step for detailed guidance to guarantee a safe and effective setup.
Key Takeaways
- Select a fan with an adjustable mounting system suitable for sloped ceilings and ensure proper tools are ready.
- Prepare the installation site by confirming ceiling support, clearance, and removing or adjusting existing fixtures.
- Assemble and mount the fan bracket securely, verifying compatibility and following safety precautions.
- Connect wiring properly, ensuring secure connections, and use appropriate hardware for sloped ceiling support.
- Test the fan for smooth operation, adjust blades if needed, and tighten all screws for safety and optimal airflow.

Mosanfan Black Sloped Ceiling Fan Adapter for Sloped & Vaulted Ceilings Up to 45°
Usage scenario: suitable for flat and sloping ceilings
As an affiliate, we earn on qualifying purchases.
As an affiliate, we earn on qualifying purchases.
Selecting the Right Fan and Tools
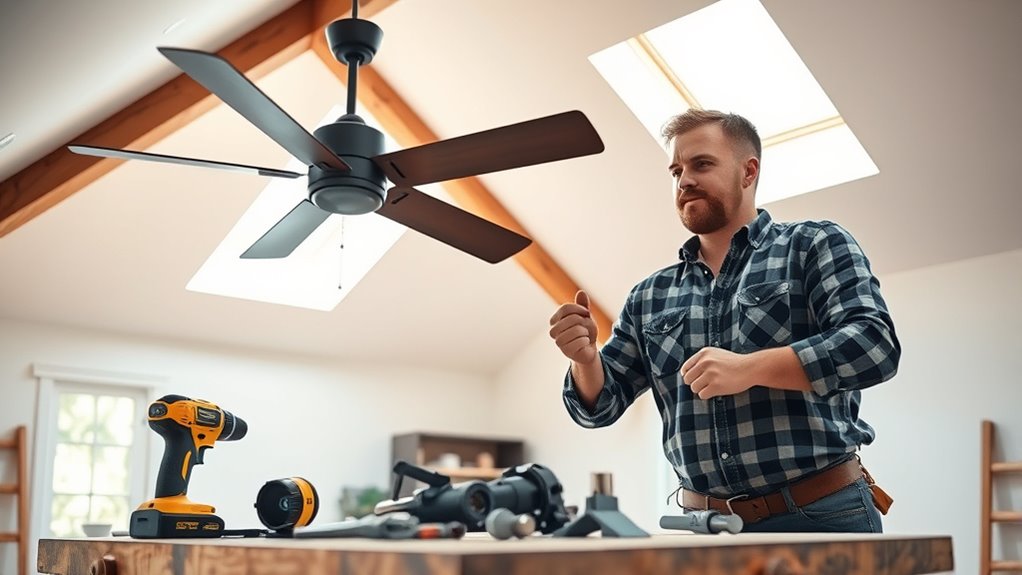
Choosing the right fan and tools is crucial for a successful installation on a sloped ceiling. Your fan blade selection matters because blades designed for sloped ceilings help balance airflow and fit the angle properly. Make sure to choose a fan with an adjustable mounting system suited for the ceiling’s slope. Ceiling height considerations are indispensable; taller ceilings may require extended downrods to ensure proper clearance and air circulation. Use the appropriate tools, such as a sturdy ladder, screwdrivers, and a voltage tester, to ensure safety and precision during installation. Picking a fan compatible with your ceiling’s pitch prevents wobbling and noise issues later. Properly selecting your fan and tools sets a solid foundation for a smooth, safe installation process. Additionally, considering specialized fan accessories can enhance performance and stability on sloped ceilings.

Quynhni 31.5 inch Ceiling Fan Extension Rod, Ceiling Fan Downrod Heavy-Duty Stainless Steel 1-inch Diameter Ceiling Fan Wire Extension Kit
High Compatibility: Our downrod extension for fan features a universal threadless design compatible with most ceiling fans, extending…
As an affiliate, we earn on qualifying purchases.
As an affiliate, we earn on qualifying purchases.
Preparing the Installation Site
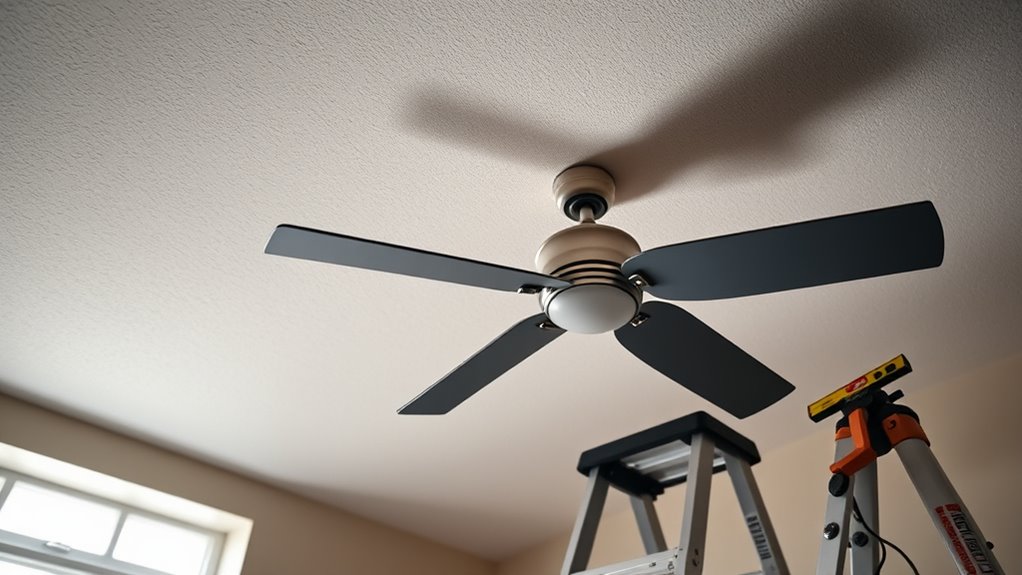
Before installing your ceiling fan, it’s essential to prepare the site properly to guarantee safety and a smooth process. First, check the ceiling height to ensure there’s enough space for proper clearance and to meet safety standards. Next, assess lighting compatibility; decide if existing fixtures need removal or adjustment for the fan’s light kit or new wiring. Finally, clear the area beneath the installation point, removing furniture or obstacles that could hinder access or pose hazards. Visualize the workspace with:
Proper site prep ensures safe, smooth ceiling fan installation by checking height, assessing lighting, and clearing the workspace.
- An unobstructed, high ceiling ready for mounting
- Adequate space for wiring and electrical connections
- Compatible lighting fixtures that won’t interfere with the fan’s operation
Proper site preparation minimizes risks and simplifies the installation process. Additionally, consider the remote hackathon opportunities for gaining new skills or collaborating with others if you need assistance during complex installations. Ensuring the ceiling can support the weight of the fan is also crucial, especially on sloped ceilings, to prevent any structural issues. Also, verify the ceiling support structure to confirm it can bear the fan’s weight safely.
Mosanfan Black Sloped Ceiling Fan Adapter for Sloped & Vaulted Ceilings Up to 45°
Usage scenario: suitable for flat and sloping ceilings
As an affiliate, we earn on qualifying purchases.
As an affiliate, we earn on qualifying purchases.
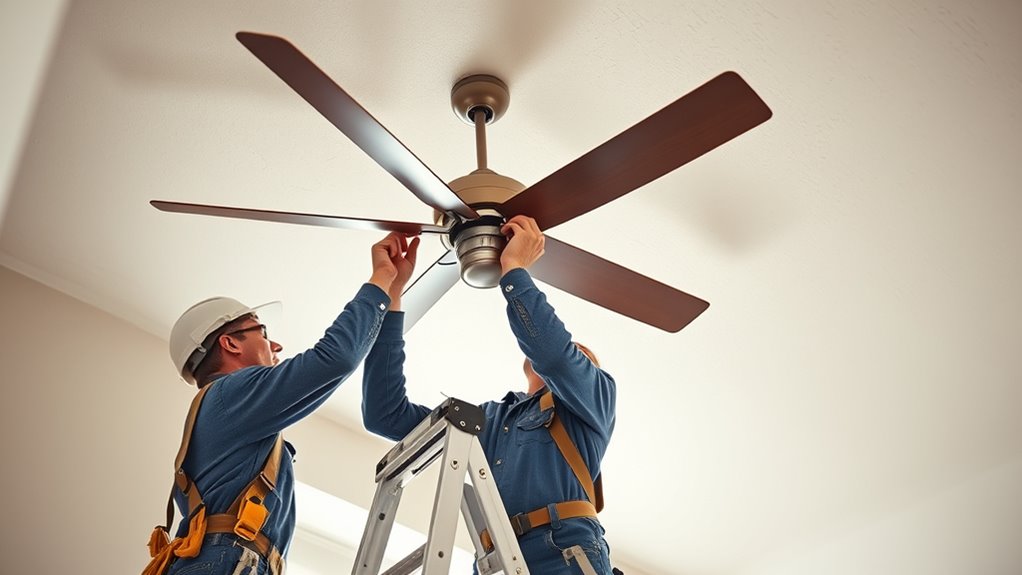
Assembling and Mounting the Fan Bracket

To begin assembling and mounting the fan bracket, gather all necessary tools and hardware, such as screws, anchors, a drill, and a ladder if needed. Confirm you have the correct mounting brackets for your fan model. Check the ceiling for safety precautions, like stability and support. Use the table below to understand the components involved:
| Component | Purpose | Important Notes |
|---|---|---|
| Mounting Bracket | Supports fan weight | Confirm compatibility |
| Anchors | Secure bracket into ceiling | Use appropriate type |
| Screws | Fasten bracket to ceiling | Tighten firmly |
Always follow safety precautions during installation to prevent accidents or damage. Proper assembly ensures a stable, secure fit for your ceiling fan. Additionally, understanding the support structure of your ceiling can help prevent issues related to insufficient strength. Being aware of the fan weight capacity can also influence your choice of mounting hardware to ensure safety and durability. Considering building codes and local regulations is crucial to ensure compliance and safety during installation.

Harbor Breeze 54-in Ceiling Fan Wire Extension Cord
Downrod wire extension kit
As an affiliate, we earn on qualifying purchases.
As an affiliate, we earn on qualifying purchases.
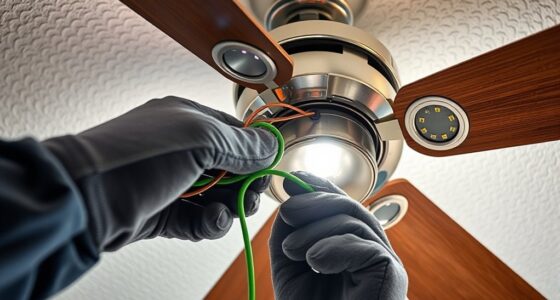
Wiring and Securing the Fan
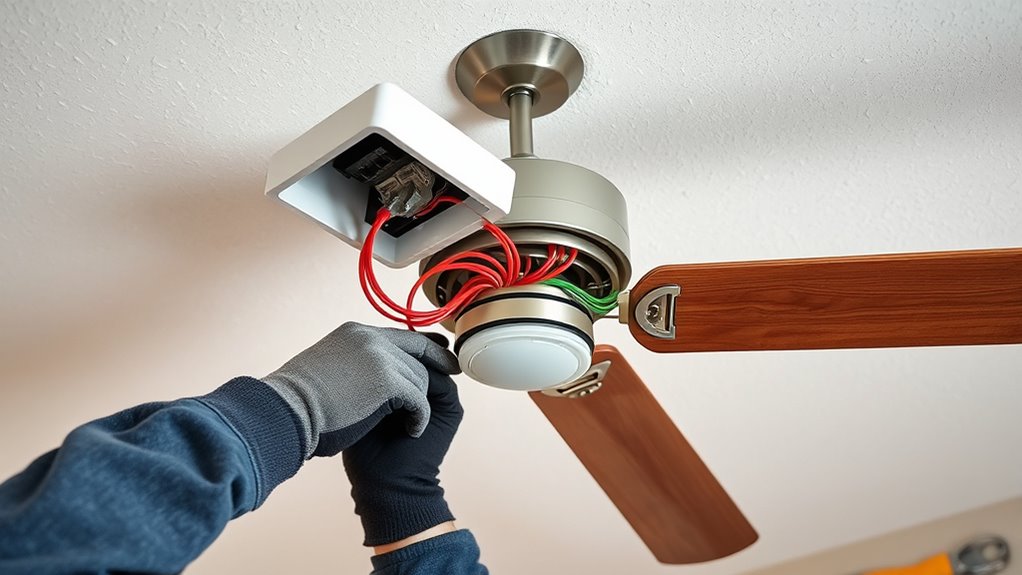
Have you prepared the wiring connections and secured the fan in place? Now, focus on completing the wire connection and guaranteeing the fan is firmly secured using the mounting hardware. First, connect the wires: match the black wire to the black, white to white, and green or bare copper to the ground. Use wire nuts to secure each connection tightly. Then, tuck the wires into the ceiling box neatly. Next, secure the fan using the mounting hardware, making sure the mounting bracket is tight and stable. Ensure that the risk of electrical shock is minimized by turning off the power supply before beginning this step. Visualize:
- The wires connected firmly, no loose ends
- The mounting hardware tightened securely, holding the fan steady
- The wires neatly tucked away, avoiding pinching or damage
- Proper airflow around the unit to enhance performance and safety
- Confirming that the mounting hardware is compatible with the sloped ceiling to prevent instability
This step ensures your fan stays safe and functional on the sloped ceiling.
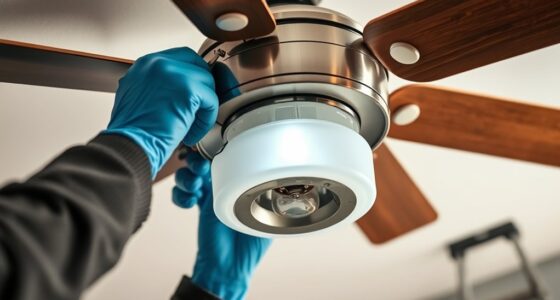
Testing and Final Adjustments
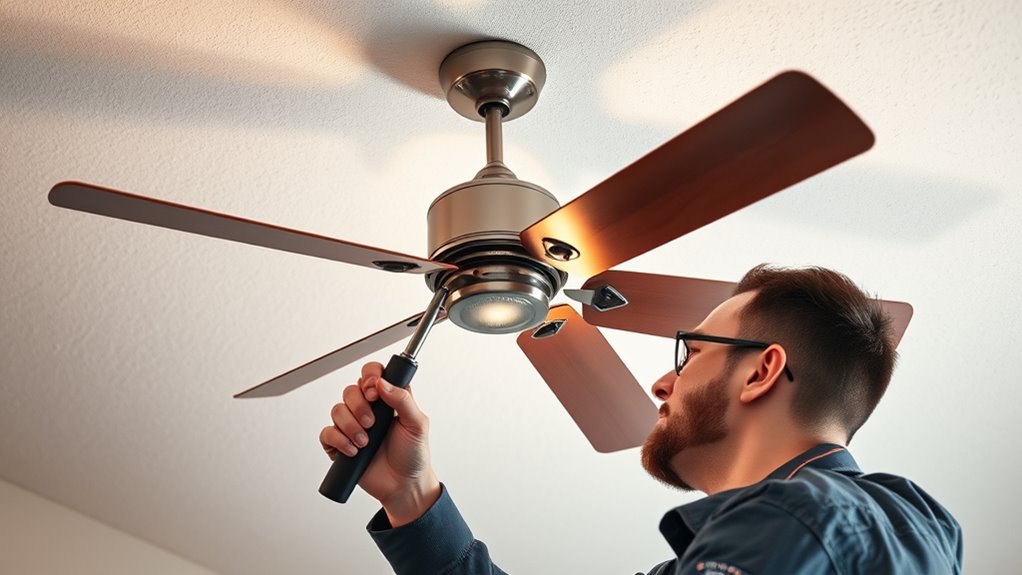
Wondering if your fan is ready for use? First, check the mounting height to guarantee it’s installed at the recommended distance from the floor for safety and ideal airflow. Turn on the fan to test its operation, listening for unusual noises or wobbling, which could indicate loose parts or improper mounting. Make sure the fan blades spin smoothly and that the remote or wall switch functions correctly. Follow safety precautions by turning off the power before making any adjustments. Tighten any loose screws or connections, and verify that the mounting bracket is secure on the sloped ceiling. Additionally, be aware of the support hours for assistance if needed during installation or troubleshooting. It’s also helpful to ensure that the fan’s electrical wiring is correctly connected to prevent potential hazards. Finally, balance the fan blades if needed to prevent wobbling. Once everything checks out, you’re ready to enjoy your newly installed ceiling fan safely.
Frequently Asked Questions
Can I Install a Fan on a Sloped Ceiling Without a Mounting Bracket?
You can’t install a ceiling fan on a sloped ceiling without a mounting bracket because it’s crucial for secure installation. Different ceiling fan types, like flush mounts or downrods, require specific brackets to handle the angle. Always follow an installation checklist to ensure safety and proper setup. Skipping the bracket risks the fan falling or causing damage, so make sure to use the right mounting hardware for your ceiling’s slope.
What Safety Precautions Should I Take During Installation?
You should prioritize electrical safety by turning off the power at the circuit breaker before starting. Make certain your ladder is stable and on level ground to prevent falls. Wear rubber-soled shoes and safety glasses for added protection. Avoid overreaching and double-check all connections before completing the installation. These precautions help prevent electrical hazards and maintain ladder stability, keeping you safe during the entire process.
How Do I Ensure the Fan Operates Quietly on a Slope?
To guarantee your fan operates quietly on a slope, focus on noise reduction and vibration control. Use anti-vibration mounts or pads to minimize vibrations that cause noise. Make sure the fan is securely fastened, preventing wobbling. Balance the blades properly, and consider installing a ceiling medallion or dampers to absorb vibrations. Regularly check and tighten connections to maintain smooth, silent operation on your sloped ceiling.
Are Special Tools Needed for Angled Ceiling Fan Installation?
Think of installing a fan on an angled ceiling like fitting a puzzle piece perfectly. You’ll need
How Can I Troubleshoot Common Installation Problems?
When troubleshooting common installation problems, check if your wireless remote isn’t working by replacing batteries or reprogramming it. Confirm the ceiling fan height is correct for safe operation and proper airflow. If the fan wobbles, tighten the downrod and blades. Verify all wiring connections are secure, especially on angled ceilings. Adjust the fan’s angle if it’s misaligned, and test the remote again. These steps help fix typical issues quickly.
Conclusion
Once you’ve installed your fan, it’s like giving your room a gust of fresh air—literally. Imagine the first time you flip the switch, and the blades spin smoothly on that sloped ceiling, transforming your space. Just like mastering a new recipe, your effort pays off with comfort and style. Remember, even small steps make a big difference—so trust your work, enjoy the cool breeze, and let your new fan do its job beautifully.