To install a ceiling fan without existing wiring, you’ll need to plan your space carefully, choosing a central location with enough clearance, and gather tools like a drill, wire stripper, and a voltage tester. You’ll install a new electrical box rated for fans and run wiring from your power source to the fan, making proper connections and grounding. If you’d like detailed steps and tips, there’s more to explore on ensuring a safe, efficient setup.
Key Takeaways
- Install a new electrical box rated for fan support at the desired ceiling location, ensuring proper support and safety.
- Run new wiring from the main electrical panel to the fan location, following local electrical codes.
- Use a wireless receiver and remote control system to operate the fan without existing wall wiring.
- Turn off power at the breaker before wiring and secure all connections with rated wire nuts.
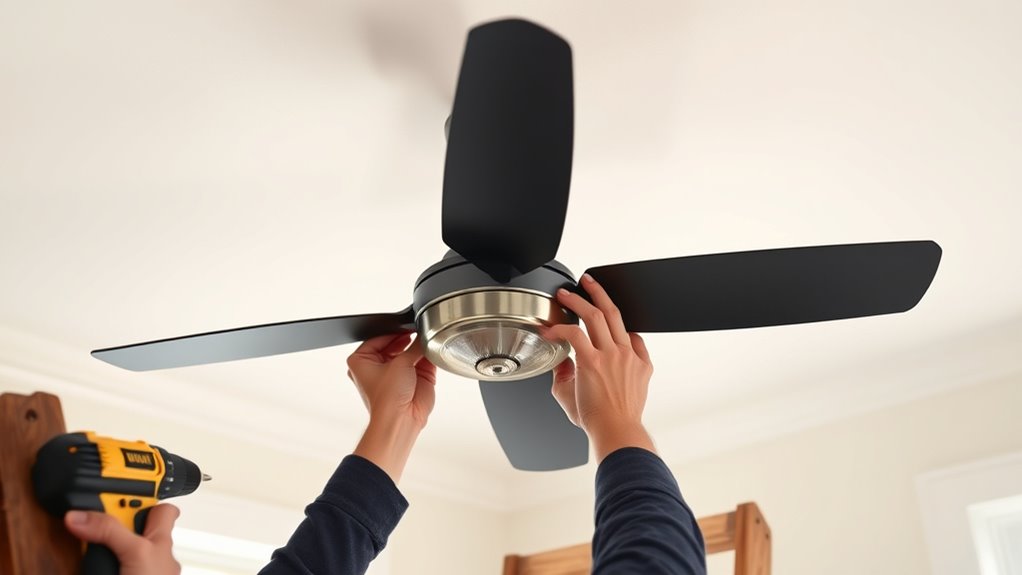
- Support the fan with appropriate brackets and ensure the electrical box is securely mounted to support the weight.
ZMISHIBO 72 inch Large Ceiling Fans with Lights and Remote, Indoor/Outdoor Black Modern Ceiling Fan for Kitchen Living Room Patio, 6 Speed Reversible Quiet DC Motor, 3 CCT, Dual Finish 8 Blades
72 Inch Ceiling Fan: This large ceiling fan includes 4“, 8”, and 24“ down rods, making it a...
As an affiliate, we earn on qualifying purchases.
Assessing Your Space and Planning the Installation
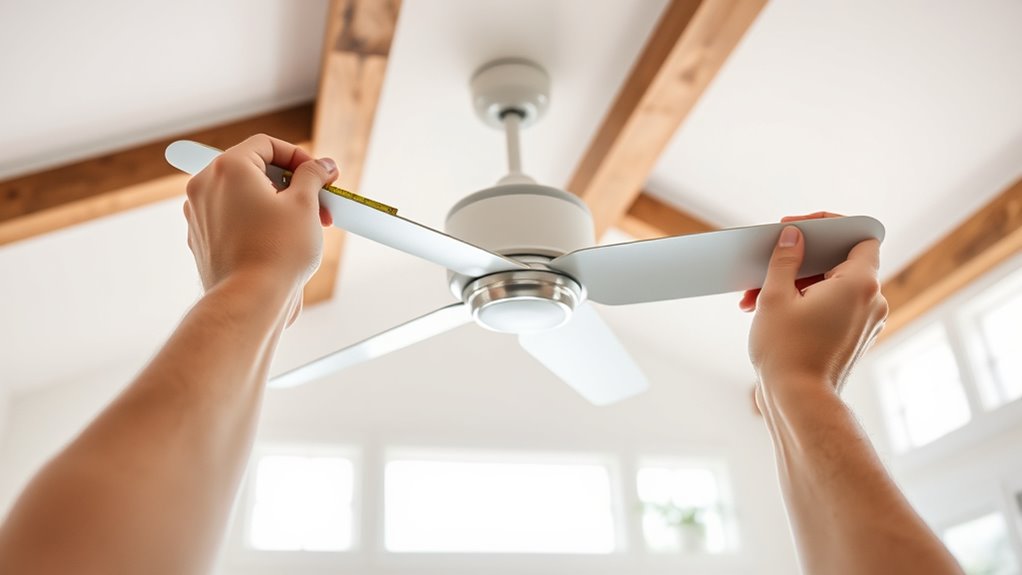
Before installing a ceiling fan without wiring, you need to carefully assess your space and plan the installation. Start by measuring your ceiling height to determine the best fan placement and guarantee it won’t hang too low or be too high. Consider your room layout—identify the central point where the fan will provide ideal air circulation. Check for obstacles like light fixtures, beams, or ceiling slopes that could interfere with installation or operation. If your ceiling is particularly high, you might need a longer downrod to position the fan at the right height. Planning ahead helps you choose the correct fan size and placement, making installation smoother and ensuring effective airflow once the project is complete. Additionally, understanding bedroom design principles can help you select a fan that complements your room’s aesthetics and ambiance. Being aware of wiring alternatives can also be beneficial if your space doesn’t have existing wiring, as there are options like wireless or battery-operated fans that can simplify the process. Considering power supply options can help you select the most suitable solution for your specific space and needs.

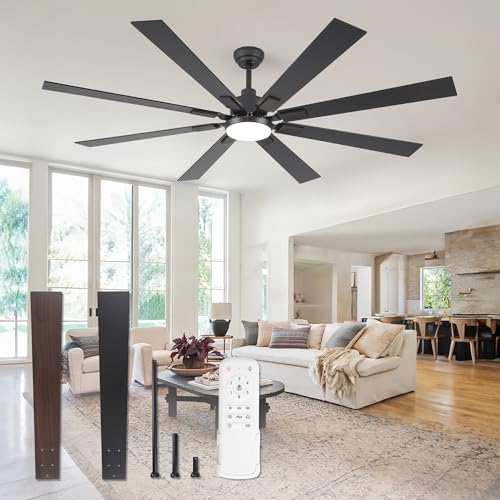
65 Inch Ceiling Fan No Light with Remote, Black Large Ceiling Fan Without Light with Quiet Reversible DC Motor, 6-Speeds, 8 Blades, Indoor/Outdoor Modern Ceiling Fans for Patios, Living Room, Garage
Powerful Airflow: This 65 inch ceiling fan no light features an 8 blades design that effectively cools large...
As an affiliate, we earn on qualifying purchases.
Gathering the Necessary Tools and Materials
Before you start, gather all the tools and safety gear you’ll need to make certain a smooth installation. You’ll want items like a ladder, screwdriver, and possibly a drill, along with protective gloves and goggles. Additionally, check if you need extra materials such as mounting brackets, screws, or a ceiling fan kit. It’s also helpful to understand Glycolic Acid benefits as an example of how exfoliation and skin renewal work, which can be useful if your ceiling fan installation involves integrated wiring or control systems. Ensuring you have the right survival tools can also prepare you for unexpected issues during installation, especially in off-grid or emergency situations.
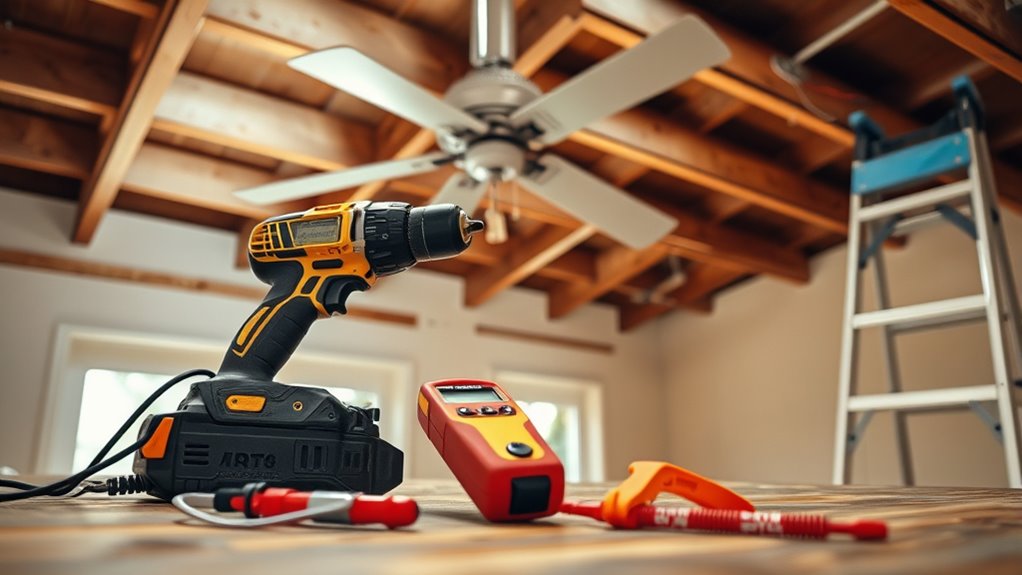
Tools and Safety Gear
To install a ceiling fan without wiring safely and effectively, you’ll need to gather the right tools and safety gear first. Essential tools include a drill, screwdriver, ladder, wire stripper, and a voltage tester. Safety gear like gloves, safety glasses, and a dust mask protect you during installation. Using wireless controls simplifies setup and enhances aesthetic considerations by eliminating exposed wiring. Here’s a quick overview:
| Tool/Safety Gear | Purpose | Notes |
|---|---|---|
| Drill & Screws | Mounting fan | Ensure secure attachment |
| Voltage Tester | Check power | Prevent electrical accidents |
| Ladder | Reach ceiling | Maintain stability |
| Gloves & Glasses | Safety | Protect hands and eyes |
| Wire Stripper | Prepare wiring | Clean, safe connections |
Gather these to ensure a safe, efficient, and neat installation process. Additionally, proper preparation can help prevent common issues during installation, and understanding electrical safety principles is crucial for a hazard-free project.
Additional Materials Needed
In addition to your basic tools and safety gear, gathering the right materials is vital for a smooth ceiling fan installation. You’ll need wireless controls to operate the fan remotely, especially since there’s no existing wiring. These controls typically include a receiver and a remote, making the setup more convenient. If you want to enhance your space’s aesthetics, consider decorative fixtures that complement your decor and conceal mounting hardware. Also, make certain you have mounting brackets compatible with your ceiling type and the fan’s weight. Additional materials like screws, anchors, and electrical connectors are essential for secure installation. Having everything ready beforehand will save you time and help avoid last-minute trips to the store. Proper preparation ensures a safe, efficient, and visually appealing ceiling fan setup. Additionally, understanding the importance of efficient heating solutions can help you choose the right fan size and features for your space. To ensure safety and optimal performance, familiarize yourself with Ring security cameras features that can monitor your installation process. Moreover, reviewing toilet buying guides can help you understand the importance of proper installation and maintenance for any fixture.

addlon 52 inch Ceiling Fans with Lights and Remote Control, Reversible, 3 Wood Blades, 6 Speeds, 3CCT Dimmable, Noiseless, Indoor/Outdoor Black Walnut Ceiling Fan for Bedroom Living Room Gazebo Patio
Ceiling Fan with Light: Bring more than just wind and light, but comfort! addlon ceiling fan, with carved...
As an affiliate, we earn on qualifying purchases.
Choosing the Right Location for Your Ceiling Fan
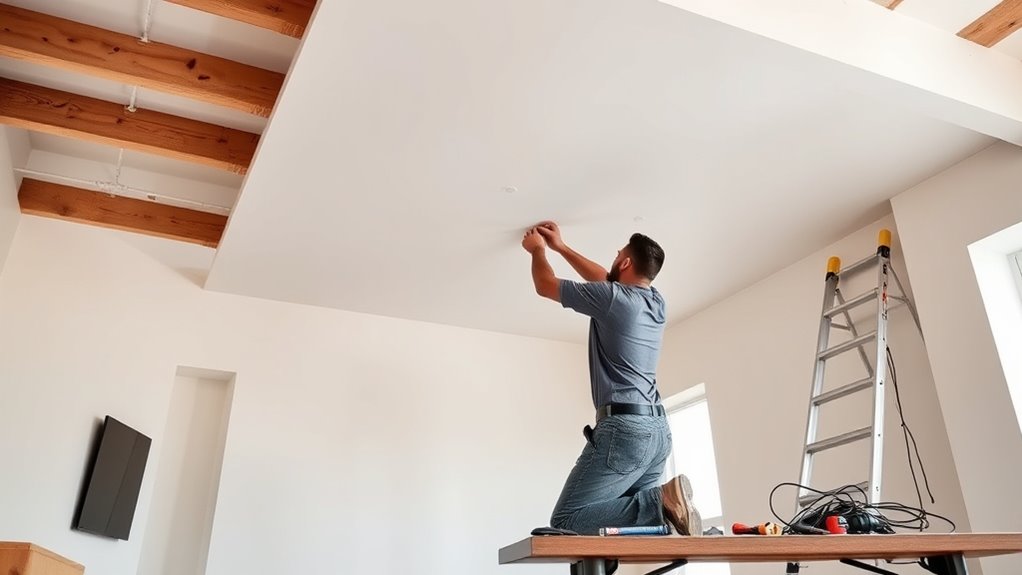
Choosing the right location for your ceiling fan is essential to guarantee ideal airflow and safety. First, consider your ceiling height; a standard height of 8 feet requires a fan downrod to ensure proper clearance, typically about 10-12 inches from the ceiling. For higher ceilings, use a longer downrod to bring the fan within an excellent range. Next, select a central spot in the room, away from walls and furniture, to promote even airflow. The fan size should correspond to the room’s dimensions—larger rooms need bigger fans with wider blade spans, while smaller spaces benefit from more compact models. Proper placement ensures efficient cooling and prevents accidents, making your fan both functional and safe. Additionally, understanding industry transformations can help you choose the most innovative and energy-efficient models available today, ensuring your installation remains relevant amidst ongoing technological advances.

Passky Ceiling Fans with Lights, 52 inch Nickel Ceiling Fan with Light and Remote Control, Reversible, Dimmable, 3CCT, Quiet, Ceiling Fan for Bedroom, Living Room, Indoor/Outdoor Use
Ceiling Fan with Light: Passky ceiling fan with light, pass the breeze, light you sky. Our 52 inch...
As an affiliate, we earn on qualifying purchases.
Installing an Electrical Box and Power Source
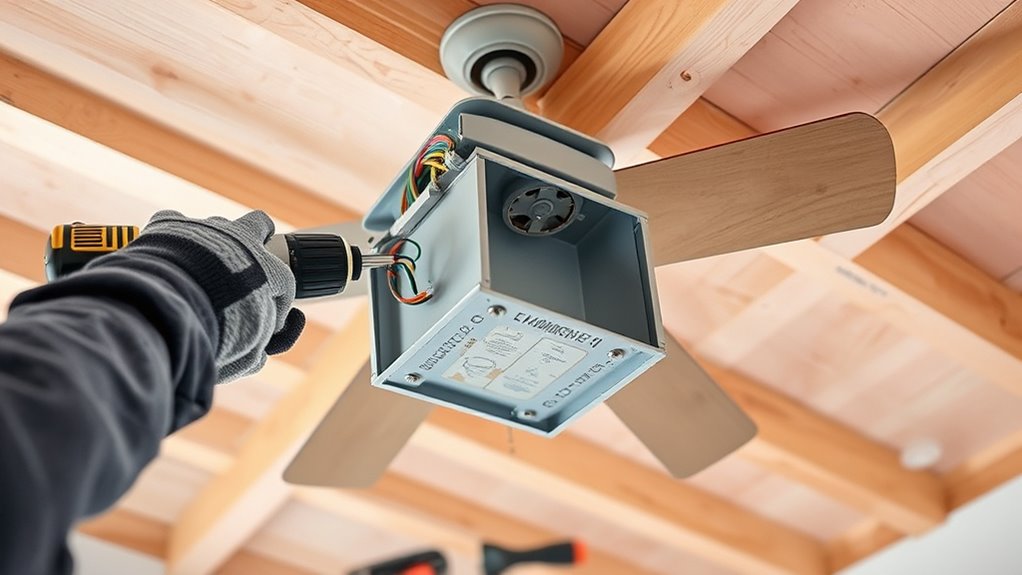
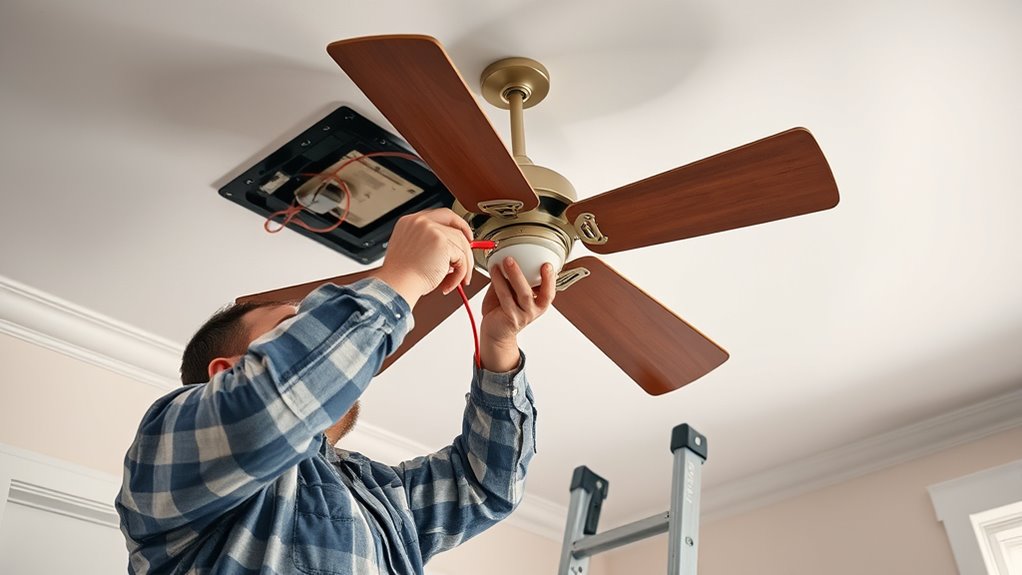
First, you’ll need to select the appropriate electrical box that fits your ceiling fan’s weight and size. Next, make sure to securely connect the electrical wires to guarantee safe operation. Properly addressing potential issues, such as ensuring the wiring is not compromised or vulnerable to tampering, is crucial for safe and reliable installation. Using a high-quality electrical box can help prevent future problems. Finally, connect the power source properly to provide reliable electricity to your new fan.
Selecting the Right Box
Selecting the right electrical box is essential to guarantee your ceiling fan is secure and safe to operate. You need a sturdy ceiling box designed to support the weight of the fan. Look for a box labeled “fan-rated” or specifically made for ceiling fans. These boxes often come with built-in support brackets, which help hold the fan securely in place. Verify the box is installed firmly into a ceiling joist or attached with proper support brackets if mounted to drywall. Using the correct box prevents accidents and ensures compliance with electrical codes. Proper support brackets are crucial for maintaining the integrity of the installation and preventing potential hazards. Choosing a box that is compatible with heavy-duty support brackets ensures the stability needed for a ceiling fan. Don’t compromise on quality—an appropriate ceiling box with strong support brackets provides a safe foundation for your new ceiling fan, giving you peace of mind every time you turn it on. Company values emphasizing safety and quality guide the selection process.
Securing Electrical Connections
To guarantee your ceiling fan functions safely and reliably, you need to properly secure the electrical connections by installing an appropriate electrical box and power source. Start by running your wiring carefully, ensuring you strip the wires correctly using proper wire stripping techniques. Use wire nut safety practices—twist wires tightly and secure them with rated wire nuts for a solid connection. The electrical box must be securely mounted to support the fan’s weight and provide access for future maintenance. Double-check all connections before powering on. Here’s a quick reference:
| Step | Action | Tips |
|---|---|---|
| 1 | Install electrical box | Use a box rated for fans |
| 2 | Run wiring to the box | Keep wires neat and accessible |
| 3 | Strip wires properly | Avoid nicking the wire strands |
| 4 | Connect wires with wire nuts, secure safely | Follow wire nut safety rules |
Additionally, ensuring all connections are tight and properly insulated contributes to a safe electrical system, reducing the risk of hazards.
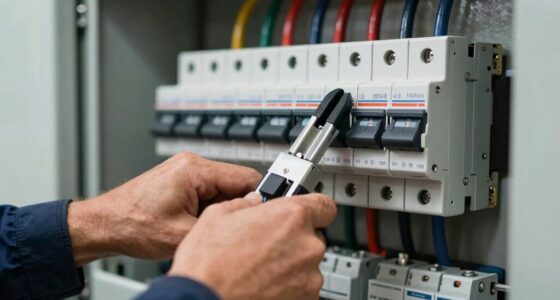
Connecting Power Source
Before installing the electrical box and connecting your power source, you need to turn off the circuit breaker to guarantee safety. Once it’s off, you can proceed with setting up the power supply for your ceiling fan. To ensure a smooth connection, consider these steps:
- Choose a suitable location for the electrical box that supports the weight of your decorative fixtures or wireless controls.
- Install the box securely, following manufacturer instructions, to prevent movement.
- Connect the wiring carefully, matching the hot, neutral, and ground wires, and ensure good contact for reliable power.
- Incorporate modern wiring techniques in your planning to optimize the wiring layout and improve efficiency.
Using wireless controls can simplify operation, especially with a newly wired ceiling fan. Proper wiring setup guarantees safe, efficient performance and a sleek look for your room.
Running New Wiring From the Power Source to the Fan Location
Running new wiring from the power source to the fan location requires careful planning to guarantee safety and code compliance. First, determine the best route, avoiding obstacles and ensuring accessibility. If you want to incorporate wireless control, install a compatible receiver in the fan’s junction box so you can operate it remotely. Consider different ceiling fan styles—flush mounts or downrods—and how wiring will fit with each. Use the correct gauge wire for your circuit, and plan for switches or remote controls. Mark your wiring runs clearly and follow local electrical codes. Before proceeding, turn off power at the breaker to prevent accidents. Proper wiring ensures your ceiling fan operates safely and seamlessly with your preferred control options and style. Additionally, selecting a fan compatible with wireless control systems can provide added convenience and modern functionality. It’s also important to verify that your installation complies with electrical safety standards to prevent hazards.
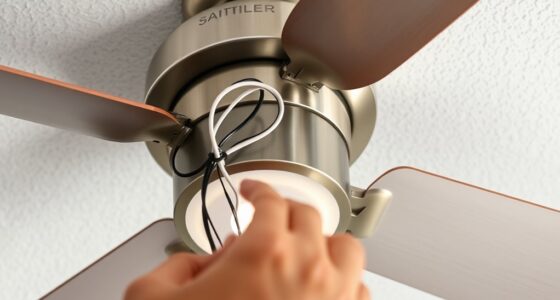
Connecting the Fan and Ensuring Proper Grounding
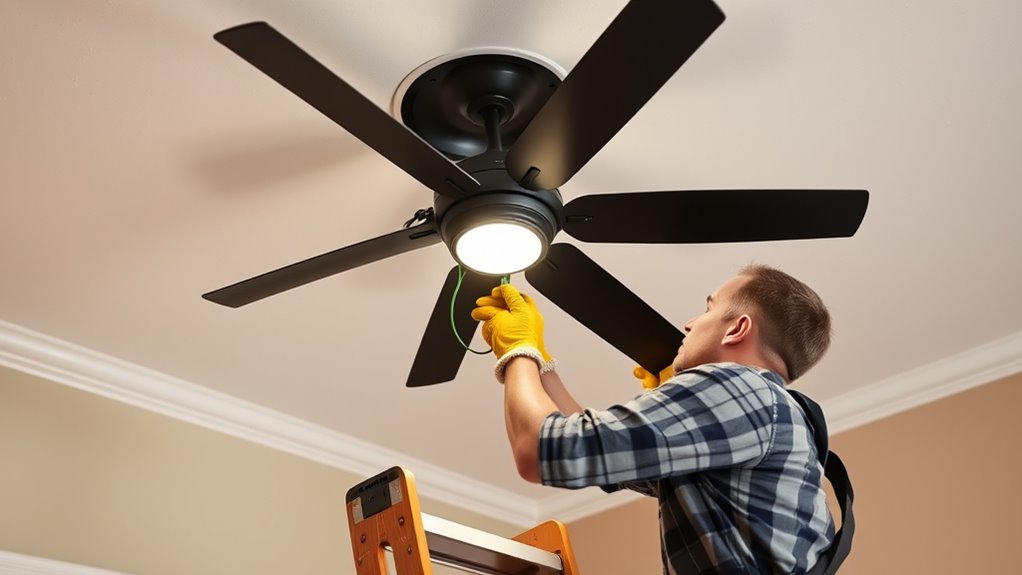
Once you’ve run the wiring to the fan location, the next step is connecting the fan itself and verifying proper grounding. Proper grounding methods are essential for safety and to prevent electrical shock. First, ensure you connect the grounding wire (usually green or bare copper) from the fan to the grounding circuit in your wiring. Next, check all connections are secure and insulated. Finally, follow these safety precautions:
- Turn off power before working on connections.
- Use a voltage tester to confirm no live wires.
- Ensure the grounding wire is connected correctly to a grounding screw or wire nut.
Testing Your New Ceiling Fan and Finalizing the Installation
After completing the wiring and securing all connections, it’s time to test your new ceiling fan to verify it operates correctly. Turn on the power and use the remote control to start the fan. Check that it responds smoothly to all commands, including speed adjustments and light controls. If you notice any wobbling, perform fan blade balancing to ensure stability and reduce noise. Make sure the fan runs quietly and evenly at different speeds. Once the fan functions properly, finalize your installation by tightening all mountings and double-checking connections. Confirm that the remote control setup is working properly and that the fan responds reliably. These steps help ensure your ceiling fan operates efficiently and safely, providing comfort and convenience for years to come.
Frequently Asked Questions
Can I Install a Ceiling Fan Outdoors Without Existing Wiring?
You can install an outdoor ceiling fan without existing wiring by using battery-powered fans or outdoor wiring solutions. Battery-powered fans are a great option if running new outdoor wiring isn’t feasible, as they don’t require electrical connections. If you prefer a wired fan, you’ll need to install outdoor wiring safely, possibly with weatherproof outlets and switches. Always follow safety guidelines and consider consulting a professional for proper installation.
What Safety Precautions Should I Take When Installing Without Electrical Experience?
Did you know that electrical accidents are responsible for thousands of injuries annually? When installing a ceiling fan without electrical experience, prioritize electrical safety by turning off power at the breaker. Always use the correct tools and inspect them for damage to guarantee tool safety. If you’re unsure, it’s best to consult a professional. Taking these precautions helps prevent shocks or fires, making your project safer and more successful.
Are There Wireless or Battery-Operated Ceiling Fans Available?
You might wonder if wireless options or battery-powered fans are available. Yes, there are wireless and battery-powered ceiling fans on the market. These fans operate without hardwiring, making installation easier and more flexible. They typically come with remote controls for operation, and some models even include smart features. Keep in mind, battery-powered fans are usually smaller and less powerful, but they’re perfect for spaces where wiring is difficult or impossible.
How Long Does a Typical Ceiling Fan Installation Without Existing Wiring Take?
Installing a ceiling fan without existing wiring is like assembling a puzzle—time-consuming but rewarding. Typically, a wireless installation or DIY timeline can take anywhere from 4 to 8 hours, depending on your experience and home setup. You’ll need to run new wiring, mount the fan, and connect everything securely. Planning ahead and following instructions carefully can help you complete the project efficiently and safely.
What Permits or Inspections Might Be Required for This Type of Installation?
You’ll need to check building codes and permit requirements before installing a ceiling fan without existing wiring. Local codes may require permits for electrical modifications, especially if new wiring or structural work is involved. You might also need inspections to make certain the installation meets safety standards. Contact your city or county building department to confirm what permits are necessary and schedule inspections if required, ensuring your project complies with all regulations.
Conclusion
Now that you’ve installed your ceiling fan without existing wiring, you’re all set to enjoy better airflow. Remember, patience is a virtue, so take your time to double-check connections and safety measures. When everything’s in place, turn it on and see the difference it makes. With a little effort, you’ve truly knocked it out of the park. Your home’s comfort level just got a major upgrade—go ahead, take a well-earned breather!