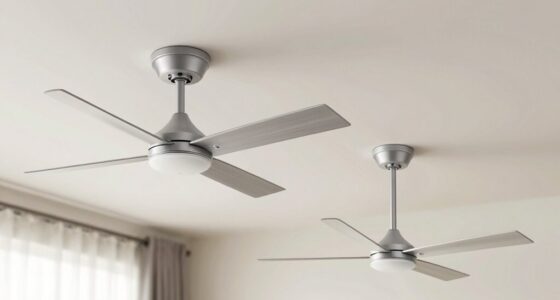

To install a ceiling fan in a basement or low ceiling, select a model designed for minimal clearance, such as a flush-mount or hugger-style fan. Confirm the fan’s dimensions match your space and verify the mounting hardware supports the fan’s weight securely. Turn off power and follow electrical codes carefully during wiring. Properly align and tighten all components, then test the fan for stability and airflow. Continued guidance will help you perfect your installation process.
Key Takeaways
- Choose low-profile or hugger-style fans compatible with limited ceiling clearance.
- Turn off power and verify electrical wiring before mounting the fan securely to the electrical box.
- Use appropriate mounting hardware designed for flush or hugger fans and ensure proper support.
- Follow manufacturer instructions for wiring, ensuring secure connections for safety and functionality.
- Test the fan at different speeds, check for wobbling, and confirm remote or switch controls operate correctly.
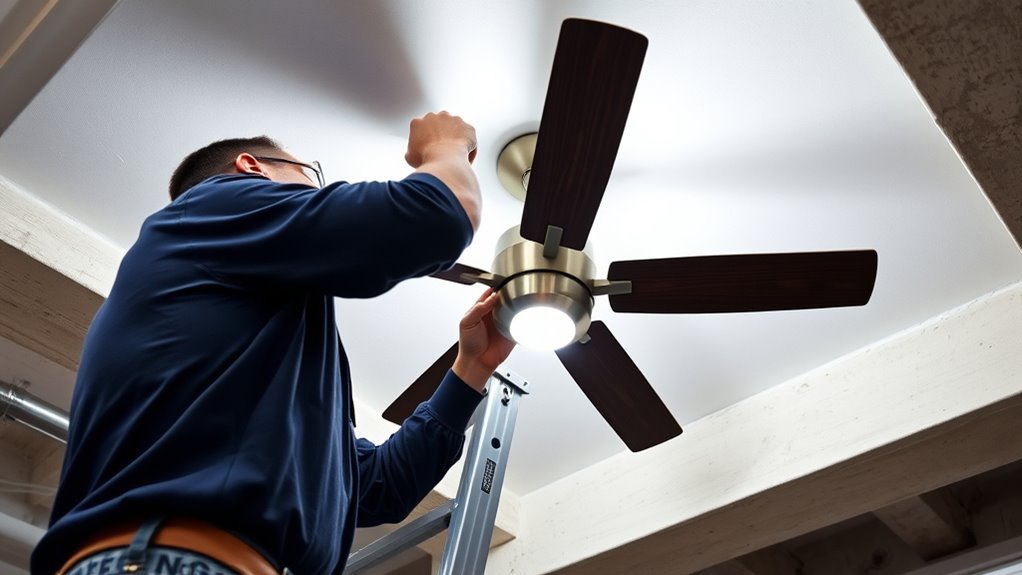
Installing a ceiling fan requires careful planning and adherence to safety protocols to guarantee proper function and structural integrity. When working within a basement or on a low ceiling, specific considerations must be addressed to ensure ideal performance and safety. The first step involves selecting an appropriate fan model designed for low-clearance environments. These fans typically feature a flush-mount or hugger-style design, which minimizes the distance between the blades and the ceiling surface. Confirm that the fan’s dimensions and mounting specifications align with your space constraints before proceeding.
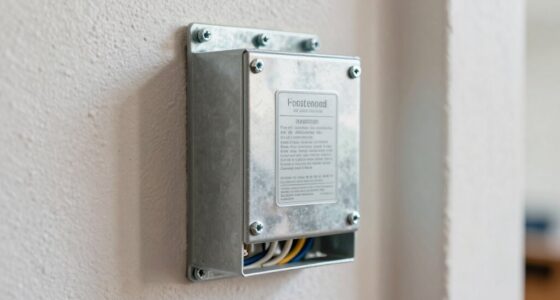
Prior to installation, turn off the electrical power at the circuit breaker to prevent any risk of shock or accidental activation. Verify that the power is indeed off by testing the existing fixture or wiring. Next, inspect the electrical box intended for the fan installation. In low-ceiling areas, the box must be rated to support ceiling fan weight and should be securely fastened to a structural framing member, not just the ceiling surface. If the existing box is inadequate, replace it with a box specifically designed for ceiling fans that meets local electrical codes and standards.
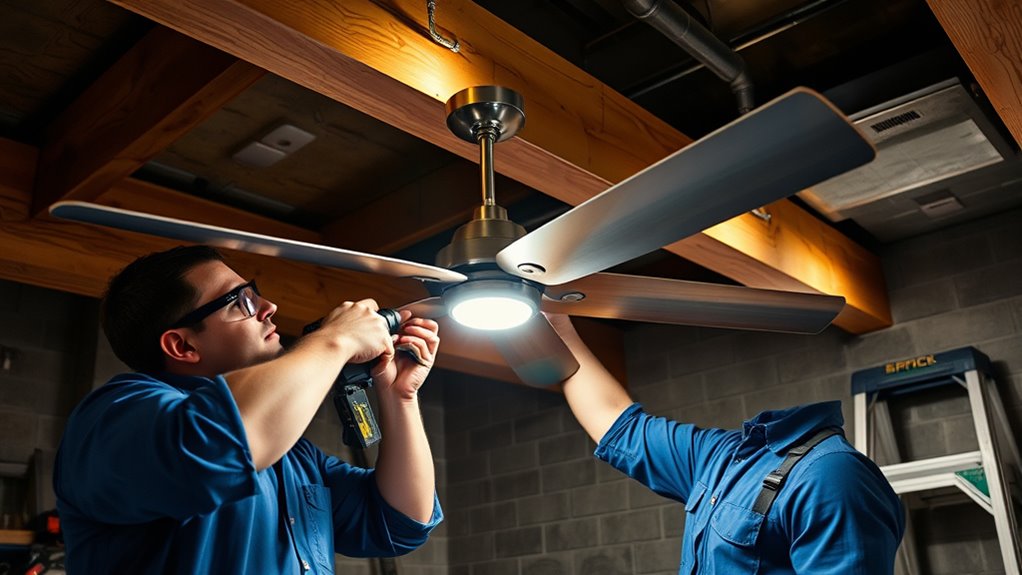
When mounting the fan, use the provided mounting hardware designed for flush or hugger configurations. Follow the manufacturer’s instructions meticulously, ensuring that the mounting bracket is firmly attached to the electrical box and capable of supporting the fan’s weight. Pay particular attention to the alignment and balance of the fan blades during installation; improper alignment can cause wobbling or excessive noise during operation. Use a level to verify that the fan is perfectly horizontal before fully tightening all mounting hardware. Additionally, choosing the right mounting method can significantly impact the stability and safety of your installation.
Wiring connections must be executed with precision. Connect the fan’s black or red wire to the hot wire from the electrical supply, the white wire to the neutral, and the green or bare copper wire to the ground. Use wire nuts of appropriate size and ensure that all connections are secure and insulated. For fans with remote controls or additional features, follow the manufacturer’s wiring diagrams carefully. Once wired, double-check all connections before restoring power.
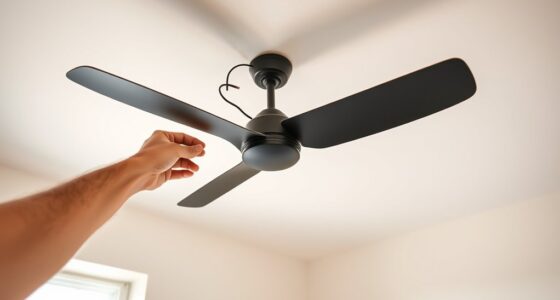
Finally, test the fan at various speeds to evaluate stability and noise levels. Confirm that the fan operates smoothly and that no wobbling or vibrations are present. Make any necessary adjustments to blade alignment or mounting hardware to enhance performance. When installation is complete, restore power and verify that the fan’s controls, including any remote or wall switches, function correctly. Proper installation in low-ceiling environments ensures safe operation, efficient airflow, and long-term durability of the fixture.

Amico Ceiling Fans with Lights, 42 inch Low Profile Ceiling fan with Light and Remote Control, Flush Mount, Reversible, 3CCT, Dimmable, Noiseless, Black Ceiling Fan for Bedroom, Indoor/Outdoor Use
Ceiling Fan with Light: Decorate your home with Amico ceiling fan! While bringing you coolness and comfort, it…
As an affiliate, we earn on qualifying purchases.
As an affiliate, we earn on qualifying purchases.
Frequently Asked Questions
Can I Install a Ceiling Fan Without an Existing Electrical Box?
No, you cannot install a ceiling fan without an existing electrical box. To guarantee safety and code compliance, you must install a proper electrical box rated for fan support. If no box exists, you’ll need to replace the current box with a fan-rated box or install a new one securely attached to a ceiling joist or beam. This step is essential to prevent potential hazards and ensure proper operation of the fan.
What Safety Precautions Should I Take During Installation?
You should always turn off the power at the circuit breaker before installation. Use a voltage tester to confirm no electrical current is present. Wear insulated gloves and use properly rated tools to prevent injury. Make certain the ceiling structural support can handle the fan’s weight. Follow manufacturer instructions precisely, and avoid over-tightening connections to prevent damage. Finally, double-check all wiring and grounding for safety compliance before restoring power.
How Do I Choose the Right Size Fan for a Low Ceiling?
For low ceilings, select a fan with a blade span of 29-36 inches to guarantee adequate airflow without obstruction. For instance, in a 7-foot ceiling basement, a 36-inch fan maintains ideal circulation while preventing head clearance issues. Measure your space precisely, considering the room’s dimensions and clearance space, and choose a fan with a flush or low-profile mount to maximize safety and efficiency.
Is It Possible to Install a Ceiling Fan in a Basement With Exposed Beams?
Yes, you can install a ceiling fan in a basement with exposed beams. To do so, select a fan with a downrod to accommodate the beam height, ensuring proper clearance and airflow. Mount the fan directly to the beam using appropriate hardware, verifying that the beam’s material can support the fixture’s weight. Confirm that wiring connections adhere to electrical codes and safety standards for secure, reliable operation.
Can I Convert a Standard Fan Into a Low-Profile Ceiling Fan?
You can convert a standard fan into a low-profile ceiling fan by replacing its existing blades with shorter, more compact ones to reduce overall height. Additionally, consider installing a flush mount kit or a low-profile canopy to minimize clearance requirements. Verify the fan’s motor and mounting system are compatible with these modifications. This approach maintains functionality while accommodating low-ceiling spaces, providing effective airflow without requiring a complete fan replacement.

Flush Mount Ceiling Fan with Light, 52 Inch, Remote Control, 3CCT Dimmable LED, 6-Speed Silent Reversible DC Motor, Low Profile Hugger Ceiling Fan for Indoor/Outdoor 90-264V 50/60Hz Matte Black
High-Performance Airflow with Patented Sleep Mode – Our 5-blade aerodynamic design delivers powerful, smooth, and wide-reaching airflow. Choose…
As an affiliate, we earn on qualifying purchases.
As an affiliate, we earn on qualifying purchases.
Conclusion
Installing a ceiling fan in a basement or low ceiling enhances airflow efficiency and can reduce energy costs by up to 30%. Proper installation guarantees ideal performance and safety, especially in spaces with limited headroom. According to industry data, over 60% of homeowners who upgrade their ceiling fans report improved comfort and energy savings within the first year. Adhering to precise installation procedures guarantees reliable operation and long-term durability in these challenging spaces.

Ceiling Fan Mounting Bracket Mounting Kits Fan Components for Cathedral Canopy Living Room, 77059 Ceiling Fan Parts Black (Without Wire)
CONVENIENT KIT: In each package, you will receive 1 ceiling fan mounting bracket; each bracket comes with 2…
As an affiliate, we earn on qualifying purchases.
As an affiliate, we earn on qualifying purchases.

ZMISHIBO Ceiling Fans with Lights and Remote, 19.7'' Low Profile Ceiling Fan, 3000-6000K Dimmable Modern Flush Mount LED Fan Light, 6 Wind Speeds, Black Fandelier Ceiling Fans for Bedroom
LED Light Source and Memory Function: The LED energy-saving light has 120 voltage output and brightness from 10%-100%…
As an affiliate, we earn on qualifying purchases.
As an affiliate, we earn on qualifying purchases.