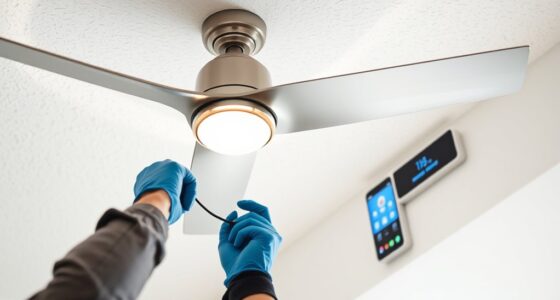
To wire a dual switch for controlling a light and fan separately, start by turning off the breaker and gathering tools like wire strippers, screwdrivers, and a voltage tester. Identify and label the hot, neutral, and ground wires, then connect the switch’s common terminal to the hot wire. Attach the load wires for the light and fan to their respective terminals, secure all connections tightly, and test each switch for proper operation. Keep going to get all the details you need.
Key Takeaways
- Turn off power at the circuit breaker and verify the circuit is de-energized before starting wiring work.
- Identify and label existing wires: hot (black/red), neutral (white), and ground (green/bare).
- Connect the common wire from the power source to the dual switch’s common terminal.
- Attach separate load wires (light and fan) to the corresponding switch terminals for independent control.
- Secure all connections, reassemble the switch, and test the setup to ensure proper operation of light and fan controls.

addlon Ceiling Fans with Lights, 42 Inch Low Profile Ceiling Fan with Light and Remote Control, Flush Mount, Reversible, 3CCT, Dimmable, Quiet, Black Small Ceiling Fan for Bedroom Indoor/Outdoor Use
Ceiling Fan with Light: Bring more than just wind and light, but comfort! addlon modern ceiling fan, with...
As an affiliate, we earn on qualifying purchases.
Gathering the Necessary Tools and Materials

Before you begin wiring a dual-switch for light and fan control, you need to gather the essential tools and materials. First, select the correct wire gauge—typically 14-gauge for lighting and 12-gauge for fans, complying with electrical code requirements. You’ll also need a voltage tester, wire strippers, screwdrivers, and a drill if mounting the switch box. Make sure to have a compatible dual-switch device designed for separate control of light and fan. Always check local electrical code to ensure your materials meet safety standards. Safety gloves and goggles are recommended. Organize everything beforehand to streamline the process. Properly gathering your tools and materials helps avoid delays and guarantees your wiring adheres to safety regulations and electrical code standards. Additionally, understanding the contrast ratio of your components can be beneficial for ensuring safety and efficiency in your wiring setup. Being familiar with electrical code requirements ensures your installation remains compliant and safe, especially when working with multiple circuits in a single switch configuration.

Forrovenco Ceiling Fans with Lights and Remote, 52 Inch Outdoor Ceiling Fan for Patios Indoor with 3 Downrods, 3 Blades Modern Ceiling Fan, 6 Speed Reversible Quiet DC Motor Solid Wood Fan,52in,Walnut
Modern Ceiling Fan with Light: Our 3 blade ceiling fan with light features unique, planet-friendly, and renewable high-quality...
As an affiliate, we earn on qualifying purchases.
Understanding Your Existing Wiring Setup
Before starting, it’s important to understand your current wiring setup. Check how your existing switches connect to the circuit breaker and fixtures, so you know what you’re working with. This helps make certain a safe and smooth installation process. Familiarizing yourself with electrical safety precautions ensures you avoid common hazards during the project. Additionally, reviewing the existing wiring configuration can help identify how to best incorporate the dual switch for separate control of the light and fan. Remember that understanding the electrical wiring principles is essential for a successful and safe upgrade.
Existing Wiring Configuration
Understanding your existing wiring setup is essential before installing a dual-switch for your light and fan. Check the wire gauge to make sure it can handle the load safely; most household wiring uses 14- or 12-gauge wire. Examine the color coding of your wires—typically, black or red indicates hot wires, white is neutral, and green or bare copper is ground. Identify which wires connect to your existing switches and fixtures. Take note of how the wires are routed and connected, as this affects your new wiring configuration. Confirm that the wiring matches standard conventions to avoid confusion during installation. Being familiar with your current setup helps prevent mistakes and ensures your new dual-switch operates safely and effectively. Additionally, reviewing local building codes can ensure your wiring modifications meet safety requirements. It’s also helpful to understand the electrical load your system can support, especially when adding new switches for multiple devices. Moreover, understanding recent AI discoveries can influence future innovations in smart home wiring and automation.
Circuit Breaker Setup
Since the circuit breaker controls the power supply to your light and fan, verifying its setup is essential before installing a dual-switch. Proper understanding of your existing wiring setup ensures electrical safety and prevents accidents. First, locate your main electrical panel and identify the breaker feeding your circuit. Second, confirm that the breaker is rated correctly for your lights and fan, typically 15 or 20 amps. Third, turn off the breaker before working on any wiring to avoid shock. This step ensures your safety during installation. Knowing how your circuit breaker is wired helps you determine if any modifications are needed. Additionally, understanding electrical wiring basics can further prevent potential hazards. Being aware of home electrical safety practices is crucial when working with wiring systems. Always prioritize electrical safety by double-checking connections and following proper procedures. This foundation prevents issues when wiring your dual-switch setup.
Switch and Fixture Links
To properly wire a dual-switch for your light and fan, you need to understand how your existing switches and fixtures are connected. Your current wiring may involve basic switches or smart home-compatible wireless switches. Recognizing the links between switches, fixtures, and power sources is essential. Imagine this setup as a table where each row shows a component connection:
| Switch Type | Wiring Connection | Fixture Connection |
|---|---|---|
| Traditional | Hot wire to switch | Light or fan fixture |
| Wireless Switch | Wireless signal to receiver | Fixture control |
| Smart Switch | Wi-Fi connected wiring | Light or fan fixture |
Knowing these links helps you plan your upgrades, whether installing wireless switches or integrating smart home technology. Additionally, understanding electrical safety standards ensures your wiring modifications are safe and compliant. Properly mapping out your existing wiring setup can prevent potential short circuits and ensure reliable operation. Being aware of diversification strategies in electrical wiring can also help optimize your system for future upgrades.

Amico Ceiling Fans with Lights, 42 inch Low Profile Ceiling fan with Light and Remote Control, Flush Mount, Reversible, 3CCT, Dimmable, Noiseless, Black Ceiling Fan for Bedroom, Indoor/Outdoor Use
Ceiling Fan with Light: Decorate your home with Amico ceiling fan! While bringing you coolness and comfort, it...
As an affiliate, we earn on qualifying purchases.
Turning Off Power and Preparing the Work Area
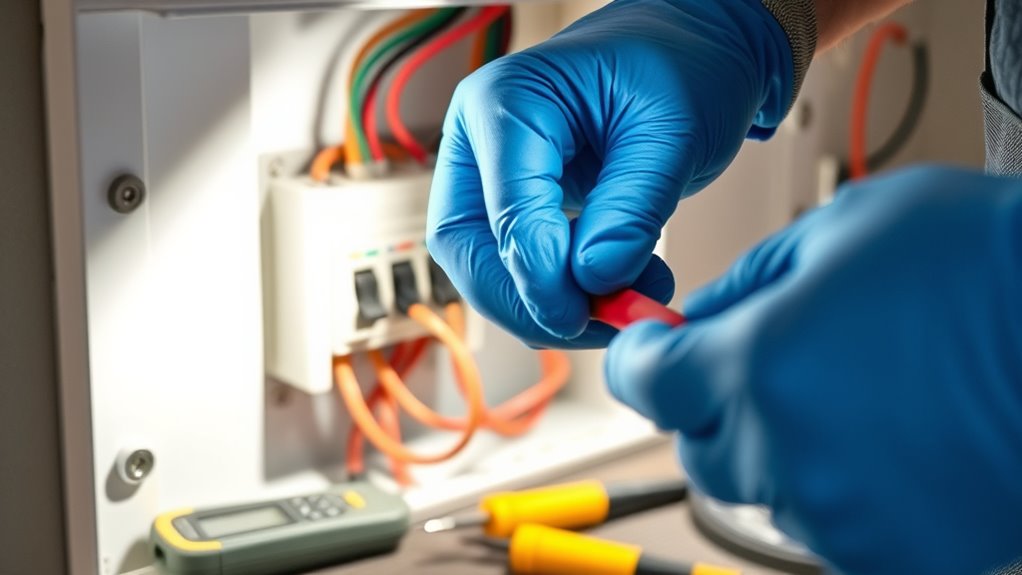
Before you start working on the wiring, it’s essential to turn off the power at the circuit breaker to guarantee your safety. This step prevents electrical shocks and ensures a safe workspace. Next, follow these safety precautions and troubleshooting tips:
- Confirm power is off using a voltage tester before touching any wires.
- Clear the work area of unnecessary tools and clutter to avoid accidents.
- Wear insulated gloves and safety glasses for added protection.
Taking these precautions minimizes risks and helps you troubleshoot effectively if issues arise. Always double-check that the circuit is de-energized, and avoid rushing through the process. Proper preparation makes wiring safer and simplifies troubleshooting later. Remember, safety first always when working with electrical systems.

ZMISHIBO 52 Inch Ceiling Fan with Light, App&Remote Control, Flush Mount Low Profile, Dimmable 20W LED Light, Quiet Reversible Motor for Bedroom, Living Room, Apartment, Black
Perfect Size for Rooms: This 52-inch ceiling fan is ideal for cooling and illuminating spacious areas like living...
As an affiliate, we earn on qualifying purchases.
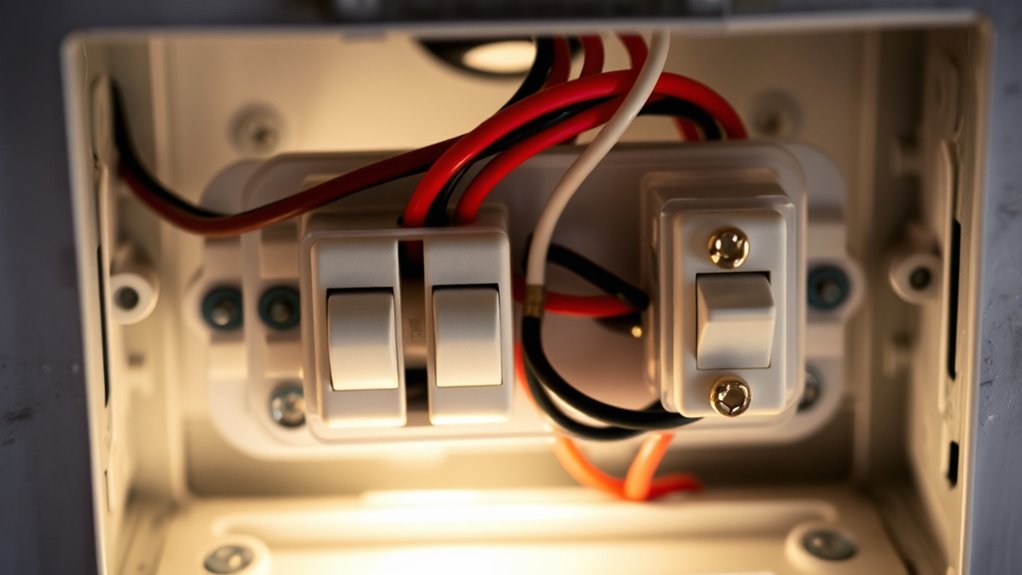
Identifying and Labeling Wires in Your Switch Box
To identify your wires correctly, start by noting their colors, as they often indicate their purpose. Use a circuit tester to verify which wire controls each device, ensuring safety and accuracy. Label each wire clearly so you won’t get confused during the wiring process. Additionally, referring to a bedroom wiring diagram can help you understand the typical wiring configurations for switches controlling lights and fans. For added safety, always turn off the power supply before handling any wiring components and consult wiring safety guidelines to prevent accidents. Recognizing wire color codes can further assist in correctly identifying each wire’s function, reducing the risk of errors.
Recognizing Wire Colors
Have you ever wondered how to quickly identify which wires are which in your switch box? Recognizing wire colors is essential for safe wiring. By understanding wire color standards and color coding conventions, you can determine each wire’s purpose.
Here are key points to keep in mind:
- Black or red wires typically carry hot current.
- White or gray wires are usually neutral.
- Green or bare copper wires serve as ground.
- Using proper wiring techniques ensures the safety and reliability of your electrical connections.
- Familiarity with wire color standards helps prevent mistakes and enhances safety during electrical projects.
Always remember that wire color standards help prevent mistakes and ensure safety. While color coding conventions are common, always verify by tracing wires or consulting wiring diagrams, since colors can sometimes be inconsistent. Proper identification reduces the risk of electrical hazards and simplifies your wiring project.
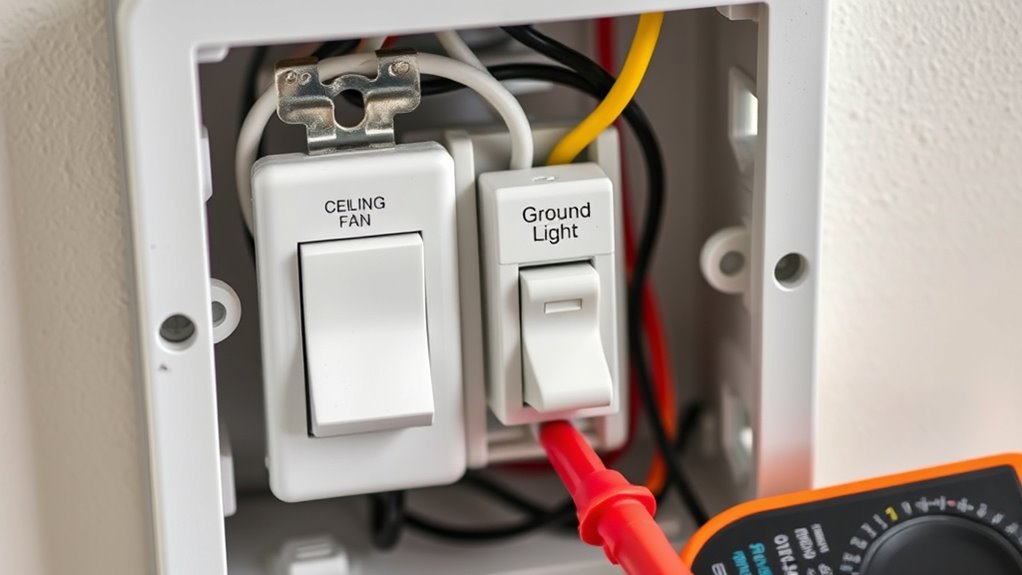
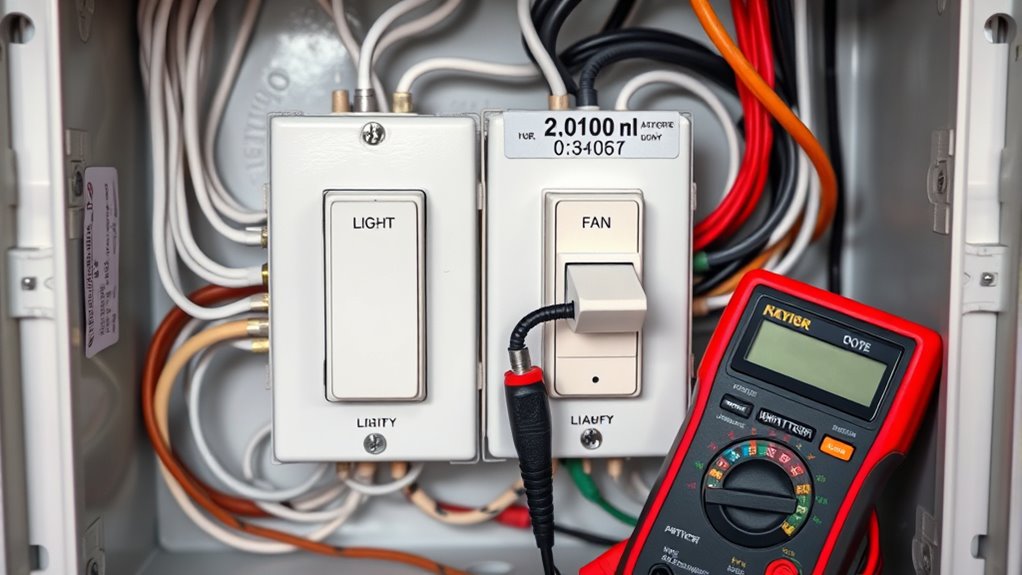
Using a Circuit Tester
Using a circuit tester is the most reliable way to identify and label wires in your switch box accurately. It helps prevent mistakes during installation, especially when integrating wireless control or smart switches. By testing each wire, you can determine which is live, neutral, or ground. This guarantees proper wiring connections and safe operation. Remember, always turn off power before testing. Additionally, understanding electrical safety practices is crucial to avoid hazards. Here’s a quick reference:
| Wire Type | Function | Testing Tip |
|---|---|---|
| Live | Power supply | Use tester to find voltage |
| Neutral | Completes circuit | Check for continuity |
| Ground | Safety | Confirm connection to ground |
| Switched | Controls load | Test when switch is on/off |
| Traveler | 3-way switches | Verify with tester |
This process is vital for smart switch integration and future wireless control setups. Proper wiring ensures safety and efficient operation, especially when working with home furnishings like smart switches and lighting controls.
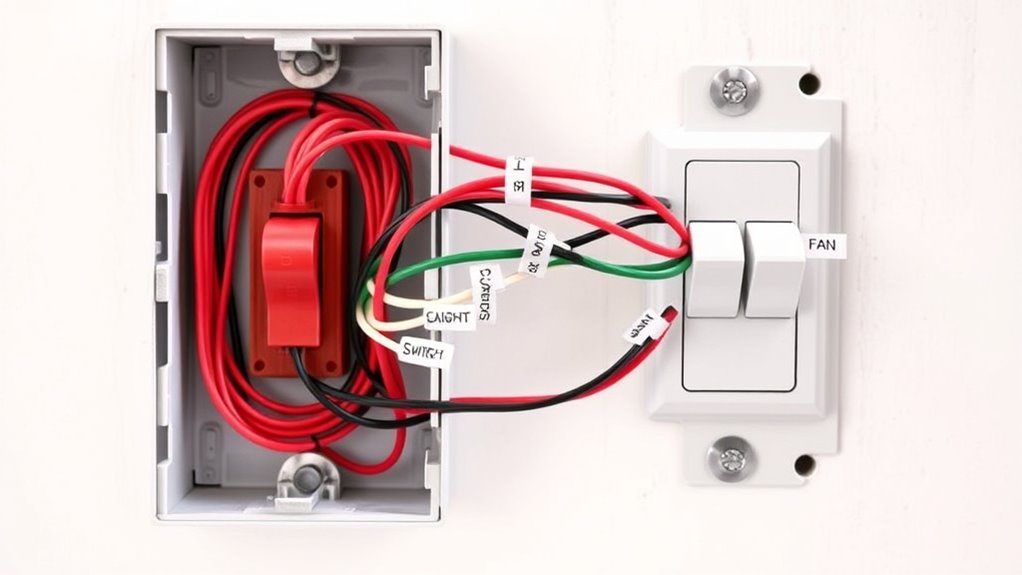
Labeling for Clarity
Before starting any wiring work, it’s essential to identify and label each wire in your switch box clearly. Proper wire labeling prevents confusion and ensures safe, accurate connections. Use color coding to distinguish between wires easily—such as red for travelers, black for hot, and white for neutral. Follow these steps:
- Label each wire with tape or a marker, noting its function (e.g., “fan switch” or “light load”).
- Apply color coding consistently, matching wire insulation or tape to standard electrical color codes.
- Create a wiring diagram that shows each wire’s label and color, making troubleshooting simpler later.
Clear wire labeling and color coding help you stay organized and avoid mistakes during installation or future repairs.
Connecting the Dual Switch for Independent Control
To connect the dual switch for independent control, start by turning off the power at the breaker to guarantee safety. Identify the wiring terminals, which typically include common, traveler, and load wires. For modern setups, consider integrating smart switches with wireless control features for easier management. Connect the common wire to the switch’s common terminal, then link each load wire (light and fan) to their respective terminals. Use the table below for clarity:
| Terminal | Connection |
|---|---|
| Common | Incoming power or shared wire |
| Traveler | Connects to other switch |
| Load Light | Light fixture wire |
| Load Fan | Fan fixture wire |
Ensure all connections are secure before reassembling the switch plate.
Securing Connections and Reassembling the Switch Plate

Once you’ve confirmed all wiring connections are tight and secure, you can proceed to reassemble the switch plate. Proper wire securing guarantees no loose connections cause issues later. Follow these steps for switch reassembly:
- Carefully tuck the wires back into the electrical box, avoiding pinches or strain.
- Align the switch and secure it to the electrical box with screws, ensuring it’s flush.
- Place the switch plate over the switch, then tighten the screws firmly to secure it.
Make sure all wire securing is tight and that no wires are pinched or exposed. This step guarantees a safe, professional finish and prevents future problems. Once everything is securely in place, you’re ready for the next phase of testing and operation.
Testing Your Wiring and Ensuring Proper Functionality
After securing all connections and reassembling the switch plate, it’s essential to test your wiring to verify everything functions correctly. Turn on the power and carefully operate each switch to ensure the light and fan respond appropriately. Check that the switches control their respective loads without flickering or delay. If your setup includes wireless control or smart switch compatibility, verify these features work as intended through their app or voice commands. Testing helps identify any wiring issues, such as loose connections or incorrect wiring configurations, before finalizing the installation. If something doesn’t work properly, turn off the power immediately and recheck your wiring. Proper testing guarantees your dual-switch setup operates safely, reliably, and with all intended features, including wireless control options.
Frequently Asked Questions
Can I Install a Dual Switch in an Existing Single-Switch Box?
Yes, you can install a dual switch in an existing single-switch box, but you need to check switch compatibility and plan for wiring modifications. Make sure the box has enough space for both switches and that your wiring can support separate controls for the light and fan. Turn off power first, then carefully rewire according to the dual switch’s instructions, ensuring each device gets proper power and ground connections.
What Safety Precautions Should I Take During Wiring?
Oh, sure, just plunge into wiring without a second thought—who needs electrical safety or circuit grounding, right? But seriously, you should always turn off power at the breaker, wear insulated gloves, and double-check that the circuit’s grounded properly. Avoid working on live wires, keep your tools insulated, and stay alert. These precautions protect you from shocks and ensure your wiring’s safe and reliable.
How Do I Troubleshoot if the Switch Doesn’t Turn on the Fan or Light?
If your switch doesn’t turn on the fan or light, start troubleshooting by checking for wiring issues. Turn off the power and inspect all connections, ensuring wires are secure. Use a voltage tester to confirm power reaches the switch and the devices. If wiring looks correct but still doesn’t work, test the switch itself or replace it. These troubleshooting methods help identify whether the problem’s with wiring, the switch, or the device.
Are Special Switches Needed for Controlling Fan Speed?
Think of controlling fan speed as tuning a musical instrument—you need the right tools. Special switches, like fan speed controls, are designed to handle varying speeds and are compatible with most fans. These switches act as the conductor, guiding your fan’s performance smoothly. Without the right switch compatibility, you might struggle to adjust speeds properly. So, yes, using a dedicated fan speed switch guarantees precise control and safe operation.
How Do I Update Wiring if My Home Has Old or Outdated Wiring?
When upgrading wiring to meet modern electrical standards, you should start by inspecting your current system for any outdated or damaged components. Replace old wiring with new, code-compliant cables, ensuring proper grounding and circuit protection. It’s best to hire a licensed electrician to handle the upgrade, as they can safely update your home’s wiring, improve safety, and ensure everything complies with current electrical codes.
Conclusion
By wiring your dual switch correctly, you gain independent control over your light and fan, making your space more comfortable. Did you know that properly installed switches can reduce electrical hazards by up to 30%? Taking your time and following each step guarantees safety and functionality. Now, with everything in place, you can enjoy seamless operation—just imagine flicking the switch and instantly adjusting your room’s ambiance or airflow with ease.