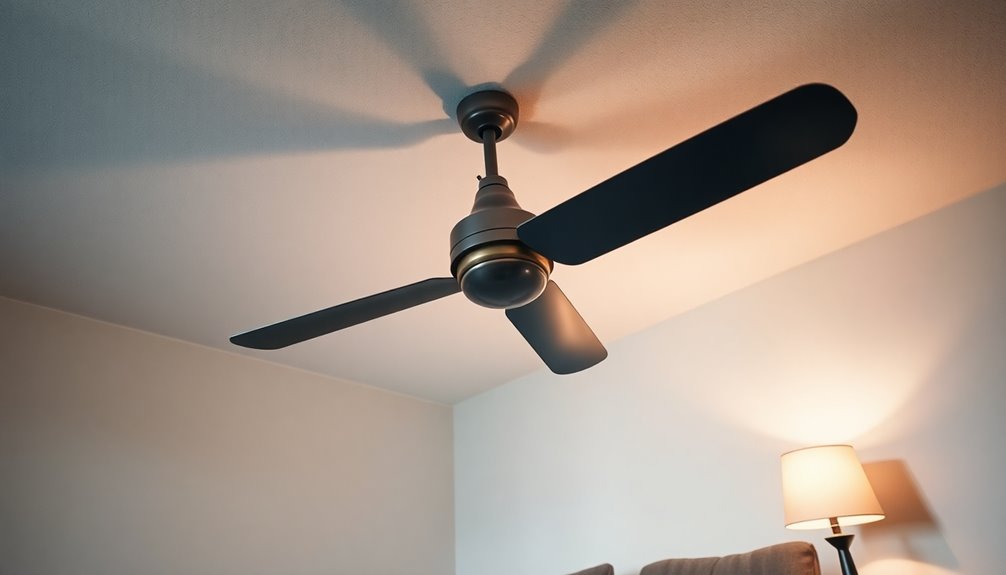
The red wire on a ceiling fan usually connects to the light fixture, allowing you to control the lights independently. If you're not using a light kit, cap off the red wire with a wire nut to avoid accidental contact. Make sure the black wire connects to your main power supply for the fan's operation, while the white wire serves as the neutral. Properly understanding these connections is key to a safe installation. If you want to know more about wiring options or installation steps, there's plenty more to explore ahead.
Key Takeaways
- The red wire connects to the blue wire for operating a light kit on the ceiling fan.
- In single switch setups, cap off the red wire to prevent accidental contact if not used.
- The red wire allows for independent light control when separate switches are available.
- Always verify wire functions before making connections to ensure proper installation.
- Regularly inspect the red wire connection and cap unused wires with wire nuts for safety.
Amazon Product B0B7817ZG5
As an affiliate, we earn on qualifying purchases.
Tools and Safety Tips

Before you start your ceiling fan installation, you'll want to gather some essential tools and prioritize safety. First, make certain you have a screwdriver, wire stripper, electrical tape, and a voltage tester handy. These tools will promote efficiency and safety during the installation process.
Always start by turning off the power at the circuit breaker. This step is vital to prevent electrical shocks. After that, use the voltage tester to confirm that the wires aren't live before you begin any work. A stable step ladder is also a must to safely reach the installation area.
When working with electrical components, opt for insulated tools to minimize the risk of shocks. Secure all wire connections using wire connectors, and don't skimp on safety gear. Wearing safety goggles and rubber gloves protects you from potential electrical hazards and debris. Additionally, make sure to follow manufacturer guidelines for any specific safety instructions related to your ceiling fan model.

Westinghouse 0110000 Saf-T-Brace for Ceiling Fans, 3 Teeth, Twist and Lock,Silver(Pack of 1)
Saf-T-Brace allows safe, simple installation of fans and fixtures
As an affiliate, we earn on qualifying purchases.
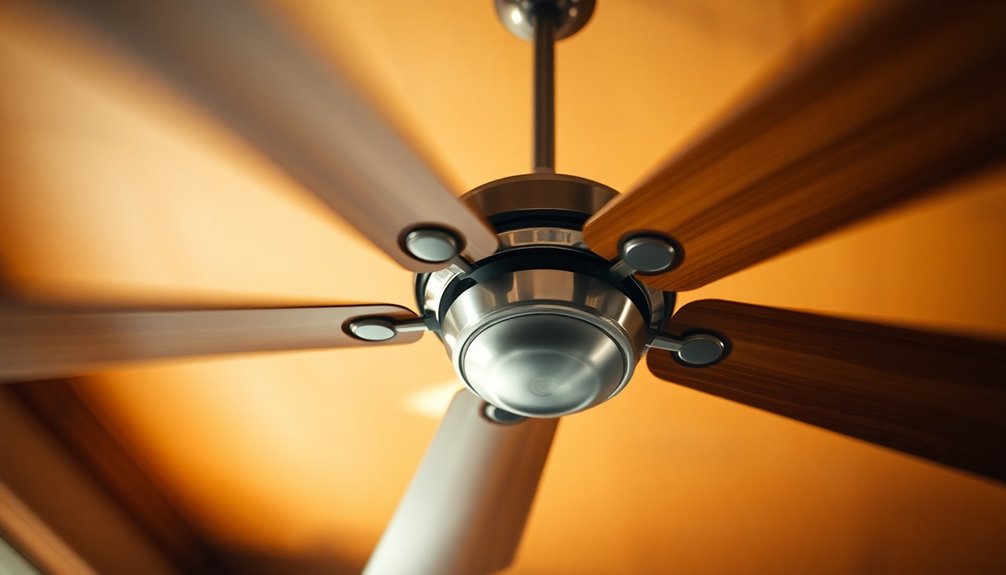
Understanding Wiring Colors

Wiring colors play an essential role in ceiling fan installations, guaranteeing that each component functions correctly and safely. When dealing with ceiling fan wiring, understanding these colors is important.
The red wire typically serves as a hot wire, allowing you to have separate control of the light fixture from the fan itself. If your fan includes a light kit, connect the red wire to the light's black wire to enable independent operation via a separate switch.
In standard configurations, black wires are used for powering the fan, while the white wire serves as the neutral wire, completing the circuit. If you don't have a light kit or want the light controlled by the same switch as the fan, just cap off the red wire with a wire nut to prevent accidental contact.
Keep in mind that the red wire might be labeled differently on some models—look for "R" or "L2"—but its function remains consistent across installations. Proper color coding helps guarantee safety and efficiency, so always verify your connections before powering up your ceiling fan.

Ceiling Fan Mounting Bracket,AICWIOO Carbon Steel Sloped Cathedral Ceiling Canopy Bracket for Living Room,Outdoor Patio,or Porch with Mounting Hardware(Black)
MORE LOAD-BEARING - The ceiling fan bracket is made of SPCC steel,offering excellent strength and a load-bearing capacity...
As an affiliate, we earn on qualifying purchases.
Connecting the Red Wire

When connecting the red wire, you're guaranteeing that your ceiling fan's light kit operates independently. This connection allows you to control the light separately from the fan, which is particularly useful in setups with a single switch. Here's a quick guide to help you understand:
| Wire Color | Function | Connection Tip |
|---|---|---|
| Red | Light Kit | Connect the red to the blue |
| Black | Fan Power | Connect to the main power |
| Blue | Light Control | Connect to the red for light |
Before you start, always turn off the circuit at the breaker to guarantee safety. If your fan doesn't include a light kit, don't leave the red wire coming loose. Instead, cap off the red wire with a wire nut to prevent accidental contact. In installations using a single switch, the black wire controls the fan while the red wire provides power to the light kit. By following these steps, you'll have your ceiling fan and light kit working in harmony!

Ceiling Fan Mounting Bracket Kits With Installation Accessories Compatible With Living Room, Light Fixtures And Cathedral Ceiling Fans, Replace 77059 Ceiling Fan Mounting Bracket Black (No wires)
Included in the package: 1 x Ceiling Fan Mounting Bracket, 2 x Three different sizes of screws, 2...
As an affiliate, we earn on qualifying purchases.
Wiring Options Explained

Understanding the wiring color significance is essential for properly connecting the red wire in your ceiling fan setup.
Depending on your configuration, the red wire can control the light kit separately or may not even be needed at all.
Let's explore how these options affect your installation and guarantee everything works smoothly. Additionally, knowing the proper wiring can help improve energy efficiency in your home by optimizing ceiling fan performance.
Wiring Color Significance
In ceiling fan installations, knowing the significance of wiring colors is vital for guaranteeing everything operates correctly. The red wire typically acts as a hot wire that provides power specifically to a light kit, allowing you to control it separately from the fan. If you have separate switches for the fan and light, the red wire connects to the light fixture, while the black wire connects to the fan motor.
In cases where the ceiling fan doesn't have a light kit or both the fan and light are controlled by the same switch, you can cap off the red wire with a wire nut to prevent accidental contact. If you're using a remote control, you may not even need the red wire, as the remote can manage both the fan and light without additional wiring.
Understanding wiring color significance is vital because miswiring can lead to operational issues or safety hazards. Always guarantee that the neutral wires are properly connected to avoid complications.
Connecting Red Wire
Connecting the red wire in your ceiling fan setup is vital for achieving the desired functionality, especially if you plan to control the light kit independently. Typically, the red wire provides independent power to the light kit, allowing you to turn it on or off without affecting the ceiling fan.
If you're using a single switch that controls both the fan and light, you can connect the red wire to the blue wire of the fan. This setup enables the light to operate independently when you switch to a dual switch.
However, if your ceiling fan doesn't have a light kit or if you don't need separate control, cap off the red wire with a wire nut for safety. This prevents accidental contact and potential electrical hazards.
In installations that use a remote control, the red wire mightn't be necessary since the remote can manage both the fan and light functions seamlessly.
Always double-check your wiring connections before powering on to verify you've hooked everything up correctly. Properly connecting the red wire is vital for functionality and safety in your ceiling fan setup.
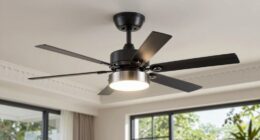
Ceiling Fan Installation Steps

Before you start installing your ceiling fan, gather the necessary tools and equipment to make the process smoother.
Remember to prioritize safety by turning off the power at the circuit breaker and using a stud finder for proper mounting.
Once you're ready, you can move on to the wiring connection steps.
Necessary Tools and Equipment
Installing a ceiling fan requires a few essential tools and equipment to guarantee the job goes smoothly and safely. First, you'll need a screwdriver to fasten the fan securely to the ceiling.
Wire strippers are vital for preparing the wires, ensuring they're ready for connection. Before you start the installation, grab a voltage tester to check that the power is off—this is key for your safety.
A step ladder is necessary to reach the height of your ceiling comfortably and safely during the installation.
Don't forget to have wire connectors on hand; they'll help you secure connections between the wires, preventing any electrical hazards. Electrical tape is also important for capping any unused wires, ensuring that everything is compliant with safety standards.
Lastly, remember to turn off the circuit breaker before you begin. This step eliminates the risk of electrical shock and keeps you safe while you work.
With these tools and equipment ready, you'll be well-prepared to tackle your ceiling fan installation efficiently and safely.
Wiring Connection Steps
Start by identifying your wires and confirming you understand their functions to make the wiring connection process smoother. The black wire from your ceiling fan connects to the black wire in the ceiling for the power supply.
Next, connect the white wire from the fan to the white neutral wires in the ceiling. If your fan has a blue wire for the light kit, attach it to the red wire. This setup allows you to control the light independently via a separate switch.
If you're using a remote control for your ceiling fan, the red wire mightn't be necessary. In that case, cap the red wire with a wire nut to prevent accidental contact. Always double-check that your wiring connections are secure before proceeding.
Finally, confirm you're following local electrical codes during this process. Adhering to these guidelines will help you install your ceiling fan safely and efficiently, allowing you to enjoy the comfort it brings.
Safety Precautions During Installation
Guaranteeing safety during your ceiling fan installation is just as important as getting the wiring right. Before you start, take the necessary precautions to prevent electrical shock and injury. Here are some critical safety steps to follow:
- Turn off the power at the breaker box to eliminate any risk of electrical shock while installing your ceiling fan.
- Use insulated tools and wear rubber gloves to further minimize the risk of electric shock during the installation process.
- Securely fasten the mounting bracket to the ceiling joists. This guarantees your fan can support its weight and won't fall.
- Double-check all wire connections for tightness and verify that color matches according to the wiring diagram before you restore power.
Always follow your local electrical codes for compliance. Additionally, ensure proper ventilation in the area to prevent dust accumulation, which can be detrimental to both electrical safety and air quality.
If you have any doubts about the installation, it's best to consult an electrician.
Testing Your Installation

After completing your ceiling fan installation, it's important to test your setup for safety and functionality. Start by verifying all connections are secure and correctly matched, especially the red wire, which typically connects to the light fixture for independent control.
Before you proceed, grab a voltage tester to confirm that the power is off. This step is vital to avoid electrical shock hazards.
Once you've confirmed the power is off, restore it at the breaker. Test the fan and light operation to verify the red wire functions as intended. If the light doesn't operate when the red wire is connected, double-check for loose connections or verify the wiring configuration according to the manufacturer's instructions.
Regularly inspect your ceiling fan for any signs of malfunction, such as flickering lights. These can indicate wiring issues that may require troubleshooting.
Maintenance and Troubleshooting

Maintaining your ceiling fan is key to its longevity and performance. Regular maintenance can prevent operational issues and guarantee your fan runs smoothly. Here are some essential steps to follow:
- Inspect Wiring: Regularly check all wire connections, including the red wire if it's present. Loose or frayed wires can lead to flickering lights or other issues.
- Secure Caps: Make sure all unused wires, particularly the red wire, are securely capped with wire nuts to prevent electrical shorts.
- Check for Noise and Wobbling: If your fan is noisy or wobbles, verify that the mounting bracket is securely fastened and that the blades are properly balanced.
- Clean the Blades: Dust buildup can hinder airflow. Regularly clean the fan blades to maintain peak performance.
If your ceiling fan doesn't operate after installation, troubleshoot by checking the breaker box and guaranteeing all wiring connections are secure and correctly matched. Additionally, regular cleaning is essential for maintaining performance, as dust can accumulate and affect the fan's efficiency.
Frequently Asked Questions
Where Do I Connect the Red Wire on a Ceiling Fan?
When you're connecting wires for your ceiling fan, the red wire usually plays a vital role.
If your fan has a light kit and you want to control it separately, connect the red wire to the blue wire of the fan. If you don't need that separate control, just cap it off with a wire nut.
Always make sure to turn off the power at the circuit breaker before starting any wiring work.
Can I Connect the Red and Black Wires Together?
You shouldn't connect the red and black wires together. Doing so can create a dangerous short circuit, leading to potential electrical hazards.
The red wire usually controls the light kit, while the black wire powers the fan motor. If you connect them, both could operate at the same time, which mightn't be what you want.
Always check the wiring diagram and follow local codes to guarantee a safe and proper installation.
What Do I Do With the Red Wire When Installing a Ceiling Fan With No Light?
When you're installing a ceiling fan without a light, you can simply cap off the red wire with a wire nut.
Make sure the power's off at the circuit breaker before you handle any wires. The red wire isn't needed for the fan to operate, so securing it inside the junction box will keep things safe and tidy.
If you're unsure, check the manufacturer's manual for specific instructions.
What Do I Connect the Red Wire To?
Did you know that about 70% of home electrical issues stem from improper wiring?
When you're connecting the red wire, it typically links to the black wire of the light kit for proper operation. If you're not using a separate switch for the light, you can cap off the red wire with a wire nut.
Just make sure the power's off at the circuit breaker to avoid any electrical hazards while you work.
Conclusion
To sum up, wiring a ceiling fan might seem like rocket science, but it's actually quite straightforward! Remember, the red wire typically connects to the fan's light kit or a separate switch for added control. With the right tools and knowledge, you can tackle this installation like a pro. Just follow the steps, double-check your connections, and enjoy the cool breeze in no time! You'll feel like a master electrician when you're done!