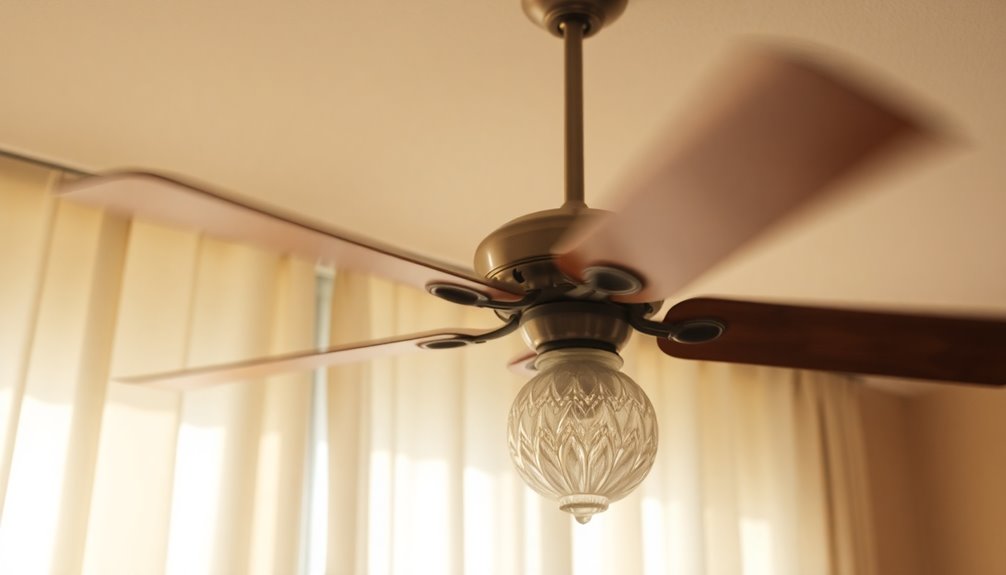
When wiring a ceiling fan, you'll want to use at least 14 AWG wire for standard installations on 15-amp circuits. If your fan requires more power, like high-wattage models, 12 AWG wire is advisable for up to 20 amps. Always check that your existing wiring meets these standards before beginning the installation. If your fan comes with a light kit, consider using 14-3 or 12-3 wire to control it separately. It's important to follow local codes for safety and compliance. There's a lot to keep in mind when wiring, so there's much more to explore on this topic.
Key Takeaways
- Use 14 AWG wire for standard ceiling fans on 15-amp circuits to ensure adequate support and safety.
- For high-wattage ceiling fans requiring up to 20 amps, 12 AWG wire is recommended.
- Ensure existing wiring is at least 14 AWG before installing a ceiling fan to comply with safety standards.
- For fans with light kits, use 14-3 or 12-3 wire to allow separate control of the fan and lights.
- Always check local electrical codes, as they may have specific requirements differing from NEC guidelines.

Comfort Zone 1500W Ceiling Mounted Dual Quartz Radiant Heater – Infrared Workshop Heater with 90° Adjustable Tilt, Built-in Halogen Light & Pull String Control – Overheat Protection, Black
INSTANT INFRARED RADIANT HEAT: Utilizing dual high-powered quartz tubes, this heater provides sun-like warmth that directly heats people...
As an affiliate, we earn on qualifying purchases.
Understanding Wire Types

When choosing wire for your ceiling fan, it's essential to understand the different types available. Copper wire is a popular choice for ceiling fan installations due to its excellent conductivity and durability.
If you're looking for a lighter and more affordable option, aluminum wire might be appealing, but remember it requires a larger wire gauge to match the conductivity of copper.
Stranded wire offers flexibility, making it easier to work with in tight spaces, which can be particularly useful during installation. On the other hand, solid wire is more rigid and is better suited for permanent installations where flexibility isn't as significant.
For standard ceiling fans, a wire gauge of 14 AWG is commonly recommended, supporting up to 15 amps. If you're installing a high-wattage fan motor, you may need to opt for 12 AWG wire, which can handle up to 20 amps.
Larger gauge wires help minimize voltage drop over long distances, guaranteeing efficient operation. Always adhere to local electrical codes when selecting wire types and gauges, as these regulations confirm both safety and proper functionality in your ceiling fan installations.

Comfort Zone Hard-Wired Ceiling Mount Garage Electric Space Heater, Fan-Forced, 5,000 watt, 240 volt, Overheat Protection, Thermal Cut-Out Switch, Ideal for Workshop & Garage, ETL Compliant, CZ220BK
EFFICIENT CEILING MOUNT: With its ceiling-mount design and hard-wired installation, this fan-forced heater is perfect for spaces like...
As an affiliate, we earn on qualifying purchases.
Selecting the Right Gauge

Choosing the right wire gauge is essential for guaranteeing your ceiling fan operates safely and efficiently. For standard ceiling fan installations, a minimum wire gauge of 14 AWG is recommended, which can support up to 15 amps.
If you're installing a high-wattage fan or one that needs a dedicated circuit, switching to 12 AWG wire is advisable, as it can handle up to 20 amps.
Always align the wire gauge with the circuit's amp rating to comply with local safety standards. This is critical for the safe operation of your fan and to prevent potential hazards.
Before you begin your ceiling fan installation, check the existing wiring gauge. Using a wire smaller than 14 AWG can create safety concerns and mightn't meet the requirements of your circuit breaker.
Thicker wires, like 12 AWG, also help reduce voltage drop over longer distances, making them a smart choice for installations that are far from the power source.
Proper electrical work guarantees not just functionality but also safety, so take the time to select the right wire gauge for your ceiling fan.

BEYOND HEAT Electric Garage Heater 120V, 750/1500W Ceiling Mount Space Heater for Garage, Shop, Patio with 90° Adjustable Tilt, Dual Quartz Radiant, Safety Metal Grille and Overheat Protection, 1-Pack
Effective Heating: Experience powerful radiant heat with the BEYOND HEAT electic garage heater heater. This innovative heater warms...
As an affiliate, we earn on qualifying purchases.
Wiring Considerations for Fans

To guarantee your ceiling fan operates effectively, careful attention to wiring considerations is essential. First, you need to choose the correct wire gauge. For standard installations on a 15-amp circuit, use a minimum of 14 AWG wire. If you're working with a 20-amp circuit, opt for 12 AWG. If your ceiling fan includes a light kit, you'll need to use 14-3 or 12-3 wire to manage the additional wiring and separate control for the light.
When planning your installation, consider the distance from the power source. Larger gauge wires (lower AWG numbers) are recommended for longer distances to reduce voltage drop and maintain efficiency. Always check local electrical codes to confirm the required wire gauge, as regulations can vary by jurisdiction.
Before reusing existing wiring, inspect it to ascertain it's at least 14 AWG and in good condition. Older or damaged wiring may not safely support your new ceiling fan's load.
Confirming the right wiring setup won't only enhance safety but also guarantee your fan operates smoothly and efficiently for years to come.

BEYOND HEAT Electric Garage Heater 120V 2 Packs, 750/1500W Ceiling Mount Space Heater for Garage, Shop, Patio with 90° Adjustable Tilt, Dual Quartz Radiant, Safety Metal Grille and Overheat Protection
Effective Heating: Experience powerful radiant heat with the BEYOND HEAT electic garage heater. This innovative heater warms people...
As an affiliate, we earn on qualifying purchases.
Installation Process Overview

After ensuring you have the right wire gauge for your ceiling fan, the next step is to tackle the installation process. Start by running a new electrical line from your light switch to the ceiling box, using 14 AWG wire for standard fans or 12 AWG wire for high-wattage models.
It's important to access the attic to secure a support brace for the fan, preventing any stress on the drywall and ensuring stability during operation.
When wiring a ceiling fan, connect the black hot wire from the fan to the black wire in the electrical box for power. Make sure to securely connect the white neutral wire as well, ensuring proper functionality.
If your ceiling fan has fan control features, follow the manufacturer's instructions for additional connections.
Before finalizing the installation, always test the connections to confirm everything works as intended. This will help you avoid any issues down the line. Additionally, ensure that you are aware of the recommended wire gauge for optimal performance and safety.
With these steps, you're well on your way to successfully installing a ceiling fan that not only enhances your space but also operates safely and efficiently.
Safety Standards and Compliance

Verifying your ceiling fan installation meets safety standards and compliance is essential for both functionality and peace of mind.
The National Electrical Code (NEC) mandates using a minimum of 14 gauge wire for ceiling fans to safely handle the electrical load. It's vital to check your local building codes, as some areas may have specific requirements that differ from NEC guidelines.
When installing your ceiling fan, make certain you use ceiling fan-rated electrical boxes. These boxes are designed to support the fan's weight and electrical demands while adhering to NEC standards.
Additionally, circuit breakers or fuses are necessary to protect against overload, and the wire gauge must match the circuit's amperage rating. For circuits rated at 20 amps, a 12 gauge wire is recommended.
Always verify that all wiring is UL-listed, which guarantees compliance with industry safety standards. This step reduces the risk of electrical fires and hazards during operation.
Tools and Preparation Tips

Before you start your ceiling fan installation, make sure you have all the essential tools ready, like wire strippers and a voltage tester.
It's vital to prioritize safety by turning off the power at the circuit breaker and using a stud finder for proper mounting.
Essential Tools Checklist
When you're gearing up to install a ceiling fan, having the right tools at your fingertips can make all the difference in the process. Here's a handy checklist to guarantee you're fully prepared:
| Essential Tool | Purpose | Emotion Evoked |
|---|---|---|
| Wire Strippers | Prepare wire ends for connections | Confidence in your skills |
| Voltage Tester | Verify power is off before starting | Safety assurance |
| Electrical Tape | Secure and insulate wire connections | Peace of mind |
| Screwdriver | Mount the fan and secure electrical boxes | Empowerment |
| Pliers | Manipulate wires and connectors effectively | Control |
| Ladder | Safely reach the ceiling for installation | Reliability |
| Fish Tape | Run wires through walls without damage | Ease of mind |
| Wire Nuts | Securely connect multiple wires | Trust in your work |
| Junction Box | House the wiring connections | Stability |
With these tools ready, you'll tackle the installation efficiently and confidently. Each item plays a crucial role in guaranteeing a successful ceiling fan setup, so don't overlook any of them!
Safety Precautions Overview
Safety precautions are essential for a successful ceiling fan installation. First and foremost, always turn off power at the circuit breaker before you start any electrical work. This is critical to prevent electrical shocks.
Once you've done that, grab a voltage tester to confirm that the power is indeed off. This extra step guarantees your safety while handling wires.
Next, make certain you're wearing appropriate safety gear, such as eye protection and rubber gloves, to protect yourself during the installation process. It's easy to overlook safety, but it's fundamental for a smooth and accident-free project.
When you're ready to begin, use wire strippers to carefully remove insulation from the wire ends. This tool will help you avoid damaging the conductors before making wiring connections.
Additionally, take the time to organize your workspace. Having a clean area with all necessary tools, including electrical tape and wire nuts, readily available will streamline the installation process.
Preparation Steps Summary
Getting ready to install your ceiling fan involves gathering the right tools and guaranteeing everything's in order. First, make sure you have wire strippers, electrical tape, a voltage tester, and a ladder on hand. These tools will help facilitate a smooth installation process.
Before you start, always shut off the relevant circuit breakers to guarantee safety while working with electricity.
Next, confirm that the existing wiring is at least 14 gauge, as this is necessary to safely support a ceiling fan and comply with local electrical codes. If you need to run a new line, consider using 12-3 wire for 20 amp circuits or 14-3 wire for 15 amp circuits, depending on the specifications of your fan and local regulations.
Once you've verified your wiring, prepare the wires by stripping the wire coating to expose the copper ends for proper connections. Don't forget to cap any unused wires with wire connectors for added safety.
With these preparation steps covered, you're ready to power back on your circuit and embark on your ceiling fan installation!
Frequently Asked Questions
Should I Use 12 or 14 Gauge Wire for a Ceiling Fan?
When deciding between 12 or 14 gauge wire, consider the power requirements of your ceiling fan.
If you've got a standard fan on a 15 amp circuit, 14 gauge wire should do just fine.
However, if you're installing a larger or high-wattage fan, you'll want to go with 12 gauge wire for better performance and safety.
Always check local codes to guarantee you're meeting any specific requirements for your installation.
Can You Use 14 3 for a Ceiling Fan?
Did you know that over 60% of electrical fires stem from faulty wiring?
You can definitely use 14-3 wire for a ceiling fan, especially if it has a light kit. This wire offers a hot, neutral, and ground wire, making it perfect for independent control of the fan and light.
Just remember to check your circuit's amp rating and local codes to guarantee everything's safe and compliant.
Can You Wire a Ceiling Fan With 14 2?
Yes, you can wire a ceiling fan with 14/2 wire. It's suitable for most standard installations, especially on 15-amp circuits.
Just make sure the circuit's protected by a 15-amp breaker to avoid overload. The 14/2 wire has one black (hot), one white (neutral), and one bare or green (ground) wire, which works well for fans without light kits.
Always check that your wiring meets local codes before starting your installation.
Can I Use 12/2 Wire for a Ceiling Fan?
Did you know that about 75% of ceiling fan issues stem from improper wiring?
Yes, you can use 12/2 wire for your ceiling fan. It's suitable for circuits needing up to 20 amps, making it perfect for high-wattage fans.
While it might be thicker and tricky to handle in tight spaces, it reduces voltage drop over long distances and enhances safety.
Just check your local codes to verify compliance before installation.
Conclusion
In summary, choosing the right wire gauge for your ceiling fan is essential for both safety and performance. By understanding the different wire types and considering your fan's specific requirements, you can guarantee a smooth installation. So, why risk potential issues by skimping on the details? Proper wiring not only enhances efficiency but also prolongs the life of your fan. With the right tools and preparation, you can confidently tackle your ceiling fan project.